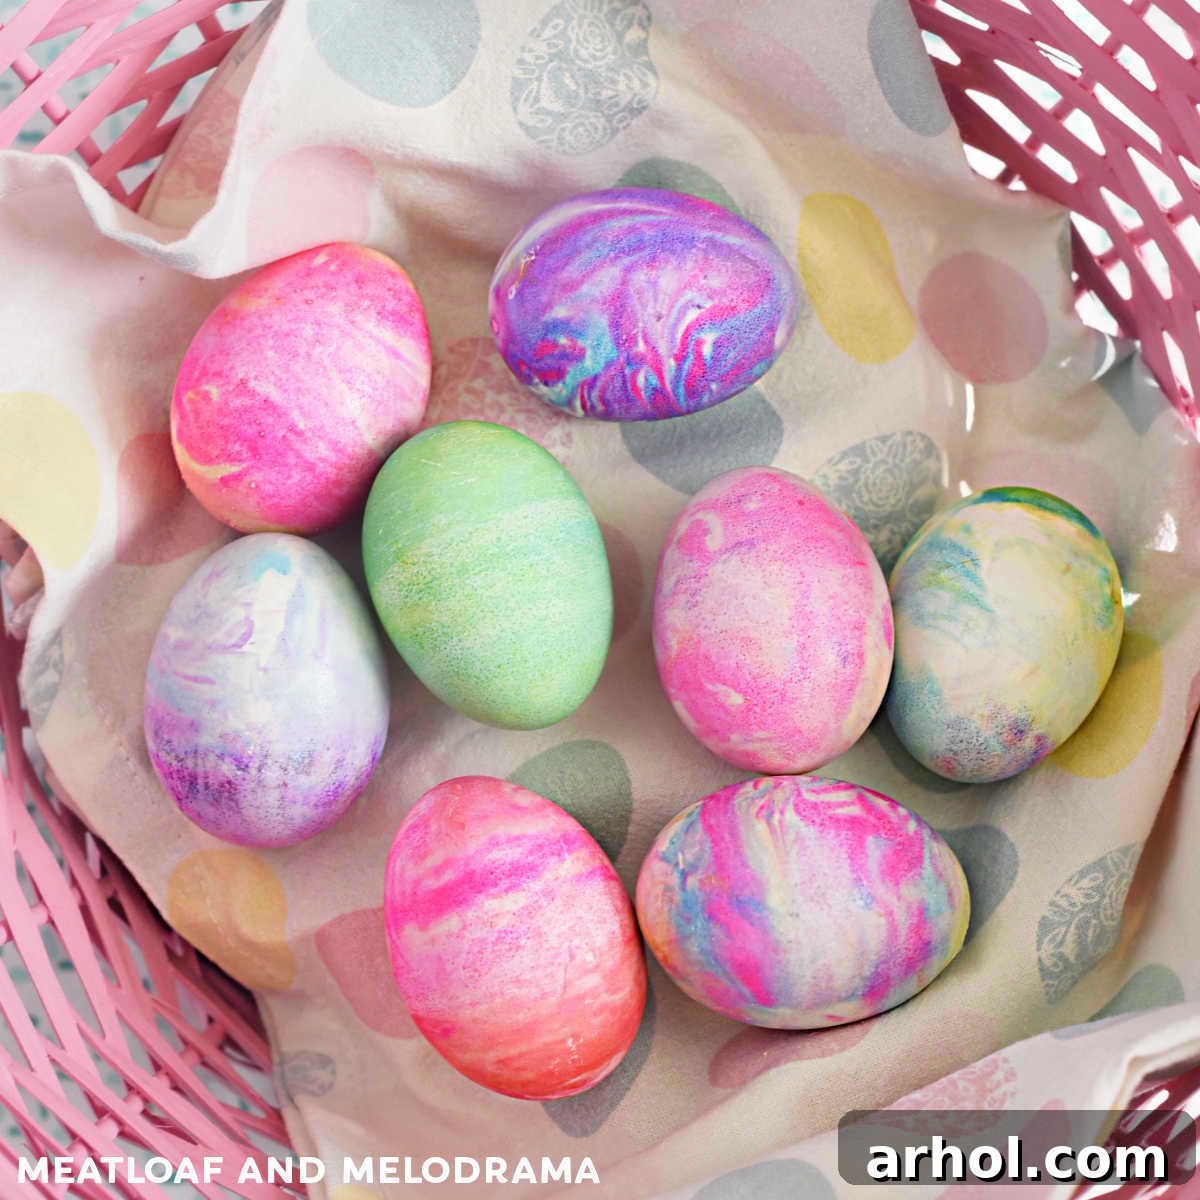
Cool Whip Easter Eggs are a wonderfully creative and surprisingly simple way to transform plain hard-boiled eggs into vibrant, marbled masterpieces for the Easter holiday. This guide will walk you through the easy, step-by-step process of dyeing Easter eggs using just Cool Whip and food coloring, making it a perfect family-friendly activity that promises stunning results without the usual mess.
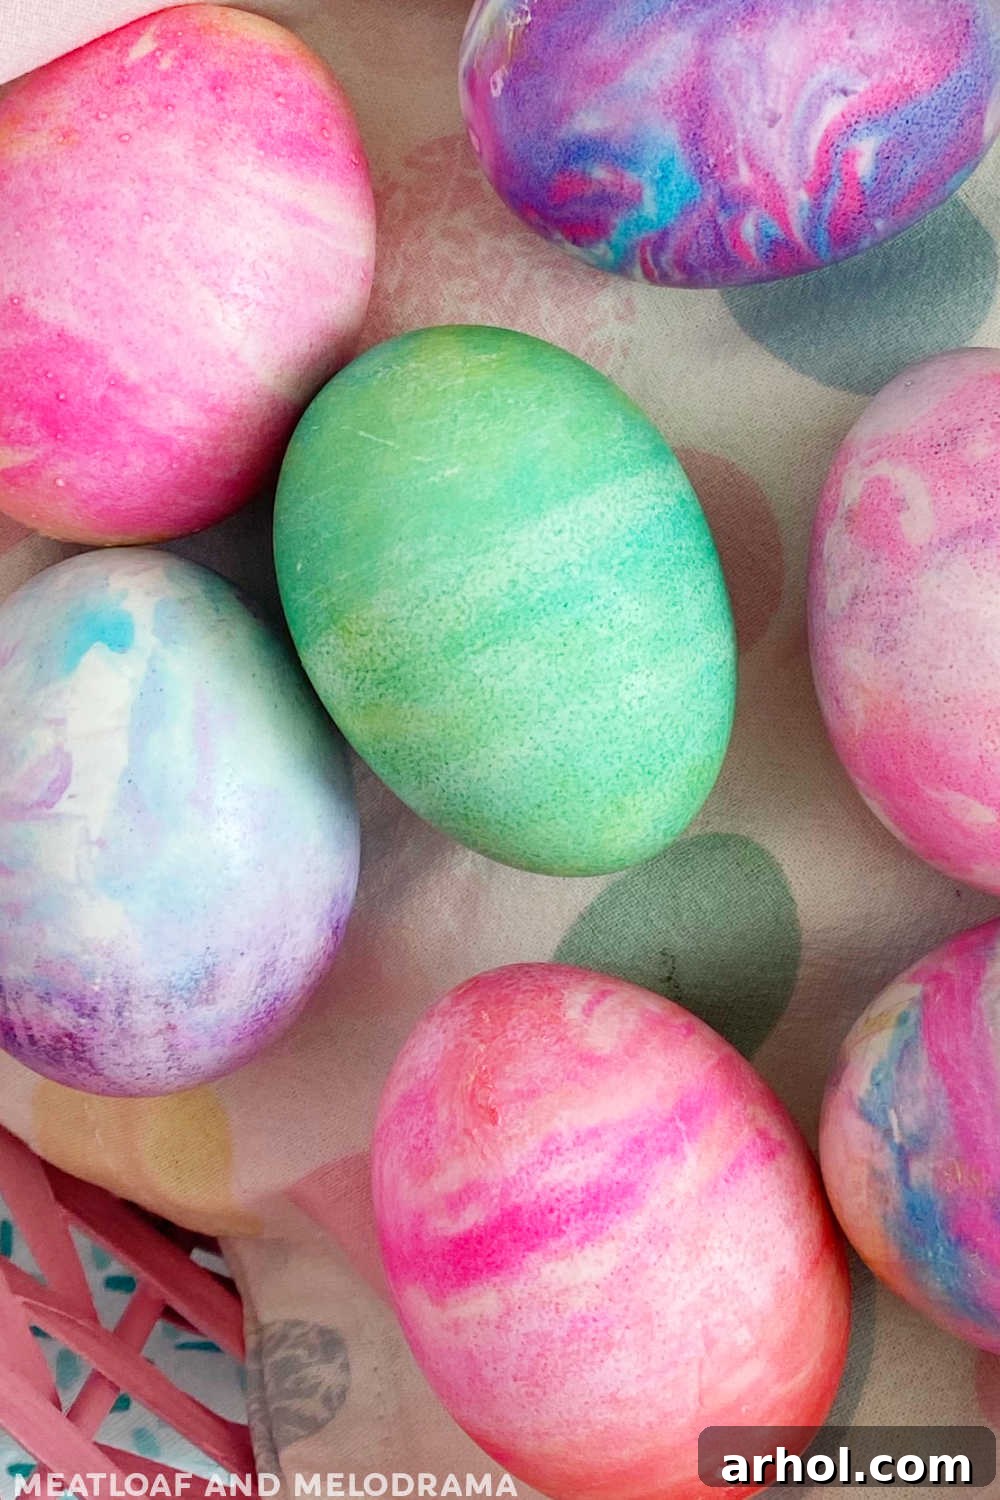
Are you searching for an incredibly fun, safe, and easy method to dye Easter eggs this year? Look no further than the ingenious Cool Whip dyeing technique! This popular approach allows you to create the most beautiful, uniquely patterned eggs using just a few common kitchen ingredients: Cool Whip (or any whipped topping) and a selection of your favorite food colorings. Say goodbye to tedious measuring, accidental spills, and the general mess often associated with traditional egg dyeing kits.
Generations have cherished the tradition of decorating Easter eggs, but the Cool Whip method offers a refreshing twist that’s particularly engaging for kids. My own children eagerly anticipate this annual activity, and we’ve been crafting these delightful Cool Whip Easter eggs for several years. It’s truly become a beloved family tradition, producing results so striking that they often look too good to eat!
Beyond the sheer beauty of the finished eggs, this method stands out for its simplicity and cleanliness. Unlike conventional dyeing techniques that involve dissolving tablets in white vinegar and water, which can lead to drips and stains, the Cool Whip process minimizes cleanup. The vibrant, swirling colors adhere beautifully to the eggshells, creating a mesmerizing marbled effect that is truly unique to each egg. Plus, since all ingredients are completely edible, it offers a much safer and more appealing alternative to methods like shaving cream, making it ideal for even the youngest crafters in your household.
Gather Your Simple Ingredients for Cool Whip Easter Eggs
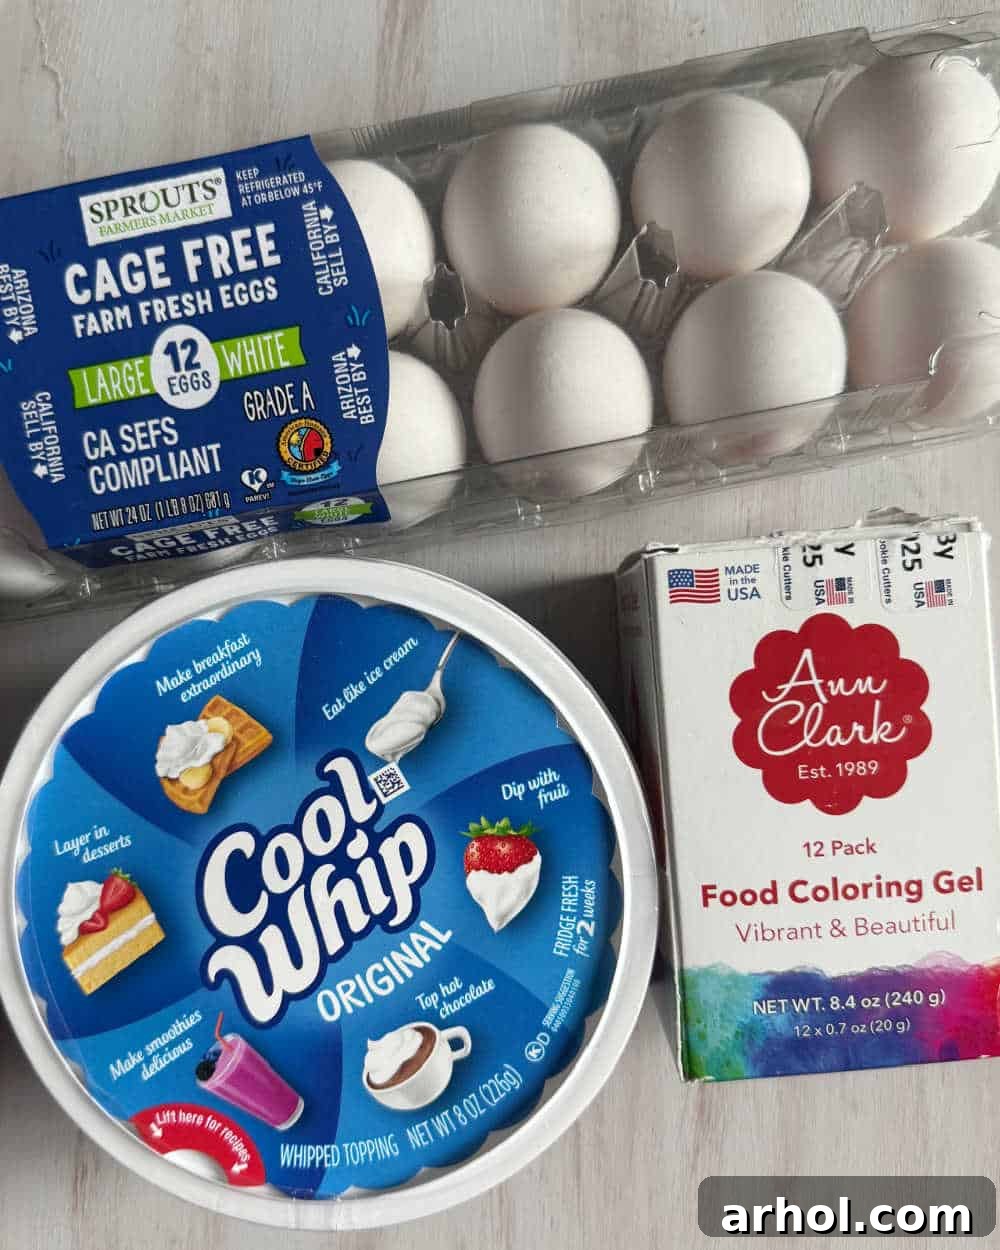
One of the best aspects of making Cool Whip Easter eggs is how few and how accessible the required ingredients are. You can find everything you need during your regular grocery store run, ensuring a hassle-free start to your creative project. Here’s what you’ll need:
- Hard-Cooked Eggs: For the most vivid and beautiful colors, we highly recommend using white hard-boiled eggs. While brown eggs can also be dyed, the lighter shell provides a superior canvas for the food coloring to truly pop and display its marbled glory. For perfect hard-boiled eggs every time, consider using an Instant Pot or your preferred stovetop method.
- Cool Whip (Whipped Topping): The star of our dyeing process! You’ll need a container of Cool Whip, or any generic brand of whipped topping will work just as effectively. Ensure it’s thawed and soft enough to spread easily.
- Food Coloring: Both liquid food coloring (the small bottles found in baking aisles) and gel food coloring will yield fantastic results. Gel food coloring often provides more intense, concentrated colors, but standard liquid dyes are perfectly suitable for achieving beautiful pastel and vibrant hues. Experiment with a variety of colors to create stunning combinations!
- Baking Dish (or similar container): A 9×13 inch baking pan, a casserole dish, a muffin tin, or any shallow container with sides deep enough to hold a layer of whipped topping and fully submerge an egg will work. The size will determine how many eggs you can dye simultaneously.
- Paper Towels: Essential for gently wiping off the excess whipped topping from your dyed eggs. There’s absolutely no need to rinse these eggs with water, as wiping ensures the dye stays perfectly set, revealing the gorgeous marbled patterns.
- Toothpicks or Skewers: (Optional, but highly recommended) These are perfect for swirling your food colors into the Cool Whip, creating those signature marbled patterns.
- Disposable Gloves: (Optional, but useful) While the process is generally less messy than traditional dyeing, your fingertips might get colorful! Gloves can help keep your hands clean.
How to Dye Easter Eggs with Cool Whip: A Step-by-Step Guide
Creating your Cool Whip Easter eggs is an enjoyable and straightforward process. Follow these simple steps for perfectly marbled, vibrantly colored eggs every time:
Step 1: Prepare Your Whipped Topping Base
Begin by spooning a generous amount of Cool Whip or whipped topping into your chosen baking dish or container. Spread the whipped topping out into an even layer, ensuring it’s at least one inch deep. This depth is crucial for fully covering your eggs and achieving an all-around marbled effect. A standard 9×13 inch baking pan works wonderfully, allowing ample space for multiple eggs to be dyed at once.
Step 2: Add Your Food Coloring
Now for the fun part – adding color! Select your desired food coloring shades. For a beautifully marbled effect, we recommend choosing 2 to 4 distinct colors. Place several drops (3-5 drops per color) of each food coloring strategically across the surface of the whipped topping. You can arrange them in a pattern or randomly dot them around – feel free to get creative!
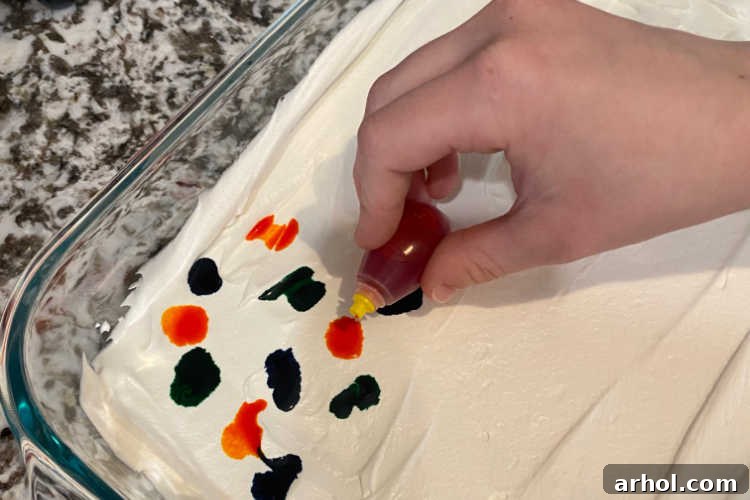
For the eggs pictured, we used a delightful combination of green, yellow, and blue. Don’t be afraid to experiment with different color palettes – pastel shades for a classic look, or bold, contrasting colors for a more dramatic swirl.
Step 3: Gently Swirl the Colors
Using a toothpick, skewer, or even the handle of a spoon, gently swirl the drops of food coloring into the whipped topping. The key here is gentle swirling; you want to create beautiful streaks and marble patterns, not fully mix the colors into one muddy blob. Aim for distinct swirls that retain their individual hues while blending slightly at the edges. A few quick, deliberate motions are all it takes to achieve that coveted marbled look.
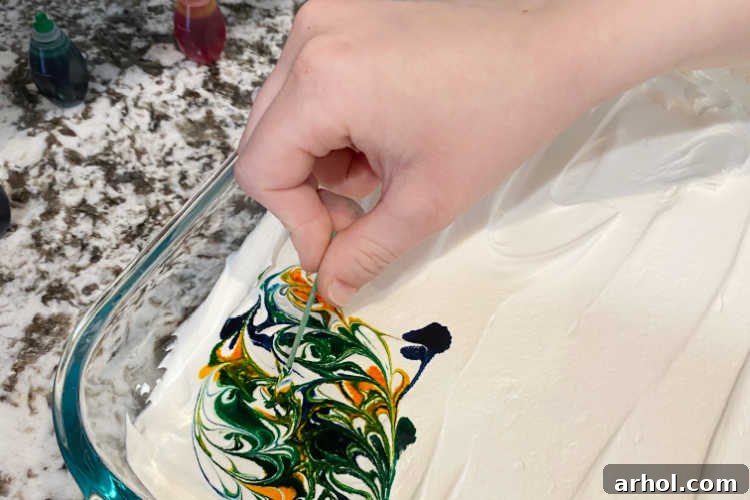
Step 4: Roll and Coat Your Eggs
Carefully place a hard-boiled egg onto the swirled whipped topping. Gently roll the egg around in the colorful topping until it is completely coated with the Cool Whip and dye mixture. Ensure every part of the eggshell is covered to guarantee a full, even marble pattern. Once an egg is fully coated, you can leave it in the dish while you prepare the next ones, or transfer it to a separate clean plate or sheet pan if you prefer. You can add all the food coloring at once for a batch, or add colors as you go for each egg, tailoring the design. We found that a single 9×13 inch pan can comfortably accommodate about 8-9 eggs, or even more if you’re efficient!
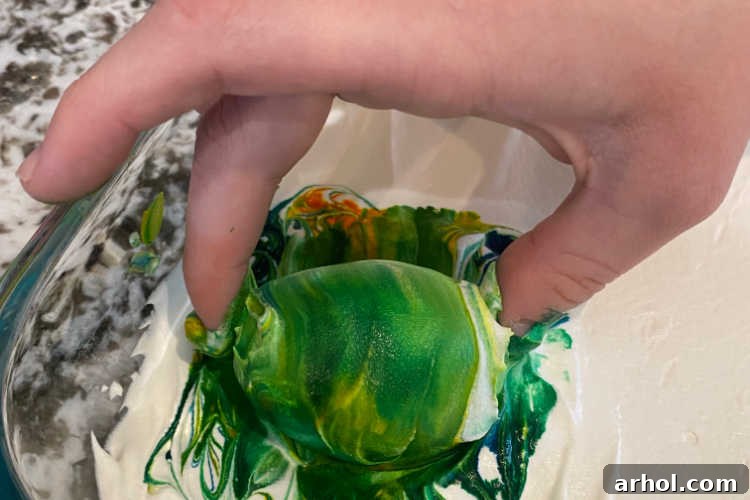
Step 5: Let the Dye Set
Once your eggs are completely coated, allow them to sit undisturbed for approximately 15-20 minutes. This resting time is essential for the food coloring to properly transfer and set onto the eggshells, ensuring vibrant and lasting colors. If you desire even deeper or more intense hues, you can extend the sitting time slightly.
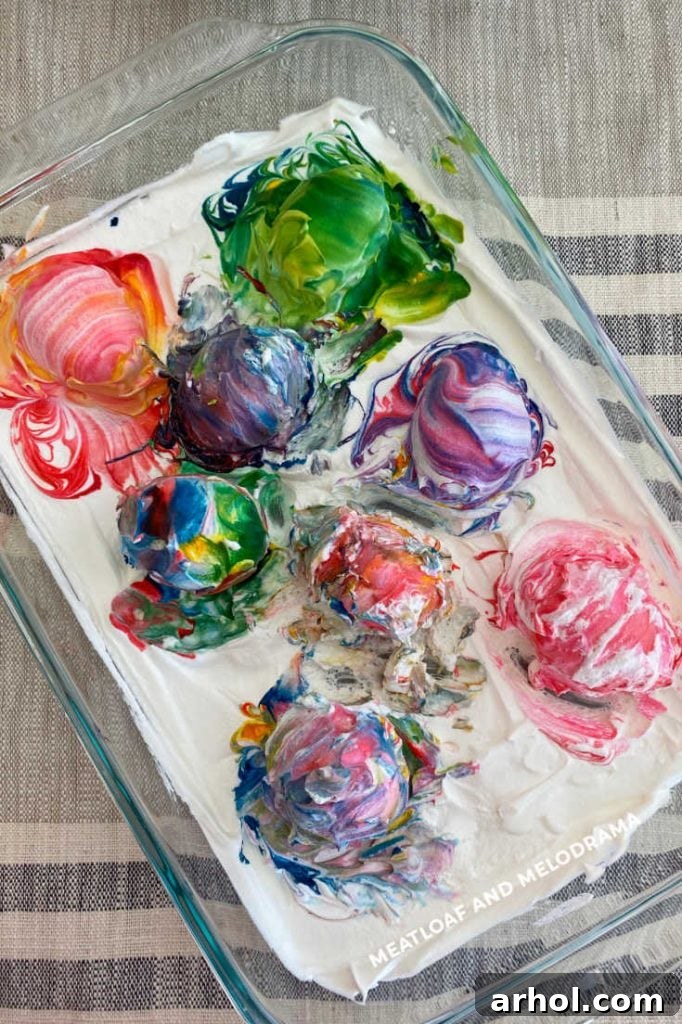
Step 6: Reveal Your Beautiful Creations
After the dye has set, it’s time for the big reveal! Gently pick up each egg and carefully wipe off the excess whipped topping with a dry paper towel. Resist the urge to rinse the eggs under water, as this can dilute or wash away some of the beautiful marbled patterns. As you wipe, the stunning, vibrant, and utterly unique marbled designs will emerge. You’ll be amazed at the gorgeous swirls and patterns on each egg – they are almost too pretty to eat! Arrange your finished Cool Whip Easter eggs in an Easter basket for a festive display.
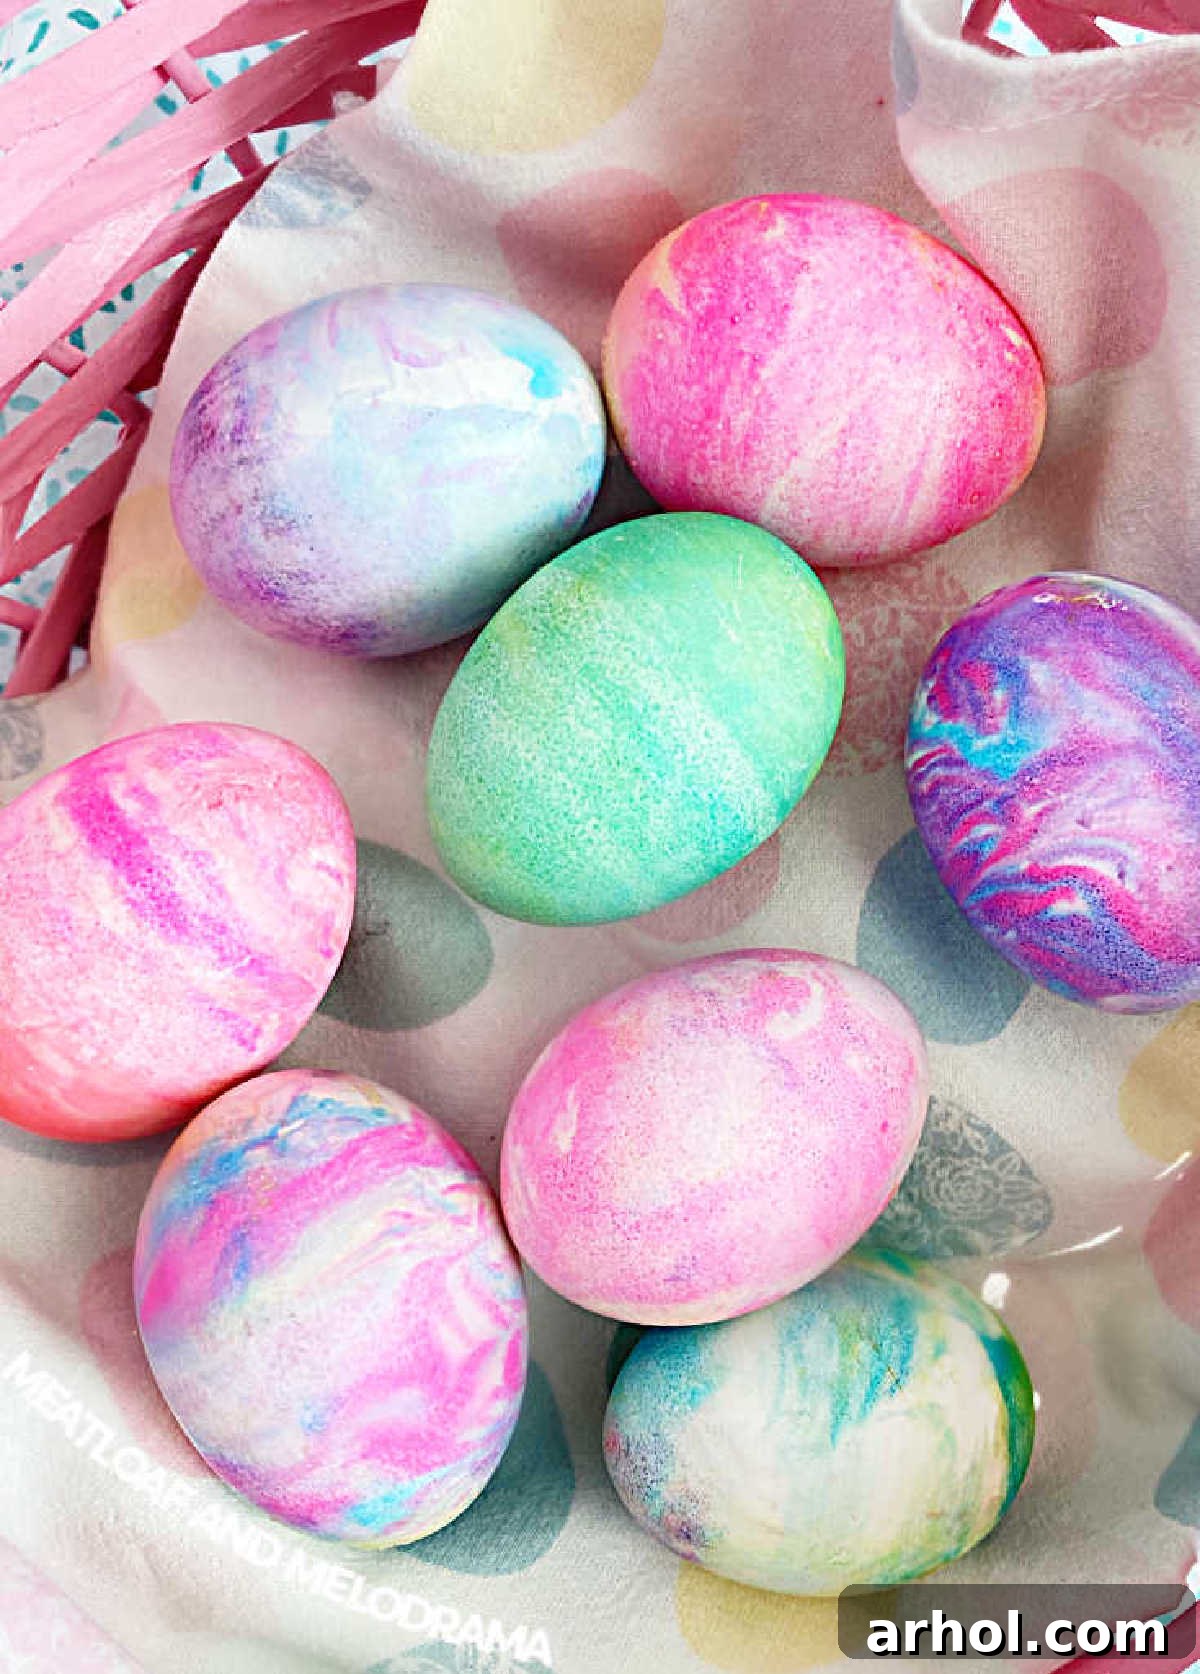
Tips for Success When Dyeing Easter Eggs with Cool Whip
To ensure your Cool Whip Easter egg dyeing experience is as smooth and successful as possible, keep these helpful tips in mind:
- Protect Your Hands: While Cool Whip is edible and generally less messy than liquid dyes, food coloring can still stain your fingers. Wearing disposable gloves or plastic kitchen gloves will protect your hands from getting colorful.
- Choose the Right Container: Any shallow baking dish, casserole dish, or even a muffin tin will work. For smaller batches or individual eggs, disposable plastic cups or glasses can be excellent alternatives, making cleanup even easier. The key is to have enough depth for the egg to be fully coated.
- No Vinegar Needed: Unlike many traditional egg dyeing methods that rely on vinegar to help the dye adhere, the Cool Whip method does not require it. The whipped topping’s consistency and fat content allow the food coloring to transfer beautifully to the eggshells without any acidic help. We’ve used this method for years, consistently achieving vibrant and colorful results without a drop of vinegar.
- Egg Temperature: For best results, allow your hard-boiled eggs to cool completely before dyeing. Room temperature eggs absorb the dye more evenly than warm eggs.
- Food Coloring Type: Both liquid and gel food colorings work. Gel colors tend to be more concentrated, producing bolder, richer hues with fewer drops. Liquid colors are great for lighter, pastel effects.
- Swirl, Don’t Mix: Remember, the goal is a marbled effect. Over-mixing the colors in the Cool Whip will result in a single, less distinct color. Gentle, quick swirls are ideal.
- Experiment with Colors: Don’t be afraid to try different color combinations! Bright primary colors, soft pastels, or even two contrasting colors can create stunning and unique patterns.
- Double Batching: If you have a lot of eggs to dye, you can often reuse the same Cool Whip mixture for a second batch of eggs. Just add a few more drops of food coloring and swirl again. Alternatively, prepare multiple pans for larger groups.
How to Properly Store Your Hard-Boiled Easter Eggs
After you’ve finished dyeing your beautiful Cool Whip Easter eggs, proper storage is crucial for food safety, especially if you plan to eat them. Place your hard-boiled eggs in the refrigerator as soon as they are dry and within two hours of their initial cooking time. When stored correctly in their shells, hard-boiled eggs will remain fresh and safe to eat for up to 7 days. If you peel them, consume them within 5 days.
Delicious Recipes for Leftover Easter Eggs
Once the Easter egg hunt is over, and you’ve admired your stunning Cool Whip creations, don’t let them go to waste! Hard-boiled eggs are incredibly versatile and can be transformed into a variety of delicious dishes. If you’re planning an Easter Brunch or simply looking for ways to enjoy your colorful eggs, here are some fantastic recipe ideas:
- Classic Deviled Eggs: A timeless crowd-pleaser, perfect for any gathering.
- Guacamole Deviled Eggs: A fresh, vibrant twist on the classic, incorporating creamy avocado.
- Basil Parmesan Deviled Eggs: An aromatic and savory option for a gourmet touch.
- Homemade Egg Salad: Ideal for sandwiches or served with crackers for a light meal.
- Garnish for Potato Salad: Diced hard-boiled eggs add texture and richness to your favorite potato salad recipe.

Print Recipe
Cool Whip Easter Eggs
Dee
5 minutes
15 minutes
15 minutes
35 minutes
12 eggs
Equipment
- 9 X 13 inch baking pan or deep casserole dish
- Toothpicks or small skewer
Ingredients
- 12 hard-boiled eggs (cooled)
- 8 ounces Cool Whip (or any whipped topping), thawed
- 1 package food coloring (various colors, gel or liquid)
- Paper towels
- (Optional) Disposable gloves
Instructions
-
Spread the thawed Cool Whip evenly in a baking dish, ensuring it’s about 1 inch deep.
-
Add drops of food coloring (3-5 drops of each color) to various spots in the Cool Whip. Use 2-4 colors for the best marbled results.
-
Gently swirl the food coloring together with a toothpick or small skewer to create marbled patterns. Do not overmix.
-
Carefully place a hard-boiled egg into the swirled whipped topping and roll it until it is completely covered in the colored Cool Whip.
-
Allow the coated egg to sit in the mixture for 15-20 minutes to let the dye set. Repeat with remaining eggs.
-
After the resting time, gently wipe the excess whipped topping off each egg using a dry paper towel. Do not rinse with water.
-
Refrigerate the dyed eggs until you are ready to display or eat them.
Notes
Nutrition information is an approximation and can vary based on specific ingredients and brands used.
Nutrition
Carbohydrates: 5g,
Protein: 7g,
Fat: 6g,
Saturated Fat: 2g,
Polyunsaturated Fat: 1g,
Monounsaturated Fat: 2g,
Cholesterol: 190mg,
Sodium: 76mg,
Potassium: 83mg,
Fiber: 1g,
Sugar: 4g,
Vitamin A: 293IU,
Calcium: 45mg,
Iron: 1mg
Nutrition information is automatically calculated and should be used as an approximation only.
Additional Info
Side Dish, Dessert, Craft
American
Easter, Spring
Frequently Asked Questions About Cool Whip Easter Eggs
Can I use other types of whipped topping besides Cool Whip?
Absolutely! Any brand of frozen whipped topping, once thawed, will work perfectly for this dyeing method. The key is its soft, spreadable consistency.
Do I need to use white eggs, or can I use brown eggs?
While brown eggs can be dyed, white hard-boiled eggs typically yield the most vibrant and true-to-color results. The lighter shell allows the food coloring to stand out more vividly, showcasing the marbled patterns beautifully.
How long do the colors last on the eggs?
Once the dye has set and the eggs are wiped clean, the colors are quite durable. As long as the eggs are handled carefully and refrigerated properly, the vibrant patterns will remain beautiful until they are consumed or discarded.
Is this method safe for kids?
Yes, this is an excellent method for kids! Since all the ingredients (Cool Whip and food coloring) are edible, it’s a much safer alternative to using shaving cream, which contains chemicals. Adult supervision is always recommended, especially with younger children, but the process is generally mess-free and fun for all ages.
How do I make the colors more vibrant or pastel?
For more vibrant colors, use gel food coloring, which is more concentrated, or allow the eggs to sit in the Cool Whip mixture for a longer period (up to 30 minutes). For pastel shades, use fewer drops of liquid food coloring or reduce the resting time slightly.
Enjoyed this creative Easter egg dyeing method? Share your thoughts below!
Make Lasting Easter Memories
Dyeing Cool Whip Easter eggs is more than just a craft; it’s an opportunity to create cherished memories with your loved ones. The simplicity and visual appeal of this method make it a perfect activity for the whole family, from toddlers to grandparents. Even younger kids can participate with minimal assistance, feeling a sense of accomplishment as they transform plain eggs into colorful works of art, perhaps even with a little help from the Easter Bunny!
We hope this detailed guide inspires you to try this delightful and easy Easter egg dyeing technique. If you adore this simple tutorial for creating the prettiest marbled eggs ever, we’d love for you to share your experience! Leave a comment below, tell us about your favorite color combinations, or share pictures of your beautiful creations. For more inspiring Easter recipes and simple, enjoyable ideas for any occasion, be sure to follow us on social media.