
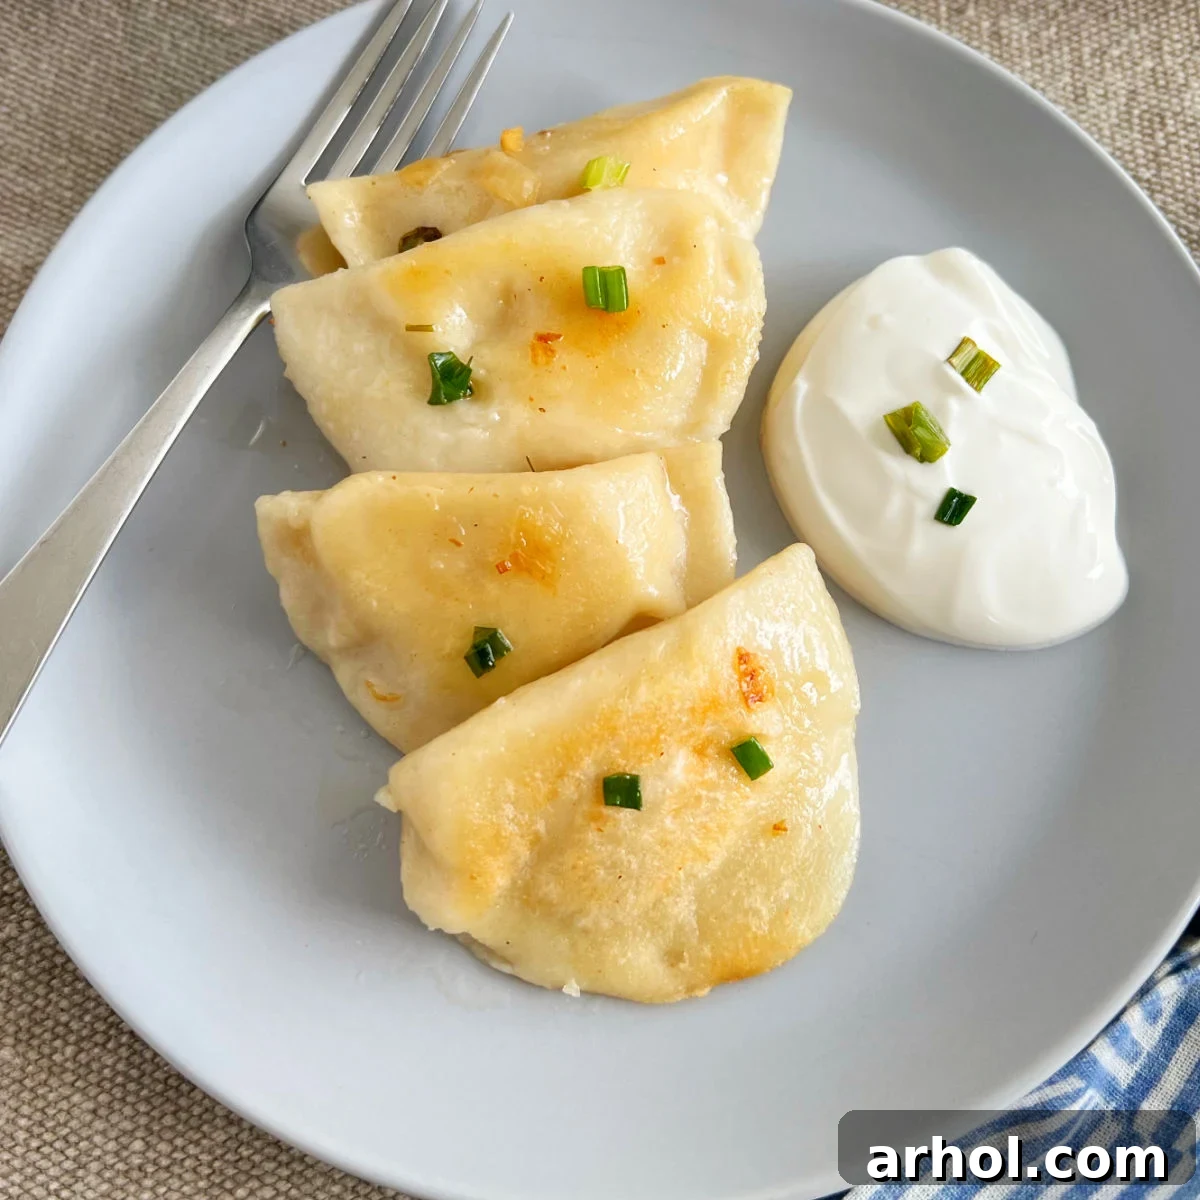
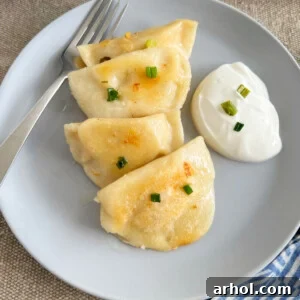
My grandma’s homemade pierogi recipe, featuring a delectable potato and sharp cheddar cheese filling, truly creates the BEST pierogi you will ever taste. These savory dumplings are a beloved tradition, ideal for festive occasions like Christmas Eve, solemn observances such as Lent, or simply whenever you yearn for a dish that offers profound comfort and flavor.
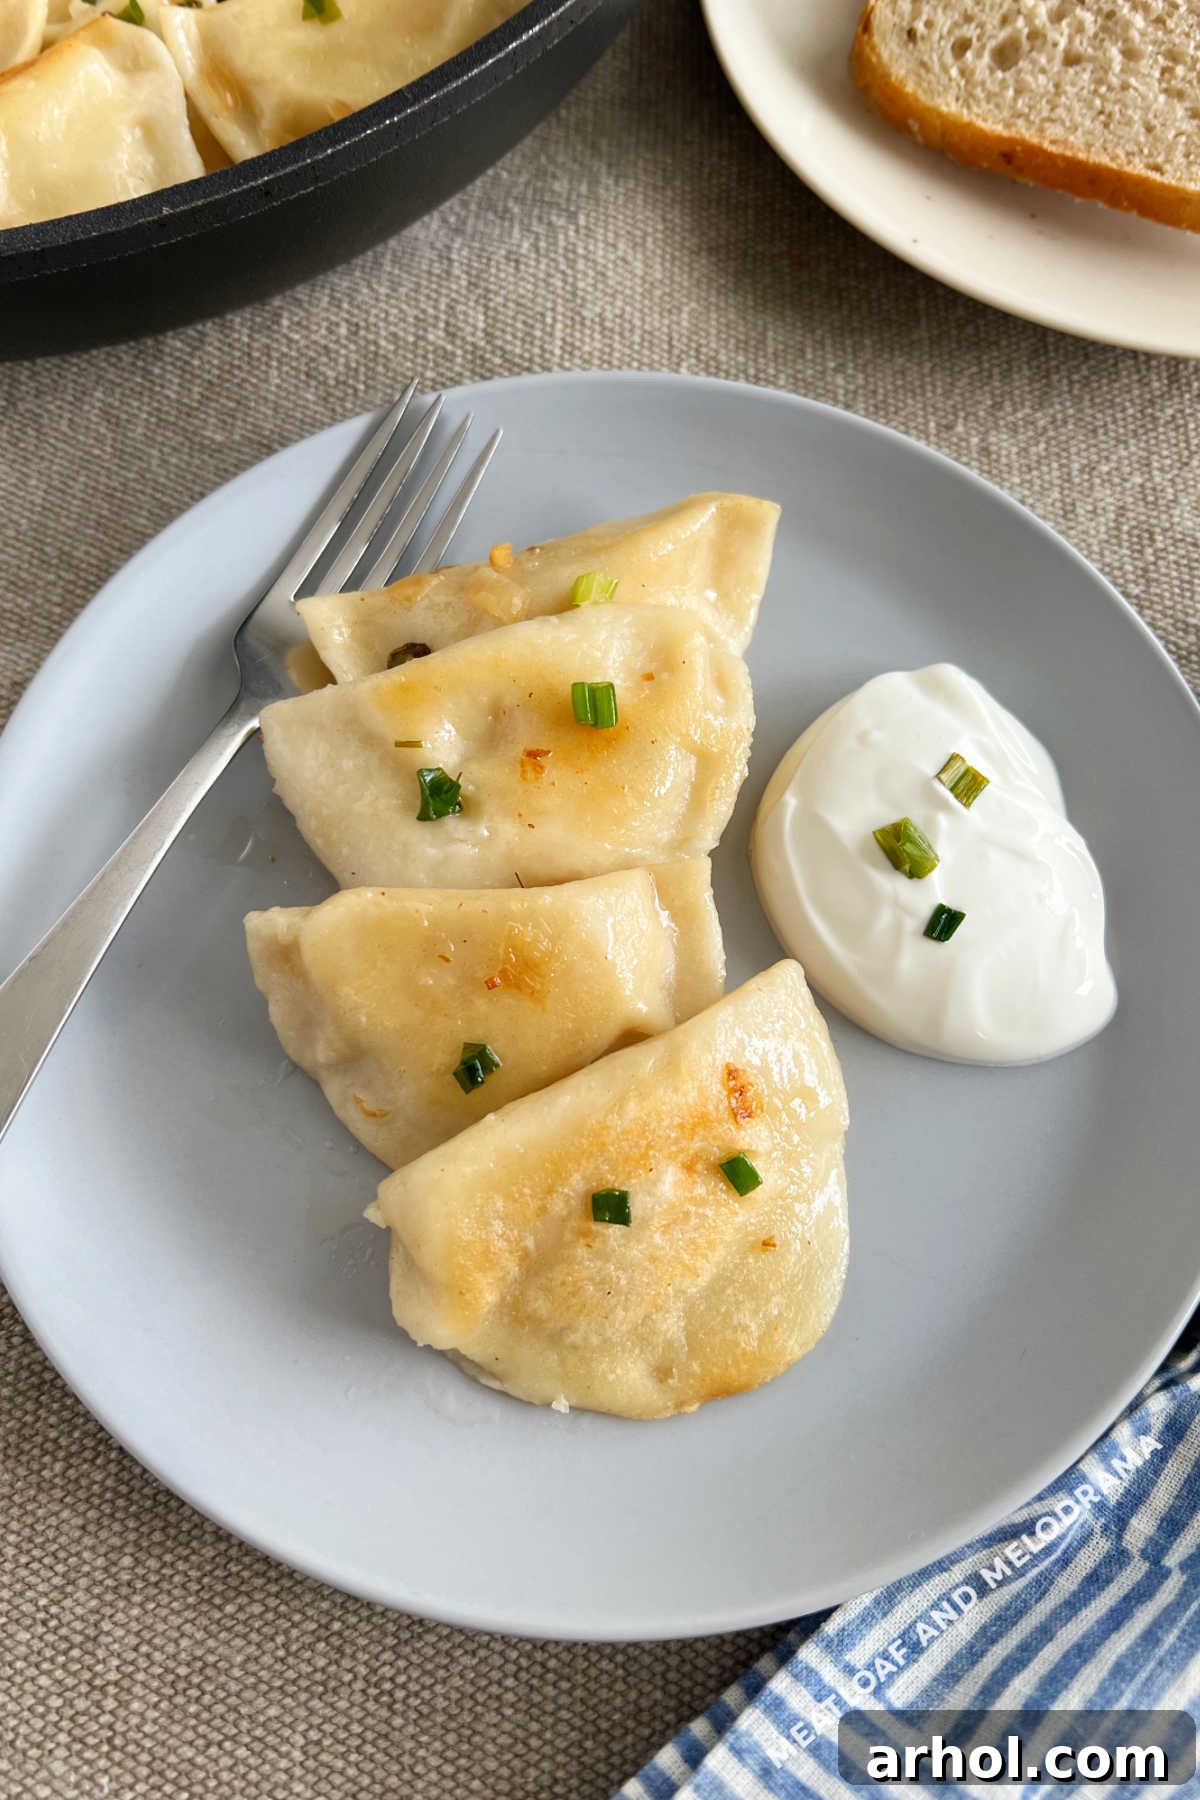
Authentic Potato and Cheddar Cheese Pierogi: A Family Legacy
This pierogi dough recipe is, without a doubt, the finest I have encountered and mastered over years of experimenting with various approaches. Its superiority lies in the remarkable ease with which the dough can be handled, making the entire process enjoyable rather than daunting. Paired with a rich, cheesy filling bursting with flavor, this recipe is your definitive guide to crafting authentic homemade potato and cheddar cheese pierogi, often known as pierogi ruskie.
This cherished culinary gem hails directly from my grandma, who inherited it from her mother, tracing a delicious lineage up our family tree. I fondly recall Christmas Eves when Baba (Grandma) would arrive, and my mom and I would spend the entire morning assisting her in preparing these exquisite cheesy potato dumplings. They were the centerpiece of our Holy Supper, or Wigilia, that evening, complemented by other traditional delights like nut rolls, haluski, and an array of fish dishes.
Our family’s heritage is a beautiful tapestry woven from Ukrainian, Ruthenian (Rusyn), Polish, Russian, and Slovak roots. These particular pierogi, which my dad affectionately called “pedaheh,” originate from my grandma’s Ukrainian side. While my Polish relatives traditionally filled their dumplings with farmer’s cheese (twarog) mixed with mashed potatoes, Grandma always insisted on her signature blend of creamy mashed potatoes and sharp cheddar cheese. Given Baba’s long-time residence in Pittsburgh, many lovingly refer to these as “Pittsburgh pierogi.”
For those eager to explore more rich Eastern European recipes, I highly recommend trying my Halupki (Stuffed Cabbage Rolls), traditional Easter Cheese, and delightful Easter Lamb Cake.
Essential Ingredients for Perfect Pierogi
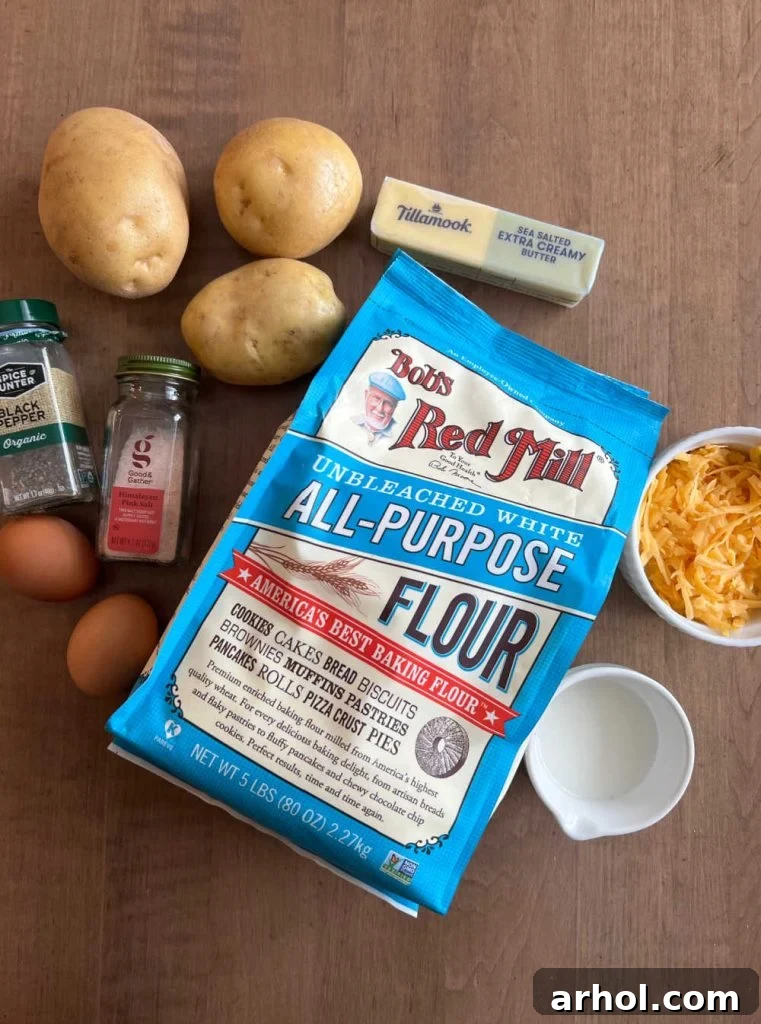
Crafting these delicious potato and cheddar pierogi requires only a few straightforward ingredients, most of which you likely already have in your pantry. Here’s an overview of what you’ll need. For precise measurements, please refer to the detailed printable recipe card further down this page.
- All-Purpose Flour: The foundation of our tender dough. While any good brand works, I personally find Bob’s Red Mill consistently delivers excellent results for baking.
- Potatoes: Yukon Gold or Russet varieties are highly recommended. Their starchy texture makes for a wonderfully creamy filling that holds its shape well.
- Reserved Potato Water: A secret ingredient for the dough, this starchy water from boiling the potatoes adds elasticity and a subtle richness, resulting in a perfectly pliable dough.
- Eggs: Essential for binding the dough and contributing to its rich texture and color.
- Milk: Used both in the dough for added moisture and a slight splash in the filling to enhance its creaminess, though sparingly to maintain firmness.
- Unsalted Butter: Softened for the dough to ensure a smooth incorporation, and melted for pan-frying the finished pierogi to achieve that irresistible golden-brown crust.
- Salt and Black Pepper: Crucial for seasoning both the potato filling and the boiling water, enhancing the overall flavor profile.
- Onion: Sliced and caramelized in butter, onions are the classic accompaniment for pan-fried pierogi, adding a layer of sweet and savory depth.
- Sharp Cheddar Cheese: The star of our filling, providing a robust, tangy flavor that pairs beautifully with the potatoes. Freshly shredded cheese melts better and tastes superior to pre-shredded options.
It’s important to note that this specific family recipe does not traditionally include sour cream within the dough itself. The combination of potato water and milk provides all the necessary moisture and contributes to the dough’s exceptional texture and workability.
While making pierogi from scratch isn’t inherently difficult, it is undeniably a labor of love that requires time and a fair bit of energy. Think of it as a delightful, filled pasta! The process becomes significantly more enjoyable, and certainly more manageable, with extra hands in the kitchen. For our family, it has always been a cherished group project. The joy of passing this authentic recipe down to my own children, ensuring this culinary tradition continues, is truly immeasurable. And truthfully, we always have a wonderful time creating these delicious dumplings together!
Step-by-Step Guide to Making Homemade Pierogi
Our homemade pierogi journey begins with preparing the potato filling, as the starchy water left over from boiling the potatoes is a vital component of our unique dough. This interconnected process is part of what makes this recipe so special and authentic.
Preparing the Potato and Cheddar Filling:
First, select your potatoes. I prefer using Yukon Gold potatoes, and I boil them with their skins on. This method not only preserves more nutrients but also makes them incredibly easy to peel once they are warm and tender.
Begin by cutting your potatoes into smaller, uniform pieces – quartering them usually works best. Place them in a large pot, cover completely with cold, salted water, and bring to a rolling boil. Cook until the potatoes are fork-tender, ensuring they are thoroughly cooked through for easy mashing.
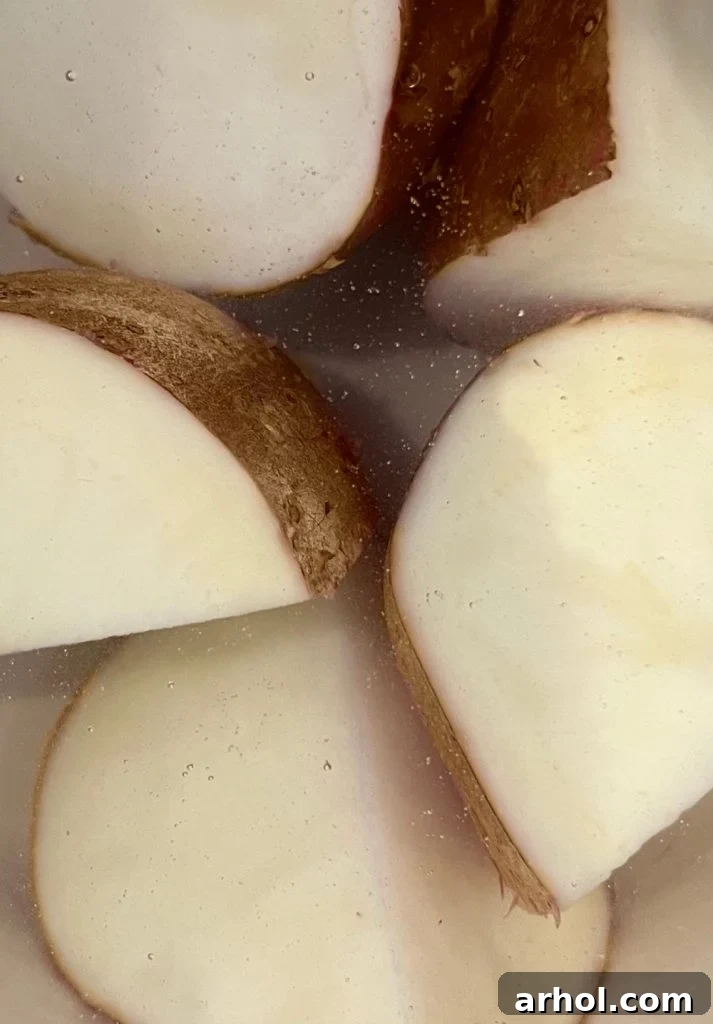
Once cooked, carefully reserve exactly 1 cup of the starchy potato water before draining the remaining water from the pot. Set this reserved water aside to cool slightly, as it will be used for the dough. Allow the drained potatoes to cool just enough so they are comfortable to handle. Return them to the pot or transfer them to a large bowl.
Now, gently remove the skins from the warm potatoes. Add the shredded sharp cheddar cheese, salt, and black pepper to the peeled potatoes. Using a sturdy potato masher or a large fork, thoroughly mash the potatoes and cheese together until smooth and well combined. You may add a small splash of milk at this stage if you desire a slightly creamier filling, but for pierogi, a firmer filling is often preferred as it makes the dumplings easier to shape and prevents them from becoming watery during cooking. Taste and adjust seasoning with additional salt and pepper if necessary. Once mashed, refrigerate the filling for at least 30 minutes, or until completely cooled and firm. This chilling step is crucial for making the filling easier to handle and ensuring it holds its shape within the dough.
Crafting the Ideal Pierogi Dough
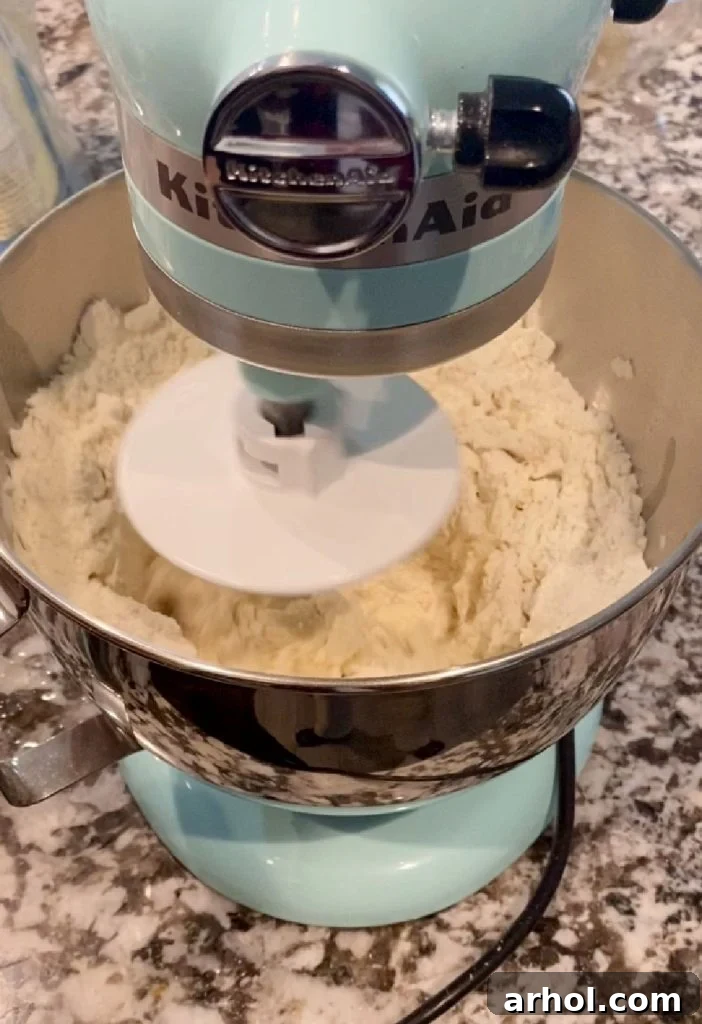
The pierogi dough is fundamental to the success of this recipe. It needs to be pliable, tender, and robust enough to hold the flavorful filling without tearing. You can prepare this dough either by hand for a truly traditional experience or, for convenience, use a stand mixer with a dough hook attachment. A stand mixer is an absolute lifesaver, especially during busy holiday preparations!
To begin, place the all-purpose flour into a large mixing bowl (if kneading by hand) or the bowl of your stand mixer. Add the sea salt and use a fork to briefly combine these dry ingredients. Next, add the softened butter, milk, and eggs to the center of the flour mixture. If using a stand mixer, start mixing on medium speed. If working by hand, gradually incorporate the wet ingredients into the flour, beginning to form a shaggy dough.
Slowly, in small increments, add the lukewarm reserved potato water. The exact amount of potato water needed can vary slightly depending on the humidity and the flour, so add it gradually until the dough begins to come together into a cohesive ball. Continue to mix or knead until the dough is smooth, elastic, and no longer sticky to the touch. A good indicator that the dough is ready is when it pulls cleanly away from the sides of the bowl or your hands are clean after handling it. Avoid over-kneading, which can make the dough tough, but ensure it is sufficiently worked to develop gluten for elasticity.
The Importance of Resting the Dough
Once your dough ball is perfectly kneaded, it’s crucial to give it time to rest. Wrap the dough ball tightly in plastic wrap to prevent it from drying out, and place it in the refrigerator for at least 20 minutes. This resting period is not merely a suggestion; it’s a vital step that allows the gluten to relax, making the dough incredibly easy to roll out thinly and smoothly without excessive effort or tearing. Do not skip this step for best results!
Rolling, Filling, and Shaping Your Pierogi
After the dough has rested, divide the large ball into four equal sections. This makes it much more manageable to work with. Take one section of dough, place it on a lightly floured surface, and keep the remaining sections covered with a clean kitchen towel to prevent them from drying out. Using a rolling pin, roll out the dough into a thin rectangle, aiming for approximately 1/8 inch thickness. The thinner the dough, the more delicate your pierogi will be, but ensure it’s not so thin that it tears.
Once rolled, use a drinking glass (about 3 inches in diameter) or a round cookie cutter to cut out uniform circles from the dough. Gather any dough scraps, gently knead them together, and re-roll to cut out more circles, minimizing waste.
Now for the filling! Take a tablespoon-sized scoop of the chilled potato and cheddar filling and place it directly in the center of each dough circle. Be careful not to overfill, as this can make sealing difficult.
To seal the pierogi, gently fold one edge of the dough circle over the filling, aligning the edges to form a semi-circle. Before pinching, lightly dip your fingers in a small bowl of cold water. This helps create a stronger seal. Then, meticulously pinch the edges together, ensuring they are completely closed and crimped to prevent any filling from escaping during cooking. You can create a decorative crimp with a fork if you like, but a firm finger pinch is equally effective.
As you form each pierogi, place them on a lightly greased baking sheet lined with parchment paper or foil. It’s important to keep the finished pierogi covered with a clean kitchen towel until you are ready to cook them to prevent the dough from drying out. This part of the process is perfect for involving younger family members; one of my girls even invented a little song and dance about pinching the pierogi dough when she was small! Seriously, encouraging children to participate in such family traditions is a wonderful way to introduce them to the joy of cooking and cultural heritage.
Boiling and Pan-Frying for Ultimate Flavor
The final steps involve cooking your beautifully crafted pierogi. First, you’ll boil them to ensure the dough is fully cooked and tender. Bring a large pot of generously salted water to a gentle boil. Avoid a vigorous, rolling boil, as this can cause the delicate pierogi to break apart. Add a few pierogi at a time to the boiling water, being careful not to overcrowd the pot. Gently stir them once or twice to prevent them from sticking to the bottom or to each other.
The pierogi are done when they float to the surface, typically after about 3-5 minutes. At this point, they are technically cooked and can be served. However, to truly elevate their flavor and texture, I highly, highly recommend taking an extra step: pan-frying them. This is where the magic happens, transforming tender boiled dumplings into golden, crispy parcels of deliciousness!
While your potato dumplings are boiling, begin preparing the caramelized onions. In a large skillet, melt 1-3 tablespoons of butter over medium heat. Add the sliced onions and cook them slowly, stirring occasionally, until they become beautifully golden brown and caramelized. This process brings out their natural sweetness, providing the perfect savory contrast to the pierogi.
Once the pierogi float to the top of the boiling water, use a slotted spoon to carefully transfer them directly from the pot into the skillet with the melted butter and onions. Fry the pierogi, turning them occasionally, until they achieve a gorgeous golden-brown crispness on both sides. The cooking time for this step can vary based on your preference; I enjoy my pierogi with a slightly softer center, while others, like my husband, prefer them extra crispy. So, I often prepare them both ways to ensure everyone is happy! The caramelized onions will cling to the pierogi, infusing every bite with their incredible flavor.
As you might have gathered, this is unapologetically not a low-fat recipe! But sometimes, you just need to indulge in truly comforting, soul-satisfying food. These pierogi are definitely a treat worth every delicious bite.
Expert Tips for Making Perfect Homemade Pierogies
Making pierogi can be a rewarding experience, and these tips will help you achieve outstanding results every time:
- Choose the Right Potatoes: For the filling, Yukon Gold potatoes are ideal as they mash beautifully and create a creamy, flavorful base. Cooking them with the skin on makes peeling them surprisingly easy once they’re tender.
- Utilize Potato Water: Always reserve about 1 cup of the starchy water from boiling the potatoes. This is a crucial ingredient for the dough, adding elasticity and flavor that plain water cannot replicate. You might not use all of it, but it’s better to have extra.
- Perfect Dough Consistency: Knead the dough until it’s smooth, elastic, and no longer sticky. Your hands should come away clean after handling it. If it’s too dry, add a tiny bit more potato water; if too sticky, sprinkle in a little more flour.
- Resting is Key: Allow the dough to rest, wrapped in plastic, for at least 20 minutes in the refrigerator. This relaxes the gluten, making the dough much easier to roll out thinly and preventing it from shrinking back.
- Work in Sections: Divide your dough into 3-4 manageable sections. Work with one piece at a time, keeping the others covered with a clean kitchen towel to prevent them from drying out.
- Assembly Line Efficiency: If you have help, set up an assembly line: one person rolls and cuts, another fills, and a third seals. This significantly speeds up the process.
- Keep Dough Covered: Whether it’s the main dough ball or cut circles waiting to be filled, always keep your dough covered to maintain its moisture and pliability.
- Water for Sealing: Dipping your fingers in a small bowl of cold water before pinching the edges of the pierogi helps create a stronger, more secure seal, preventing the filling from leaking out during boiling.
- Batch Frying Large Quantities: If you’re pan-frying a large batch, you can place the cooked and fried pierogi in a buttered baking dish in a warm oven (around 200°F / 95°C) to keep them warm and slightly crispy while you finish frying the rest.
- Don’t Overcrowd the Pot: When boiling, cook pierogi in batches. Overcrowding cools the water too quickly and can make the pierogi stick together or break.
- Serve Immediately: For the best texture and flavor, serve pan-fried pierogi hot off the skillet.
Pierogi Filling and Shaping Variations
The beauty of this homemade pierogi dough is its versatility. While our potato and cheddar filling is a classic, you can easily adapt the recipe to explore a myriad of other delicious fillings. If you choose a non-potato filling, simply substitute the potato water in the dough recipe with an equal amount of warm water.
- Traditional Savory Fillings: My grandma often expanded her repertoire to include traditional sauerkraut filling and sweet prune filling (lekvar). You can also use leftover mashed potatoes as a base, simply adding cheese, seasonings, and perhaps some sautéed onions or bacon bits for extra flavor.
- Spicy Kick: For those who love a bit of heat, consider adding one finely chopped and seeded jalapeño pepper to your cheesy potato filling. It introduces a delightful warmth and zest.
- Cheese Alternatives: Instead of sharp cheddar, you can experiment with other cheeses. Cottage cheese, cream cheese, or traditional farmer’s cheese (twarog) will lend a more “old world” flavor profile, akin to some Polish and Ukrainian variations.
- Sweet Fillings: Beyond prune (lekvar), try fresh fruit fillings like blueberries or cherries (often mixed with a bit of sugar and cornstarch), or a sweet cheese filling made with farmer’s cheese, sugar, and vanilla.
- Meat Fillings: Cooked and finely ground meats (like pork or beef, often mixed with sautéed onions) can also make a hearty pierogi filling.
- Alternative Shaping Methods: Grandma sometimes opted for a more efficient method by cutting strips of dough into rectangles instead of circles. This significantly reduces dough scraps and can be a quicker way to produce a large batch, though it results in a different aesthetic.
Freezing and Storing Pierogi for Future Enjoyment
Pierogi are an excellent make-ahead meal, and they freeze beautifully, allowing you to enjoy this comfort food long after the initial preparation. You have two main options for freezing: either uncooked or after they have been boiled.
- To Freeze Uncooked Pierogi:
- Arrange the freshly made, uncooked pierogi in a single layer on a baking sheet lined with parchment paper. Ensure they are not touching each other to prevent sticking.
- Place the baking sheet in the freezer and freeze until the pierogi are solid, typically 1-2 hours.
- Once frozen solid, transfer the pierogi to a freezer-safe bag or airtight container. This prevents freezer burn.
- Store for up to 3 months.
- When ready to cook, there’s no need to thaw! Simply drop the frozen pierogi directly into boiling water and cook as usual until they float to the surface and are cooked through.
- To Freeze Boiled Pierogi:
- After boiling the pierogi, allow them to cool completely in a single layer on a plate or baking sheet. You can lightly toss them with a little melted butter or oil to prevent sticking if desired.
- Once cooled, place them in a freezer-safe bag or airtight container, again trying to prevent them from sticking together too much (a single layer separated by parchment can help).
- Store for up to 3 months.
- To reheat, you can drop them into boiling water for a minute or two, or pan-fry them directly from frozen (they might take a bit longer to crisp up).
If you happen to have any leftovers of cooked pierogi, store them in an airtight container in your refrigerator for up to 4 days. They reheat wonderfully in a skillet with a bit of butter or even in the microwave, though pan-frying will yield the best texture.
Grandma’s Homemade Pierogi Recipe
By: Dee
My grandma’s homemade pierogi recipe with potato and cheddar cheese filling makes the BEST pierogi you will ever eat. Make them for Christmas, Lent or anytime you’re craving authentic pierogi!
Prep Time: 1 hour
Cook Time: 1 hour
Total Time: 2 hours
Yields: 40 pierogi
Ingredients
For the Pierogi Dough
- 5 cups all-purpose flour
- 1 teaspoon sea salt
- 2 large eggs
- 1 tablespoon unsalted butter, softened
- 1 cup lukewarm potato water (reserved from boiling potatoes)
- ½ cup milk
For the Filling
- 5 Yukon Gold potatoes (about 2 pounds)
- 3 cups shredded sharp cheddar cheese
- ½ cup milk (optional, for creamier filling)
- 1 teaspoon sea salt
- ½ teaspoon ground black pepper
For Serving (Optional)
- 2-3 tablespoons unsalted butter
- 1 large onion, thinly sliced or chopped
- Sour cream, for topping
- Fresh chives or parsley, chopped, for garnish
Instructions
For the Filling
- Add potatoes to a large pot, cover completely with cold, salted water, and boil until fork tender.
- Reserve 1 cup of the potato water, then drain the remaining water. Allow potatoes to cool slightly, then peel them.
- Place peeled potatoes in a large bowl. Add shredded cheddar cheese, 1 teaspoon salt, and ½ teaspoon pepper. Mash with a potato masher until well blended. If a creamier filling is desired, add up to ½ cup milk while mashing. Taste and adjust seasoning as needed.
- Refrigerate the filling until thoroughly chilled and firm (at least 30 minutes) to make it easier to handle.
For the Dough
- In a large bowl, whisk together the flour and sea salt. Create a well in the center. (Alternatively, use a stand mixer with a dough hook).
- Add eggs, softened butter, and ½ cup milk into the well (or mixer bowl). Begin mixing with a fork or dough hook.
- Gradually add the lukewarm potato water, mixing until a dough ball forms. You may not need all 1 cup of water; add just enough until the dough is no longer sticky, smooth, and elastic. If too dry, add a bit more water; if too sticky, add a little more flour. Knead for about 5-7 minutes by hand, or 3-5 minutes in a stand mixer.
- Wrap the dough ball tightly in plastic wrap and refrigerate for 20 minutes to rest. This makes the dough much easier to roll.
- Divide the rested dough into 4 equal pieces. Keep the unused portions covered with a clean kitchen towel to prevent drying.
- On a lightly floured surface, roll out one piece of dough at a time into a thin rectangle, about 1/8 to 1/16 inch thick.
- Using a drinking glass (about 3 inches in diameter) or a round cookie cutter, cut out circular shapes from the dough. Gather and re-roll scraps once.
- Place about 1 tablespoon of the chilled potato and cheddar filling into the center of each dough circle.
- Fold one edge of the dough over the filling to meet the other edge, forming a semi-circle. Dip your fingers in cold water, then firmly pinch and crimp the edges together to seal completely, ensuring no gaps.
- Place the formed pierogi on a lightly greased baking sheet (lined with parchment or foil). Cover them with a clean kitchen towel until you are ready to cook.
Cooking the Pierogi
- Bring a large pot of salted water to a gentle boil. Cook pierogi in batches (a few at a time), stirring gently once or twice to prevent sticking, until they float to the surface (approximately 3-5 minutes).
- Remove the boiled pierogi with a slotted spoon. At this point, they are cooked and can be served immediately with sour cream.
- For Best Flavor (Pan-Frying): In a large skillet, melt 2-3 tablespoons of butter over medium heat. Add the sliced onions and cook, stirring occasionally, until they are golden brown and caramelized.
- Add the boiled pierogi to the skillet with the onions and butter. Fry, turning occasionally, until the pierogi are golden brown and slightly crispy on both sides. Add more butter if needed.
- Serve hot, garnished with fresh chives or parsley, and a dollop of sour cream.
Notes
Pierogi can be made ahead of time and frozen either before boiling or after boiling for convenient future meals.
Store leftover cooked pierogi in an airtight container in your refrigerator for up to 4 days. For longer storage, freeze them for up to 3 months for optimal taste and quality.
Nutrition Information (Approximate Per Serving)
Please note: Nutrition information is automatically calculated and should be used as an approximation. Per serving (1 pierogi, based on 40 servings):
- Calories: 117kcal
- Carbohydrates: 16g
- Protein: 5g
- Fat: 4g
- Saturated Fat: 2g
- Polyunsaturated Fat: 0.2g
- Monounsaturated Fat: 1g
- Trans Fat: 0.02g
- Cholesterol: 19mg
- Sodium: 182mg
- Potassium: 125mg
- Fiber: 1g
- Sugar: 1g
- Vitamin A: 114IU
- Vitamin C: 4mg
- Calcium: 74mg
- Iron: 1mg
Additional Info
Course: Main Course, Side Dish
Cuisine: Eastern European, Ukrainian, Polish, American
Like this authentic family recipe? Leave a comment below and let me know your thoughts!
For more tried and true recipes that bring joy to your kitchen, be sure to sign up for my weekly newsletter and follow along on social media!
Happy Cooking,