
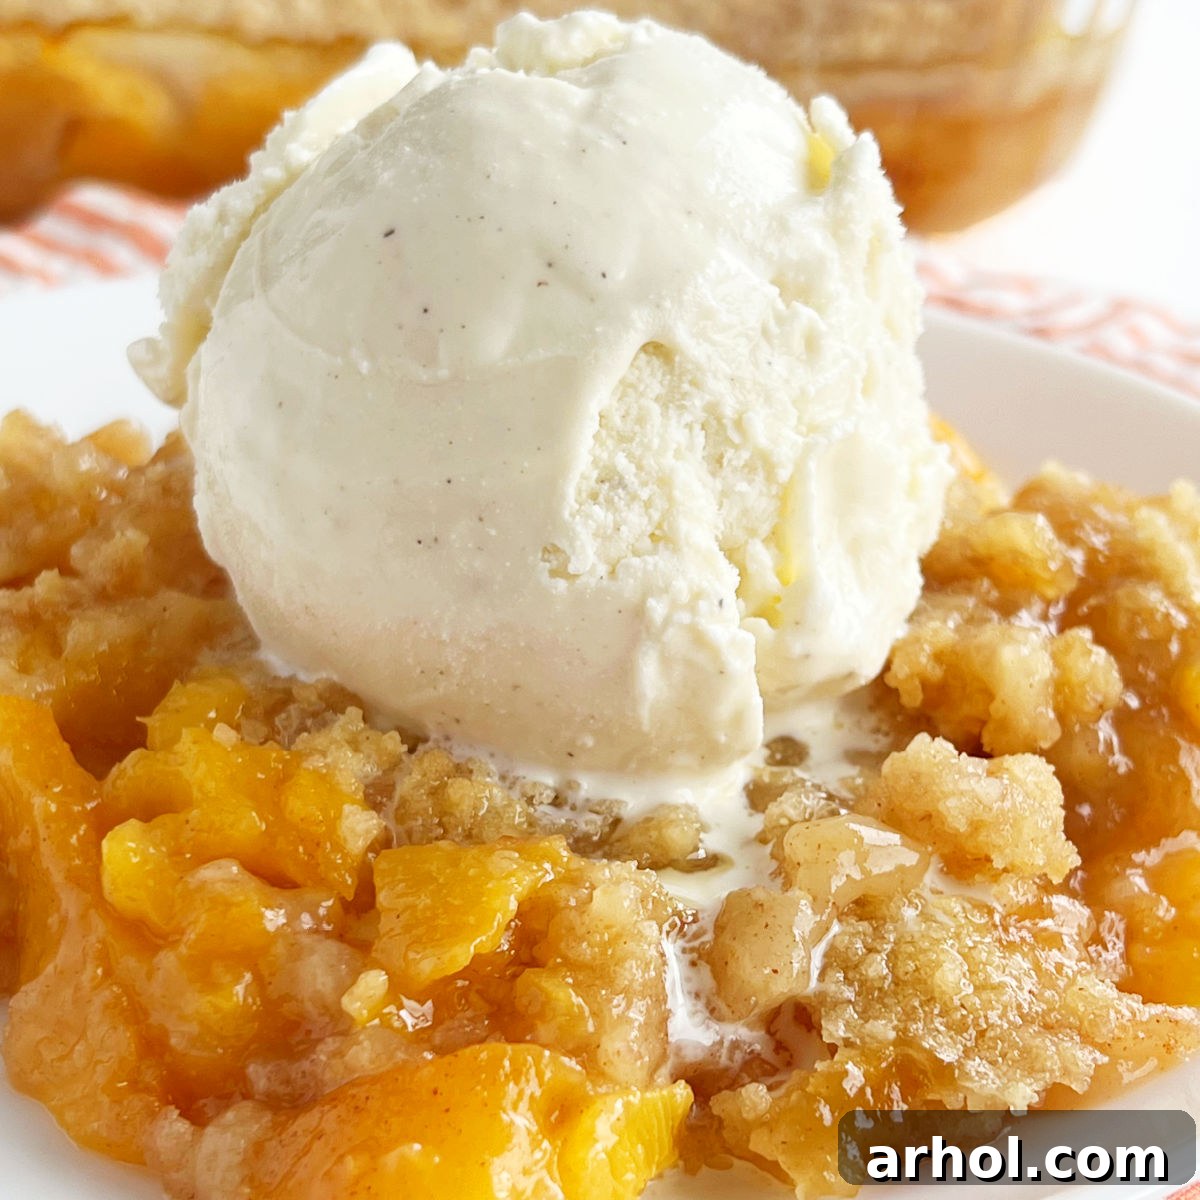
Easy Fresh Peach Crisp Without Oats: Your New Favorite Summer Dessert
Dive into the delightful flavors of summer with this incredibly easy and utterly delicious Fresh Peach Crisp recipe, specifically crafted without oats. Made entirely from scratch, this dessert features succulent, juicy peaches crowned with a light, buttery, and perfectly crisp topping. It’s a fantastic way to celebrate the abundance of fresh peaches during peak season, offering a comforting classic that’s simple enough for any home baker.
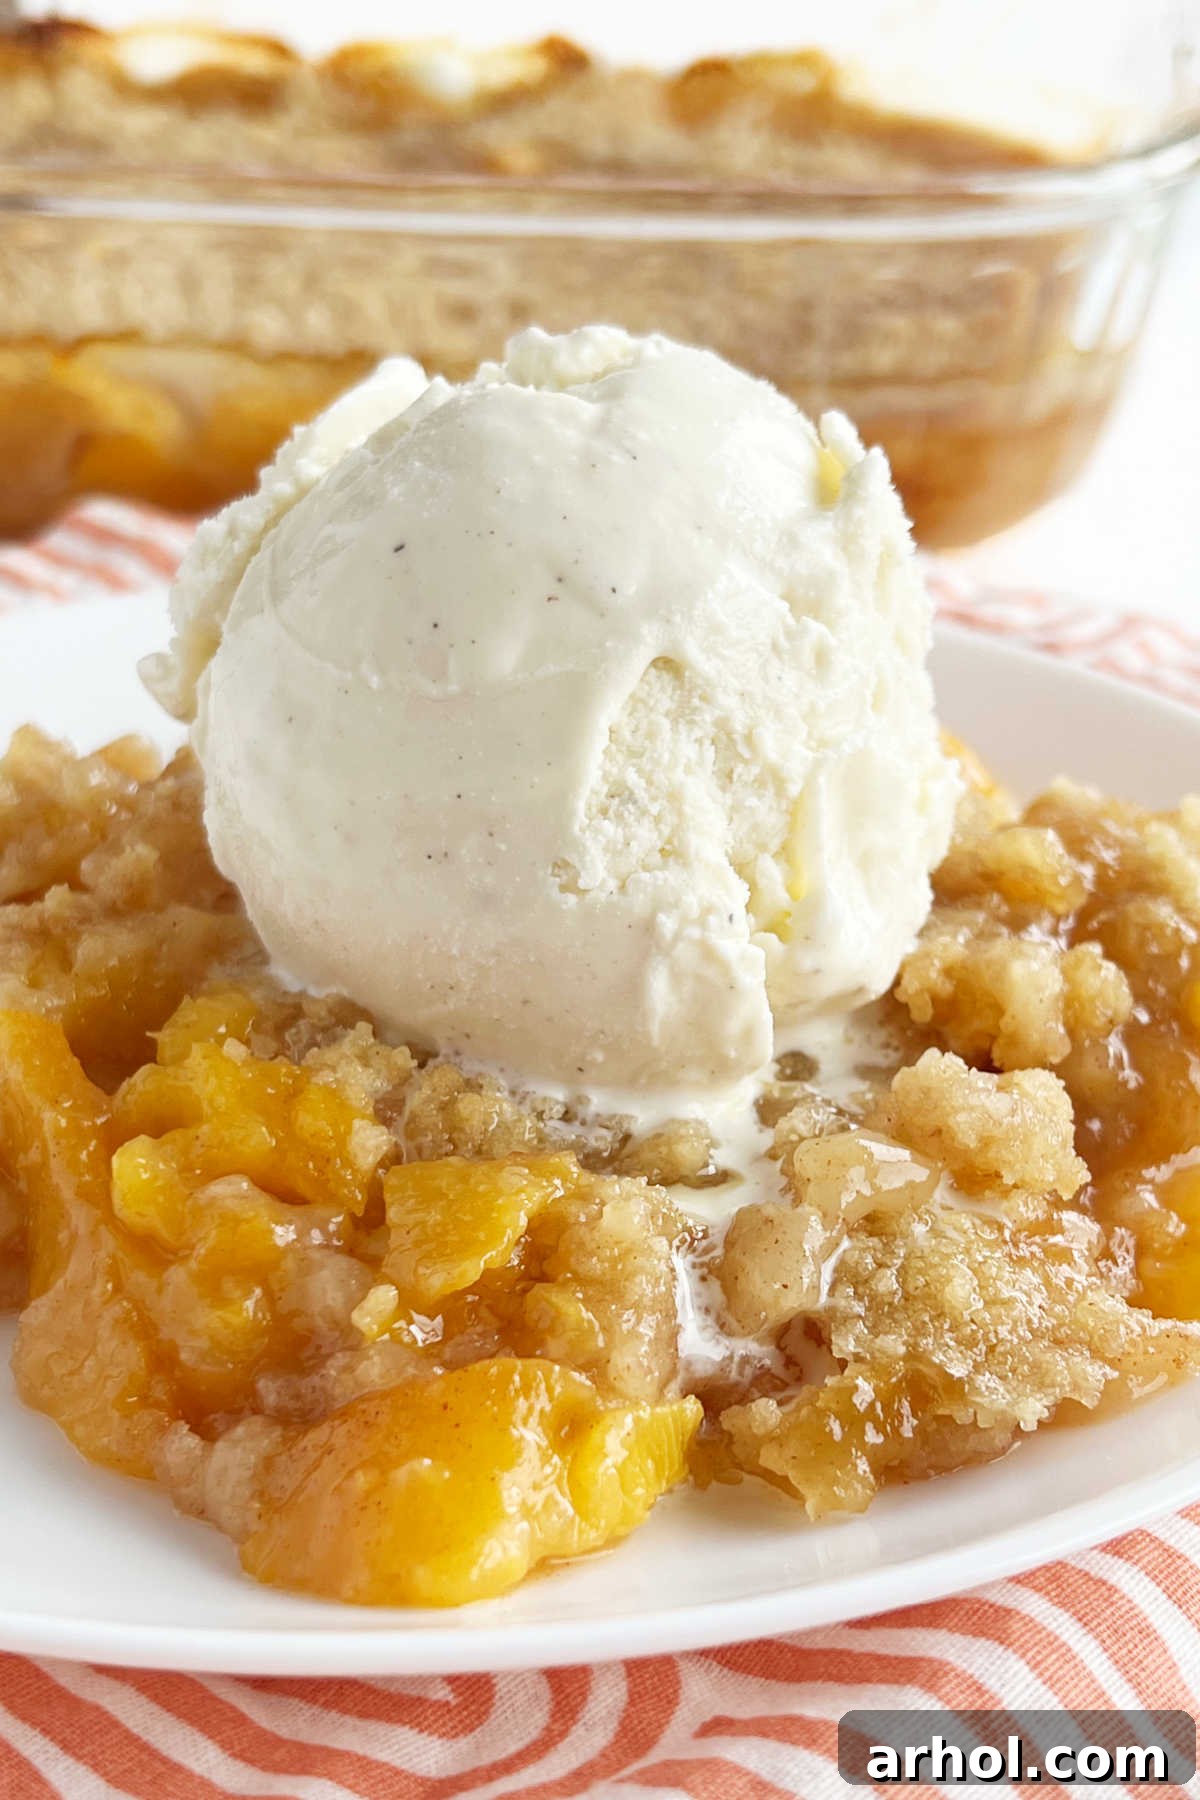
Table of Contents
- The Allure of Peach Season
- Why an Oat-Free Peach Crisp?
- Simple Ingredients for a Superb Peach Crisp
- Crafting Your Easy Peach Crisp: Step-by-Step
- Achieving the Perfect Bake: Baking Time and Tips
- Serving Suggestions for Your Homemade Peach Crisp
- Storage and Reheating Guide
- Expert Tips for the Best Peach Crisp
- Frequently Asked Questions About Peach Crisp
- Explore More Delectable Peach Desserts
- Fresh Peach Crisp Recipe
The Allure of Peach Season
There’s an undeniable magic that arrives with peach season. For me, it’s a time of pure joy, eagerly anticipated each year. While canned peaches offer convenience, nothing truly compares to the vibrant flavor and succulent texture of fresh, ripe peaches. This year, I’m thrilled to share my go-to recipe for an Easy Fresh Peach Crisp, a dish that perfectly captures the essence of summer and showcases the natural sweetness of this beloved fruit.
A few years ago, my family and I embarked on a memorable peach-picking adventure at a local organic farm. Despite the scorching July heat and some rather determined insects, the experience was incredibly rewarding. We returned home with an abundant haul of tender, juicy peaches, and that very evening, I baked what felt like the most perfect peach crisp imaginable. The aroma filled the house, signaling the start of a truly special summer dessert tradition.
While the family politely declines repeat visits to that particular orchard (a testament to the “elephant-sized ants”!), I continue to source wonderful peaches from our local farmers’ market. They bake beautifully and deliver fantastic flavor, though I’ll always cherish the unique satisfaction of picking peaches directly from the tree. If you ever have the chance, I highly recommend experiencing it!
This recipe is an excellent addition to your summer baking repertoire, much like my popular apple crisp without oats. Be sure to explore more delightful and easy dessert recipes on my dedicated desserts page.
Why an Oat-Free Peach Crisp?
While many crisp recipes feature oats in their topping, this particular version embraces a classic, oat-free crumb. My husband’s mom perfected fruit crisps without oats, and I’ve adopted her method, making a few tweaks along the way. The result is a topping that’s incredibly light, wonderfully buttery, and boasts an exquisitely delicate crunch that complements the soft peach filling without overshadowing it. For those who prefer a smoother texture or have dietary restrictions, this oat-free crisp provides a fantastic alternative, ensuring that the pure, unadulterated flavor of the fresh peaches truly shines through.
Simple Ingredients for a Superb Peach Crisp
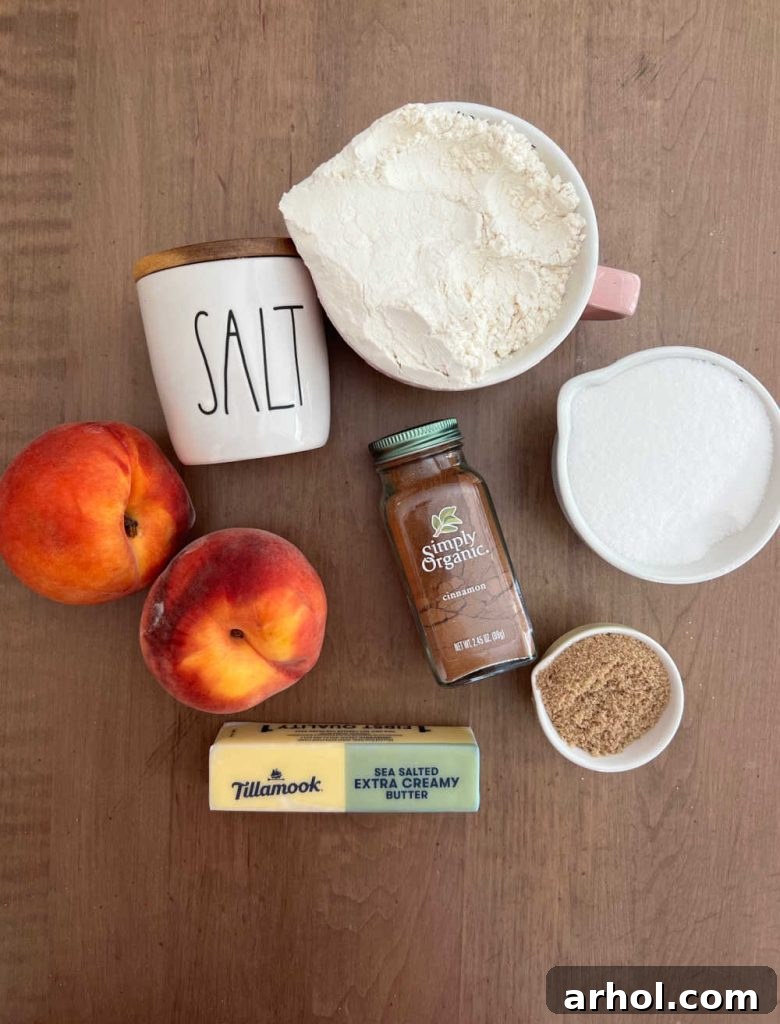
Creating this irresistible peach crisp requires just a few pantry staples, easily found at your local grocery store or farmers market. The beauty of this recipe lies in its simplicity, allowing the natural goodness of the peaches to be the star.
- Fresh Peaches: The heart of our crisp! Look for ripe, fragrant peaches that yield slightly to gentle pressure but aren’t overly soft. Small to medium-sized peaches are often ideal for even slicing. While fresh is best, you can certainly make this peach crisp with frozen or canned peaches; just ensure they are thoroughly drained before use to prevent a watery filling.
- All-Purpose Flour: Essential for both the crisp topping and as a slight thickener for the peach filling, ensuring a cohesive and delightful texture.
- Butter: High-quality butter (salted or unsalted, based on your preference) is key to achieving that rich, crumbly topping and adding depth to the peach filling.
- Brown Sugar: Provides a deep, molasses-rich sweetness and a slight caramel note to the peaches, enhancing their natural flavor.
- Granulated Sugar: Used in both the topping for crispness and the filling for balanced sweetness, ensuring a perfectly sweet dessert.
- Salt: A pinch of sea salt or kosher salt in the filling helps to balance the sweetness and brightens the overall flavor profile of the peaches.
- Ground Cinnamon: Adds a warm, aromatic spice that beautifully complements peaches. Feel free to adjust the amount or omit it if you prefer a pure peach flavor.
Crafting Your Easy Peach Crisp: Step-by-Step
This recipe is designed to be straightforward, ensuring a delicious outcome even for novice bakers. Follow these simple steps for a homemade peach crisp that tastes like it came from a gourmet bakery!
Prepare the Irresistible Crisp Topping:
The topping is what gives this dessert its signature “crisp” texture. It’s quick to assemble and forms a perfect golden crust over the tender peaches.
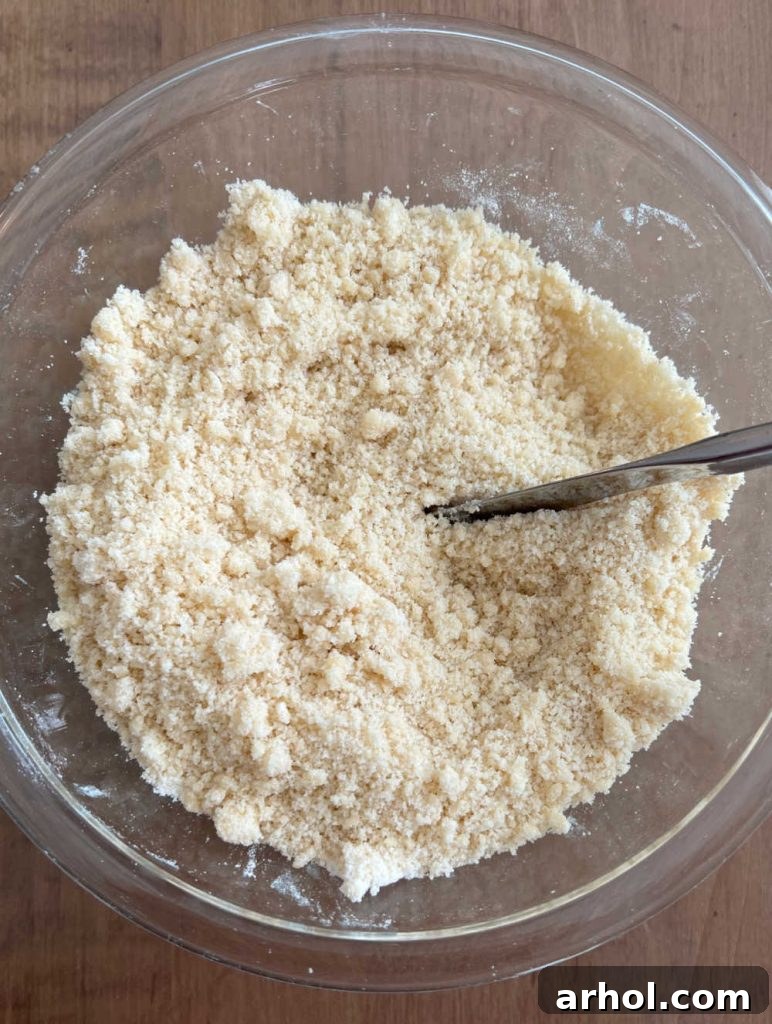
- In a medium-sized mixing bowl, combine the all-purpose flour, granulated sugar, and ground cinnamon. Whisk these dry ingredients together until well blended.
- Add the cold butter, cut into small pieces, to the dry mixture. Using a pastry cutter, two knives, or even your fingertips, work the butter into the flour mixture until it resembles coarse crumbs. Avoid overworking the dough; some pea-sized butter pieces are desirable for flakiness.
- Set this delightful crumb topping aside while you prepare the peach filling.
Assemble the Juicy Peach Filling:
The peach filling is where all the magic happens. Sweet, tender, and perfectly spiced, it’s a celebration of summer’s bounty.
- Preheat your oven to a comforting 350°F (175°C). Lightly grease a 9×13 inch baking dish with butter to prevent sticking and aid in easy serving.
- Rinse your fresh peaches thoroughly. While peeling is optional (some enjoy the texture of peach skin), I recommend it for a smoother filling. You can use a paring knife or briefly blanch them in boiling water followed by an ice bath for easier peeling. Once peeled, slice the peaches evenly.
- Arrange the sliced peaches directly into the prepared baking dish. You can also use a separate large bowl to mix the peaches if you prefer, then transfer them to the baking dish.
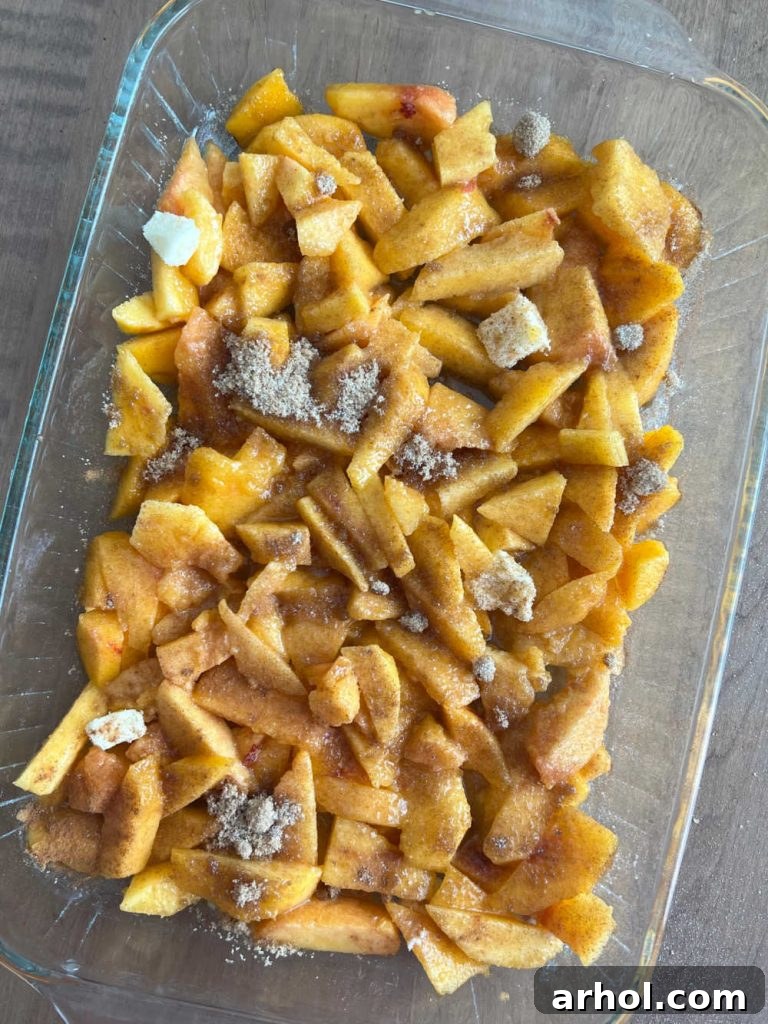
- Sprinkle the brown sugar, granulated sugar, salt, and cinnamon over the peach slices. Gently toss to ensure all peaches are evenly coated with this delicious seasoning mixture.
- Distribute the seasoned peaches evenly across the bottom of the baking dish. Dot the top of the peach layer with small pieces of the remaining tablespoon of butter. This adds extra richness and helps create those irresistible bubbling juices during baking.
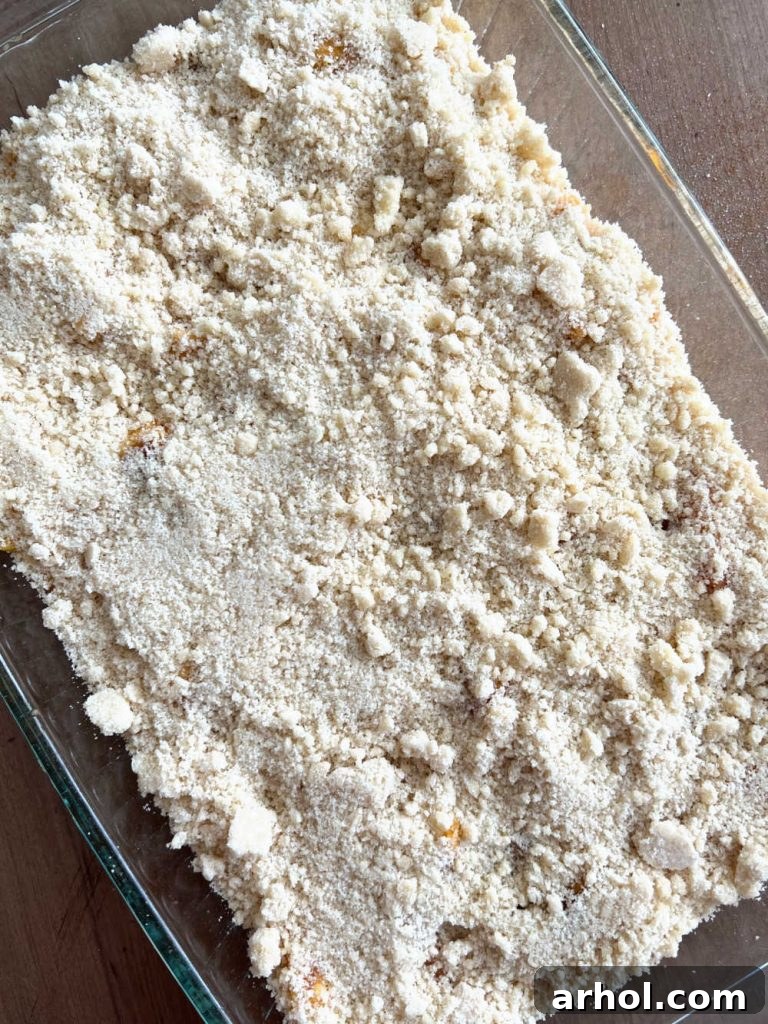
- Finally, evenly sprinkle the prepared crumb topping over the entire surface of the peaches, ensuring they are completely covered. This golden layer will bake into a beautiful, crunchy crust.
Achieving the Perfect Bake: Baking Time and Tips
Baking your peach crisp to perfection ensures a golden, crispy topping and a tender, bubbling fruit filling. Here’s how to know when it’s just right:
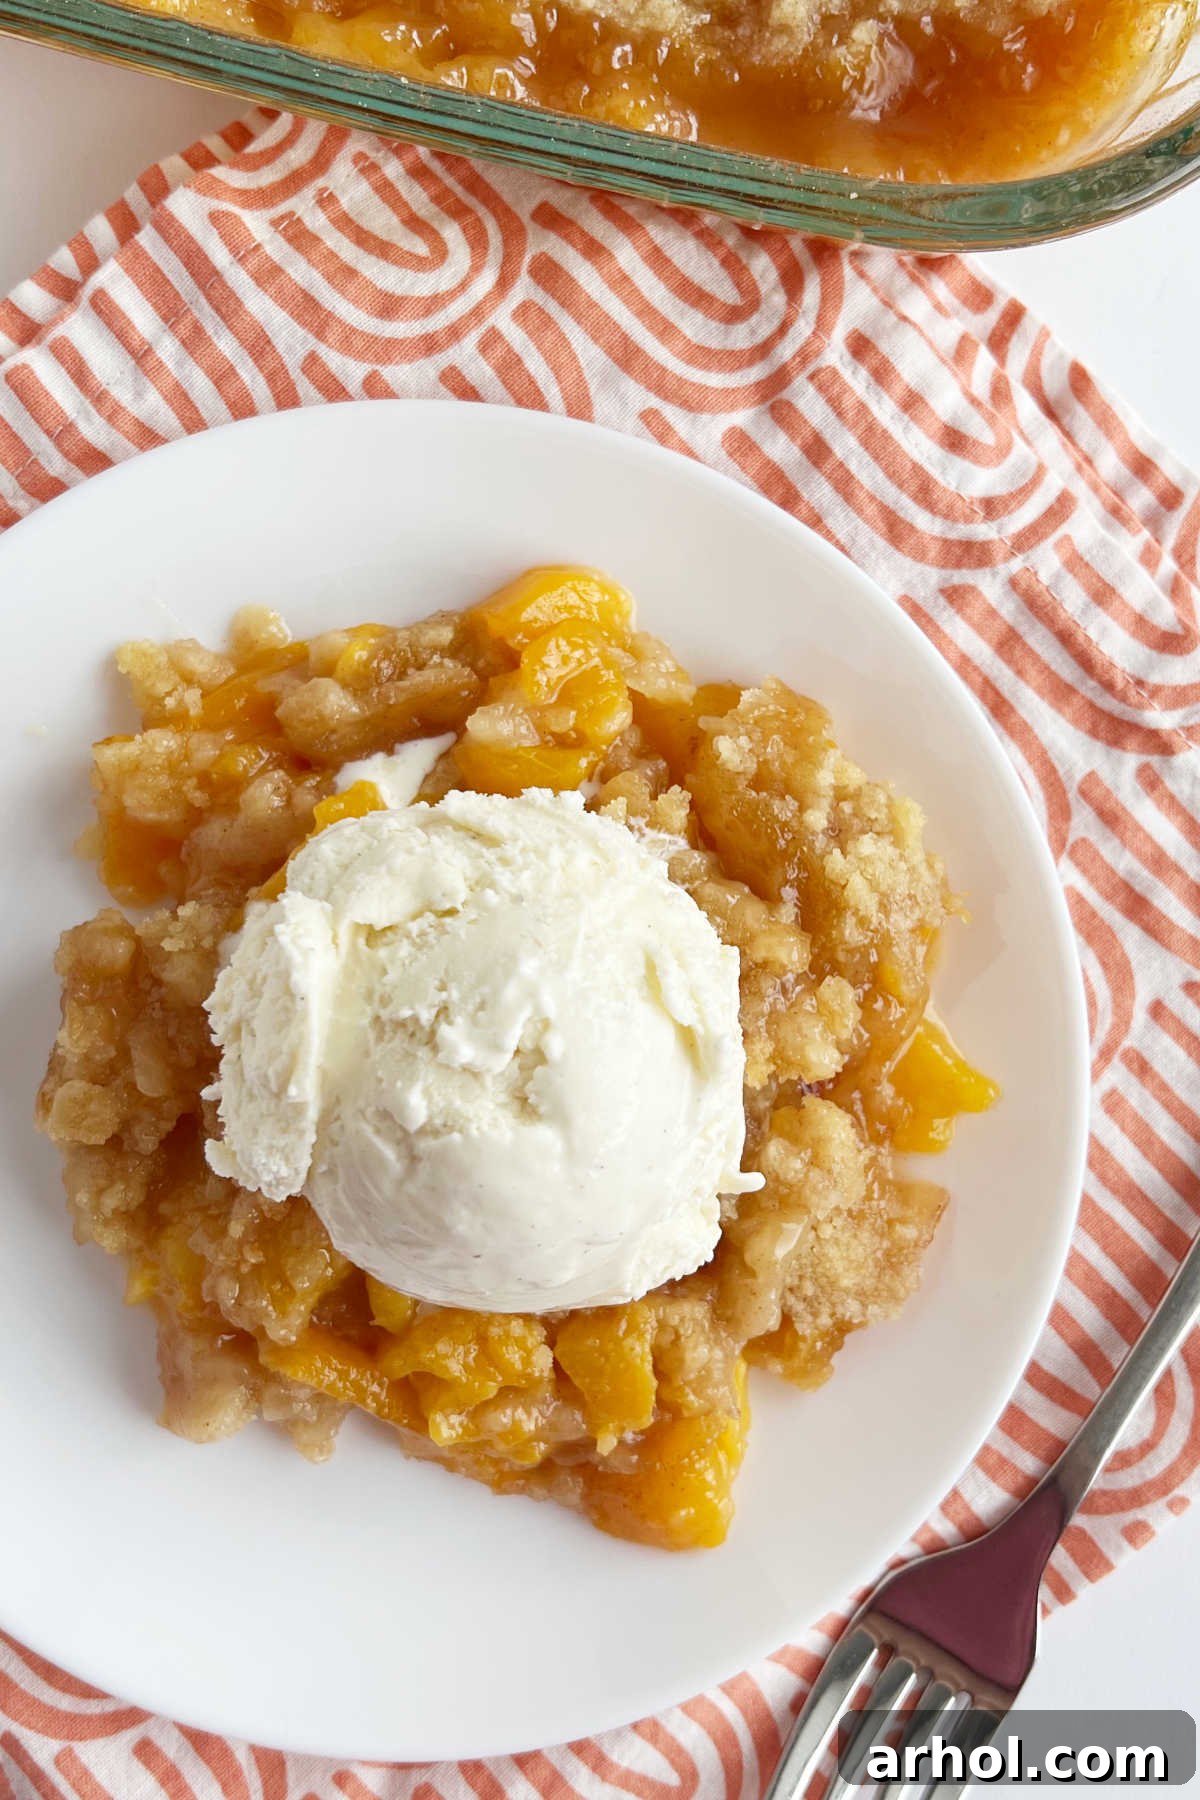
Place your assembled peach crisp in the preheated 350°F (175°C) oven and bake for approximately 45-50 minutes. The crisp is ready when the topping turns a beautiful golden brown, and the peach juices around the edges are visibly bubbling. You can also gently insert a fork into the peaches (if you can reach them through the topping) to ensure they are fork-tender. If the topping browns too quickly, you can loosely cover the dish with aluminum foil for the last 10-15 minutes of baking.
Serving Suggestions for Your Homemade Peach Crisp
While fresh peach crisp is a delight on its own, a few simple additions can elevate it to an extraordinary dessert experience. It’s best served warm, allowing the flavors to meld and the topping to retain its crispness, but give it a few minutes out of the oven to set slightly.
The classic pairing for peach crisp, and my personal favorite, is a generous scoop of cold vanilla ice cream. The contrast between the warm, sweet peaches and the creamy, cool ice cream is simply divine. As the ice cream slowly melts, it trickles down into the golden crumb topping and the juicy peach filling, creating a symphony of textures and flavors. You can also experiment with other ice cream flavors like cinnamon, caramel, or even a hint of peach sorbet for a lighter option.
Beyond ice cream, consider these delicious embellishments:
- Fresh Whipped Cream: A dollop of freshly whipped cream adds a luxurious, airy texture and balances the richness of the crisp.
- Caramel or Butterscotch Sauce: A drizzle of warm caramel or butterscotch sauce can add an extra layer of indulgence and complement the brown sugar notes in the filling.
- A Sprinkle of Nuts: For added crunch and flavor, a light sprinkle of toasted pecans or almonds over the top can be wonderful.
- A Dusting of Powdered Sugar: For a simple yet elegant finish, a light dusting of powdered sugar can enhance its visual appeal.
Whether enjoyed by the forkful or spoon-filled, this peach crisp promises to be a memorable part of your summer celebrations.
Storage and Reheating Guide
Having leftover peach crisp is a rare but welcome occasion! Proper storage ensures you can enjoy this delicious treat for days to come. Here’s how to keep it fresh and reheat it for optimal enjoyment:
Once the peach crisp has cooled completely to room temperature, you can store it in the baking dish itself, tightly covered with plastic wrap or aluminum foil. Alternatively, transfer any remaining portions to an airtight container. While refrigeration is not strictly necessary for peach crisp (especially if your home is cool), it will extend its freshness, particularly in warmer climates. Stored properly, it should keep well for up to 3-4 days.
To reheat, the oven is your best friend for maintaining that crisp topping. Place individual servings or the entire dish (uncovered or loosely covered with foil to prevent over-browning) in a preheated 300°F (150°C) oven for about 15-20 minutes, or until warmed through and the topping has re-crisped. For a quicker option, individual servings can be microwaved for 30-60 seconds, though the topping may lose some of its crispness.
Expert Tips for the Best Peach Crisp
Achieving the perfect peach crisp is all about a few key techniques. Here are some expert tips to ensure your dessert is always a showstopper:
- Choose Ripe Peaches: The quality of your peaches directly impacts the crisp’s flavor. Select peaches that are fragrant and give slightly when gently pressed. Avoid overly hard or green peaches. To ripen underripe peaches, place them in a paper bag for 1-2 days, or alongside ripe bananas for an accelerated process.
- Cold Butter is Crucial for Topping: Ensure your butter is cold when cutting it into the flour mixture for the topping. This creates small pockets of butter that melt during baking, resulting in a lighter, flakier, and more tender crisp. Cut the butter into smaller pieces before incorporating for easier mixing.
- Don’t Overmix the Topping: Mix the topping just until it forms coarse crumbs. Overmixing can develop the gluten in the flour, leading to a tough rather than crisp topping.
- Peeling Peaches: While optional, peeling peaches often results in a smoother, more refined filling texture. The easiest way is usually with a sharp paring knife. For a quicker method, score an ‘X’ on the bottom of each peach, blanch them in boiling water for 30-60 seconds, then immediately plunge them into an ice bath. The skins should then slip off easily.
- Prevent a Soggy Bottom: If using very juicy peaches, you can toss them with a tablespoon of cornstarch or flour before adding them to the baking dish. This helps absorb excess moisture and prevents the bottom crust from becoming soggy.
- Adjust Sweetness: Taste your peaches! If they are exceptionally sweet, you might reduce the sugar in the filling slightly. If they are tart, you might add a touch more.
- Spice Variations: While cinnamon is classic, consider adding a pinch of nutmeg, cardamom, or a tiny dash of ginger for a different flavor profile. A squeeze of fresh lemon juice can also brighten the peach flavor.
Frequently Asked Questions About Peach Crisp
No, peeling peaches before baking is optional. Some people prefer to leave the skin on for added fiber and a rustic look. However, others dislike the texture of peach skin in baked desserts, in which case peeling is recommended for a smoother filling. It’s entirely a matter of personal preference!
Absolutely! Peach crisp freezes beautifully, either before or after baking. If freezing before baking, assemble the crisp in a freezer-safe dish, cover it tightly with plastic wrap and then foil, and freeze for up to 3 months. When ready to bake, thaw in the refrigerator overnight and then bake as directed, adding a few extra minutes if needed. If freezing after baking, allow the crisp to cool completely, then cover it well and freeze for up to 3 months. Reheat in the oven from frozen or thawed.
Yes, this oat-free crisp topping is wonderfully versatile! You can easily adapt this recipe for other fruits like apples, berries, cherries, or a mix of seasonal fruits. Adjust sugar levels based on the sweetness of the fruit you choose.
To ensure a crisp topping, make sure your butter is cold when you cut it into the flour mixture. Also, avoid covering the crisp tightly while it cools completely after baking, as this can trap steam and make the topping soft. If reheating, use the oven to re-crisp the topping.
Explore More Delectable Peach Desserts
If you’re as passionate about peaches as I am, you’ll love these other fantastic recipes that celebrate this incredible fruit:
- Brown Sugar Cinnamon Baked Peaches: A simple, elegant side dish or light dessert.
- Easy Peach Cake: A moist and flavorful cake perfect for any gathering.
- Crock-Pot Peach Cobbler: A hands-off approach to a classic comfort dessert.
- Peach Milkshake: A creamy, refreshing treat, perfect for hot summer days.

Fresh Peach Crisp Recipe
Ingredients
For the Topping
- 1 cup all purpose flour
- 1 cup granulated sugar
- ½ teaspoon cinnamon
- ½ cup cold butter (cut into small pieces)
For the Filling
- 8 to 10 fresh peaches (small to medium, peeled and sliced)
- 2 tablespoons brown sugar
- 1 tablespoon granulated sugar
- 2 teaspoons cinnamon
- ¼ teaspoon sea salt
- 1 tablespoon butter (cut into small pieces, for dotting)
Instructions
For the Topping
-
In a medium bowl, combine the flour, granulated sugar, and cinnamon. Cut in the cold butter with a pastry cutter or knife until the mixture resembles coarse, crumbly crumbs. Set aside.
For the Filling and Baking
-
Preheat oven to 350°F (175°C). Lightly grease a 9×13-inch baking dish with butter.
-
Wash, peel (if desired), and thinly slice the fresh peaches.
-
Arrange the sliced peaches in an even layer in the bottom of the greased baking dish.
-
Sprinkle the brown sugar, granulated sugar, cinnamon, and sea salt evenly over the peaches. Gently mix the peaches in the dish to ensure they are well coated.
-
Dot the surface of the peach filling with the remaining tablespoon of butter, distributed in small pieces.
-
Evenly sprinkle the prepared crumb topping over the entire surface of the peaches.
-
Bake at 350°F (175°C) for approximately 45-50 minutes, or until the topping is golden brown and the peach filling is bubbling around the edges and fork-tender.
-
Allow to cool for a few minutes before serving warm. Enjoy!
Notes
If using frozen or canned peaches, ensure they are thoroughly drained of any excess juice before mixing with sugars to prevent a watery crisp.
For a slightly tangier flavor, a tablespoon of lemon juice can be added to the peach filling before baking.
Nutrition
Nutrition information is automatically calculated, so should only be used as an approximation.
Additional Info
Like this? Leave a comment below!
This easy fresh peach crisp without oats quickly became a beloved dessert in our home. In fact, it’s so good that it rarely lasts more than a day! The combination of sweet, tender peaches and a perfectly crisp, buttery topping is simply irresistible.
If you try this recipe, please consider leaving a star rating and a comment below. Your feedback helps others discover and enjoy this wonderful summer treat as much as we do.
For more delicious summer desserts and easy-to-make recipes that anyone can master, be sure to sign up for our weekly newsletter and follow us on social media. Happy baking!
Recipe first published in July 2015 and updated in June 2023.