
Hello Everyone,
Embrace Custom Charm: Crafting Your Own Stylish Polka Dot Pillow Cover
I’ve always harbored a special affection for polka dots. There’s something inherently playful yet chic about them that can instantly elevate a space. Recently, while browsing the Pottery Barn website, I stumbled upon some utterly charming polka dot pillow covers that truly captured my imagination. Their elegant simplicity sparked a familiar creative itch, and I immediately knew I wanted to try my hand at making something similar, but with my own personal touch.
My current mission in home decor involves gradually infusing touches of blue into our family room. After the holiday season, I managed to acquire some lovely light blue pillows, which brought a fresh, airy feel to the space. However, I’ve been yearning to deepen this color palette by incorporating some richer, darker shades of blue – perhaps an indigo or a deep navy – to add more depth and sophistication. This DIY project presented the perfect opportunity to do just that, blending my love for polka dots with my evolving blue decor theme.
A few years back, I came across a fantastic clearance sale and picked up a couple of plain pillow covers. Like many enthusiastic crafters and home decorators, I often shop this way, acquiring items when I find a great deal, even if I don’t have an immediate use for them. Does anyone else ever find themselves doing this? Personally, I’ve found it’s a smart strategy; taking advantage of a good bargain often pays off in the long run, allowing for spontaneous projects like this one. With the recent surge in popularity of indigo hues across home decor blogs and magazines, I felt a strong pull to finally bring those plain covers out of storage and transform them into something beautiful. The timing felt absolutely right to embark on this creative endeavor.
Starting with a Blank Canvas: Selecting Your Pillow Cover
My journey began with one of those plain blue pillow covers I had wisely stashed away. This particular cover was a beautiful, unassuming shade of blue, making it an ideal canvas for the white polka dots I envisioned. If you possess sewing skills, you certainly have the option to craft your own pillow cover from scratch using any fabric that inspires you. However, for those of us who tend to shy away from sewing machines – and I wholeheartedly count myself in that category – starting with a pre-made, plain cover is an absolute game-changer. It’s a wonderfully simple and effective method to elevate a basic, inexpensive pillow cover into a custom, eye-catching accessory without the intimidation of intricate stitching.
Upon retrieving my cover, I noticed it still had some slight creases from being folded. While some avid crafters and perfectionists might insist on ironing the fabric first to ensure a perfectly smooth surface for stamping, I confess that I also tend to run from irons whenever possible! In my experience, for a project like this, where a perfectly uniform look isn’t the absolute goal, slight imperfections from creasing often smooth out over time as the pillow is used and fluffed. It adds to the handmade charm, if you ask me. For those who prefer a crisper finish, a quick iron will certainly prepare your canvas impeccably. The key is to start with a clean cover, regardless of whether you iron it or not, to ensure the paint adheres well and the colors remain vibrant.
The Art of Stamping: Simple Tools, Big Impact
Some of you might recall a previous crafting adventure where I created a stamped heart pillow for Valentine’s Day. For that project, I ingeniously used a wine cork to stamp paint onto the fabric, which yielded a lovely, rustic heart pattern. Initially, I considered employing that same technique for my polka dot pillow. However, after some thought, I realized I wanted a finer, more delicate polka dot pattern – something a bit smaller and more numerous than what a wine cork could produce.
This led me to explore other everyday household items that could serve as stamps, and I landed on a wonderfully simple solution: the tip of a regular pencil eraser. This humble tool proved to be absolutely perfect for creating uniform, yet charmingly imperfect, small polka dots. The pencil eraser provided just the right size and texture for precise application. As for the paint, I stuck with what I knew worked well: basic craft paint. There’s absolutely no need to invest in specialized fabric paints for this kind of project. Standard acrylic craft paints are incredibly versatile, adhere beautifully to most fabrics, and are readily available and affordable. Their quick-drying nature is also a huge plus, allowing for a swift and satisfying crafting experience. I opted for a crisp white paint to create a striking contrast against the deep blue fabric, evoking that classic, timeless nautical or Hamptons-inspired aesthetic. This approach not only keeps the project budget-friendly but also demonstrates how readily accessible materials can be transformed into stunning custom decor.
The Creative Process: Stamping Polka Dots with Ease
With my humble pencil eraser and white craft paint in hand, the real fun began. The process itself is wonderfully straightforward, making it an ideal project for crafters of all skill levels. I started by dabbing a small amount of paint onto the eraser tip, ensuring it was evenly coated but not oversaturated to avoid smudging. Then, with a gentle but firm press, I began stamping the polka dots onto the pillow cover.
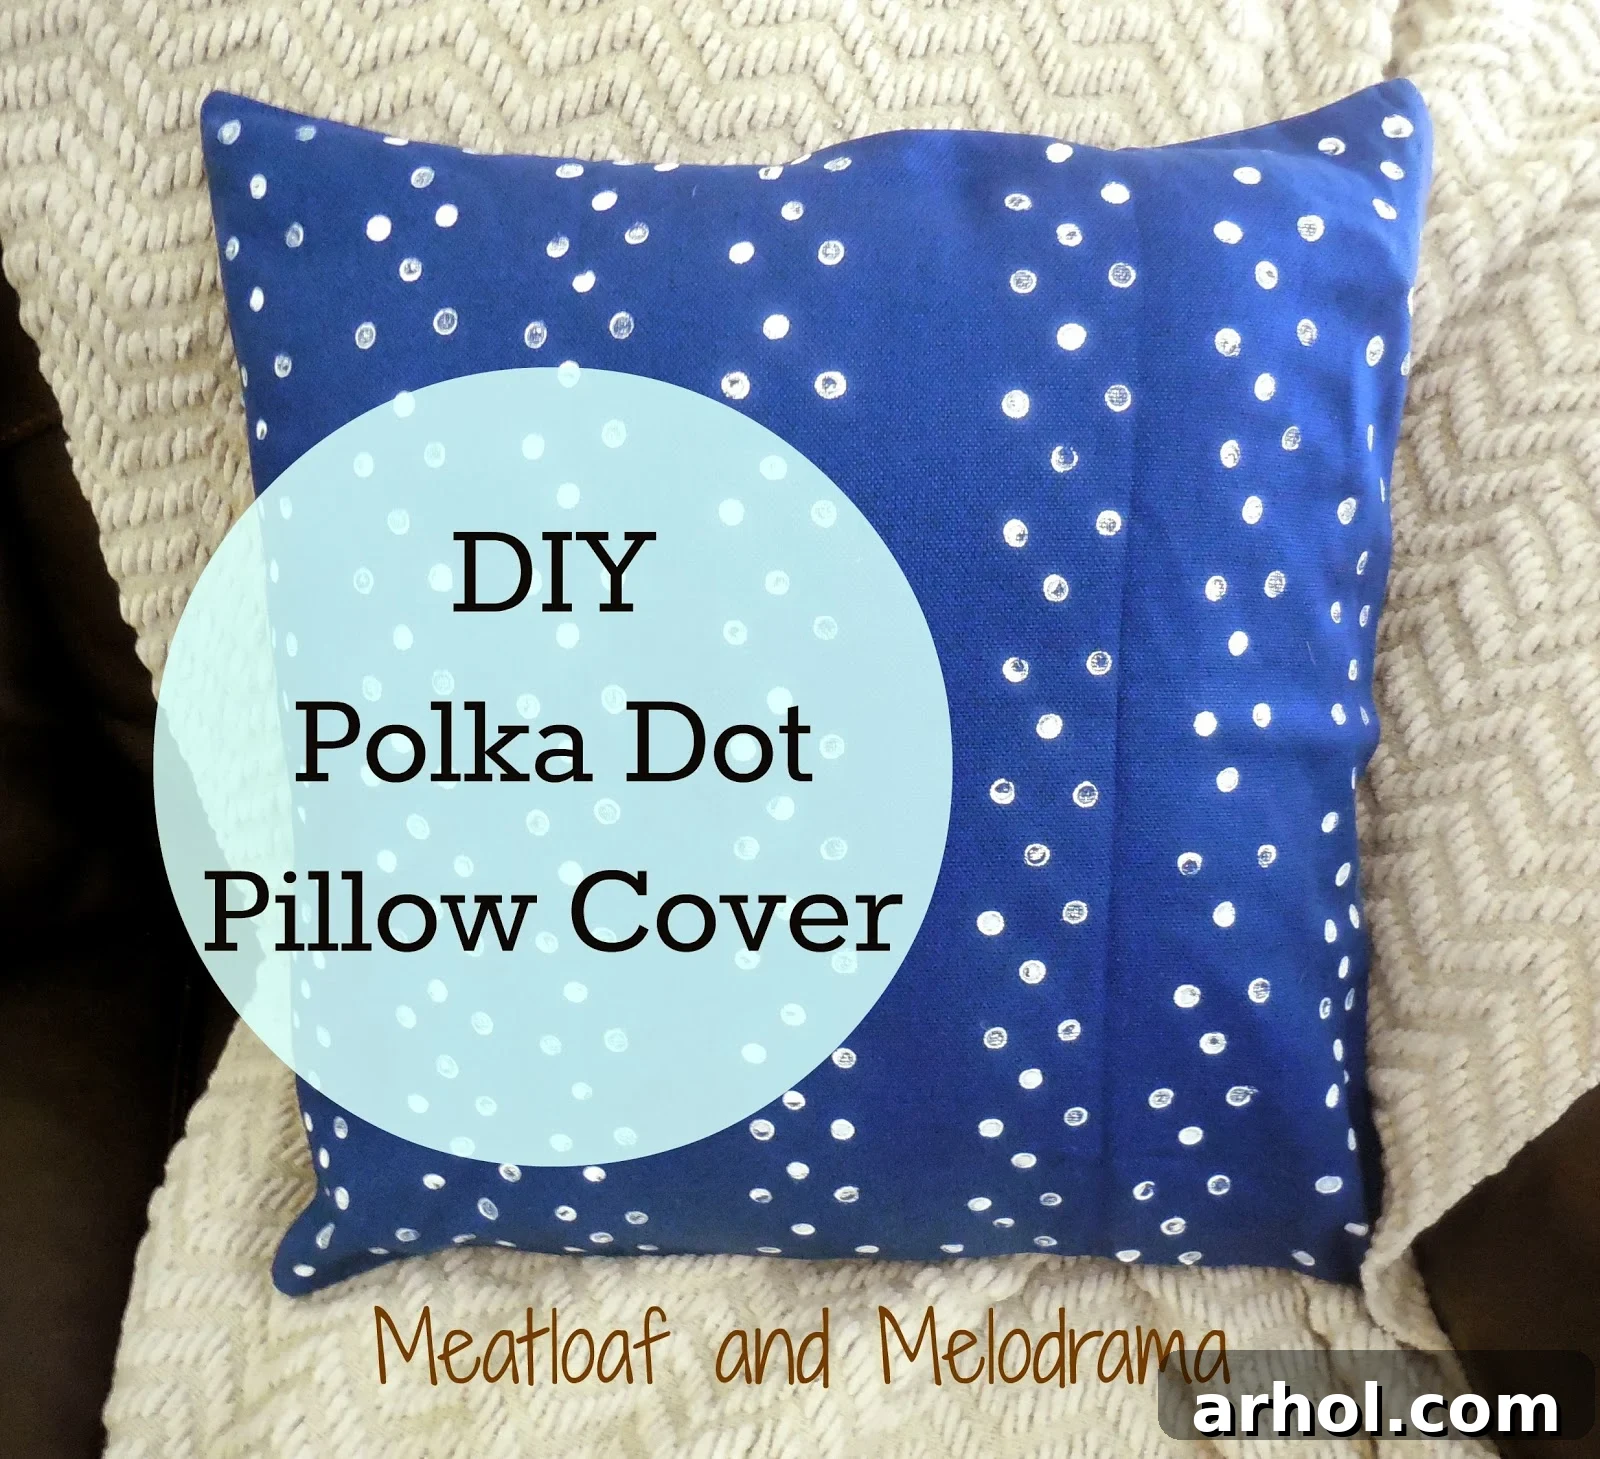
I decided to go for a somewhat random pattern, allowing the dots to be scattered organically across the fabric. This approach lends itself to a more relaxed, handmade aesthetic, which I personally prefer over a perfectly uniform, machine-printed look. As I worked my way across the cover, I noticed that the arrangement naturally started to form what resembled a subtle striped pattern in certain areas. It’s fascinating how seemingly random placements can sometimes coalesce into an unexpected order. When you turn the pillow around, the perceived pattern shifts slightly, showcasing the dynamic nature of a hand-stamped design. This variation is part of the charm; everything truly does tend to look a little different, and often better, in person than in a static mental image.
Another interesting effect emerged as I continued stamping: some of the white dots appeared darker and more opaque than others, while some had a lighter, almost translucent quality. This wasn’t a flaw but rather a delightful outcome that contributed to what I can only describe as a beautiful, subtle shimmery effect. The slight variations in paint application and pressure created a visual texture that adds depth and character to the finished pillow, preventing it from looking flat or one-dimensional. This organic imperfection is what gives handmade items their unique soul and appeal, making each piece truly one-of-a-kind.
The Finished Piece: A Quick, Easy, and Stylish Transformation
One of the most satisfying aspects of this project was how incredibly easy and quick it was to complete. From start to finish, it took hardly any time at all, which is perfect for busy individuals or anyone looking for an instant decor refresh. I completed this little craft while the kids were engrossed in watching TV. Other than a gentle reminder to not bounce on the sofa during my makeshift photo session – a common challenge for any parent attempting a home decor project! – they had no idea I was creating a new piece of decor right under their noses. This stealthy, quick-crafting capability is precisely why I adore quick and easy DIY projects! They offer a fantastic creative outlet and immediate gratification without demanding a huge time commitment.
The moment I placed the newly stamped polka dot pillow among my existing collection, I was thrilled with the result. It seamlessly integrated with the other blue pillows I already had, which is always a successful outcome in home decor. The dark blue base of the pillow, adorned with the crisp white polka dots, perfectly complemented the lighter blue shades, adding that desired depth and visual interest I had been seeking for my family room. It’s amazing how a simple accent pillow can pull together a color scheme and add a layer of texture and pattern that truly completes a space. This new addition felt custom-made for the room, elevating the overall aesthetic without any significant effort or expense.
The Unbeatable Value of DIY Home Decor
This project serves as a wonderful reminder: why spend a ton of money on home accessories when you can easily create your own custom pieces? The satisfaction of knowing you’ve made something beautiful with your own hands, perfectly tailored to your taste and decor, is truly invaluable. Beyond the immense personal satisfaction, the financial savings are often significant. A designer pillow, especially one with a unique pattern or color combination, can easily cost a small fortune. By opting for a DIY approach, you can achieve a high-end look at a fraction of the price, allowing you to stretch your decorating budget further.
So, the next time you stumble upon plain pillow covers – whether they’re on clearance, at a thrift store, or just a basic set you already own – don’t hesitate to grab them! See them not as blank or boring, but as exciting canvases awaiting your creative touch. With just a little paint and a simple stamping tool, you can transform them into custom, statement pieces that reflect your personal style and enhance your living space. It’s a fantastic way to experiment with trends, inject new colors, or simply add a unique flair that can’t be found in mass-produced items.
Join the Conversation: Are You Decorating with Blue This Year?
I’m always curious to hear about what colors and themes others are incorporating into their homes. Is anyone else gravitating towards shades of blue this year in their decorating endeavors? Whether it’s serene sky blues, sophisticated navies, vibrant turquoises, or rich indigos, blue is such a versatile and calming color that can truly transform a room. If you are, I would absolutely love to hear about your projects, inspirations, and how you’re using this beautiful hue to refresh your living spaces! Share your ideas and experiences in the comments below – let’s inspire each other!
Thanks for taking the time to visit and read about my latest DIY adventure. I hope this project inspires you to pick up some craft paint and give custom pillow making a try. Have a truly great day filled with creativity and joy!
Dee 🙂