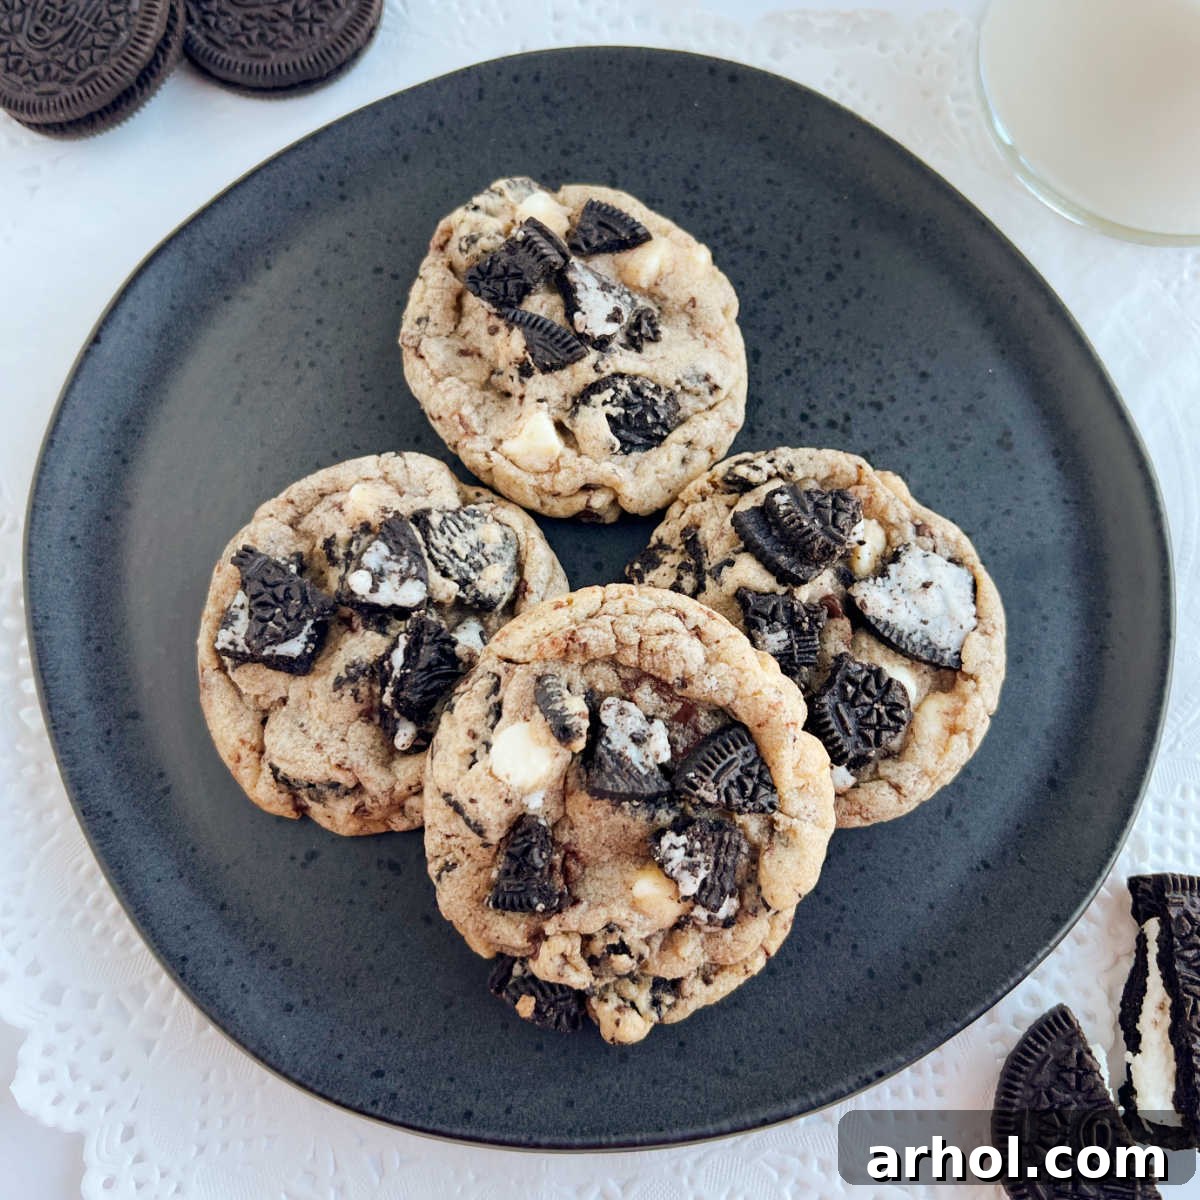
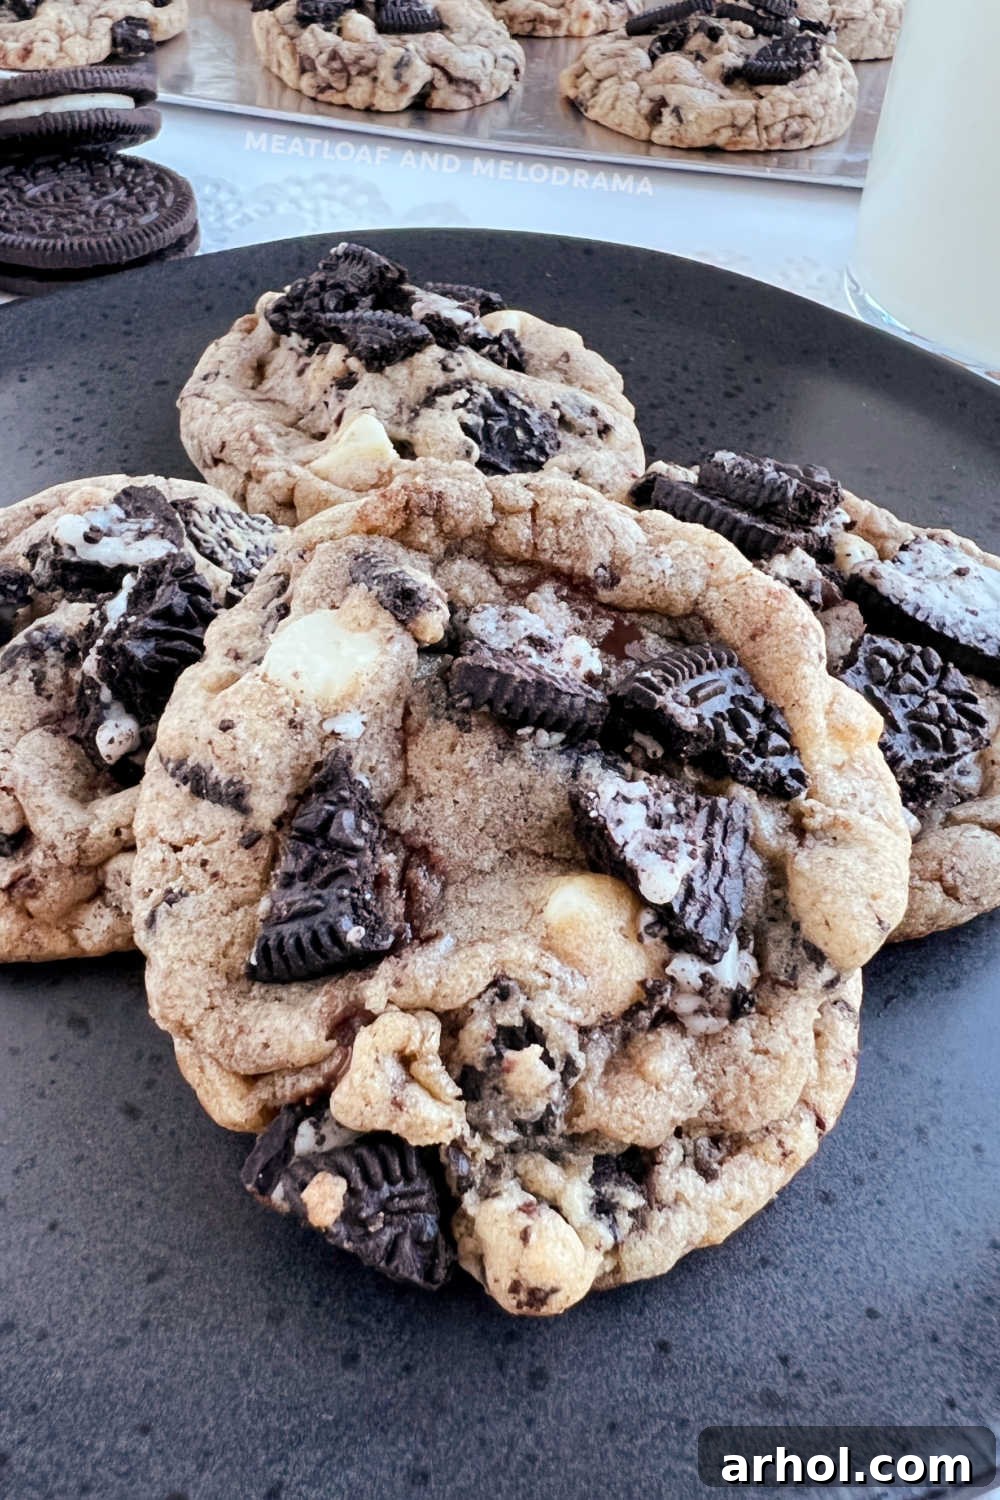
Prepare to elevate your dessert game with these phenomenal Oreo Chocolate Chip Cookies! This beloved recipe brings together two iconic cookie flavors – classic chocolate chip and irresistible Oreos – into one harmonious, unbelievably delicious bite. Each cookie is generously loaded with crunchy chopped Oreos and a decadent trio of premium chocolates, ensuring a delightful explosion of flavor and texture in every single mouthful. Whether you’re a lifelong Oreo enthusiast or a devoted chocolate chip cookie connoisseur, this easy-to-follow recipe is destined to become a new favorite in your baking repertoire.
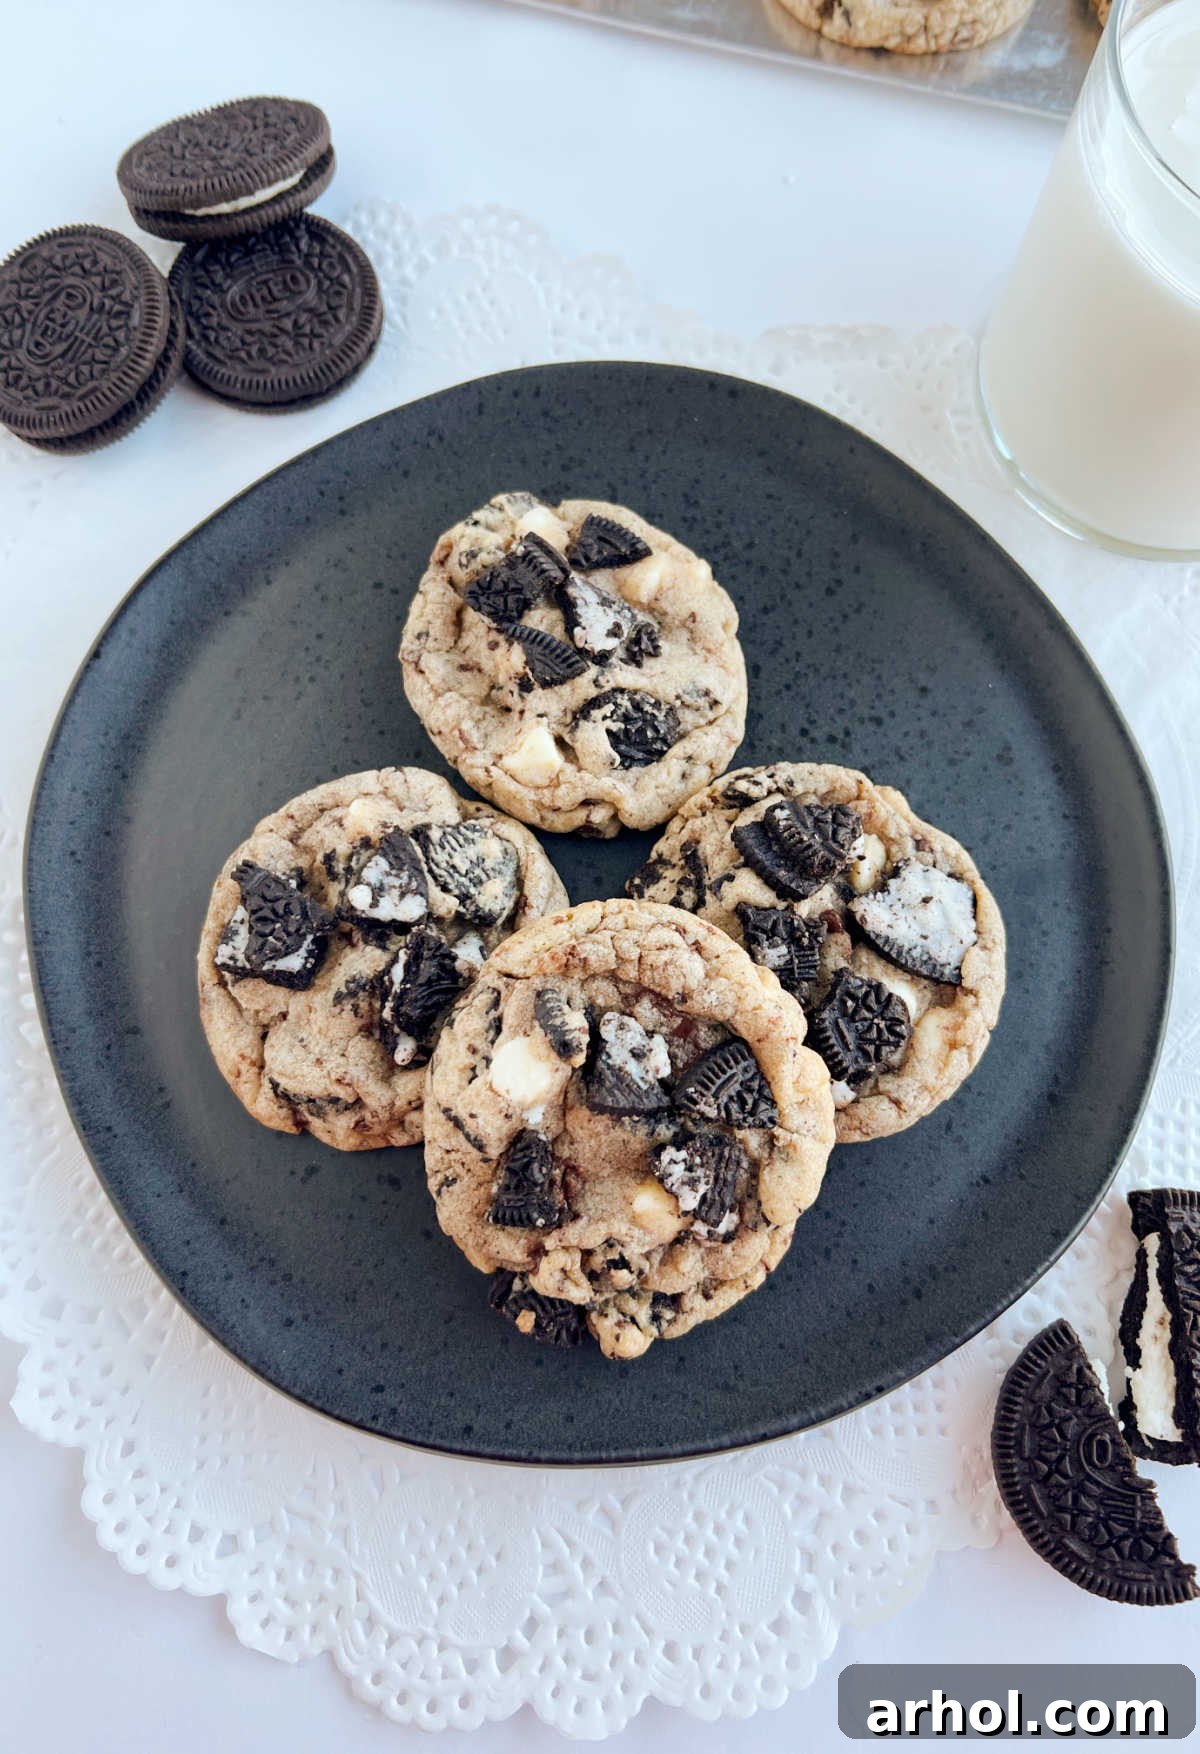
Irresistible Cookies and Cream Cookies: A Match Made in Heaven
There’s something truly magical about combining the iconic crunch and creaminess of Oreo cookies with the timeless allure of gooey chocolate chip cookies. This recipe is a celebration of that perfect union, creating “Cookies and Cream Cookies” that are nothing short of extraordinary. If you or someone you know adores Oreos, this easy recipe for chocolate chip Oreo cookies is an absolute must-try. These delightful treats are bursting with a generous mix of everyone’s favorite sandwich cookies, complemented by luscious chocolate chunks, sweet white chocolate chips, and classic semi-sweet chocolate chips. The result is a cookie that’s rich in flavor, varied in texture, and utterly satisfying.
This particular Oreo chocolate chip cookie recipe was meticulously perfected by my daughter over the summer, and it quickly earned its spot as one of our family’s most requested and cherished cookie recipes. They are incredibly versatile, pairing wonderfully with a tall, frosty glass of milk for a classic snack, or alongside a comforting cup of coffee or hot cocoa for a cozy treat. Their delightful chewiness and perfectly crisp edges make them an instant crowd-pleaser for any occasion, from casual family gatherings to festive holiday celebrations.
Crafting these cookies is surprisingly simple, following a method very similar to our classic chocolate chip cookies, but with a few exciting additions that truly elevate the experience. Once you’ve mastered these, we encourage you to explore other delightful variations such as our Oatmeal Chocolate Chip Cookie Bars, decadent Double Chocolate Chip Cookies, or our fun Twix Chocolate Chip Cookies!
Table of Contents
- Irresistible Cookies and Cream Cookies
- Key Ingredients for Perfect Oreo Chocolate Chip Cookies
- Step-by-Step Guide: How to Make Oreo Chocolate Chip Cookies
- Storage Tips for Optimal Freshness
- Creative Variations and Smart Substitutions
- Expert Recipe Tips for Baking Success
- Frequently Asked Questions About Baking Cookies
- Oreo Chocolate Chip Cookies Recipe Card
Key Ingredients for Perfect Oreo Chocolate Chip Cookies
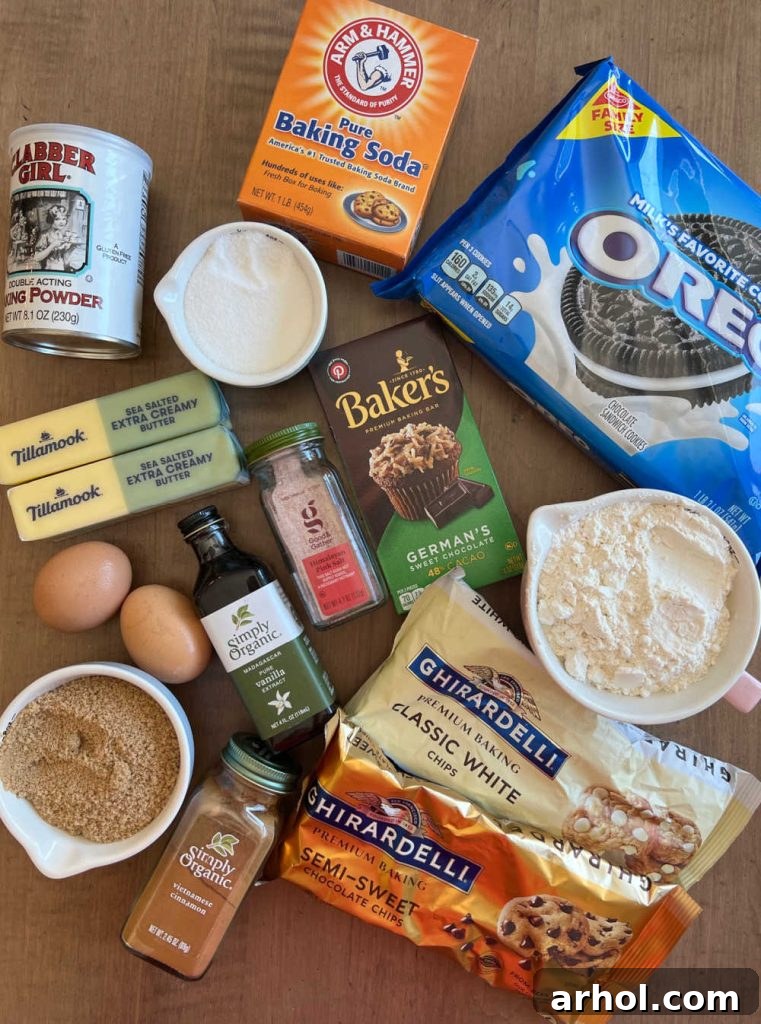
To create these incredibly satisfying cookies, you’ll only need a handful of readily available ingredients, most of which are likely already in your pantry. The precise measurements for each component are conveniently listed in the comprehensive recipe card below. Here’s a closer look at what you’ll need and why each ingredient plays a crucial role:
- Oreos: The star of the show! We recommend using regular Oreo sandwich cookies for that authentic cookies and cream flavor and texture. However, feel free to experiment with your favorite Oreo flavor, such as peanut butter, mint, or even seasonal varieties, to add a unique twist. Ensure they are coarsely chopped, providing delightful pockets of crunch.
- Baker’s German Sweet Chocolate Bar: This adds a rich, distinct chocolate depth that complements the chips beautifully. If unavailable, any high-quality chocolate bar (dark, milk, or semi-sweet) can be chopped into chunks and used as a fantastic substitute. The larger chunks create pools of melted chocolate throughout the cookie.
- All-Purpose Flour: The structural backbone of our cookies. Sifting it ensures a light, airy texture and helps prevent lumps in your dough.
- Baking Powder and Baking Soda: These leavening agents work in harmony to give the cookies their ideal rise and a wonderfully soft, chewy texture. Baking soda reacts with the brown sugar to create a slightly chewier cookie.
- Ground Cinnamon: A subtle yet impactful addition! Cinnamon enhances the overall flavor profile of the chocolate and cookie base, adding a touch of warmth and complexity without overpowering the main ingredients. Don’t skip this secret ingredient!
- Salt: Essential for balancing the sweetness and intensifying all the other flavors, particularly the chocolate.
- Unsalted Butter (Room Temperature): Using unsalted butter allows you to control the total salt content. Crucially, ensure your butter is at room temperature. Softened butter creams easily with the sugars, resulting in a lighter, more uniform cookie dough texture. If you only have salted butter, you can reduce the added salt by half.
- Granulated White Sugar: Contributes to the cookies’ crisp edges and spread.
- Light Brown Sugar (or Dark Brown Sugar): Provides moisture, chewiness, and a lovely molasses flavor that is characteristic of classic chocolate chip cookies. Both light and dark brown sugar work, with dark brown sugar offering a slightly richer, more pronounced flavor.
- Pure Vanilla Extract: A fundamental flavor enhancer that brings out the best in all the other ingredients, adding a warm, aromatic note.
- Large Eggs: Act as a binder, holding all the ingredients together and adding richness and structure to the dough. Ensure they are also at room temperature for better incorporation.
- White Chocolate Chips: Introduce a delightful creamy sweetness and a beautiful visual contrast to the darker chocolates and Oreos.
- Semi-Sweet Chocolate Chips: The quintessential chocolate chip cookie component, offering a classic chocolate flavor and melty texture.
Step-by-Step Guide: How to Make Oreo Chocolate Chip Cookies
Creating these heavenly Oreo Chocolate Chip Cookies is a straightforward and rewarding process. Follow these detailed instructions to bake a batch that will impress everyone!
Step 1: Prepare Your Mix-Ins and Dry Ingredients
Begin by carefully chopping your chosen chocolate bar (Baker’s German sweet chocolate or your preferred alternative) and the Oreo cookies into medium-sized pieces. Aim for chunks that are substantial enough to provide texture, but not so large that they are difficult to incorporate into the dough. Set these aside. In a separate, large mixing bowl, sift together the all-purpose flour, baking powder, baking soda, ground cinnamon, and salt. Sifting helps to aerate the flour and ensures all the dry ingredients are evenly distributed, preventing pockets of leavening agents in your final cookies. Give it a quick whisk to combine thoroughly and set this bowl aside.
Step 2: Cream the Butter and Sugars
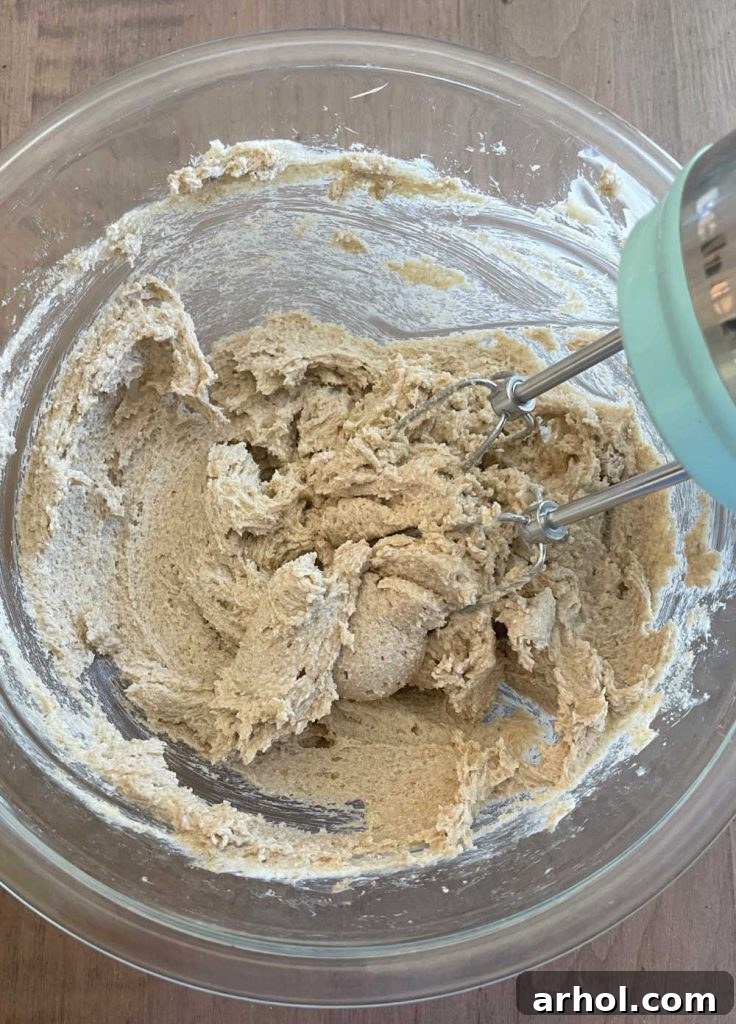
In another spacious mixing bowl, using either an electric hand mixer or a stand mixer fitted with the paddle attachment, cream the softened, room-temperature butter until it becomes wonderfully light, pale, and fluffy. This step is crucial for incorporating air into the butter, which will contribute to the cookies’ texture. Gradually add the white sugar and brown sugar, continuing to beat until the mixture is light in color and smooth. Then, pour in the vanilla extract and mix until it’s just incorporated, ensuring that aromatic flavor is evenly distributed.
Step 3: Incorporate Eggs and Dry Ingredients
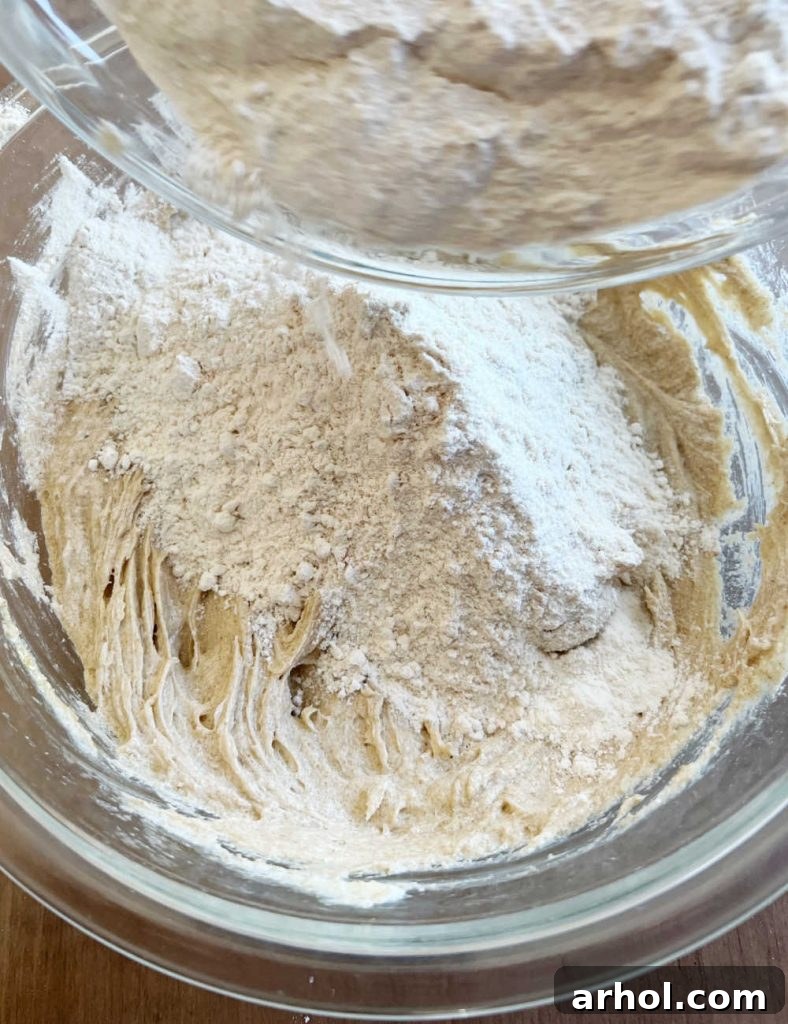
Add the eggs to the creamed butter and sugar mixture, one at a time. After each egg is added, beat the mixture thoroughly until it is fully incorporated before adding the next. This ensures proper emulsification and a smooth dough. Once the eggs are mixed in, gradually add the reserved dry ingredient mixture to the wet ingredients. Mix on low speed, or by hand with a wooden spoon or rubber spatula, until the flour mixture is just combined. Be careful not to overmix the dough, as this can lead to tougher cookies. Stop mixing as soon as no streaks of flour are visible.
Step 4: Fold in the Chocolates and Oreos
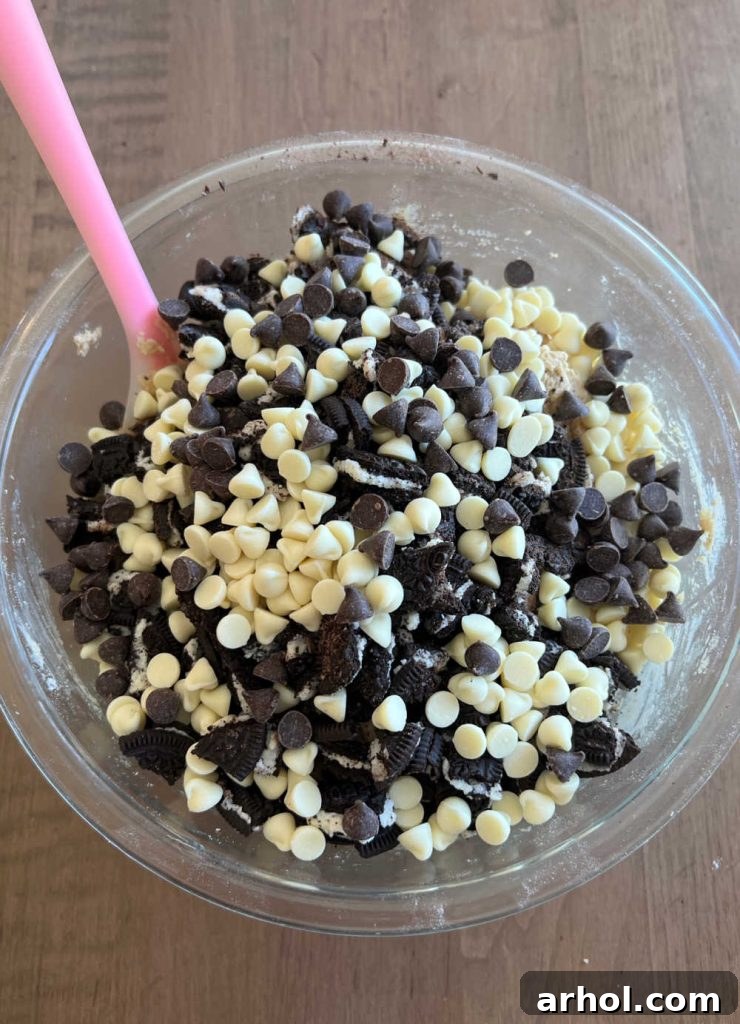
Now for the exciting part – adding all those delicious mix-ins! Using a sturdy rubber spatula or a wooden spoon, gently fold in the chopped chocolate bar chunks, white chocolate chips, semi-sweet chocolate chips, and most of the chopped Oreo pieces. Reserve a small handful of Oreo chunks and a few extra chocolate chips for pressing into the tops of the cookie dough balls before baking; this creates a beautiful, bakery-style finish. Fold until the mix-ins are evenly distributed throughout the chocolate chip cookie dough, making sure not to overwork the dough.
Step 5: Chill the Cookie Dough
This step is optional but highly recommended for the best results! Place the cookie dough into the refrigerator to chill for at least 15 minutes. Chilling the dough helps solidify the butter, preventing the cookies from spreading too much during baking and resulting in thicker, chewier cookies with more defined edges. While the dough is chilling, preheat your oven to 350°F (175°C). Line your baking sheets with parchment paper, which prevents sticking and aids in even baking. You can also use aluminum foil (lightly greased) or silicone baking mats.
Step 6: Scoop and Bake
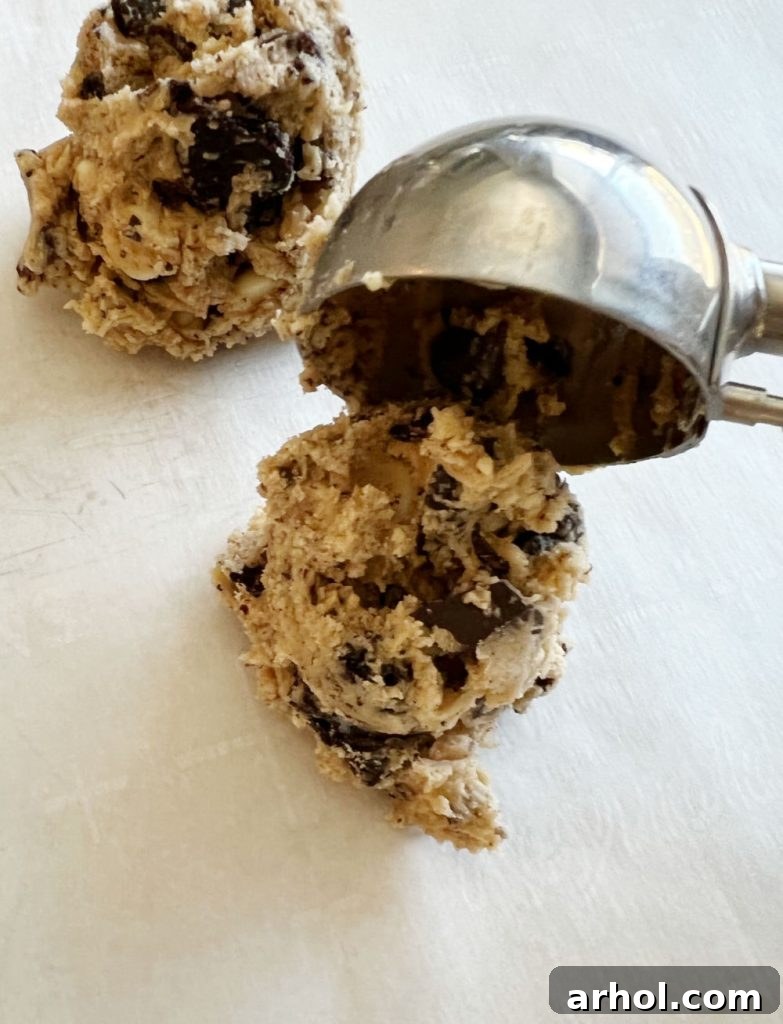
Once the dough is chilled and the oven is preheated, use a large cookie scoop (about 2 tablespoons or a ¼ cup scoop for extra-large cookies) to portion out balls of dough onto the prepared baking sheets. Arrange the cookie dough balls about 2 inches apart to allow for proper spreading. If you don’t have a cookie scoop, simply use two spoons to drop roughly 2 tablespoons of dough per cookie. Remember those reserved Oreo pieces and extra chocolate chips? Now’s the time to gently press them onto the tops of the dough balls for that appealing finish. For an even more decadent touch, feel free to add a few extra chocolate chips on top!
Step 7: Bake to Perfection and Cool
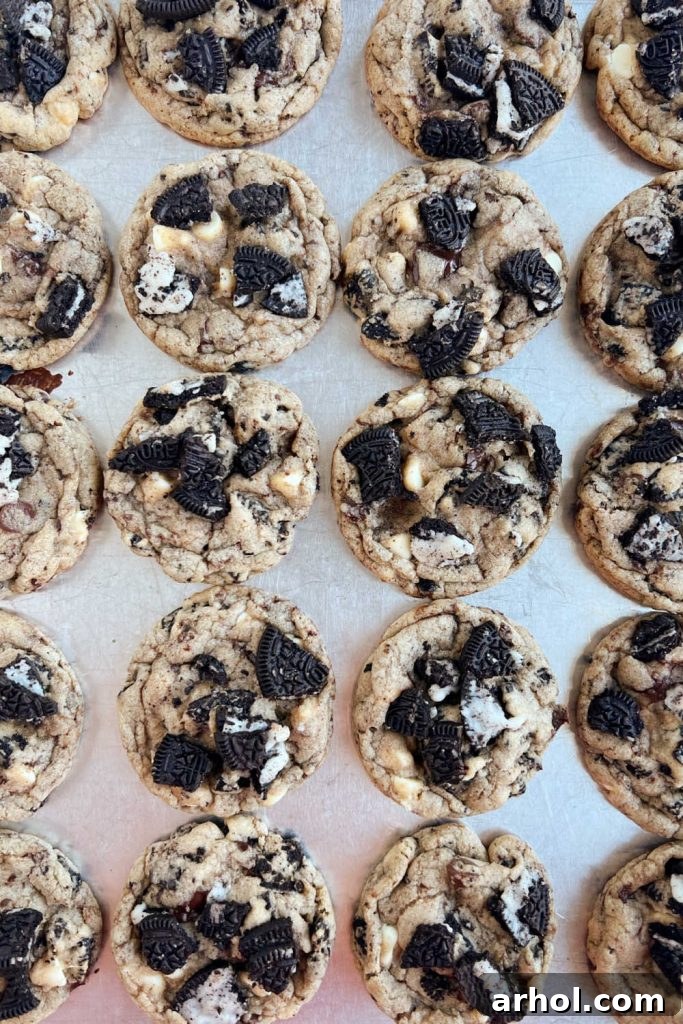
Carefully place the baking sheet on the middle rack in your preheated oven. Bake the cookies for 10 to 12 minutes. The baking time can vary slightly depending on your oven, so keep an eye on them. The cookies are done when their edges are lightly golden brown and slightly firm, while the centers may still appear soft and slightly underbaked. This is key to achieving that perfect chewy interior! Do not overbake, as this will result in dry cookies. Once baked, remove the cookie sheet from the oven and let the cookies cool on the sheet for about 5 minutes before transferring them to a wire cooling rack to cool completely. They will continue to set and firm up as they cool, developing their ideal texture.
Storage Tips for Optimal Freshness
To ensure your chewy Oreo Chocolate Chip Cookies remain delicious for as long as possible, proper storage is key. Once completely cooled, transfer them to an airtight container. Stored at room temperature, these delightful cookies will stay wonderfully fresh and soft for up to 4 days. For an extra boost of moisture and to keep them even softer, try placing a half-slice of plain bread inside the container with the cookies. The cookies will absorb moisture from the bread, maintaining their perfect chewiness.
For longer-term storage, these cookies freeze exceptionally well. Arrange cooled cookies in a single layer on a baking sheet and freeze until firm, typically about 30-60 minutes. Once solid, transfer them to freezer bags or an airtight freezer-safe container, separating layers with parchment paper to prevent sticking. They will maintain their quality in the freezer for up to 3 months. When you’re ready to enjoy them, simply thaw at room temperature or warm them slightly in the microwave for that freshly baked taste.
Creative Variations and Smart Substitutions
This Oreo Chocolate Chip Cookie recipe is incredibly versatile, allowing for fun and delicious modifications to suit your taste preferences or what you have on hand. Don’t be afraid to get creative!
- Oreo Flavor Swaps: While regular Oreos are fantastic, you can easily use mini Oreos for a finer crunch or explore different flavored Oreos. Imagine Mint Oreos for a festive holiday cookie, Golden Oreos for a vanilla-infused treat, or even seasonal flavors to match specific occasions!
- Chocolate Variations: Feel free to customize the chocolate blend. If you prefer less chocolate, you can certainly omit the chopped chocolate bar. Instead of semi-sweet and white chocolate chips, try milk chocolate chips, dark chocolate chips, or even butterscotch chips for a different flavor profile.
- Additional Mix-ins: Boost the texture and flavor by adding other ingredients. Chopped nuts (pecans, walnuts), pretzels for a salty-sweet contrast, or even a sprinkle of sea salt on top before baking can elevate these cookies further. Candy bits like M&M’s or toffee pieces would also be delightful additions.
- Butter Alternatives: If you’re out of butter, a high-quality baking margarine can sometimes be substituted, though it might slightly alter the texture. Coconut oil (solid, refined for neutral flavor) can also work, but consider it an experiment as it will change the mouthfeel.
- Dietary Adjustments: For those with gluten sensitivities, you can try substituting an equal amount of a good quality 1:1 gluten-free all-purpose flour blend (ensure it contains xanthan gum) for the regular flour. Baking times might need slight adjustment, so watch carefully.
Expert Recipe Tips for Baking Success
Achieving bakery-quality cookies at home is easier than you think with a few simple tricks:
- Softened Butter is a Must: Always use softened, room temperature butter. This allows it to cream properly with the sugars, creating an airy base and preventing a dense, hard cookie. If your butter is too cold, it won’t cream well. If it’s too warm (melted), it can make the dough greasy and lead to excessive spreading.
- The Power of Chilling: Don’t skip chilling the cookie dough, even for a mere 15 minutes. This step is crucial for preventing the cookies from spreading too much in the oven, resulting in flatter, thinner cookies. Chilled dough helps them maintain their shape, creates thicker cookies, and often enhances the chewiness.
- Avoid Overbaking: This is arguably the most important tip for chewy cookies. Remove the cookies from the oven when the edges are set and lightly golden brown, but the centers still look slightly soft and even a bit undone. They will continue to cook and firm up as they cool on the baking sheet and then on the cooling rack, yielding that perfect soft and chewy texture. Overbaked cookies quickly become dry and crumbly.
- Maintain Freshness with Bread: To keep homemade cookies soft and fresh for days, place a half slice of plain white bread in the airtight container along with the cooled cookies. The cookies will absorb moisture from the bread, helping them stay wonderfully tender.
- Batch Baking Convenience: For future cravings, consider keeping some frozen cookie dough balls in your freezer! Simply scoop the dough into balls, freeze them on a baking sheet until firm, then transfer them to a freezer-safe bag. When a cookie craving strikes, bake them straight from frozen (add a couple of extra minutes to the baking time). It’s instant gratification!
- Oven Temperature Consistency: Use an oven thermometer to verify your oven’s actual temperature. Many home ovens run hotter or colder than their display indicates, which can significantly impact baking results.
Frequently Asked Questions About Baking Cookies
While not always strictly mandatory, chilling cookie dough is highly recommended for optimal results, especially with recipes like this one that contain a good amount of butter. Chilling the dough solidifies the butter, which helps prevent the cookies from spreading excessively in the oven, leading to a thicker, chewier cookie with those coveted crisp edges. It also allows the flavors to meld, resulting in a richer taste.
There are a few key strategies to keep your cookies wonderfully soft. Firstly, ensure you don’t overbake them; pull them from the oven when the edges are just set and the centers still look slightly soft. Once completely cooled, store the cookies in an airtight container. A fantastic trick is to place a slice of plain bread (like sandwich bread) inside the container with the cookies. The cookies will absorb moisture from the bread, helping them retain their softness. Replacing the bread slice every day or two can maintain this effect.
Absolutely, making cookie dough in advance is a great time-saver! You can prepare the dough, cover the bowl tightly with plastic wrap, and let it rest in the refrigerator for up to 3 days. This actually allows the flavors to deepen and mature, often resulting in an even more delicious cookie. For longer storage, you can scoop the dough into individual balls and freeze them in a freezer bag for up to six months. When you’re ready to bake, you can often bake them directly from frozen, adding a couple of minutes to the usual baking time.
Several factors can contribute to cookies spreading too much. The most common reasons include butter that was too warm or melted when mixed, insufficient chilling of the dough, an oven that isn’t hot enough (or an inaccurate oven temperature), or too much leavening agent. Ensure your butter is softened but not melted, chill the dough, verify your oven temperature with a thermometer, and accurately measure your ingredients.
For these cookies, we recommend a coarse chop rather than fine crumbs. This ensures you get delightful chunks of Oreo in every bite. You can place the Oreos in a sturdy freezer bag and gently crush them with a rolling pin or the bottom of a heavy pan. Alternatively, a sharp knife works well for a more controlled chop. Avoid over-crushing, as very fine crumbs can get lost in the dough’s texture.
Print Recipe
Oreo Chocolate Chip Cookies
Ingredients
- 38 Oreos (regular or your favorite flavor)
- 6 oz Baker’s German sweet chocolate bar (or other chocolate bar, about 1 ½ bars)
- 2 ¼ cups all-purpose flour
- 1 tsp baking powder
- ½ tsp baking soda
- 1 tsp ground cinnamon
- 1 tsp salt
- 1 cup unsalted butter (room temperature)
- ¾ cup granulated white sugar
- 1 ¼ cups light brown sugar (packed)
- 2 tsp pure vanilla extract
- 2 large eggs (room temperature)
- ½ cup white chocolate chips
- ¼ cup semi-sweet chocolate chips
Instructions
-
Coarsely chop the Oreos and Baker’s chocolate bar into medium-sized pieces. Set aside, reserving a small handful for topping.
-
In a medium-sized bowl, sift together the flour, baking powder, baking soda, cinnamon, and salt. Whisk until well combined and set aside.
-
In a large bowl, using an electric mixer, cream the softened butter until it is light and fluffy (about 2-3 minutes).
-
Gradually add the white sugar and brown sugar to the butter mixture. Beat until the mixture is smooth, light in color, and well combined (about 2 minutes).
-
Mix in the vanilla extract until just incorporated.
-
Add one egg at a time, beating well after each addition until fully incorporated.
-
Gradually add the dry ingredient mixture to the wet ingredients, mixing on low speed until just combined. Be careful not to overmix.
-
Using a rubber spatula, gently fold in the chopped chocolate bar chunks, white chocolate chips, semi-sweet chocolate chips, and most of the chopped Oreo chunks (reserving some for topping).
-
Cover the dough and chill in the refrigerator for at least 15 minutes. This helps prevent spreading.
-
While the dough chills, preheat your oven to 350°F (175°C). Line baking sheets with parchment paper.
-
Scoop the dough into approximately ¼ cup sized balls (or 2 tablespoon portions) and place them on the prepared baking sheets, ensuring they are about 2 inches apart.
-
Gently press the remaining reserved Oreo chunks (and any extra chocolate chips) onto the tops of the dough balls for a beautiful finish.
-
Bake the cookies for 10-12 minutes, or until the edges are lightly golden brown and set, but the centers still appear soft.
-
Allow the cookies to cool on the baking sheet for 5 minutes before transferring them to a wire cooling rack to cool completely. They will firm up as they cool.
Notes
Do not skip chilling the cookie dough for at least 15 minutes before placing on cookie sheets. This helps prevent excessive spreading and creates a thicker, chewier cookie.
Always err on the side of underbaking. When edges are firm and lightly golden, cookies are done, even if the centers still look soft. They will continue to set as they cool, ensuring a moist and chewy interior.
For extra soft cookies, store them in an airtight container with a slice of bread.
Nutrition Facts (Approximate per Cookie)
Nutrition information is automatically calculated and should only be used as an approximation. Values can vary based on specific ingredients and brands used.
Additional Information
I genuinely hope you cherish this Oreo cookie recipe as much as my family and I do. It truly is a delightful and indulgent recipe that brings joy with every bite. If you bake these fantastic cookies, please consider leaving a star rating and a comment to share your experience. Your feedback is greatly appreciated! Also, be sure to follow us on social media and sign up for our newsletter to receive weekly updates on our latest and most delicious recipes!