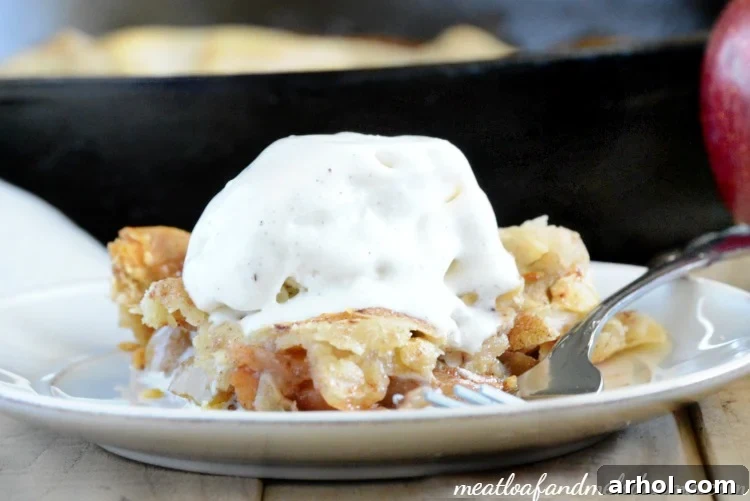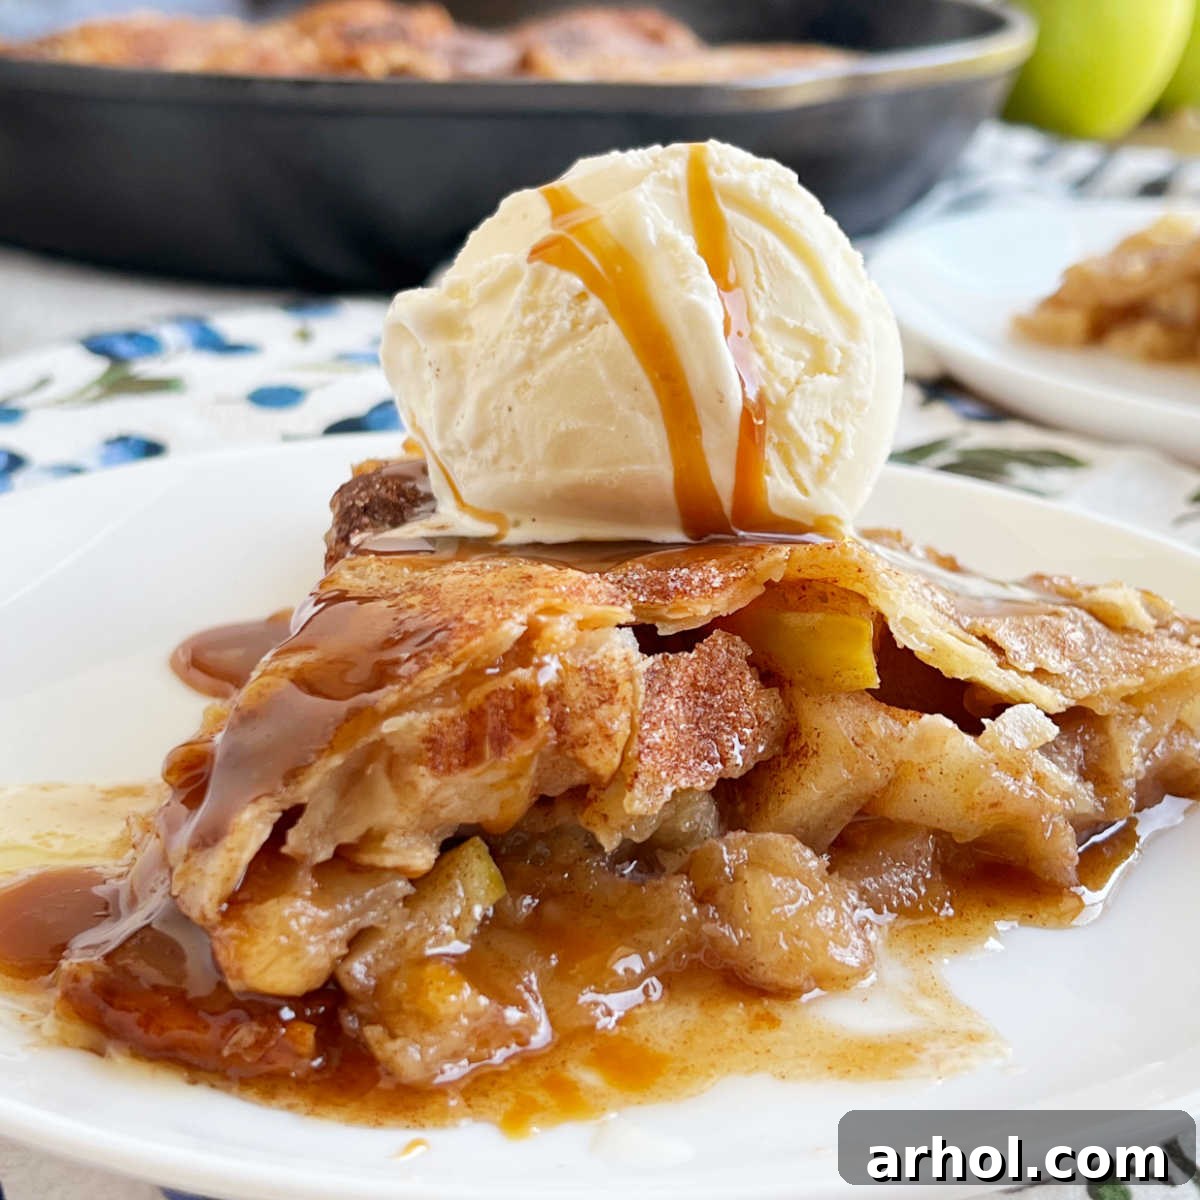
There’s nothing quite like the comforting aroma of a freshly baked apple pie, especially as the crisp air of fall settles in. This incredibly easy skillet apple pie recipe takes all the fuss out of traditional pie making by using fresh, vibrant apples and convenient refrigerated pie dough. The result is a semi-homemade dessert that delivers on taste and warmth, making it an absolute must-try for any autumn gathering or cozy evening at home.
Why You’ll Fall in Love with Skillet Apple Pie

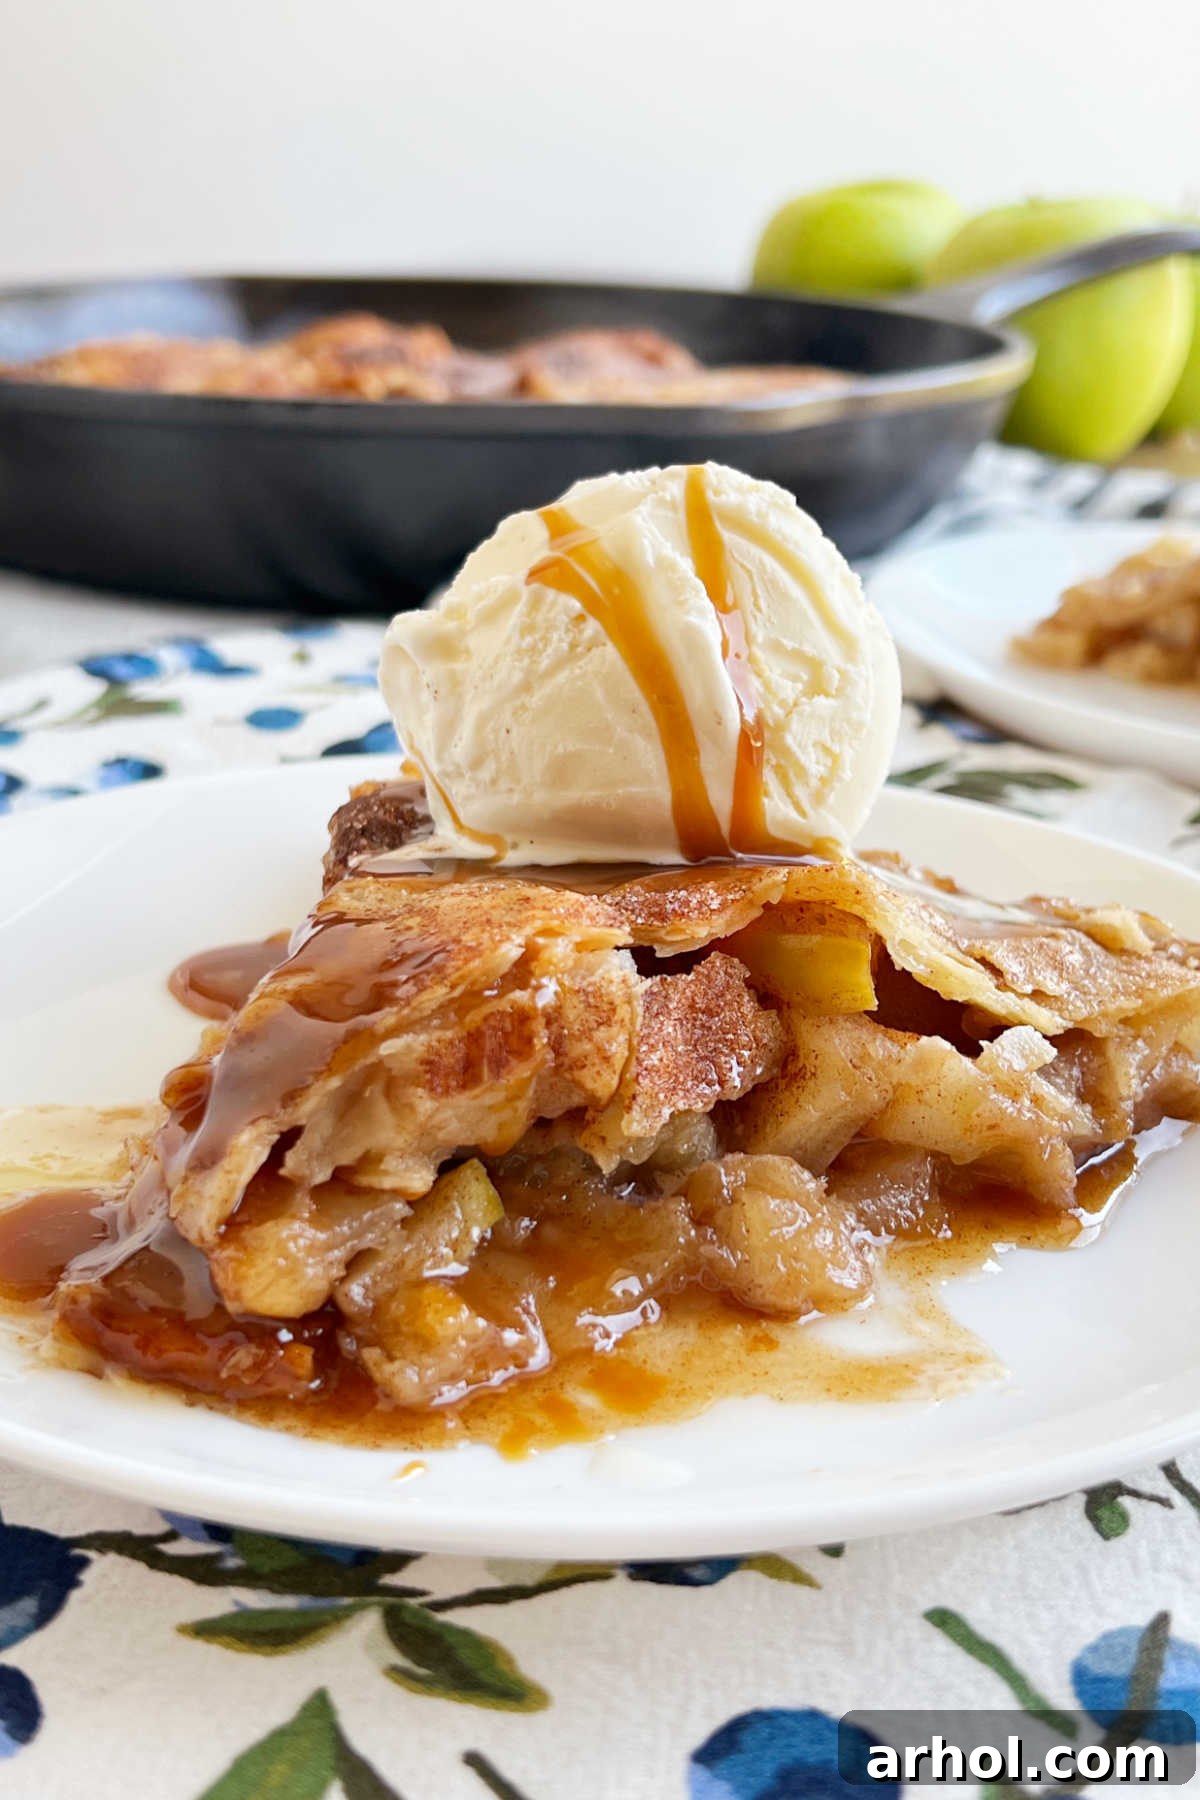
This delightful dessert offers all the rich, comforting flavors of a classic apple pie without the labor-intensive process of preparing a homemade crust from scratch. Baking it in a sturdy cast iron skillet elevates the experience, ensuring the pie cooks uniformly and retains its warmth for a longer period. This means you can savor a perfectly warm slice of pie, complete with a beautifully browned crust and tender apple filling, making every bite an unforgettable moment. The rustic charm of serving straight from the skillet also adds an inviting, homey touch to your dessert table.
Beyond its ease and warmth, the cast iron skillet contributes to an exceptional crust. The even heat distribution helps create a wonderfully crisp bottom crust, preventing the dreaded “soggy bottom” often associated with fruit pies. The natural caramelization that occurs with the butter and brown sugar in the skillet forms a rich, luscious caramel sauce directly beneath the apples, infusing every portion with an extra layer of decadent flavor that truly sets this skillet apple pie apart.
Table of Contents
- Essential Ingredients for Your Skillet Apple Pie
- How to Bake the Perfect Skillet Apple Pie
- Serving Suggestions for Maximum Enjoyment
- Expert Tips for a Flawless Skillet Apple Pie
- Delicious Variations to Try
- More Irresistible Apple Desserts for Fall
- Full Skillet Apple Pie Recipe Card
Essential Ingredients for Your Skillet Apple Pie
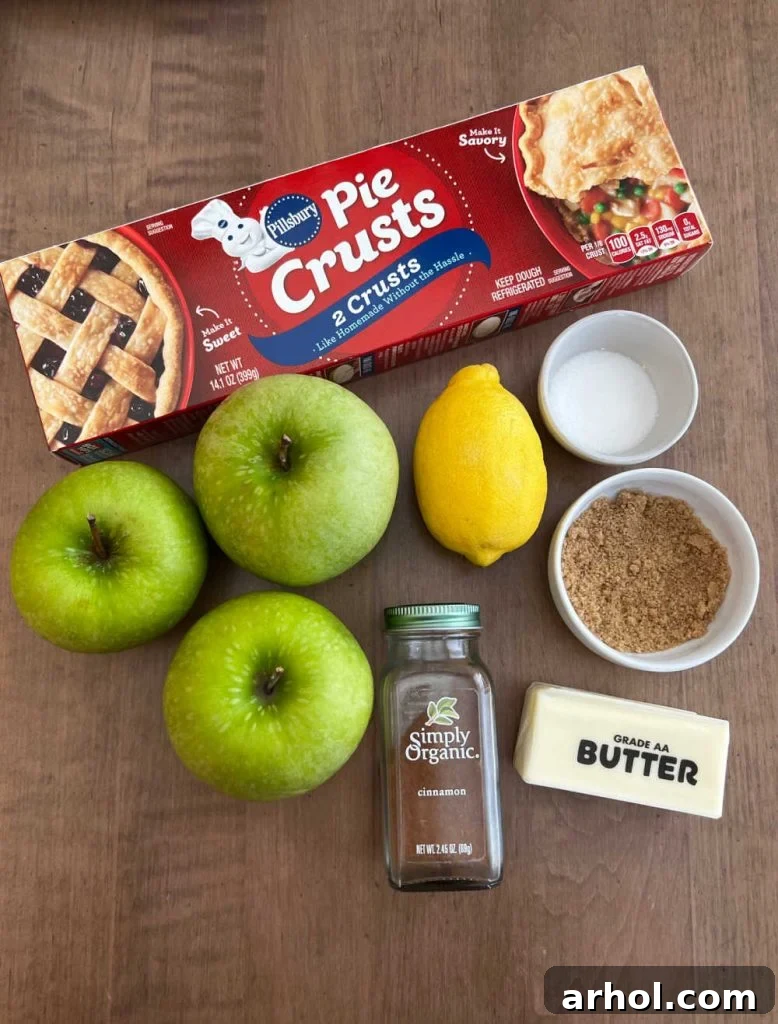
Crafting this easy skillet apple pie requires just a few simple ingredients, most of which you likely already have on hand. The full, precise measurements can be found in the comprehensive recipe card below. Here’s a closer look at what you’ll need to create this comforting dessert:
- Apples — For baking, firm, tart apples are ideal as they hold their shape and provide a balanced flavor. Granny Smith apples are my top recommendation due to their excellent tartness and firm texture, which prevents them from turning to mush during baking. However, you can certainly use other varieties such as Pink Lady, Gala, Golden Delicious, or Honeycrisp apples, or even a mix of your favorites, for a more complex flavor profile. Aim for apples that are crisp and have a good balance of sweet and tart notes.
- Refrigerated Pie Crust — This is the secret to a quick and easy pie. I often opt for Pillsbury pie crusts, but any brand that comes with two pre-made crusts will work beautifully. If you have a cherished homemade pie crust recipe, feel free to use it – the skillet baking method will still produce fantastic results with your favorite pastry.
- Butter — You’ll need butter for both the luscious caramel base and to dot over the apple filling. Both salted and unsalted butter are suitable; just be mindful of the overall salt content if using salted butter, adjusting other seasonings as needed. Butter adds rich flavor and contributes to the golden-brown crust and a velvety caramel.
- Brown Sugar — This ingredient is crucial for creating the deep, molasses-rich caramel sauce at the bottom of the pie. Whether you choose light brown sugar for a milder caramel or dark brown sugar for a more intense, robust flavor, both will contribute to a wonderfully sticky and sweet base.
- White Sugar — Granulated sugar is used to sweeten the apple filling, balancing the tartness of the apples and complementing the brown sugar in the caramel. It helps create that perfectly sweet and tangy apple interior.
- Lemon Juice — A small splash of lemon juice serves multiple purposes. Primarily, it prevents your sliced apples from oxidizing and turning brown, keeping them looking fresh and appealing. Additionally, it brightens the flavor of the apple filling, adding a subtle tang that enhances the overall taste of the pie.
- Cinnamon — No apple pie is complete without the warm, aromatic embrace of cinnamon. This classic fall spice infuses the apples with a comforting flavor that defines apple pie. For an extra touch, a sprinkle of cinnamon sugar on the top crust adds beautiful sparkle and a delightful spice kick.
To achieve the best results, a 10-inch or 12-inch cast iron skillet is highly recommended. Its superior heat retention and distribution properties are key to the pie’s success. If you don’t have a cast iron skillet, any deep, oven-safe skillet that can transition seamlessly from your stovetop to the oven will also work effectively.
How to Bake the Perfect Skillet Apple Pie
Creating this delicious skillet apple pie is a straightforward process, broken down into a few easy steps. Follow these instructions to bake a dessert that will impress everyone:
1. Prepare Your Apples
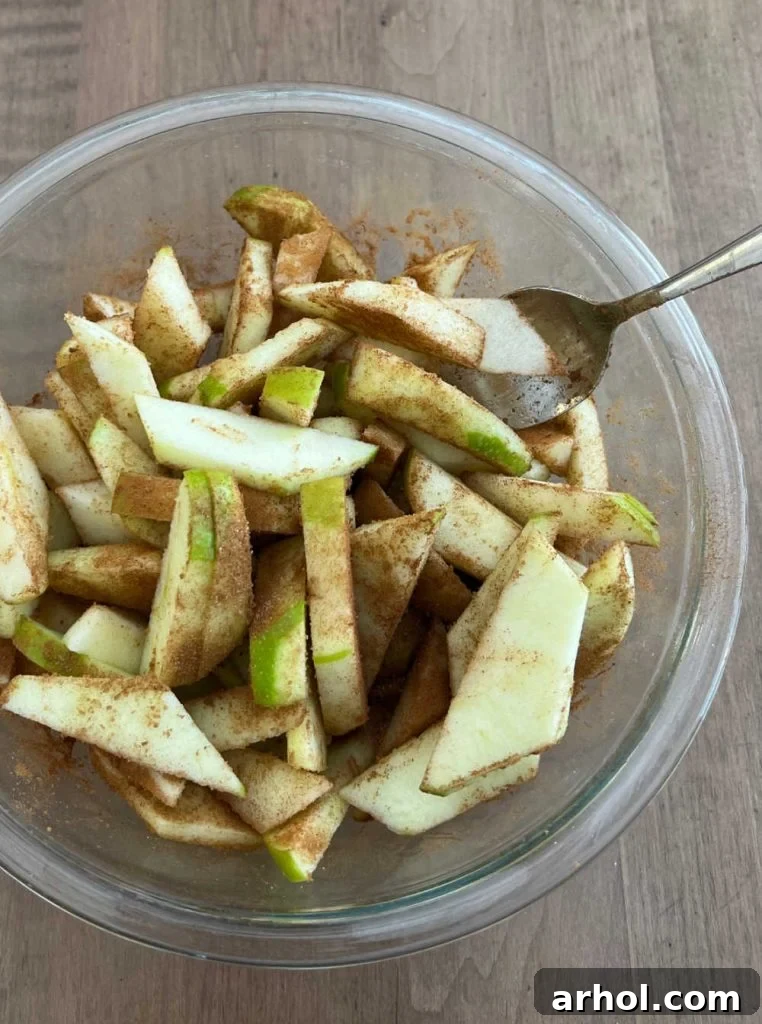
Begin by preheating your oven to 400°F (200°C) to ensure it’s ready for baking. Next, focus on the stars of the show: the apples. Wash, peel, and core your apples, then slice them into uniform ½-inch thick pieces. Consistency in slice thickness is important for even cooking. Place these apple slices into a large mixing bowl. Drizzle them with fresh lemon juice and toss gently to coat, which prevents browning. Then, sprinkle in the granulated sugar, brown sugar, and ground cinnamon. Toss again until the apples are well coated with the flavorful mixture. Set the bowl aside to allow the flavors to meld while you prepare the skillet.
2. Create the Caramel Base
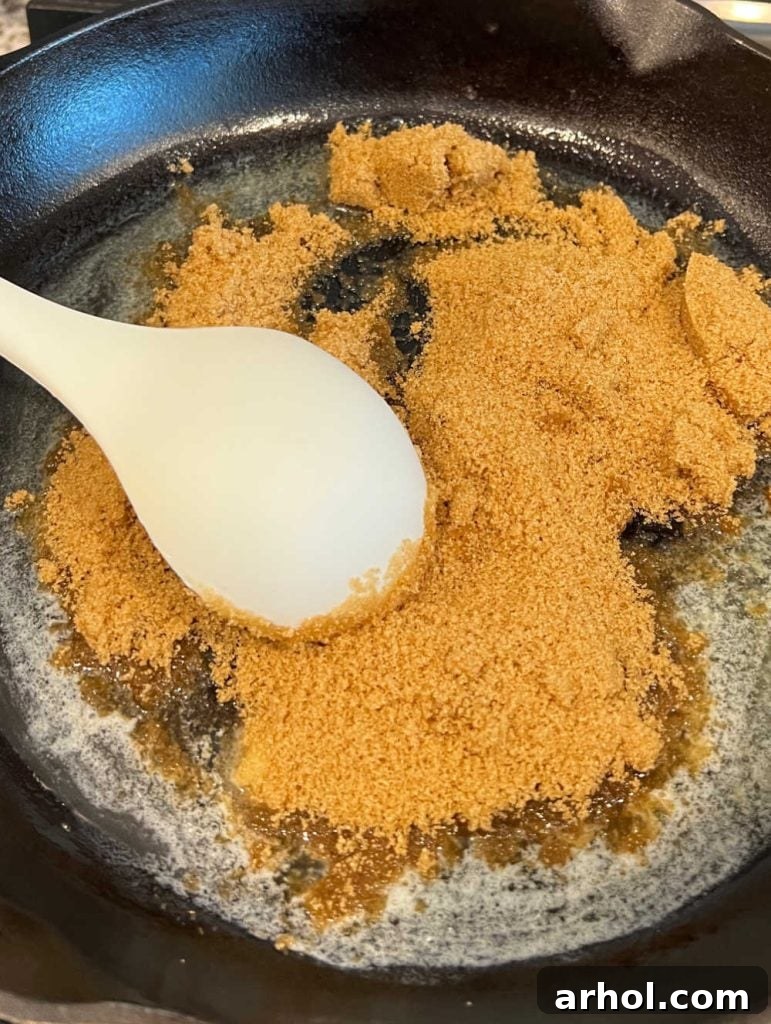
Place your cast iron skillet on the stovetop over medium heat. Add the butter to the skillet and allow it to melt completely. Once melted, carefully spoon out about one tablespoon of this melted butter and reserve it for brushing on the top crust later. To the remaining melted butter in the skillet, add the full cup of brown sugar. Stir the mixture continuously until the brown sugar has completely dissolved and is well blended with the butter, forming a smooth, bubbling caramel sauce. This rich, sweet layer will become the delightful bottom of your pie. Remove the skillet from the heat once the caramel is ready.
3. Assemble the Pie
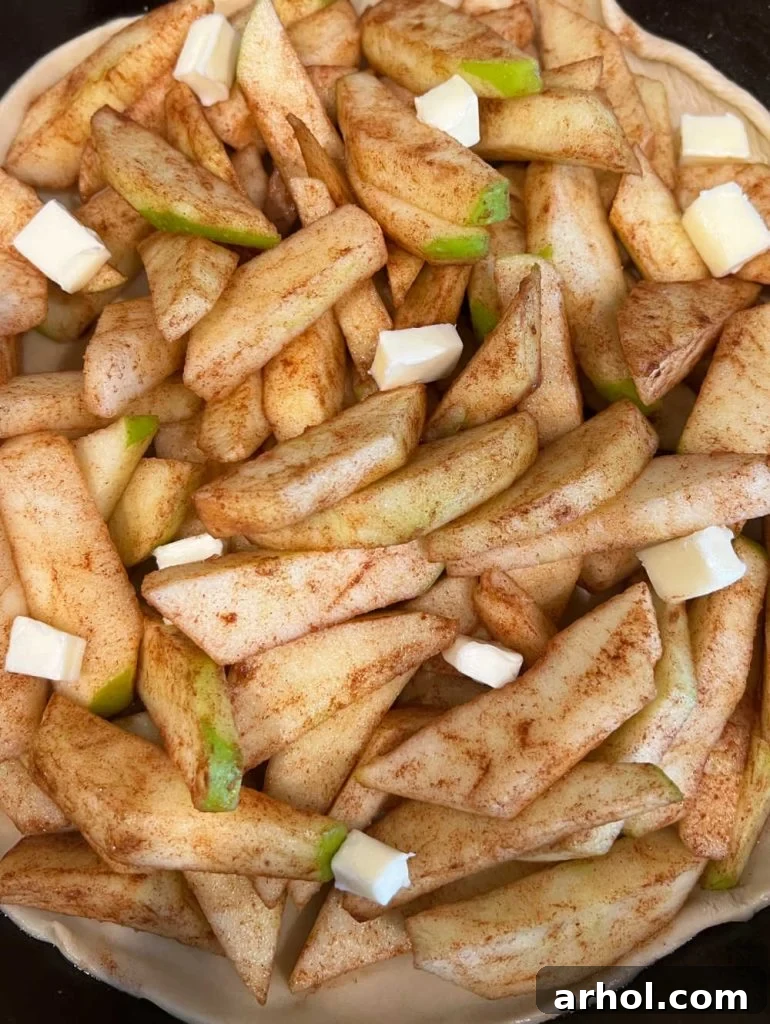
Carefully unroll one of your refrigerated pie crusts and gently place it directly over the warm brown sugar caramel mixture in the bottom of the skillet. Press it lightly to fit the contours of the pan. Next, spoon the prepared apple mixture evenly over the bottom pie crust. It may seem like a substantial amount of apples, but don’t fret; they will cook down considerably as the pie bakes, creating a perfectly full and flavorful filling. Once the apples are arranged, dot them with the remaining tablespoon of butter cut into small pieces, distributing them over the apple layer for extra richness.
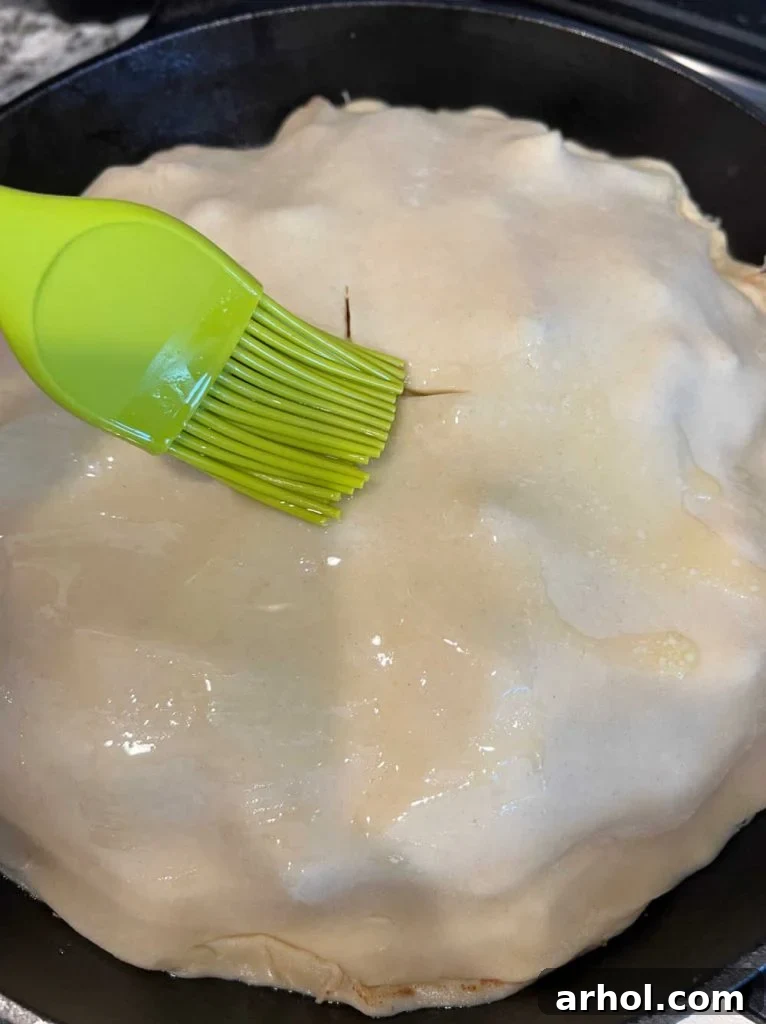
Now, carefully place the second pie crust over the mound of apples. Traditionally, for a classic apple pie, you would crimp the edges of the two crusts together. In a skillet, this can be a bit challenging, so simply pinch the crusts together as best as you can around the edges. If they don’t form a perfect seal, don’t worry, the pie will still be delicious. Using a sharp knife, create four slits in the center of the top pie crust. These vents are crucial for allowing steam to escape during baking, preventing a soggy top crust and ensuring the apples cook thoroughly. Finally, brush the reserved melted butter generously over the entire top crust, and then sprinkle it with a tablespoon of cinnamon sugar for a beautiful golden finish and added flavor.
4. Bake to Golden Perfection
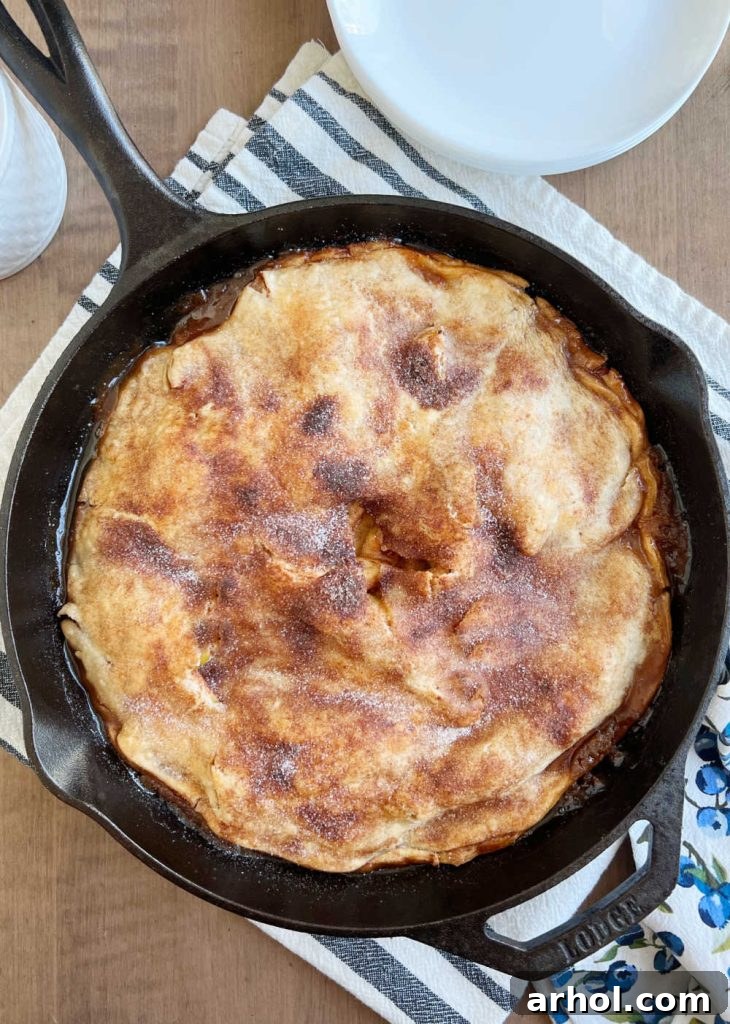
Carefully transfer the skillet into your preheated 400°F (200°C) oven. Bake for approximately 40 to 45 minutes, or until the top crust achieves a beautiful golden-brown color and the apples are fork-tender. You can test the apples by inserting a thin skewer or knife through one of the steam slits. If the crust begins to brown too quickly before the apples are fully cooked, simply tent the top of the pie loosely with a piece of aluminum foil to prevent further browning.
Serving Suggestions for Maximum Enjoyment
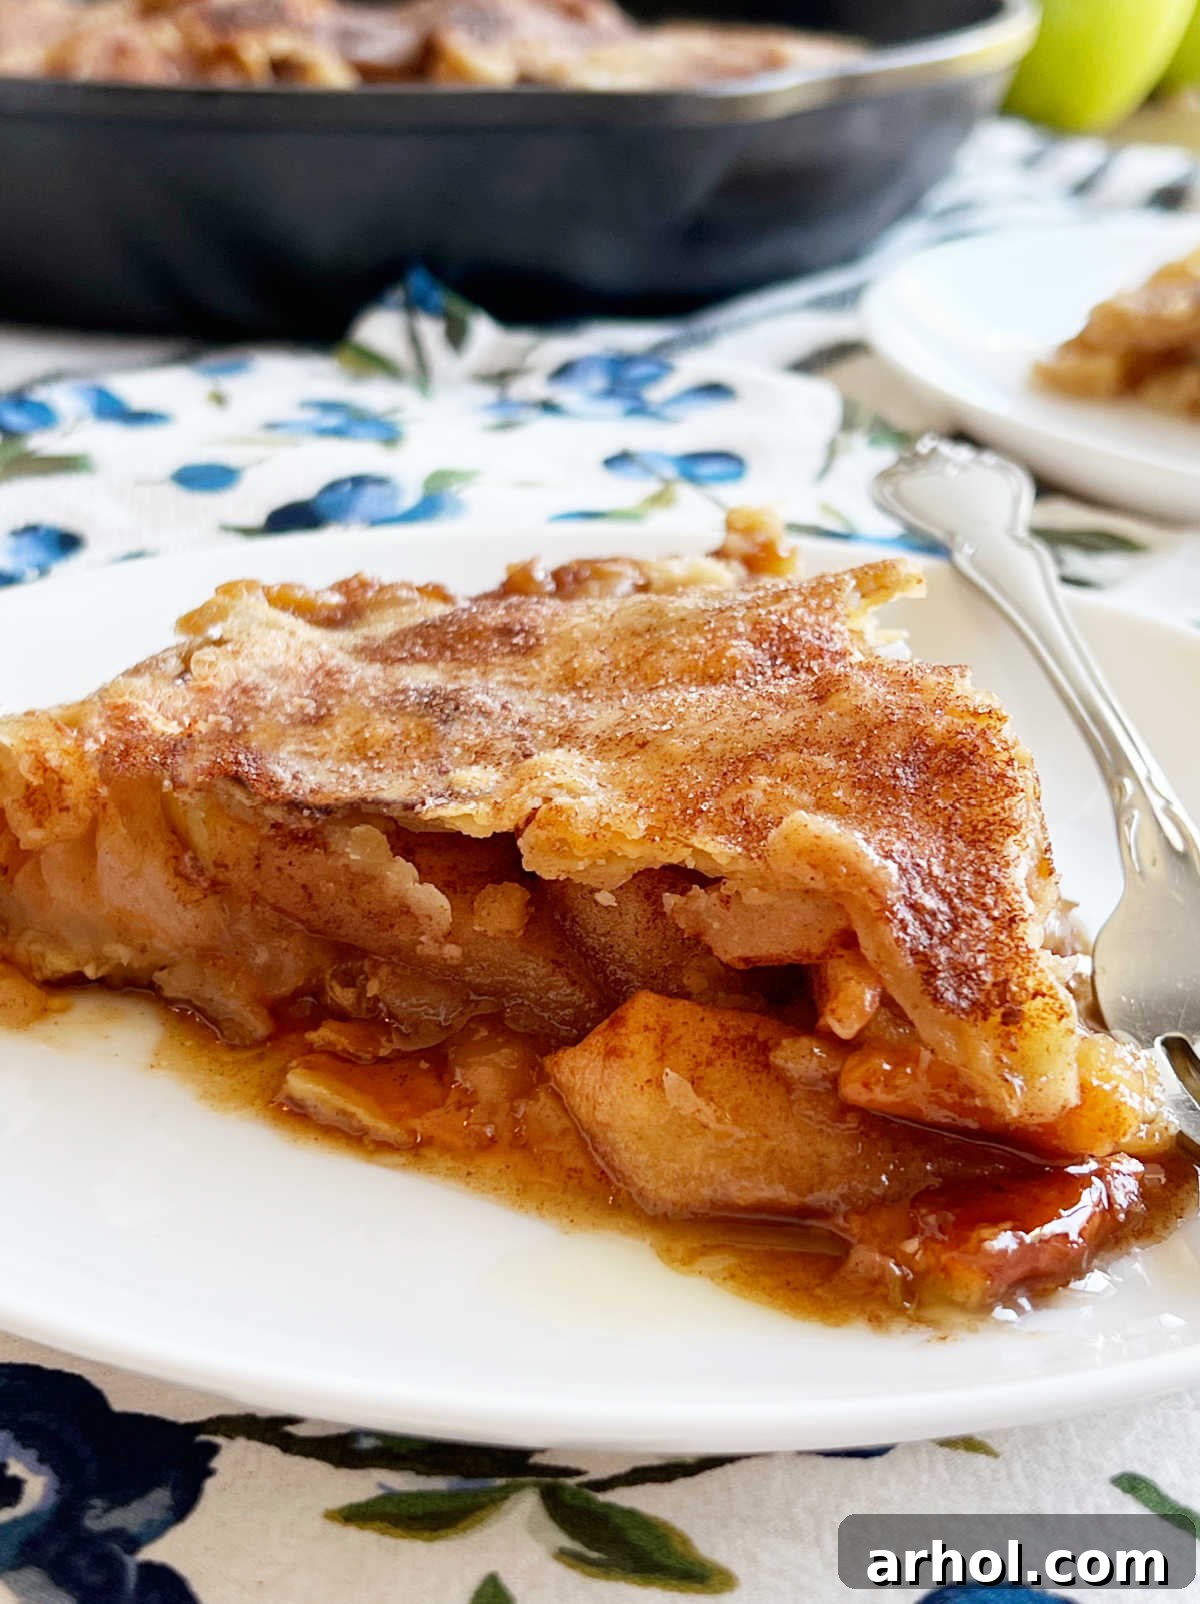
Once your easy skillet apple pie emerges from the oven, it’s essential to let it cool down a bit before serving. While it’s tempting to dive right in, the pie will have a lot of liquid bubbling around the edges. As it cools, this liquid magically transforms into a thick, glossy, and incredibly delicious caramel sauce that perfectly complements the apple filling and buttery crust.
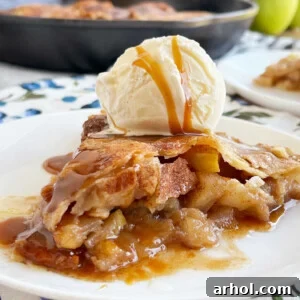
As wonderful as this skillet apple pie is on its own, its flavor is truly amplified when paired with a generous scoop of cold vanilla ice cream. The creamy, melting ice cream creates a delightful contrast with the warm, spiced apples and crisp crust. For an even more indulgent experience, try it with butter pecan ice cream, which adds a nutty dimension. Don’t forget to spoon some of that luscious caramel sauce from the skillet directly over your pie slices and ice cream when serving. This creates a cascade of sweet, warm goodness that melds beautifully with the crust and apple filling, making every bite a moment of pure bliss. It’s best when served warm, allowing the flavors to truly shine and the textures to harmonize perfectly. Enjoy!
Expert Tips for a Flawless Skillet Apple Pie
Achieving a perfectly baked skillet apple pie is simple with a few helpful hints:
- Choose the Right Skillet Size: For optimal results, use a 10-inch or 12-inch cast iron skillet. A larger skillet allows the pie crust to spread out slightly, ensuring a beautiful, rustic look. If using a larger skillet, note that the pie crust may not extend all the way to the very top edge of the pan, which is perfectly normal and adds to its charming appearance.
- Slice Apples Consistently: The key to evenly cooked, tender-yet-firm apples is consistent slicing. Aim for half-inch thick slices. If you slice them too thin, they are prone to turning into a mushy applesauce-like consistency, detracting from the pie’s texture.
- Handle Pie Crust with Care: Refrigerated pie crusts are convenient but can sometimes tear when unrolling. If this happens, don’t worry! Simply place the torn crust on a lightly floured surface and gently press the edges back together with your fingers or a rolling pin. It will bake up seamlessly.
- Embrace the Bubbling Caramel: During baking, the caramel sauce around the edges of the pie will aggressively bubble and may look a bit messy. This is completely normal and a sign that the flavors are developing beautifully. Resist the urge to open the oven too frequently. The bubbling liquid will thicken into a rich, decadent caramel sauce as the pie cools.
- Prevent Overflow: While I haven’t experienced overflow issues with a larger skillet, if you opt for a smaller skillet (like an 8-inch), it’s a good idea to place a baking sheet on the rack below the pie in the oven. This will catch any potential drips and save you from a messy oven cleanup.
- Monitor for Browning: Keep an eye on the top crust during the last 15-20 minutes of baking. If it’s browning too quickly before the apples are fully tender, loosely tent a piece of aluminum foil over the pie. This will prevent scorching while allowing the filling to finish cooking.
- Allow Ample Cooling Time: The cooling process is crucial for the pie to set properly and for the caramel sauce to thicken. Let the pie rest for at least 30-60 minutes after removing it from the oven. This patience will be rewarded with perfectly sliced pieces and a rich, sticky sauce.
- Storage and Reheating: Leftover skillet apple pie can be stored at room temperature for up to two days, covered loosely. For longer storage, refrigerate for up to 4-5 days. To reheat, warm individual slices in the microwave or place the whole skillet (or slices) in a 300°F (150°C) oven until warmed through.
Delicious Variations to Try
This easy skillet apple pie recipe is wonderfully versatile! Here are a few ways to customize it:
- Pre-made Apple Pie Filling: For an even quicker dessert, substitute the fresh apples and their seasonings with two 21-ounce cans of store-bought apple pie filling. If using canned filling, you’ll only need to bake the pie for about 25-30 minutes, or until the crust is golden brown and the filling is heated through, as the apples are already cooked.
- Spice It Up: Enhance the apple flavor with additional warm spices. A pinch of nutmeg, a dash of allspice, or a touch of ground cardamom can add depth and complexity to the apple filling.
- Crumble Topping: Instead of a second pie crust, consider a buttery streusel or crumble topping. Combine rolled oats, flour, brown sugar, a touch of cinnamon, and cold butter, then sprinkle it over the apple filling for a delightful textural contrast.
- Caramel Drizzle: After baking and cooling slightly, a generous drizzle of extra caramel sauce (homemade or store-bought) over the entire pie or individual slices can elevate the indulgence.
- Cheese Pairing: For those who enjoy a savory-sweet combination, serve slices of warm apple pie with a thin slice of sharp cheddar cheese on the side. The tanginess of the cheese beautifully cuts through the sweetness of the pie.
More Irresistible Apple Desserts for Fall
If you loved the ease and flavor of this skillet apple pie, you’re in for a treat with these other fantastic fall apple desserts. Perfect for any autumn occasion, they offer a range of delicious ways to enjoy the season’s bounty:
- Try my Caramel Apple Dump Cake for an incredibly simple yet decadent dessert that comes together with minimal effort.
- For a lighter, yet equally flavorful option, my Fresh Apple Cake is moist, spiced, and utterly delightful.
- These delicious Crescent Roll Apple Dumplings are a fun and quick way to enjoy individual apple treats.
- And for those who prefer a crisp without oats, my Cinnamon Apple Crisp Without Oats offers a perfectly crumbly topping.
Be sure to explore more easy dessert recipes and a plethora of delicious fall recipes on my site!
Pin Recipe
Print Recipe
Easy Skillet Apple Pie
Dee
15
45
1
10
Ingredients
For the Filling
- 6 Granny Smith apples washed, peeled, cored, and cut into ½-inch slices. (Approximately 2 pounds)
- 1 teaspoon lemon juice
- 2 teaspoons granulated sugar
- 1 tablespoon brown sugar
- 2 teaspoons ground cinnamon
- 1 tablespoon butter cut up into small pieces
For the Crust and Caramel Base
- 1 package refrigerated pie crust (containing 2 crusts total)
- ½ cup butter (1 stick)
- 1 cup brown sugar
- 1 tablespoon cinnamon sugar
Instructions
-
Preheat oven to 400°F (200°C).
-
Cut apples into ½-inch slices and place in a large mixing bowl. Toss with lemon juice, 2 teaspoons granulated sugar, 1 tablespoon brown sugar, and 2 teaspoons ground cinnamon. Set aside.
-
In a large cast iron skillet, melt ½ cup butter over medium heat. Reserve 1 tablespoon of the melted butter for later.
-
Stir in 1 cup brown sugar with the remaining melted butter in the skillet. Cook until well blended and bubbly, forming a caramel sauce. Remove from heat.
-
Place one pie crust on top of the brown sugar mixture in the skillet, pressing gently to fit.
-
Spoon the apple filling mixture evenly over the bottom pie crust. Dot the top of the apples with 1 tablespoon of butter pieces.
-
Cover with the second pie crust. Pinch the crusts together around the edges of the skillet as much as possible. Cut 4 slits in the center of the top pie crust to allow steam to escape.
-
Brush the reserved melted butter over the top crust, then sprinkle evenly with cinnamon sugar mixture.
-
Place the skillet in the preheated oven and bake for 40-45 minutes, or until the apples are fork-tender and the crust is golden brown. If the crust browns too quickly, tent loosely with aluminum foil.
-
Allow to cool slightly on a wire rack for at least 30-60 minutes before serving. Best served warm.
Video
Notes
For an even faster preparation, substitute 2 (21-ounce) cans of apple pie filling for the fresh apples. Adjust baking time to 25-30 minutes, or until crust is golden.
If the pie crust starts to brown too much before the apples are tender, lightly place a sheet of aluminum foil on top of the pie to prevent further browning.
It is normal for a lot of liquid to bubble up around the pie as it bakes. This liquid will thicken into a rich, luscious caramel sauce as the pie cools down.
Nutrition Information (Approximate Per Serving)
Calories:
323kcal
,
Carbohydrates:
48g
,
Protein:
1g
,
Fat:
15g
,
Saturated Fat:
8g
,
Polyunsaturated Fat:
1g
,
Monounsaturated Fat:
5g
,
Trans Fat:
0.4g
,
Cholesterol:
27mg
,
Sodium:
159mg
,
Potassium:
170mg
,
Fiber:
3g
,
Sugar:
36g
,
Vitamin A:
379IU
,
Vitamin C:
5mg
,
Calcium:
36mg
,
Iron:
1mg
Nutrition information is automatically calculated, so should only be used as an approximation.
Additional Info
Dessert
American
Did you enjoy this recipe? We’d love to hear from you!
Leave a comment below to share your experience or rating.
For more delightful and easy recipes delivered straight to your inbox, sign up for my weekly newsletter. You can also stay connected and get daily inspiration by following me on your favorite social media channels!