
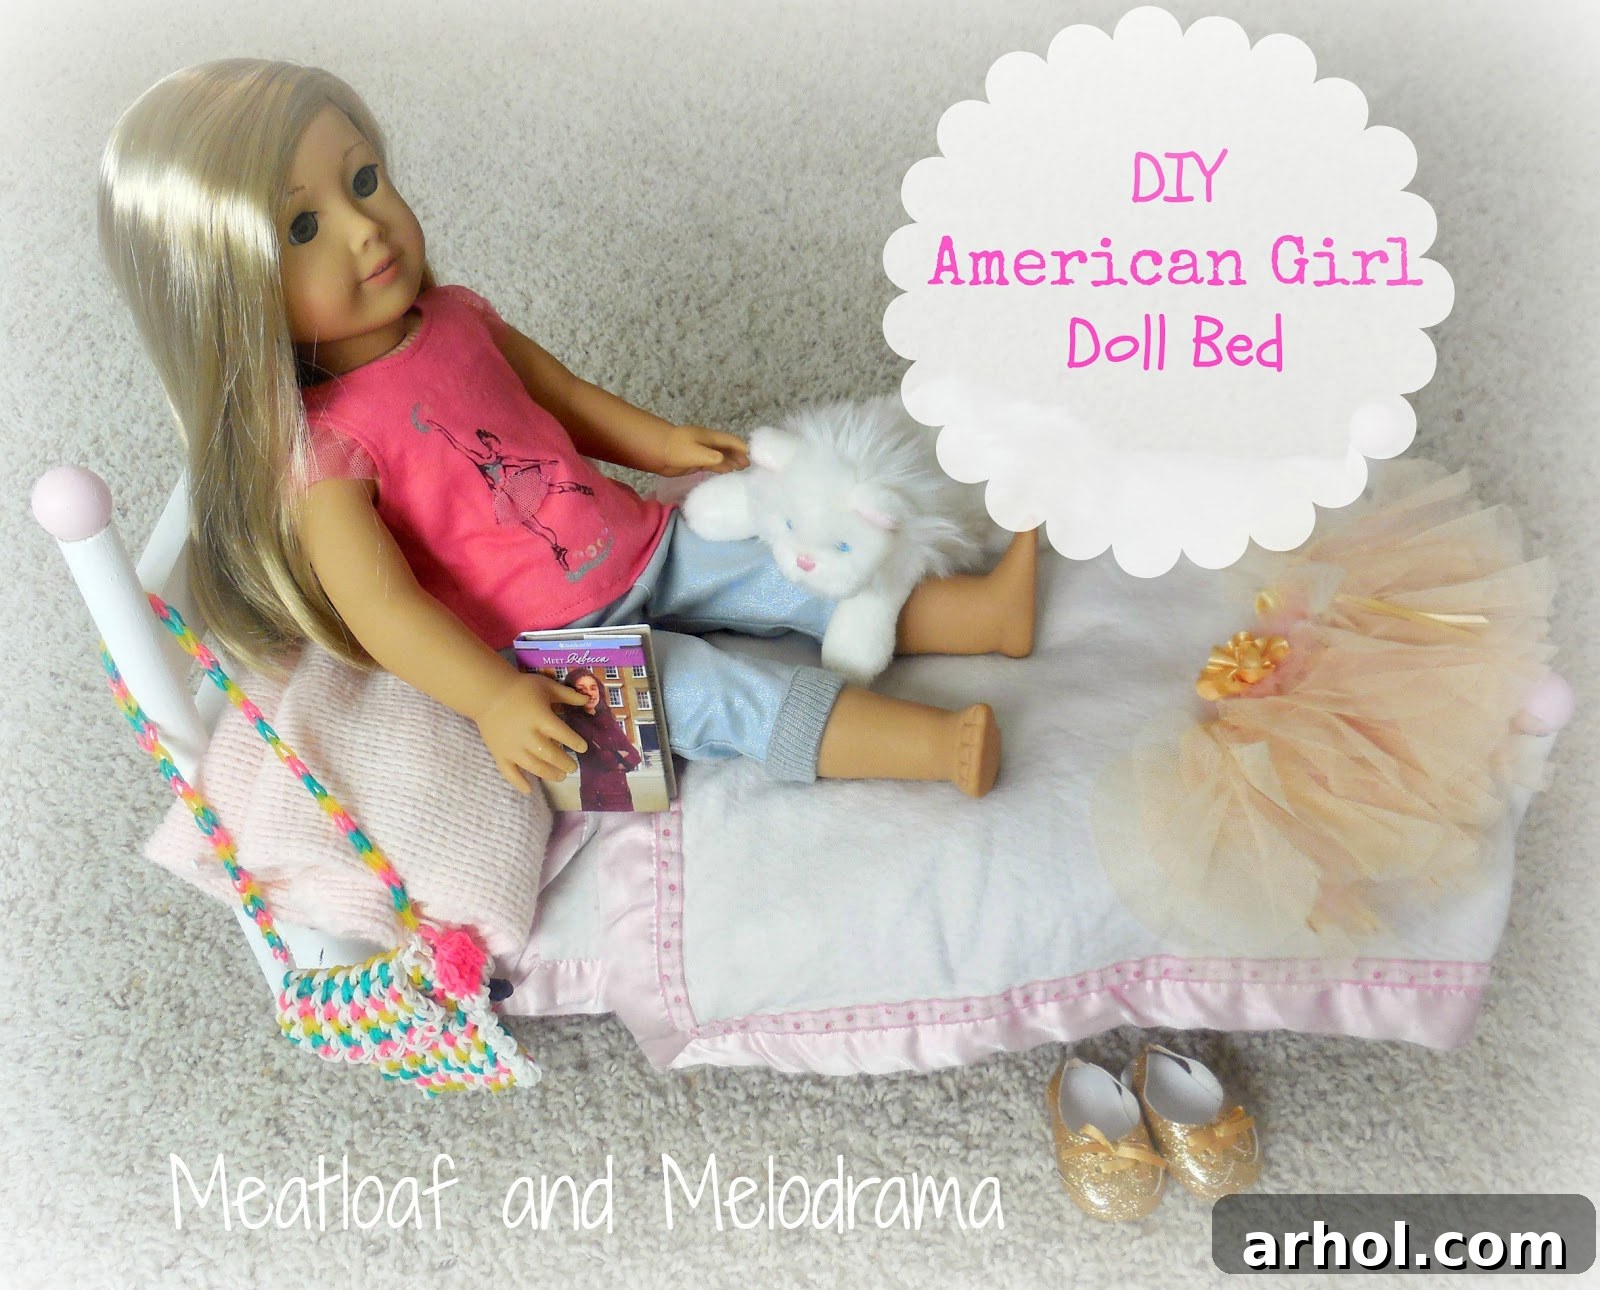
DIY American Girl Doll Bed: A Step-by-Step Guide to Crafting Doll Furniture
Are you an American Girl Doll enthusiast looking for creative ways to enhance your doll’s world without breaking the bank? Or perhaps your child’s favorite 18-inch doll needs a cozy, custom-made bed that perfectly fits her measurements and personality? You’ve come to the right place! We understand the dilemma: official doll accessories can be quite costly, and generic alternatives often fall short in size or quality. That’s why we’re excited to share an incredible DIY project that will allow you to craft a beautiful, sturdy, and affordable wooden doll bed, perfect for any 18-inch doll, including beloved American Girl dolls.
This project is not just about saving money; it’s about the joy of creation, the satisfaction of making something with your own hands, and the precious bonding experience it offers when working with a child. Imagine the excitement as your little one helps paint and decorate a unique bed specifically made for their cherished doll. Let’s dive into how you can easily make this charming piece of doll furniture using readily available materials, transforming simple garden stakes into a dreamy resting place for their favorite companion.
Why DIY Your Doll Bed? Unbeatable Benefits of Handmade Doll Furniture
The decision to build a doll bed rather than buy one came from a common frustration: finding an adequately sized and affordable bed for an 18-inch doll. Many store-bought options are either too small, made from flimsy materials, or carry a hefty price tag. By choosing the DIY route, you unlock several fantastic advantages:
- Cost Savings: This project utilizes repurposed materials like garden stakes, significantly cutting down on expenses compared to retail doll beds.
- Perfect Fit: You can custom-measure the bed to ensure it’s the ideal size for any 18-inch doll, preventing awkward overhangs or tight squeezes.
- Personalization: From paint colors to decorative embellishments, every aspect of the bed can be tailored to your child’s preferences, making it truly unique.
- Quality and Durability: Crafted from wood, your handmade bed will likely be more robust and long-lasting than many mass-produced plastic alternatives.
- Family Project: Involving children in the crafting process teaches them valuable skills, fosters creativity, and creates lasting memories.
- Sustainability: Repurposing materials like garden stakes is an eco-friendly approach to crafting.
For our project, we decided to get creative with our materials. Instead of buying new lumber, we rummaged through our wood stash and discovered leftover garden stakes from a previous project (our wooden American flag). These stakes proved to be almost the perfect dimensions, requiring only minimal trimming. This resourcefulness not only saved money but also gave new life to materials that might otherwise have gone unused.
Essential Materials: Gathering Your Supplies for This Doll Bed Project
Before you begin, gather all the necessary tools and materials. Having everything ready will make the building process smooth and enjoyable. Remember, some items can be substituted based on what you have on hand or prefer.
- Wooden Garden Stakes: These form the main structure of the bed (sides, headboard, slats). Choose stakes that are sturdy and relatively straight.
- Saw: A hand saw, miter saw, or even a hacksaw will work for cutting the wood to size.
- Long Wooden Dowel Rod: This will be cut into four pieces to create the bed posts.
- Package of Small Round Wooden Knobs: These add a charming decorative touch to the top of the bed posts. You can find these at craft stores.
- Wood Glue or Tacky Glue: A strong adhesive is crucial for securely joining the wooden pieces. Wood glue offers excellent durability.
- Sandpaper: Essential for smoothing rough edges and preparing the wood for painting. Various grits (e.g., medium and fine) are helpful.
- Paint: Acrylic craft paint or spray paint in your desired colors. We chose pink and white for a classic, sweet look.
- Foam Heart Decals (or alternative decorations): For personalizing the headboard. Stickers, stencils, or painted designs are also great options.
- Measuring Tape or Ruler: For precise measurements of your doll and wood pieces.
- Pencil: For marking cutting lines.
- Clamps (optional): Helpful for holding pieces together while the glue dries.
Step-by-Step DIY Doll Bed Tutorial: Building Your Doll’s Dream Bed
Crafting this doll bed is a rewarding project that involves simple carpentry and a touch of creativity. Follow these steps to build a beautiful bed for your 18-inch American Girl doll.
Step 1: Measure and Cut the Main Bed Frame Pieces
The first and most important step is to measure your doll. An American Girl doll is typically 18 inches tall. We recommend adding an inch or two to the length for a comfortable fit, allowing for bedding. For the width, consider the doll’s girth and how much space you want. We trimmed two garden stakes to serve as the long side rails of the bed, ensuring they were long enough for an 18-inch doll. Remember, this project is forgiving; you don’t need scientific precision, just enough length for your doll to lie comfortably.
Next, cut smaller pieces from your garden stakes to form the headboard, footboard, and the bottom slats that will support the doll’s mattress. The headboard can be slightly taller and wider than the footboard for aesthetic appeal. For the slats, ensure they are uniform in length and will fit snugly between the side rails.
Step 2: Assemble the Bed Frame
Once all your pieces are cut, it’s time to start assembling. Begin by gluing the headboard and footboard pieces together to form solid panels. Then, attach the side rails to these panels using wood glue. Ensure all connections are square and secure. Apply a generous amount of wood glue to each joint and press the pieces firmly together. If you have clamps, use them to hold the pieces in place while the glue sets, which usually takes at least 30 minutes to an hour, depending on the type of glue and humidity. Allow ample drying time for each section before moving on.
After the main frame is secure, glue the bottom slats evenly across the width of the bed, connecting the two side rails. These slats provide the necessary support for the doll’s mattress and contribute to the bed’s overall stability.
Step 3: Craft and Attach the Bed Posts
To give the bed a classic look, we decided to add bed posts. Take your long wooden dowel rod and cut it into four equal pieces. These will serve as the vertical posts at each corner of the bed. The length of the dowels can be adjusted based on how tall you want your bed posts to be. Once cut, apply wood glue to the bottom end of each dowel and attach them securely to the outer corners of the headboard and footboard sections. Again, hold them firmly or clamp them until the glue begins to set.
Step 4: Add Decorative Wooden Knobs
For an extra touch of charm, we purchased a package of small, round wooden knobs from a craft store. These simple additions can significantly enhance the bed’s aesthetic. Apply a dab of wood glue to the top of each bed post and firmly press a wooden knob onto it. These knobs give the posts a finished, elegant appearance, resembling miniature finials. Let all glued joints dry completely, ideally overnight, before proceeding to the next steps.
Step 5: Sand and Prepare for Painting
After the glue has fully cured, it’s crucial to sand the entire bed frame. Use sandpaper (starting with a medium grit, then moving to a fine grit) to smooth out any rough edges, splinters, or uneven surfaces. This not only makes the bed safe for little hands and dolls but also ensures a much smoother and more professional-looking paint finish. Wipe down the sanded wood with a damp cloth to remove any dust particles before painting.
Step 6: Paint Your Doll Bed with Flair
Now for the fun part – painting! Our daughter wanted a classic pink and white bed, and she enthusiastically helped with the painting process, making it a truly collaborative effort. Choose colors that complement your child’s room or their doll’s personality. Apply paint in thin, even coats to avoid drips and achieve a smooth finish. You’ll likely need two or three coats for full coverage, allowing each coat to dry completely before applying the next. This step truly brings the bed to life!
Step 7: Personalize with Decorations
Adding personal touches makes the bed truly special. We originally planned to stencil hearts on the headboard but didn’t have a stencil small enough. So, we opted for two cute pink foam hearts, which we simply stuck onto the headboard. The result was charming, making the hearts appear almost carved into the wood. Other ideas for decoration include:
- Stenciling: Use small stencils with various designs (stars, flowers, initials).
- Hand-painted details: If you’re artistic, add small freehand designs.
- Stickers or Decals: An easy way to add patterns or characters.
- Fabric Accents: Glue a piece of decorative fabric to the headboard for a softer look.
- Glitter or Rhinestones: For a touch of sparkle.
Voila! Your Handmade Doll Bed is Complete
And just like that, you’ve created a beautiful, custom-made doll bed for a mere fraction of the cost of a store-bought one! The satisfaction of seeing your child’s favorite doll nestled in a bed crafted with love is truly priceless. This project not only provides a functional item but also serves as a testament to creativity and resourcefulness.
Our daughter absolutely adores her new bed, and of course, her doll does too! Witnessing their joy makes every minute spent on this DIY project worthwhile. It’s a wonderful example of how a little ingenuity and effort can lead to cherished keepsakes and happy memories.
Tips for Success and Variations
- Safety First: When using saws, ensure adult supervision and proper safety gear. When gluing and painting, work in a well-ventilated area.
- Material Alternatives: If garden stakes aren’t available, consider using craft wood, thin plywood strips, or even sturdy cardboard for a lighter, quicker version.
- Creative Bedding: Don’t forget to complete the look with handmade doll bedding! A small mattress, pillow, and blanket can be easily sewn from scrap fabric.
- Consider a Canopy: For an extra luxurious touch, add a simple fabric canopy draped over taller dowel posts.
- Storage: If you’re feeling ambitious, you could add small wooden boxes or baskets underneath for doll accessory storage.
- Different Styles: Experiment with different paint finishes (distressed, metallic) or wood stains to achieve a rustic or modern look.
Join the DIY Doll Furniture Community!
Thank you for following along with our latest American Girl Doll project! We hope this detailed tutorial inspires you to embark on your own doll furniture crafting adventure. The possibilities for customization are endless, and the joy it brings is immense. We encourage you to share your creations and experiences in the comments below!
Have an awesome and creative day!
Dee 🙂
Update on 11/11/14: If you’re looking for more DIY ideas to enhance your doll’s collection, be sure to check out these additional craft projects: