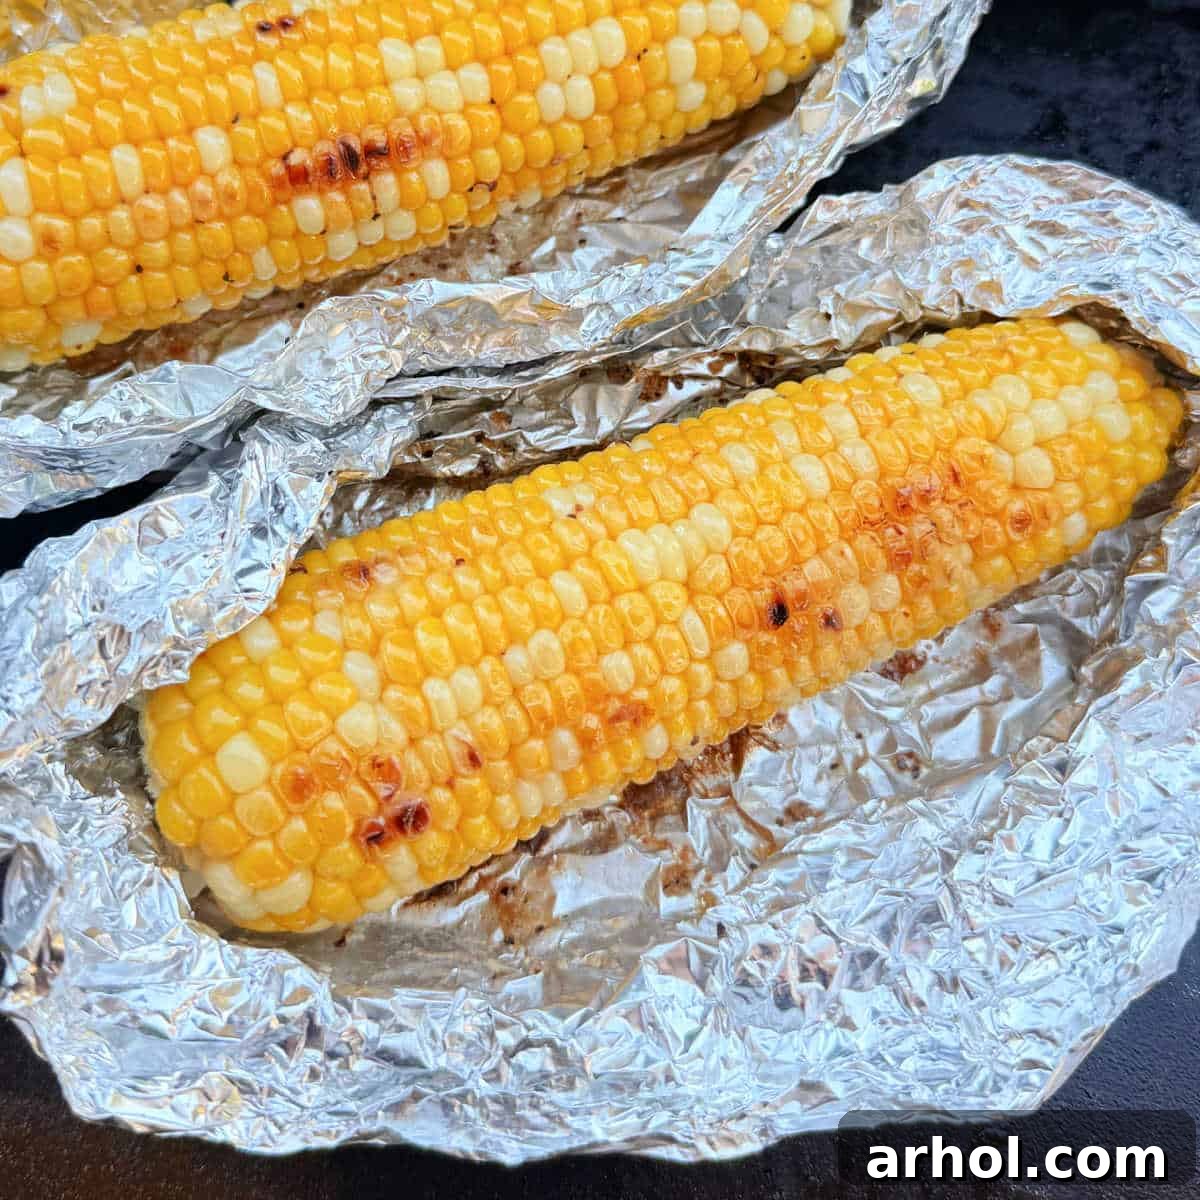
Irresistible Blackstone Corn on the Cob: Your Ultimate Summer Side Dish
Elevate your summer cookouts with the most tender, juicy, and flavor-packed corn on the cob, expertly prepared on your Blackstone griddle. This simple yet spectacular recipe, wrapped in foil, guarantees perfectly cooked sweet corn every single time, making it an absolute game-changer for any outdoor gathering.
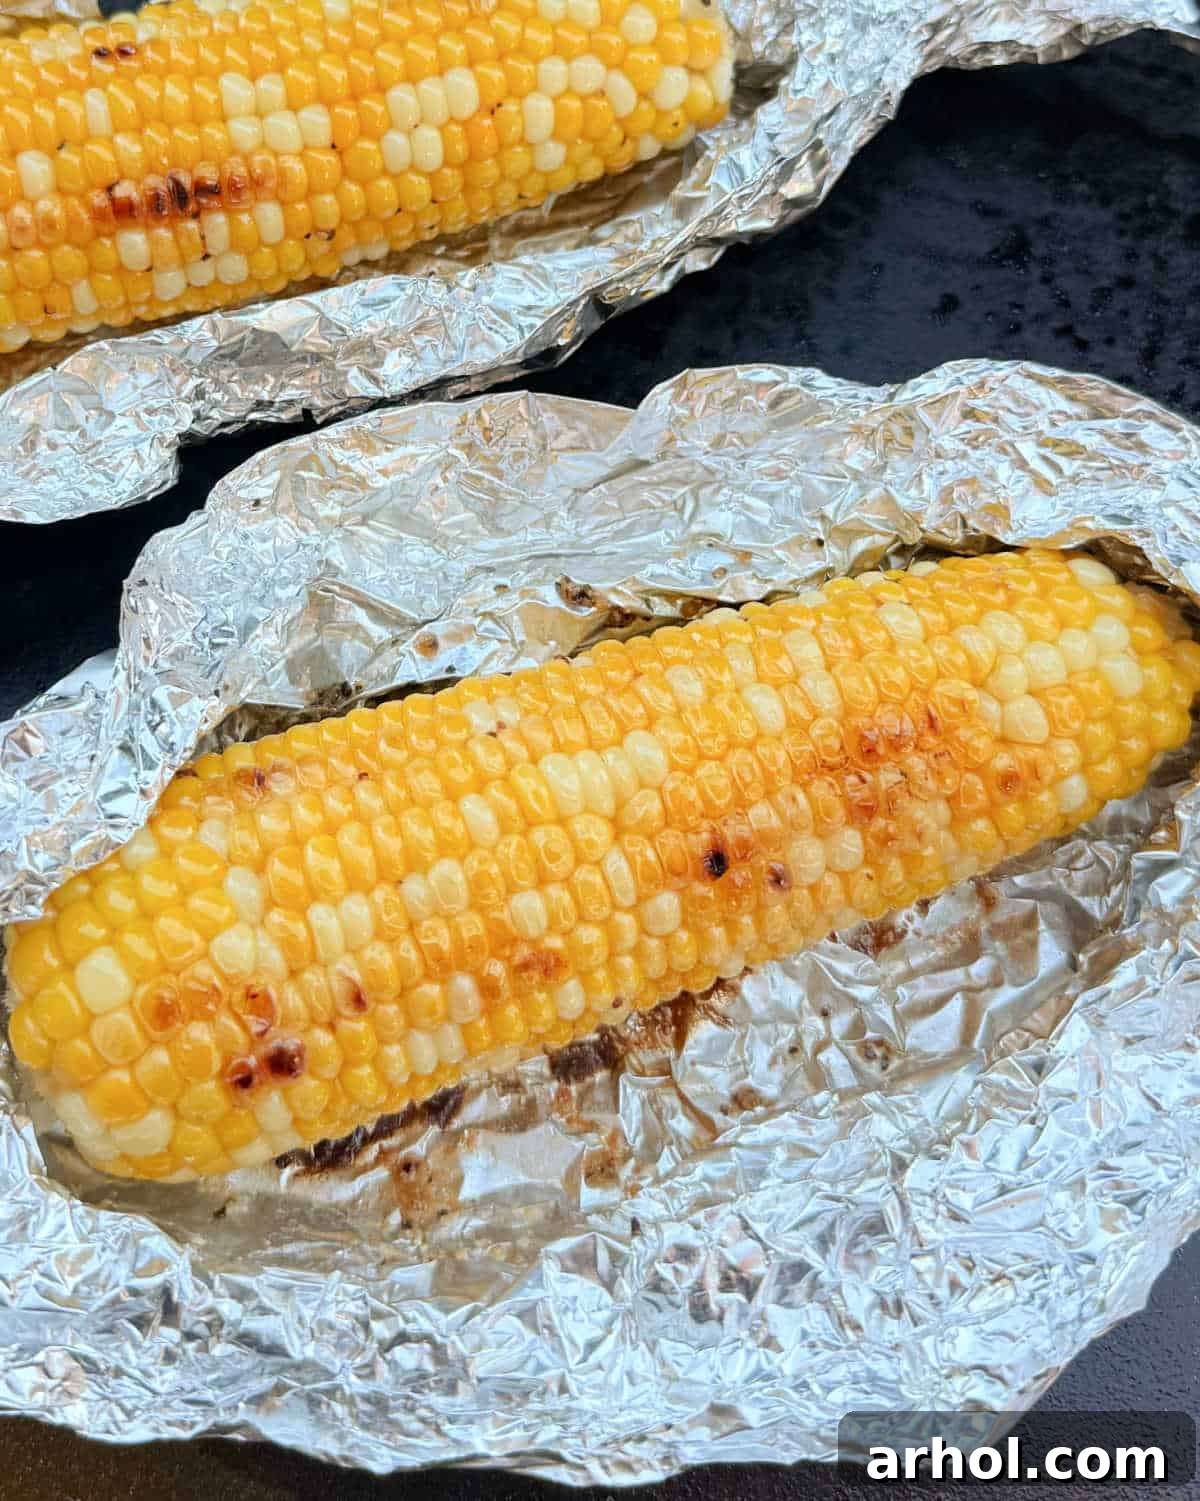
Why Cook Corn on the Griddle? Discover the Blackstone Advantage!
Absolutely, you can – and should – cook corn on your griddle! As soon as sweet corn season arrives, making it a staple for summer cookouts becomes a priority. While traditional grilling offers a smoky char and boiling ensures tenderness, cooking corn on the cob on a Blackstone griddle brings a unique set of benefits that make it superior for many.
Using a flat top griddle is a true culinary game changer for corn. It allows you to cook a significant quantity of corn simultaneously, perfect for feeding a crowd without juggling multiple batches. The even heat distribution across the griddle surface ensures that each ear cooks uniformly, resulting in consistently tender and flavorful kernels from end to end, a consistency often hard to achieve on a grill with direct flames.
Beyond efficiency, the Blackstone offers incredible versatility. You can seamlessly prepare this delectable side dish alongside your favorite Blackstone main courses. Imagine serving perfectly cooked corn alongside juicy smash burgers, succulent steak, tender chicken, savory shrimp, or flavorful pork chops. The key is simply to start your corn cooking first, as it generally requires a bit more time than most meats, allowing everything to be ready at the same time for a perfectly coordinated meal.
Essential Ingredients for Perfect Griddle Corn
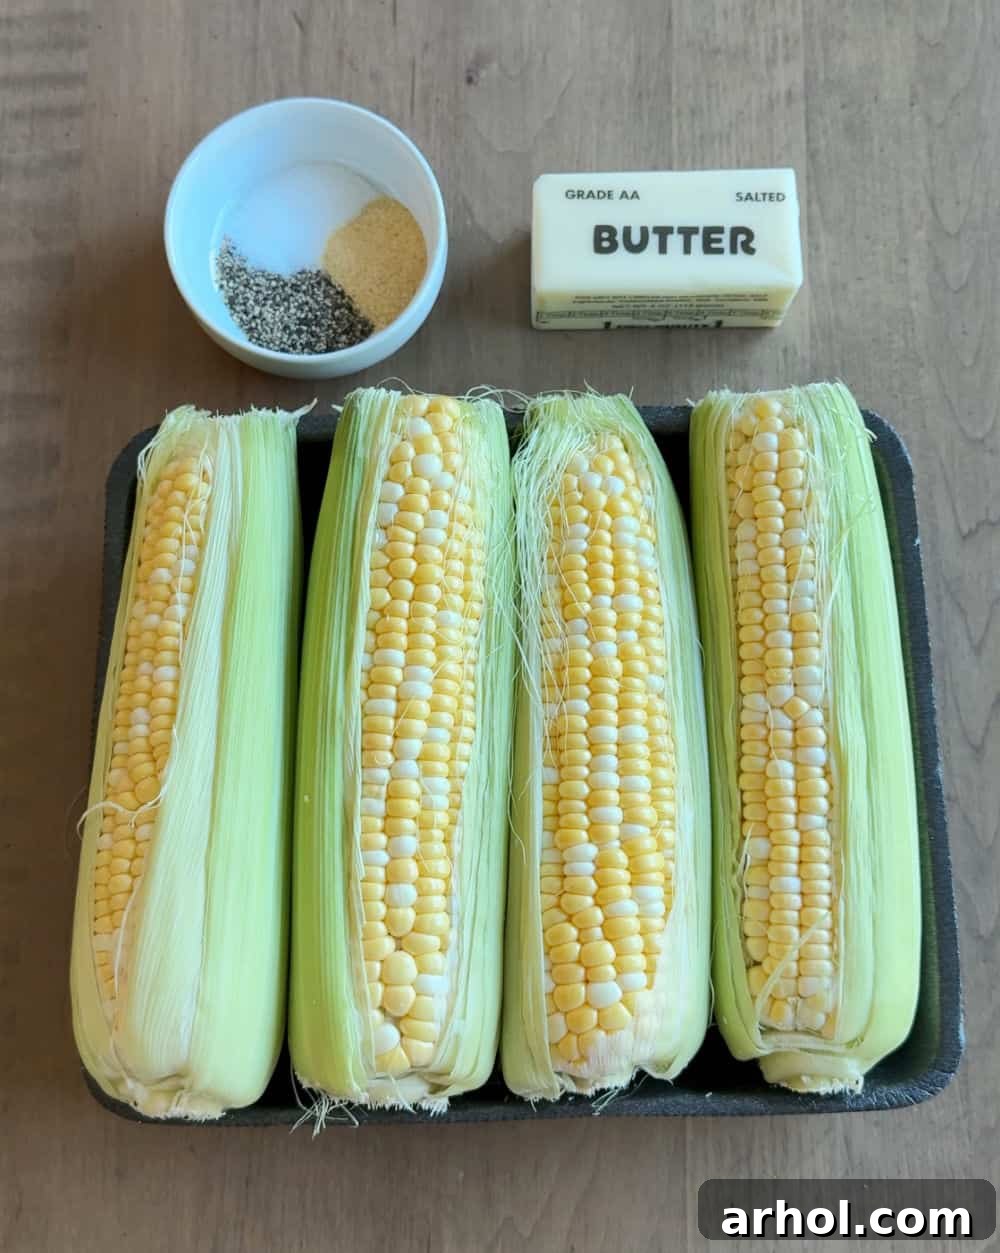
Crafting the perfect Blackstone corn on the cob starts with a few simple, high-quality ingredients. The full, detailed amounts are available in the comprehensive recipe section below.
- Fresh Corn on the Cob: The foundation of this recipe. For the best flavor, seek out fresh sweet corn from a local farmers’ market or produce stand when it’s in season. Look for ears with firm, plump kernels and bright green husks that aren’t dried out. If fresh corn with husks is unavailable, pre-shucked or partially shucked options from your grocery store work wonderfully. Before cooking, ensure you remove all husks and meticulously clean off any corn silk. A quick rinse under cold water followed by thorough patting dry prepares the corn for optimal seasoning absorption.
- Butter (or Oil): Butter is not just a flavor enhancer; it’s crucial for achieving that tender, juicy texture. It creates a rich, creamy coating and prevents the corn from drying out during the cooking process inside the foil packet. For dietary preferences or a lighter touch, high-heat oils like olive oil or avocado oil make excellent substitutions, still contributing to moisture and flavor without the dairy.
- Flavorful Seasonings: My go-to blend for a classic, universally loved flavor includes a balanced mix of salt, freshly ground black pepper, and aromatic garlic powder. This trio beautifully complements the natural sweetness of the corn. However, don’t hesitate to experiment and personalize your corn! Consider adding a sprinkle of ranch seasoning for a zesty kick, chili lime for a vibrant, tangy note, or even taco seasoning for a touch of smoky, savory spice. The possibilities are endless for customizing your griddle corn to match any meal or mood.
- Heavy-Duty Aluminum Foil: The unsung hero of this recipe! Wrapping each ear of corn individually in foil serves multiple vital purposes. It makes handling the hot corn incredibly easy, especially when turning them on the griddle. More importantly, the foil creates a steamy, self-contained environment that locks in moisture, ensuring the corn cooks evenly and emerges wonderfully tender and juicy. Heavy-duty foil is highly recommended for its durability, preventing tears and ensuring a secure packet. If only standard foil is available, simply double up the pieces for each ear of corn to provide adequate protection and insulation.
Prepping Your Corn for Griddle Success
Proper preparation is key to the best Blackstone corn. Start by stripping away the outer husks and removing all the silky strands clinging to the kernels. A soft brush or clean kitchen towel can help with stubborn silks. Once clean, give each ear a quick rinse under cool running water to wash away any lingering debris. Pat them completely dry with paper towels. This ensures the butter and seasonings adhere beautifully, creating a perfect flavor crust as it steams in the foil.
How to Cook Corn on the Cob on the Blackstone Griddle: A Step-by-Step Guide
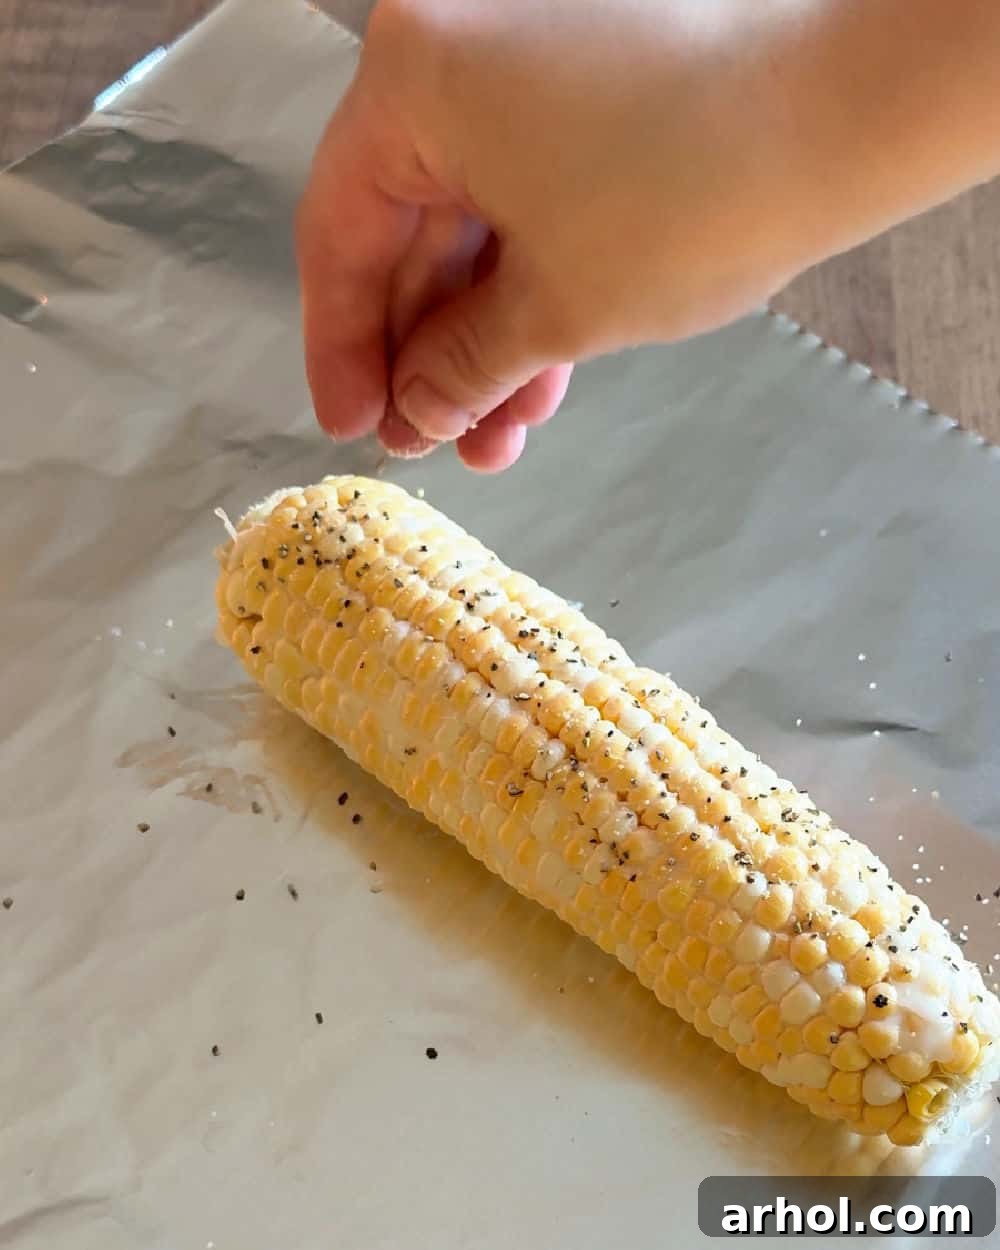
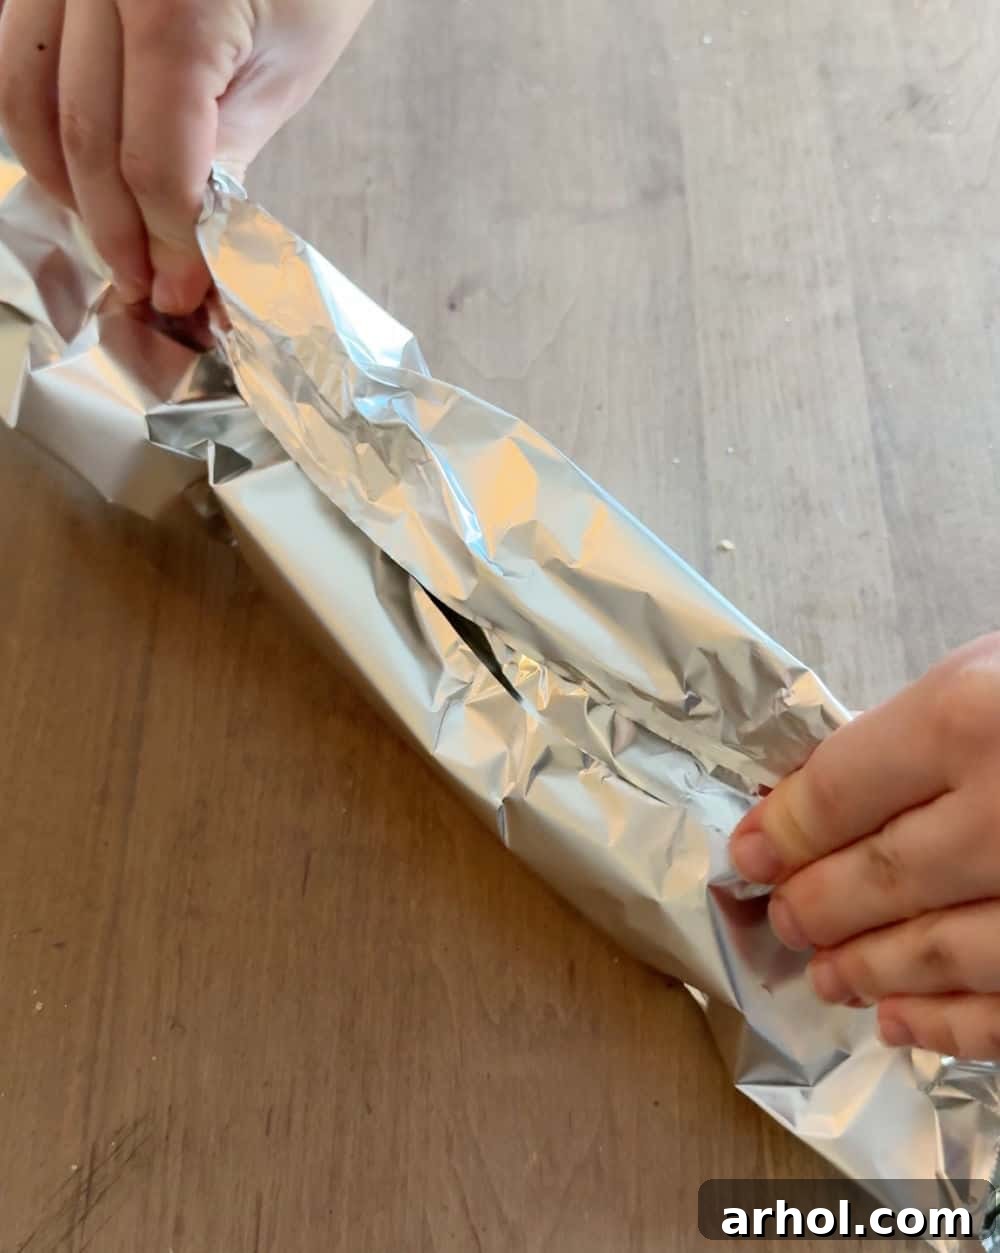
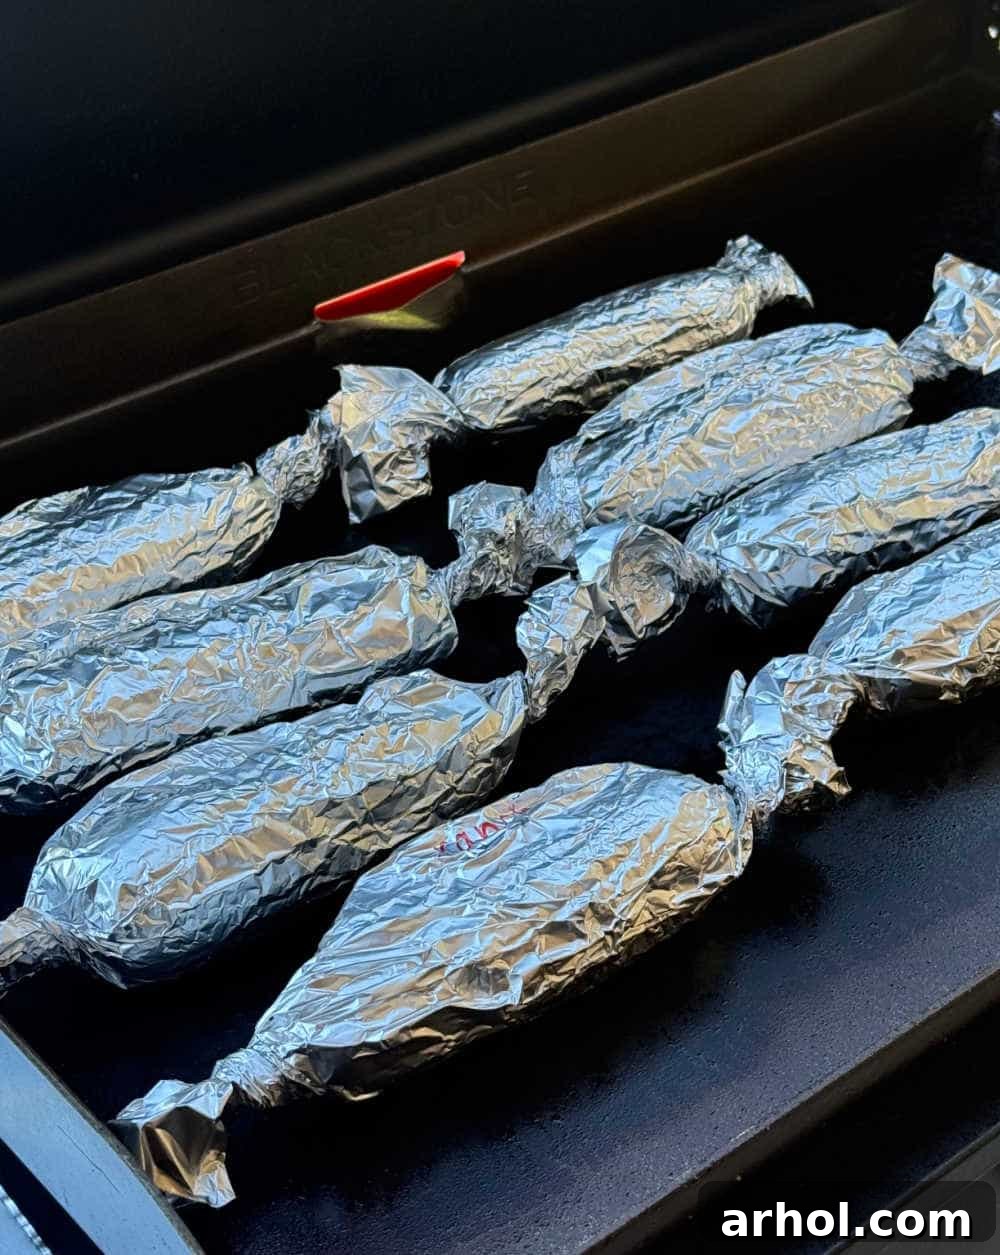
Cooking corn on the cob on your Blackstone griddle is straightforward and yields fantastic results. Follow these easy steps for tender, delicious corn every time:
Blackstone Corn Cooking Tips for Success
Loosely Wrap for Steam: Avoid wrapping the corn too tightly in the foil. The small amount of air space is essential for steam to circulate properly, which is how the corn becomes tender and juicy.
Handle with Care: Aluminum foil packets get incredibly hot on the griddle. Always use long BBQ tongs when handling the corn and exercise extreme caution when opening the packets after cooking to release the hot steam.
Customize Your Seasonings: Don’t limit yourself to just salt, pepper, and garlic powder. Experiment with various seasoning blends to match your taste. Try smoky paprika, a pinch of cayenne for heat, or fresh herbs like chopped cilantro or parsley. A squeeze of fresh lime juice after cooking can also brighten the flavors.
Extra Butter for Serving: For an extra decadent experience, have additional pats of butter ready to melt over the hot, cooked corn just before serving. A sprinkle of fresh chives or grated Parmesan cheese can also elevate your side dish.
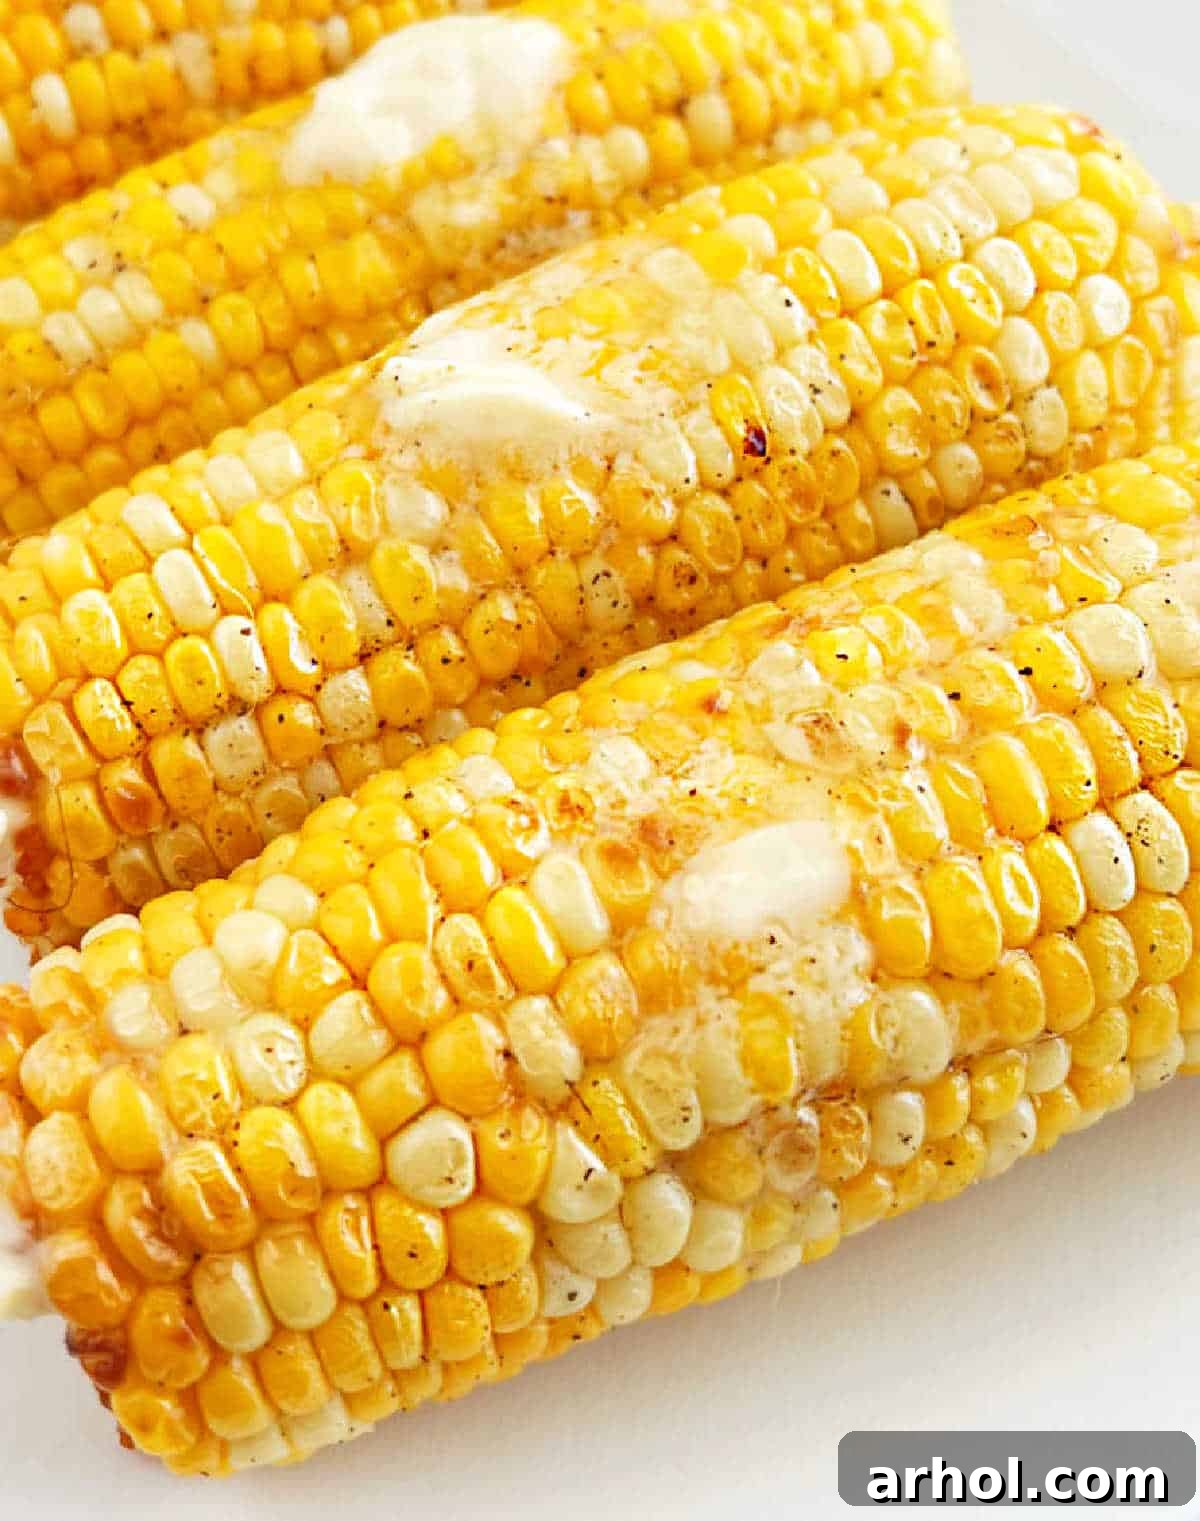
Check for Doneness: The cooking time can vary slightly depending on the size and freshness of your corn. To check for doneness, carefully open one packet (watch for steam!) and pierce a kernel with a fork. It should be tender and easily bitten through, with a sweet, cooked flavor.
Storing and Reheating Leftover Griddle Corn
Enjoying delicious Blackstone corn doesn’t have to stop after the meal. Proper storage ensures you can savor your leftovers for days:
- Refrigerator Storage: Any leftover cooked corn on the cob should be stored in an airtight container in your refrigerator. It will remain fresh and delicious for 3 to 5 days. You can keep it on the cob or, for easier use in other dishes, remove the kernels with a sharp knife. These kernels are fantastic additions to salads, salsas, or even a creamy corn dip.
- Freezing for Later: For longer storage, cooked corn freezes exceptionally well. Remove the kernels from the cob, spread them in a single layer on a baking sheet to freeze individually, then transfer them to a freezer-safe bag or container. They can be frozen for up to 3 months. When ready to use, simply thaw and reheat gently.
- Reheating: To reheat, you can place the corn (on or off the cob) back on the griddle with a splash of water or butter, cover with a dome, and heat until warm. Alternatively, microwave in short bursts or gently warm in a pan on the stovetop.
Beyond the Griddle: More Ways to Cook Corn
While the Blackstone griddle offers an outstanding method for corn on the cob, there are many delicious ways to prepare this summer staple, each with its own charm:
- Grilled Corn in Foil: Similar to the griddle method, grilling corn in foil keeps it moist and tender, with the added benefit of smoky char from direct flame contact.
- Boiled Corn: A classic for a reason, boiling corn on the stove yields sweet and soft kernels quickly and easily.
- Air Fryer Corn: For a crispy-tender result with minimal effort, air frying corn is a convenient and delicious option.
- Microwave Corn: When you need corn in a flash, the microwave is surprisingly effective for a quick steam.
- Instant Pot Corn: For perfectly cooked corn with speed and precision, the Instant Pot is another excellent choice, especially for larger batches.
Frequently Asked Questions About Blackstone Griddle Corn
Q1: What’s the best type of corn to use for the Blackstone griddle?
Fresh sweet corn is always the top choice. Look for ears with bright green husks, moist ends, and plump, firm kernels. The fresher the corn, the sweeter and more tender your final dish will be. While pre-shucked corn from the grocery store is convenient, farm-fresh, in-season corn truly shines on the griddle.
Q2: Can I cook corn on the Blackstone without foil?
Yes, you can! Cooking corn directly on the griddle surface, perhaps after lightly oiling it, will give you a slightly charred exterior and a more roasted flavor. This method is excellent if you enjoy a bit of caramelization on your corn kernels. However, wrapping it in foil helps steam the corn, ensuring maximum tenderness and juiciness, and prevents it from drying out, especially if cooking for a longer duration or keeping it warm.
Q3: How do I know when the corn on the cob is done on the griddle?
Griddle corn is typically done when the kernels are tender and appear plump and vibrant yellow. The internal temperature of a fully cooked ear of corn should be around 160-170°F (71-77°C), though checking with a thermometer is often overkill for corn. The easiest way is to carefully open one of the foil packets (watch out for steam!) and pierce a kernel with a fork or the tip of a knife. If it’s easily pierced and tastes sweet and tender, it’s ready.
Q4: What are some creative seasoning ideas for Blackstone griddle corn?
Beyond the classic butter, salt, pepper, and garlic powder, the options are endless! Try a Mexican street corn (Elote) inspired blend with cojita cheese, lime juice, and chili powder. A smoky BBQ rub can add a savory depth. For an herbal touch, fresh chopped rosemary, thyme, or parsley mixed with butter are fantastic. You can also get spicy with a dash of cayenne pepper or a ready-made Cajun seasoning blend.
Q5: Can I prepare the corn ahead of time for a cookout?
Absolutely! You can shuck, clean, butter, season, and wrap the corn in foil several hours or even a day in advance. Store the wrapped ears in the refrigerator until you’re ready to cook. This preparation step saves valuable time on the day of your cookout, allowing you to focus on the main dishes and enjoying your guests.
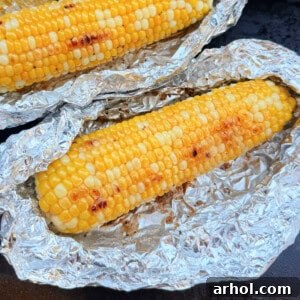
Blackstone Corn on the Cob in Foil
By: Dee
This Blackstone corn on the cob is the perfect summer side dish for cookouts. Griddle corn in foil turns out tender, juicy and delicious every time!
Rated 5 out of 5 stars from 3 votes
Prep Time: 10 minutes
Cook Time: 20 minutes
Total Time: 30 minutes
Servings: 6
Ingredients
- 6 ears corn on the cob, shucked and cleaned
- 6 tablespoons butter
- 1 teaspoon garlic powder
- ½ teaspoon sea salt
- ¼ teaspoon ground black pepper
Instructions
- Place one ear of corn at a time on a large sheet of heavy-duty aluminum foil.
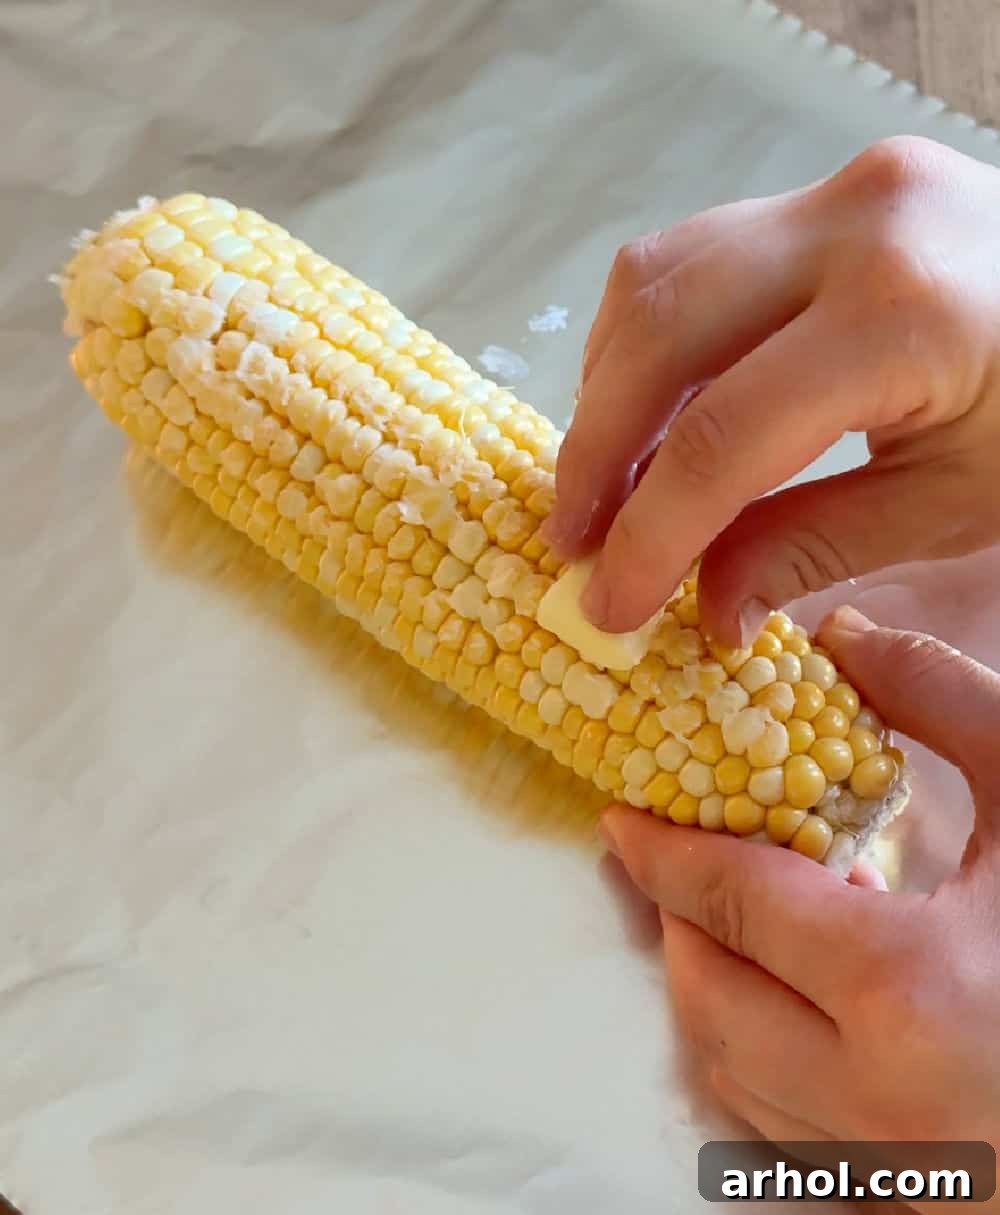
- Rub part of 1 tablespoon of butter over each ear of corn.
- Sprinkle evenly with some of the garlic powder, salt, and pepper.
- Place the remaining pat of butter on top of the corn, and loosely wrap foil around corn so that there is space between the foil and corn, making sure ends are tightly closed. Repeat process with all ears of corn.
- Heat griddle to medium, and place corn evenly on the griddle surface.
- Use tongs to turn the corn on each side every 5-6 minutes or so until it is fully cooked and tender.
- Remove to a platter or foil pan until ready to eat.
Notes
- Use care when opening packets as corn is very hot.
- Make sure not to wrap corn too tightly in the packets to allow air to circulate.
- Total cooking time depends upon the size of corn.
Nutrition Information (Approximate)
| Calories: | 180 kcal |
| Carbohydrates: | 17 g |
| Protein: | 3 g |
| Fat: | 13 g |
| Saturated Fat: | 7 g |
| Polyunsaturated Fat: | 1 g |
| Monounsaturated Fat: | 3 g |
| Trans Fat: | 1 g |
| Cholesterol: | 30 mg |
| Sodium: | 298 mg |
| Potassium: | 253 mg |
| Fiber: | 2 g |
| Sugar: | 6 g |
| Vitamin A: | 519 IU |
| Vitamin C: | 6 mg |
| Calcium: | 6 mg |
| Iron: | 1 mg |
Nutrition information is automatically calculated, so should only be used as an approximation.
Additional Info
Course: Side Dish
Cuisine: American
Join Our Culinary Community!
Loved this recipe? Share your thoughts and any creative variations you tried in the comments section below! Your feedback helps other home cooks discover new favorites.
Don’t miss out on more easy and delicious recipes! Sign up for our weekly newsletter to receive culinary inspiration and tips directly in your inbox.