
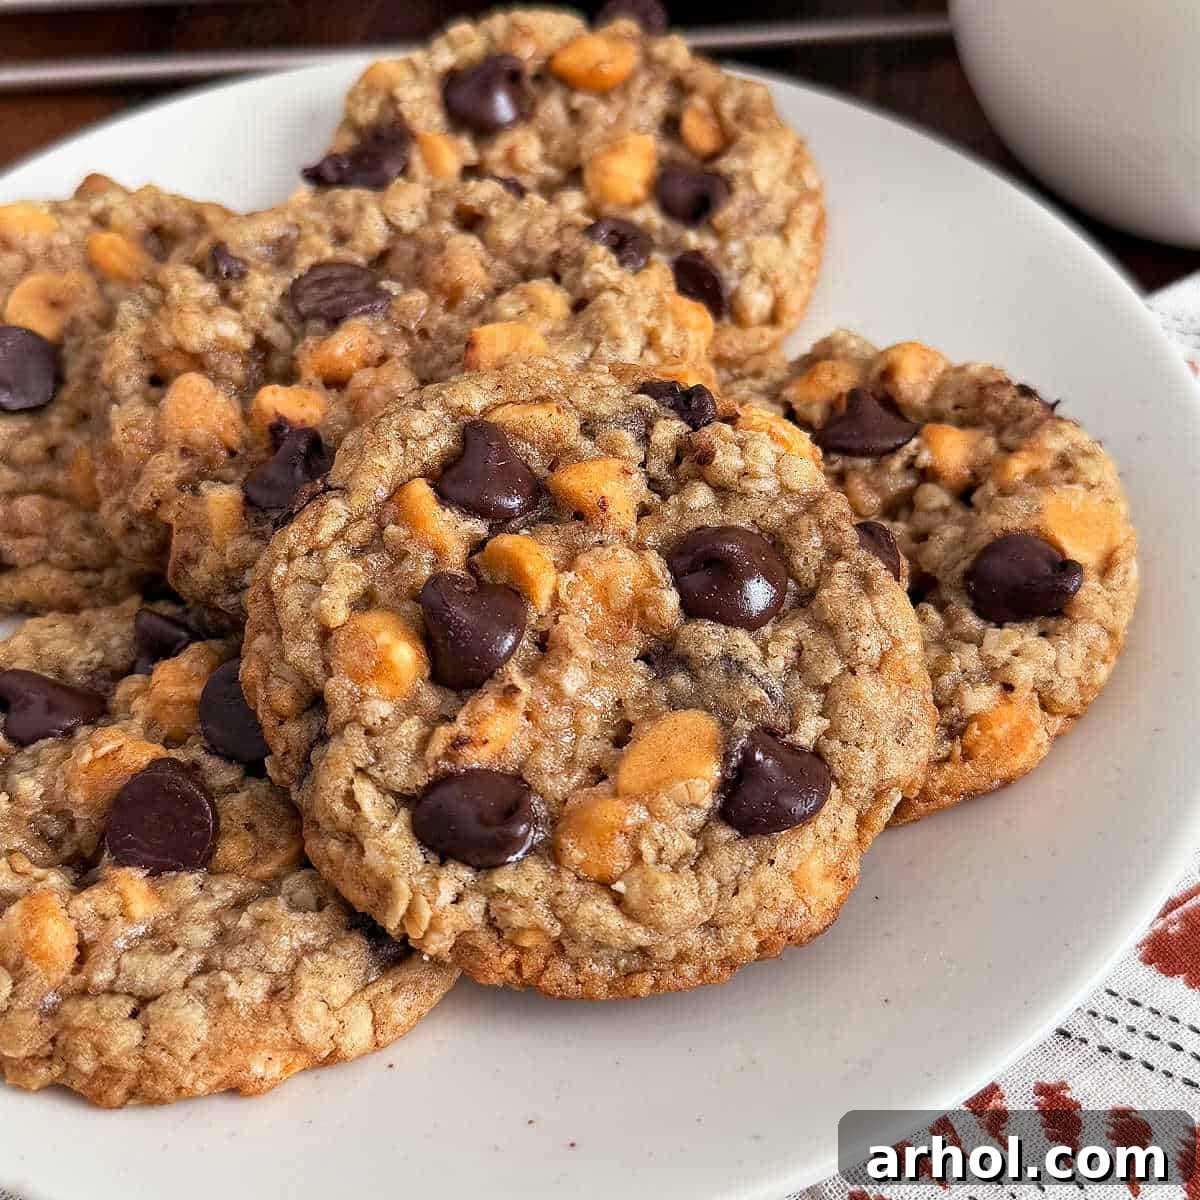
Oatmeal Butterscotch Chocolate Chip Cookies: The Ultimate Chewy Treat
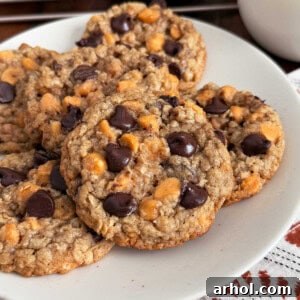
Step into a world of comforting nostalgia with these incredible Oatmeal Butterscotch Chocolate Chip Cookies. Imagine the classic Oatmeal Scotchies you adored as a child, infused with rich, melt-in-your-mouth chocolate chips, creating a sweet symphony that’s simply irresistible. These aren’t just cookies; they’re a delightful fusion, offering the perfect balance of chewy texture, buttery richness, and two beloved flavors.
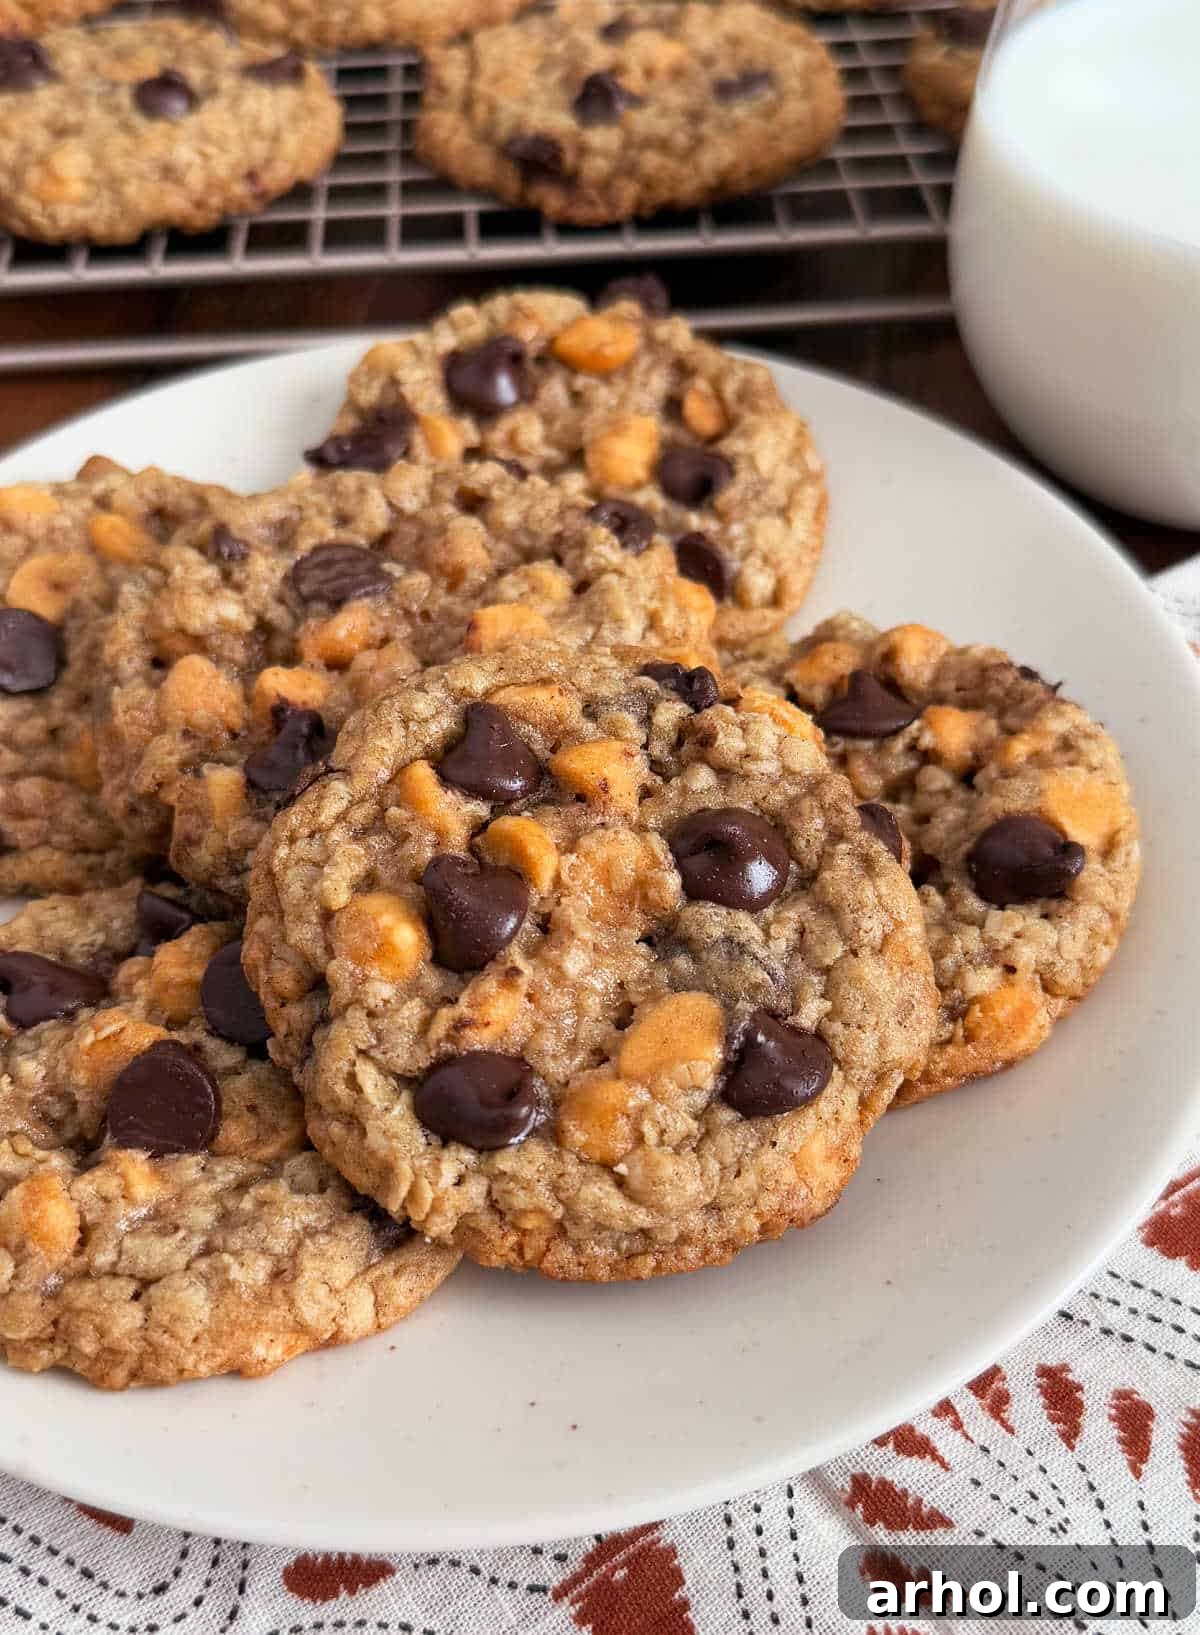
These chewy, buttery oatmeal cookies are generously studded with both semi-sweet chocolate and classic butterscotch morsels, delivering two fantastic tastes in every single bite. While inspired by the familiar oatmeal butterscotch cookie recipe often found on the back of butterscotch chip bags, this version has been carefully tweaked and perfected to ensure maximum flavor and ideal texture. We’ve also included essential tips to help prevent your cookie dough from spreading too much in the oven, guaranteeing perfectly shaped, thick, and chewy cookies every time.
For those who grew up with the wholesome goodness of oatmeal scotchies and those, like me, who cherished classic chocolate chip cookies, this recipe offers the best of both worlds. It’s a harmonious blend that satisfies every craving. If you’re a fan of oatmeal cookie recipes, be sure to explore our other delightful creations, such as our Oatmeal Cranberry Walnut Cookies for a fruity and nutty twist, or our beloved Classic Oatmeal Chocolate Chip Cookies for pure, simple bliss.
Why These Oatmeal Butterscotch Chocolate Chip Cookies Are A Must-Try
What makes these cookies stand out? It’s the delightful interplay of textures and flavors. The oats provide a hearty chewiness that contrasts beautifully with the melting pockets of both butterscotch and chocolate. Butterscotch chips bring a distinct, creamy, and caramel-like sweetness, while semi-sweet chocolate chips add a deeper, slightly bitter counterpoint, creating a sophisticated flavor profile that appeals to all ages. Each bite is a little journey back in time, yet with an exciting new twist. They’re robust enough to withstand dunking in milk, yet tender enough to melt in your mouth, making them ideal for any occasion, from a casual snack to a festive dessert platter. The straightforward preparation process also means you can whip up a batch whenever a cookie craving strikes, ensuring fresh, homemade goodness is always within reach.
Ingredient Notes for Perfect Cookies
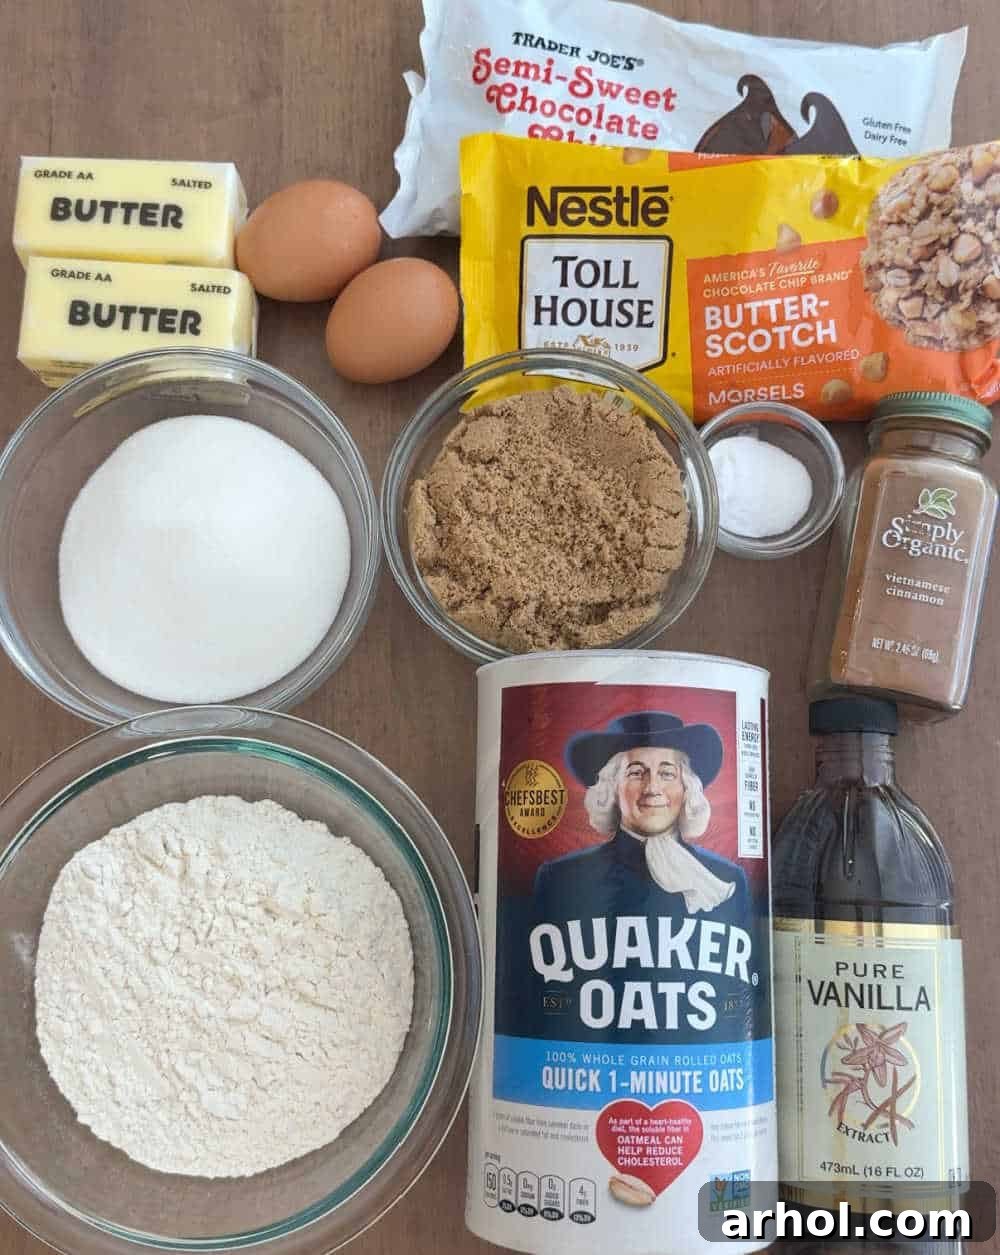
Achieving the perfect oatmeal butterscotch chocolate chip cookie starts with understanding your ingredients. Here’s a detailed overview of what you’ll need, along with helpful tips for each. Full measurements can be found in the comprehensive recipe card below.
- Oats: You can use either quick oats or old-fashioned rolled oats. Old-fashioned oats will give your cookies a more substantial, chewier texture and visible oat flecks, which many prefer for oatmeal cookies. Quick oats will result in a softer, more uniform texture. Both work, so choose based on your preference! Ensure they are not instant oats, as these can alter the cookie’s texture too much.
- Butter: I always opt for salted butter as it enhances the flavor and balances the sweetness. If you use unsalted butter, simply add an extra ¼ teaspoon of salt to the dry ingredients. The most crucial tip here is to let your butter soften completely at room temperature. This ensures it creams smoothly with the sugars, creating an airy base for your cookies and preventing a dense, cake-like texture.
- White Sugar and Brown Sugar: The combination of both sugars is key to the cookie’s texture and flavor. White sugar contributes to crispiness and sweetness, while brown sugar adds moisture, chewiness, and a subtle caramel note that complements the butterscotch perfectly. Pack your brown sugar firmly when measuring.
- Sea Salt: A pinch of sea salt is vital for balancing the sweetness and enhancing all the other flavors. Don’t skip it! It elevates the butterscotch and chocolate notes, making them pop.
- All-Purpose Flour: This forms the primary structure of your cookies. Make sure to measure it correctly, ideally by weighing it or by using the spoon-and-level method (spoon flour into the measuring cup and level off with a straight edge) to avoid over-packing, which can lead to dry, dense cookies.
- Eggs: Large eggs act as a binder and add moisture and richness. Like butter, make sure your eggs are at room temperature. Room temperature eggs emulsify better with the butter and sugar, resulting in a more uniform dough and better-textured cookies.
- Cinnamon: A teaspoon of ground cinnamon is the secret ingredient that elevates these cookies from great to extraordinary. Its warm, comforting spice pairs wonderfully with both oats and butterscotch, adding depth without overpowering the other flavors.
- Vanilla Extract: Pure vanilla extract is a must for any good cookie. It rounds out the flavors and adds a touch of aromatic sweetness. Don’t skimp on quality; a good vanilla makes a difference.
- Baking Soda: This leavening agent helps the cookies rise and spread slightly, giving them that classic chewy texture. Ensure your baking soda is fresh for optimal results; old baking soda can lead to flat, dense cookies.
- Butterscotch and Chocolate Morsels: The stars of the show! An 11 oz package of butterscotch chips provides plenty of that distinct, sweet, and buttery flavor. For the chocolate, semi-sweet chips are recommended as their slight bitterness provides a delightful contrast to the sweetness of the butterscotch and sugars. Feel free to adjust the ratios to your liking, or even experiment with milk chocolate or dark chocolate chips if you prefer.
These are my all-time favourite cookie recipe. I have made them at least a dozen times and they always come out amazing. Sometimes, I use Skor bits, sometimes more chocolate, but they are consistently delicious and freeze well. Thank you so much!
– Angie
How to Make the Best Oatmeal Butterscotch Cookies with Chocolate Chips
Crafting these delicious cookies is a straightforward process, but paying attention to each step will ensure perfect results every time. Follow these detailed instructions to bake your batch of ultimate chewy treats:
Helpful Baking Tips for Perfect Cookies
For consistently perfect cookies, consider these helpful tips:
- Chilling the Dough: This step is highly recommended! Chilling the dough for at least 1 hour (and up to 24 hours) makes a significant difference. It allows the butter to solidify, preventing the cookies from spreading too much in the oven, resulting in thicker, chewier cookies. It also allows the flavors to meld beautifully.
- Prepare Your Baking Sheets: Always line your baking sheets with aluminum foil, parchment paper, or silicone baking mats. This not only prevents sticking but also makes clean-up a breeze. Parchment paper also helps in even baking and slightly better spread control.
- Scooping Consistency: Use a small cookie scoop (about 2 tablespoons) or a heaping tablespoon to portion your dough. This ensures uniform size and even baking. Place dough balls at least 2 inches apart to allow for proper spreading without merging.
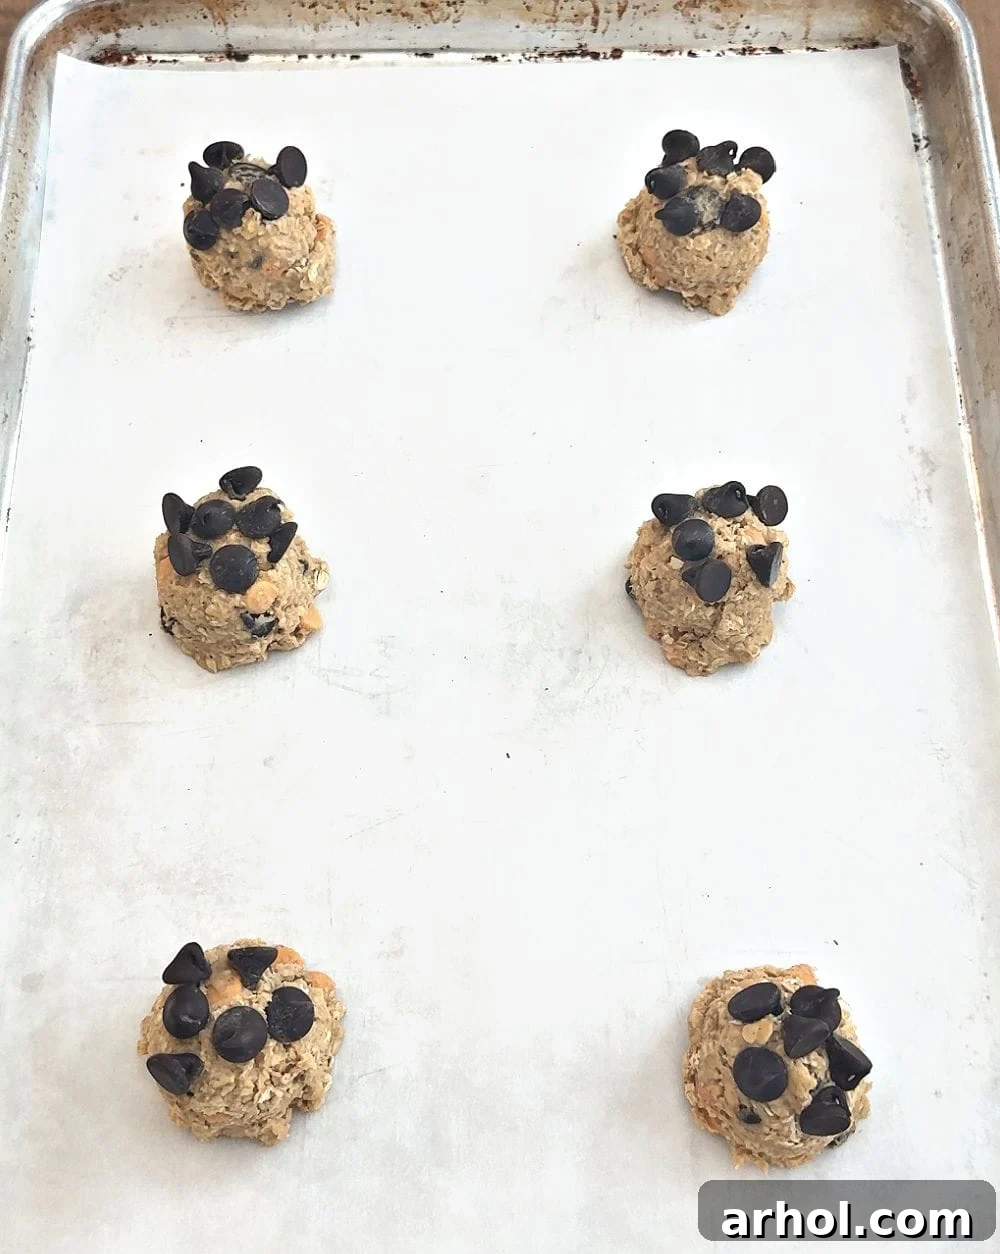
- Add Extra Chips: For that bakery-style finish and extra visual appeal, gently press a few extra chocolate and/or butterscotch chips onto the top of each scooped dough ball just before baking. This makes the cookies look even more enticing straight out of the oven.
- Don’t Overmix: Once you add the flour mixture, mix just until combined. Overmixing develops the gluten in the flour, which can lead to tough, dry cookies instead of chewy ones.
- Monitor Oven Temperature: An accurate oven temperature is crucial. If your oven tends to run hot or cold, consider using an oven thermometer. Baking at the correct temperature ensures even cooking and the desired golden-brown edges.
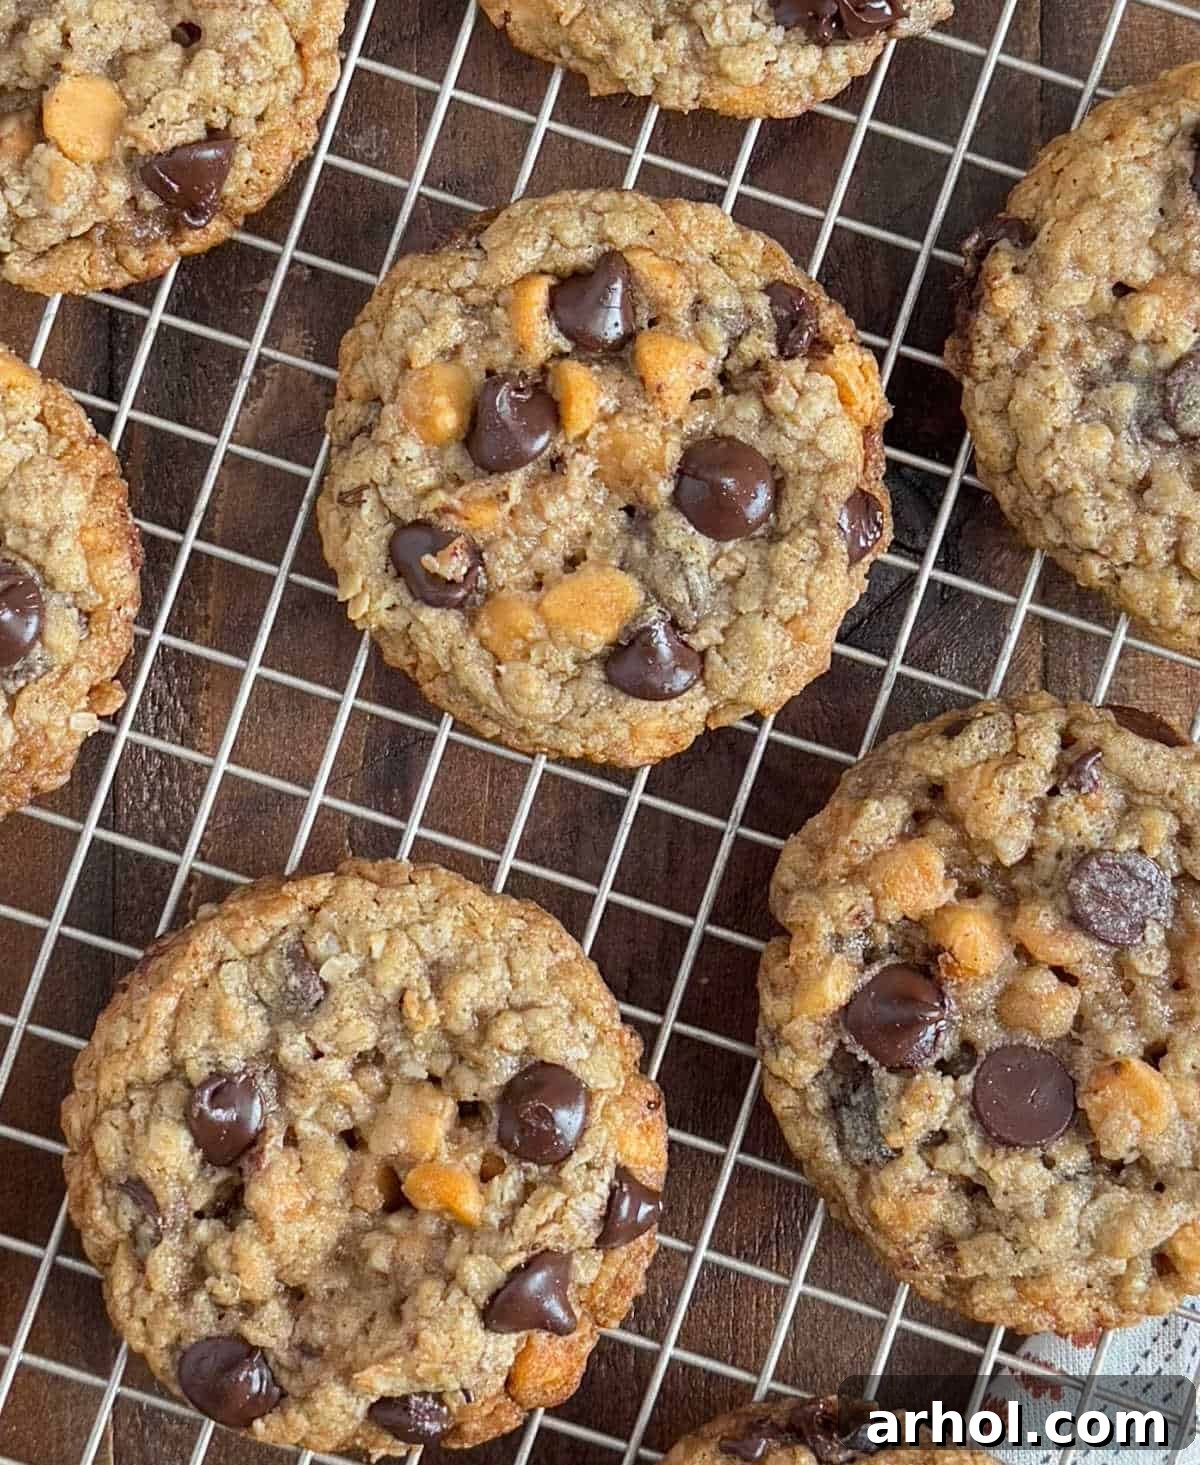
- Know When They’re Done: Cookies are generally done when the edges are lightly golden brown, but the centers still look slightly soft and underbaked. They will continue to set on the baking sheet as they cool. Overbaking will result in hard, dry cookies.
Storage Tips for Freshness
To enjoy your delicious oatmeal butterscotch chocolate chip cookies for days, proper storage is key:
- Room Temperature Storage: Once the cookies have cooled completely (this is crucial to prevent condensation), store them in an airtight container at room temperature. They will stay fresh and chewy for up to 5 days. You can place a slice of bread in the container to help keep them soft, replacing it every day or two.
- Freezing Baked Cookies: For longer storage, baked cookies can be frozen for up to 3 months. Arrange cooled cookies in a single layer on a baking sheet and freeze until solid. Then, transfer them to a freezer-safe bag or airtight container, separating layers with parchment paper to prevent sticking. Thaw at room temperature or warm briefly in the microwave for a fresh-from-the-oven experience.
- Freezing Unbaked Dough: This is a fantastic option for having fresh cookies on demand! Scoop the dough into balls as instructed, place them on a parchment-lined baking sheet, and freeze until solid. Transfer the frozen dough balls to a freezer-safe bag. When ready to bake, place frozen dough balls on a baking sheet, add a few minutes to the baking time (about 15-18 minutes), and enjoy! There’s no need to thaw them first.
Oatmeal Butterscotch Chocolate Chip Cookies
Ingredients
- 1 ¼ cup all-purpose flour
- ¼ teaspoon sea salt
- 1 teaspoon baking soda
- 1 teaspoon ground cinnamon
- 1 cup butter softened, at room temperature
- 1 teaspoon vanilla extract
- ¾ cup granulated white sugar
- ¾ cup packed light brown sugar
- 2 large eggs
- 3 cups old-fashioned rolled oats
- 11 oz package butterscotch chips
- ½ cup semi-sweet chocolate chips plus extra for topping (optional)
Instructions
-
In a medium-sized bowl, whisk together the all-purpose flour, sea salt, baking soda, and ground cinnamon until well combined. Set this dry mixture aside.
-
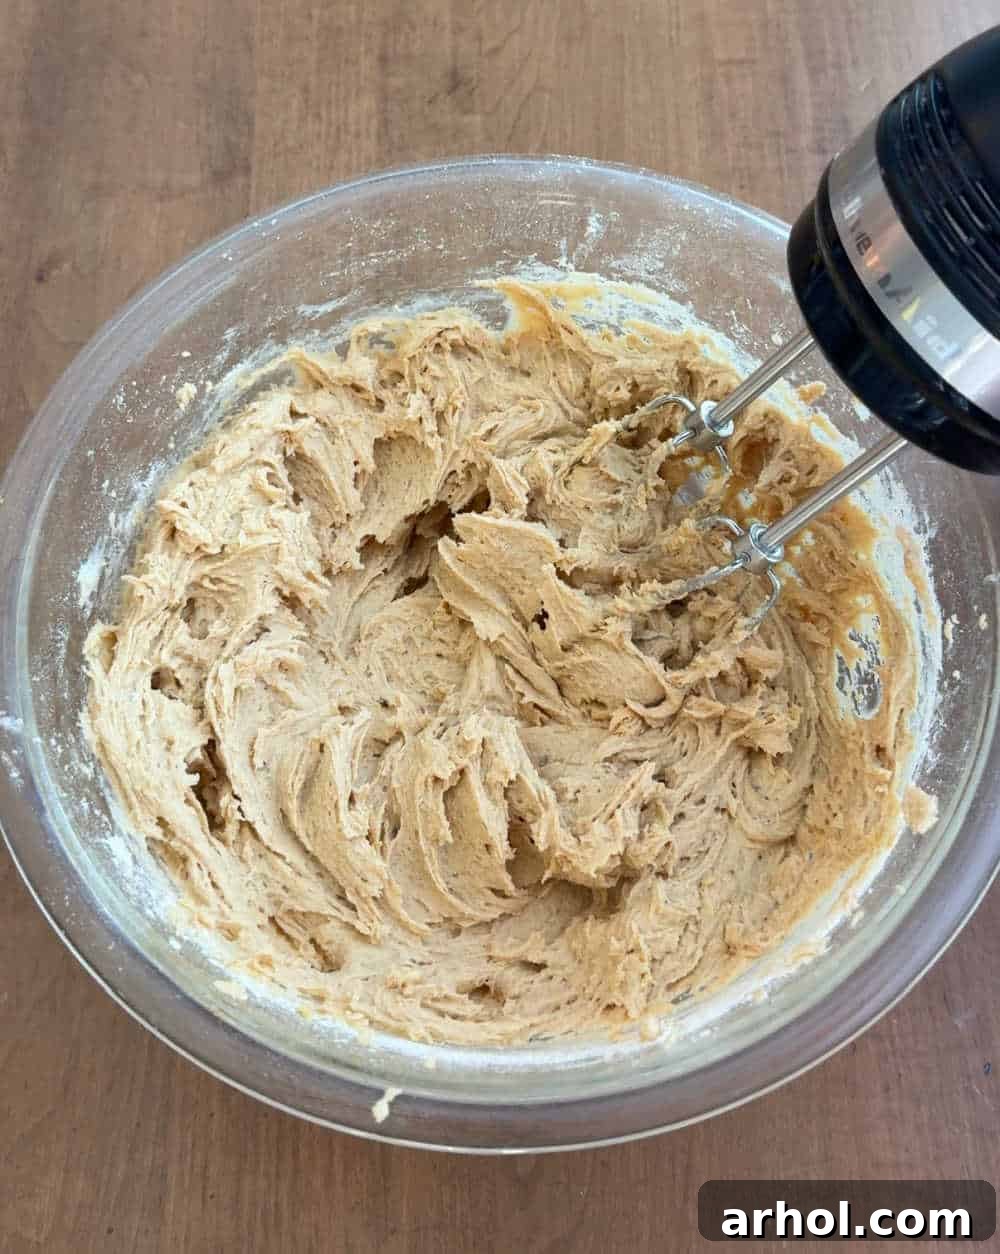
In a large mixing bowl (preferably using an electric stand mixer with a paddle attachment or a hand mixer), beat the softened butter on medium speed until it’s light and creamy, about 1-2 minutes.
-
Add the packed brown sugar, granulated white sugar, and vanilla extract to the creamed butter. Continue beating on medium speed for 2-3 minutes until the mixture is light, fluffy, and thoroughly combined, scraping down the sides of the bowl as needed.
-
Beat in the eggs, one at a time, mixing well after each addition until fully incorporated. Ensure the mixture is smooth before adding the next egg.
-
Gradually add the reserved flour mixture to the wet ingredients, mixing on low speed until just combined. Be careful not to overmix; stop as soon as no dry streaks of flour are visible.
-
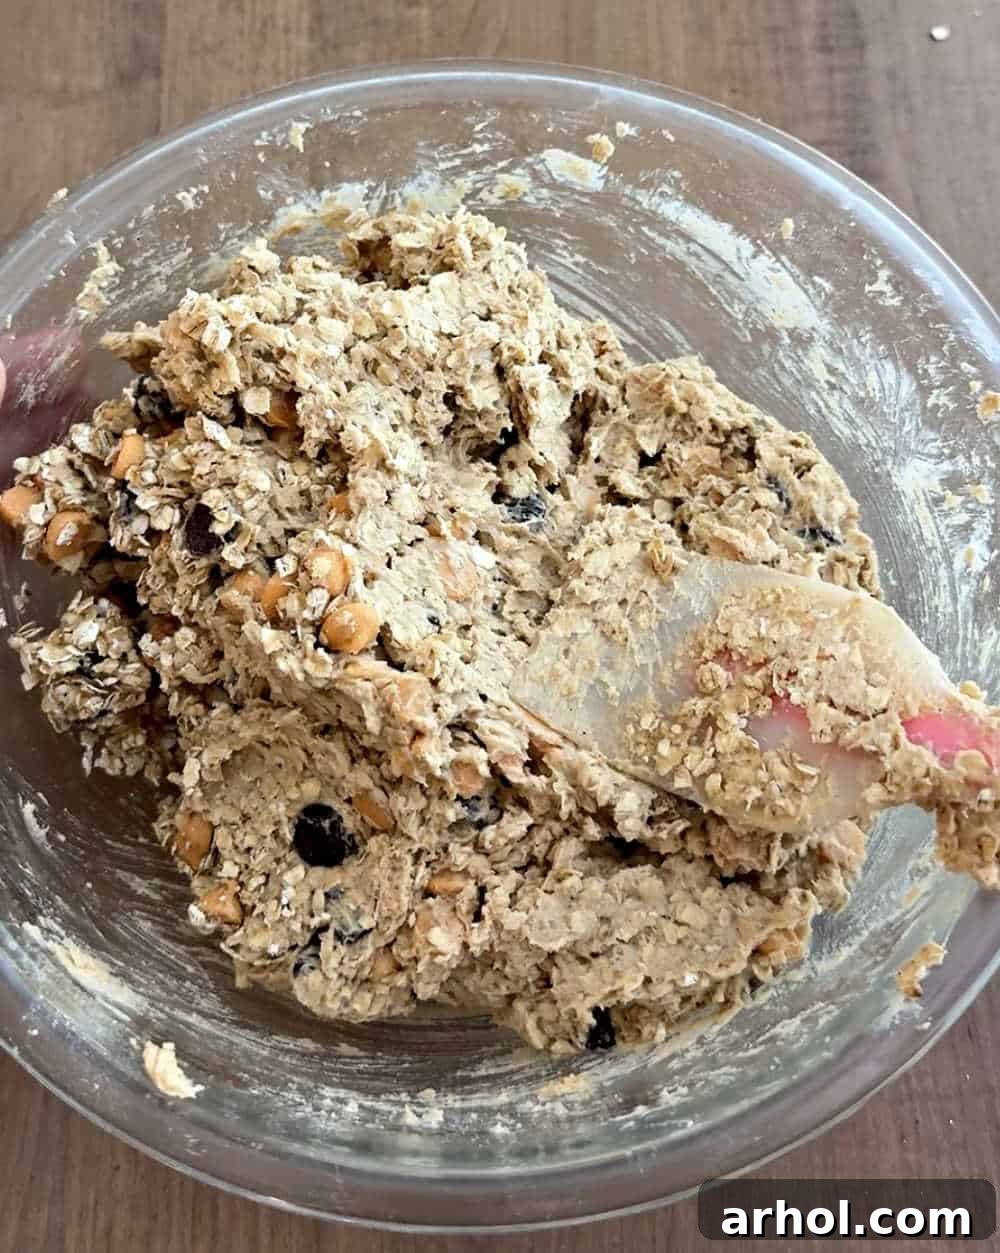
Using a sturdy rubber spatula or a wooden spoon, gently fold in the old-fashioned oats, semi-sweet chocolate chips, and butterscotch chips until evenly distributed throughout the dough.
-
Using a large cookie scoop (approximately 2 tablespoons), scoop the dough into uniform balls. Place these dough balls onto a prepared baking sheet lined with parchment paper, cover with plastic wrap, and chill in the refrigerator for at least 1 hour. This crucial step helps prevent spreading.
-
Preheat your oven to 350°F (175°C) while the dough is chilling or just before you’re ready to bake.
-
Arrange the chilled cookie dough balls on a baking sheet lined with parchment paper or a silicone baking mat, ensuring they are at least 2 inches apart to allow for proper spreading.
-
(Optional) For an enhanced visual appeal, gently press a few extra chocolate chips or butterscotch chips onto the tops of the cookie dough balls before baking.
-
Bake for 12 to 15 minutes, or until the edges are lightly golden brown and the centers still appear slightly soft. The cookies will continue to set as they cool.
-
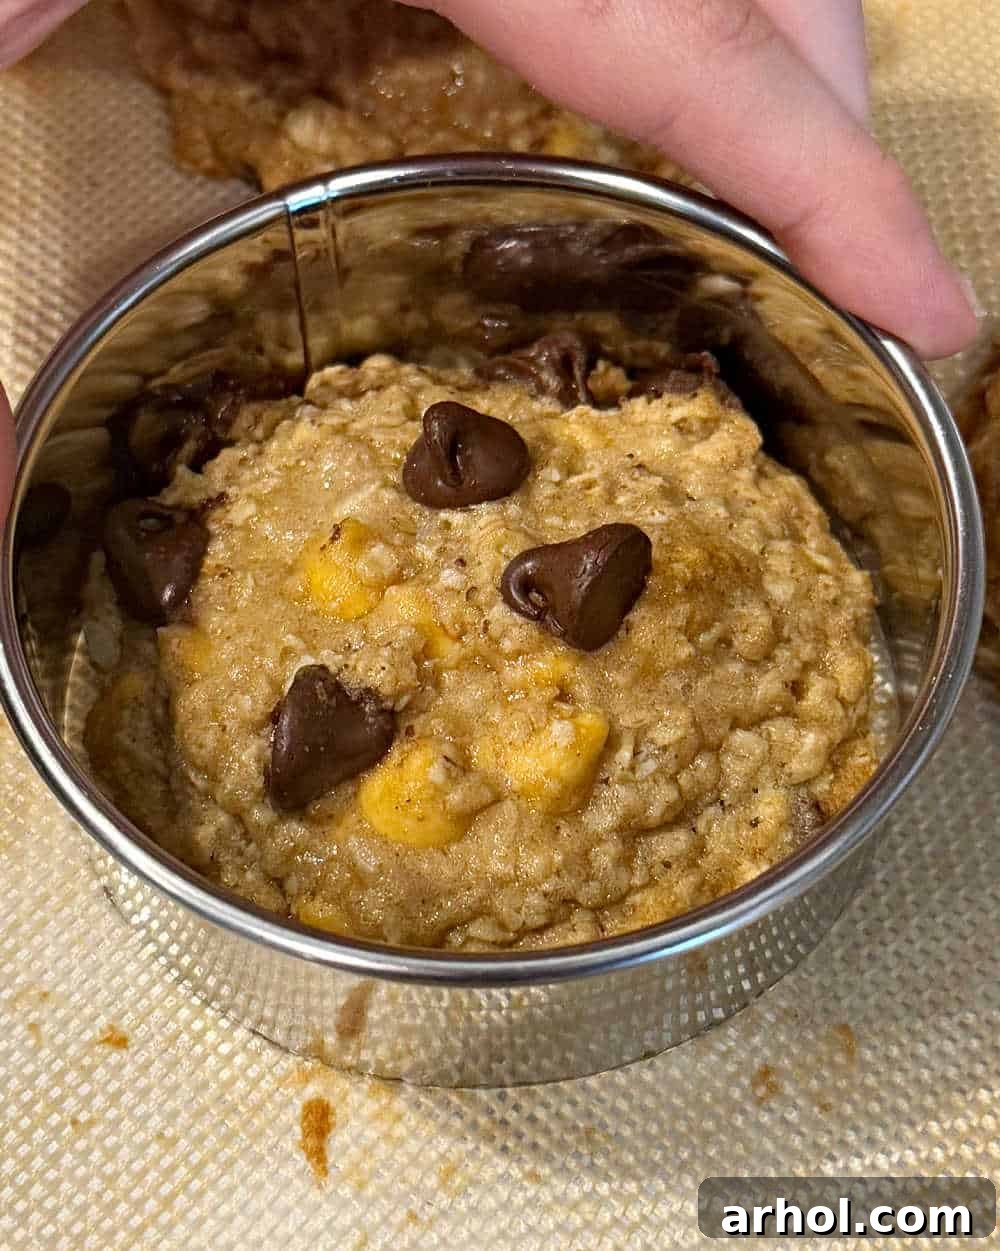
Allow the cookies to cool on the baking sheet for 5 minutes before carefully transferring them to a wire rack to cool completely. For perfectly round cookies, use a large drinking glass or a round cookie cutter to gently swirl around each cookie immediately after removing them from the oven.
Video
Watch the video above for a visual guide on how to prepare these delightful cookies, from mixing the dough to their perfect golden-brown finish.
Notes
Many find it easier to scoop the cookie dough into individual balls before chilling, rather than chilling the entire bowl of dough. This makes portioning easier later. However, do whatever works best for your baking style.
For perfectly rounded cookies, gently swirl a large drinking glass or a round cookie cutter around the edges of each cookie immediately after removing them from the oven while they are still hot. This smooths out any uneven edges.
Store baked cookies in an airtight container at room temperature for up to 5 days to maintain their freshness and soft texture.
Both unbaked cookie dough balls and baked cookies can be frozen for up to 3 months. Freeze dough balls individually before transferring to a freezer bag. Freeze baked cookies in a single layer before stacking in an airtight container with parchment paper between layers.
For an extra burst of flavor and a slightly richer texture, consider using browned butter instead of softened butter in this recipe. Just be sure to cool it slightly before combining with sugars.
Nutrition
Nutrition information is automatically calculated, so should only be used as an approximation.
Additional Info
Frequently Asked Questions (FAQ)
Can I use quick oats instead of old-fashioned oats?
Yes, you can! Quick oats will result in a slightly softer, less chewy cookie with a more uniform texture, whereas old-fashioned oats provide a more robust, chewier bite and visible oat flakes. Both work well, so it’s a matter of personal preference.
My cookies are spreading too much, what am I doing wrong?
Excessive spreading is a common issue! The most likely culprits are warm butter, too little flour, or skipping the chilling step. Ensure your butter is softened, not melted. Measure your flour accurately (spoon and level!). Most importantly, always chill your cookie dough for at least an hour before baking; this helps the butter solidify and prevents over-spreading.
Can I make this dough ahead of time?
Absolutely! Cookie dough is excellent for making ahead. You can prepare the dough and store it covered in the refrigerator for up to 3 days. Or, scoop the dough into balls and freeze them for up to 3 months. This way, you can bake fresh cookies whenever a craving strikes without all the initial prep work.
What’s the best way to get perfectly round cookies?
For bakery-perfect round cookies, try this simple trick: immediately after removing the hot cookies from the oven, use a large round cookie cutter or the rim of a drinking glass that is slightly larger than your cookies. Place it over each cookie and gently swirl it around the cookie to push in any uneven edges. This helps reshape them into a beautiful circular form.
Don’t miss out on more delightful and easy-to-follow recipes! Sign up for our free weekly newsletter to receive new culinary inspiration directly in your inbox.