
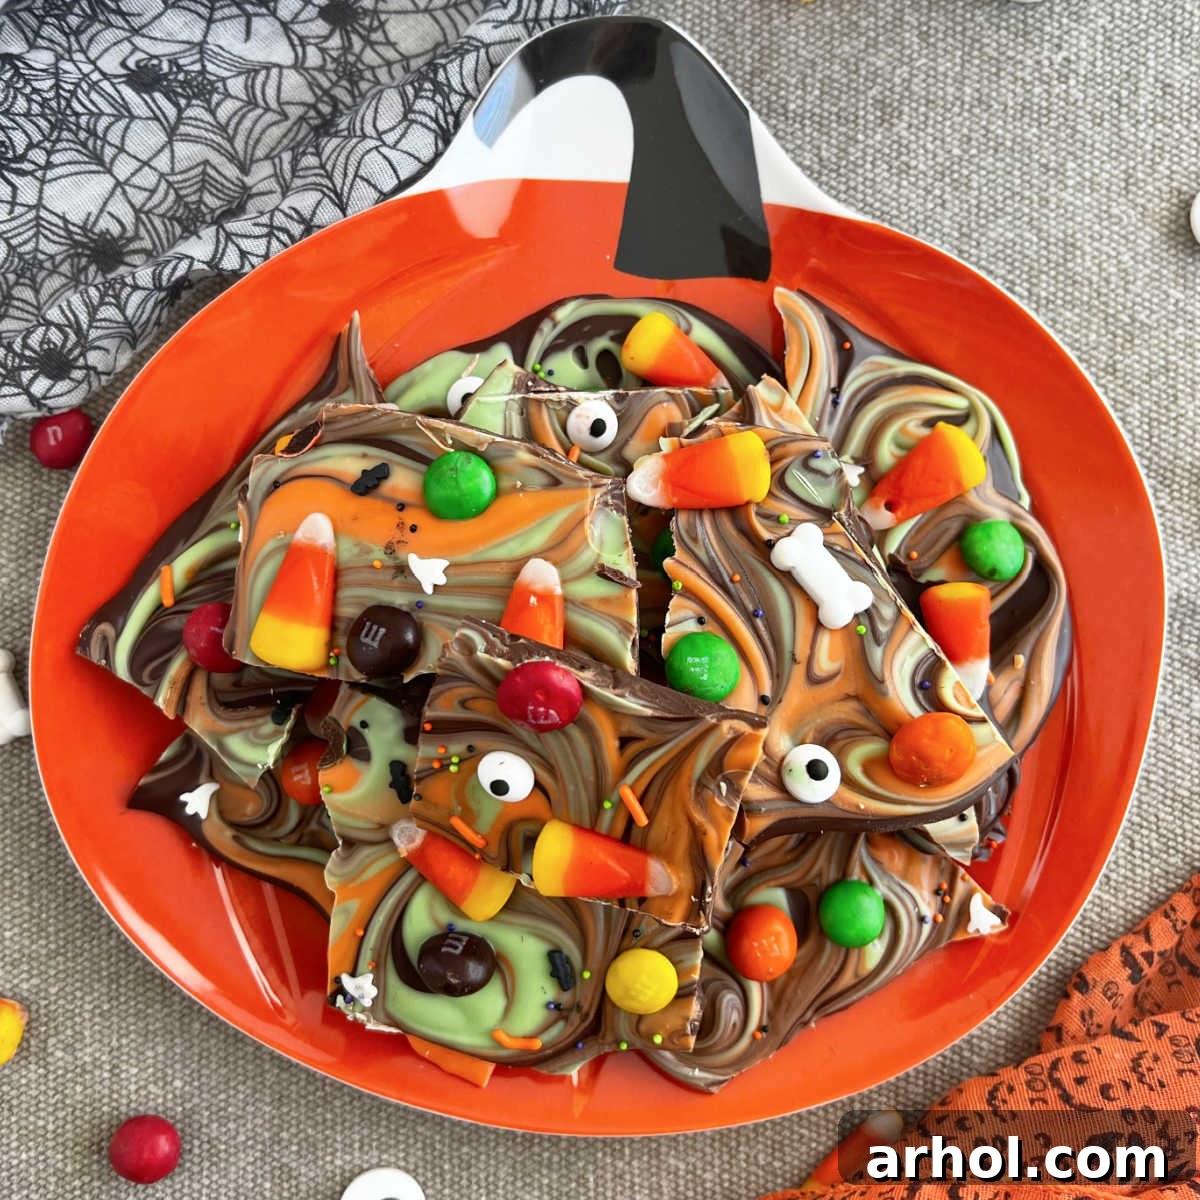
Get ready for the most spooktacularly simple Halloween dessert! Our Easy Halloween Candy Bark is a crowd-pleasing treat made with luscious melted chocolate, vibrant candy melts, classic candy corn, and all your favorite ghoulish candies. This no-bake wonder is an absolute must-have for any Halloween party or a fun-filled family activity during the spooky season. It’s not just easy; it’s an explosion of Halloween spirit and flavor!
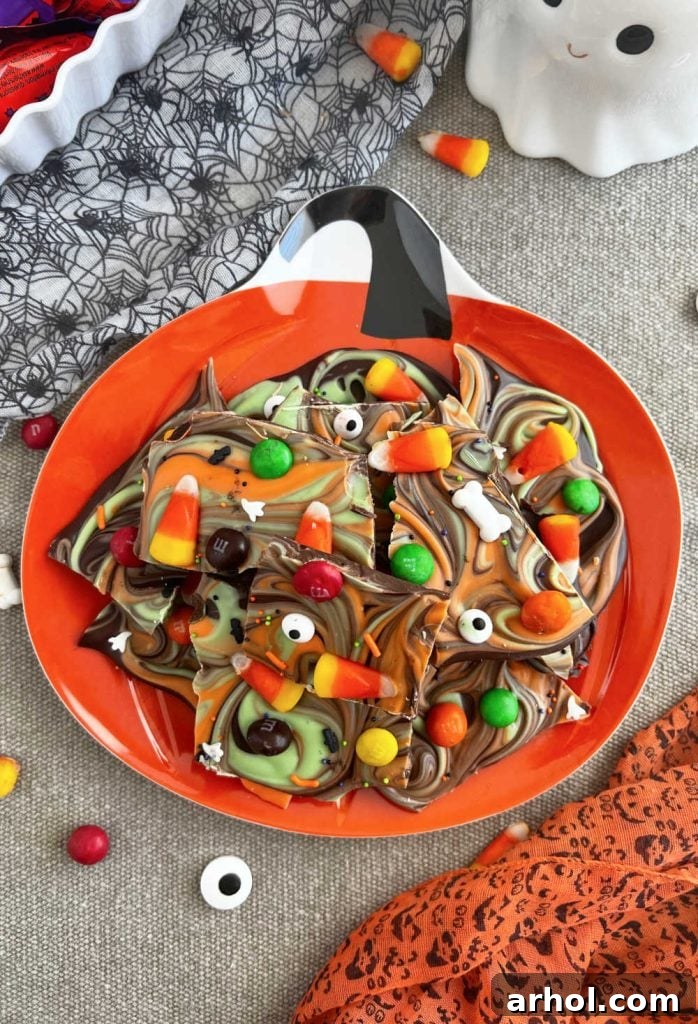
Spooktacularly Simple: The Ultimate Easy Halloween Candy Bark Recipe
Searching for a fun, festive, and fantastically easy treat to conjure up this Halloween? Look no further than this incredibly simple Halloween candy bark recipe! It’s designed to delight every sweet tooth, from tiny trick-or-treaters to seasoned party hosts. The beauty of candy bark lies in its versatility and effortlessness – no baking required, just melting, swirling, and decorating!
For our signature Halloween bark, we typically begin with a rich base of semi-sweet chocolate chips, providing a perfect counterpoint to the sweetness of the candy melts. We then layer two distinct colors of candy coating to create a truly mesmerizing and vibrant effect. This year, the kids cast their votes for bright, eerie green and classic pumpkin orange candy coating, and the result was nothing short of magical. Imagine the delight on their faces as they help choose the colors and toppings!
Beyond the colorful base, we adorn our bark with a whimsical array of Halloween-themed candies and sprinkles, including adorable candy eyeballs that add a touch of playful creepiness. This recipe is also a brilliant way to utilize any leftover Halloween candy you might have lingering after the big night, transforming forgotten treats into a brand-new, exciting dessert. It’s a win-win: less waste and more deliciousness!
Candy bark is a cherished tradition in our kitchen, making appearances throughout the year. We’ve perfected Peppermint Bark for Christmas, crafted a charming Valentine’s Day version, celebrated with festive Red, White, and Blue Bark for the Fourth of July, and even created super cute Easter Bunny Bark. Each iteration brings unique joy, proving just how fun, festive, and incredibly simple this dessert truly is to customize for any occasion.
Table of Contents
- The Ultimate Easy Halloween Candy Bark Recipe
- Essential Halloween Bark Ingredients
- Step-by-Step Guide to Making Halloween Candy Bark
- Storing Your Halloween Bark for Freshness
- Pro Tips for Perfect Halloween Candy Bark
- More Hauntingly Good Halloween Recipes
- Halloween Candy Bark Recipe Card
Essential Halloween Bark Ingredients
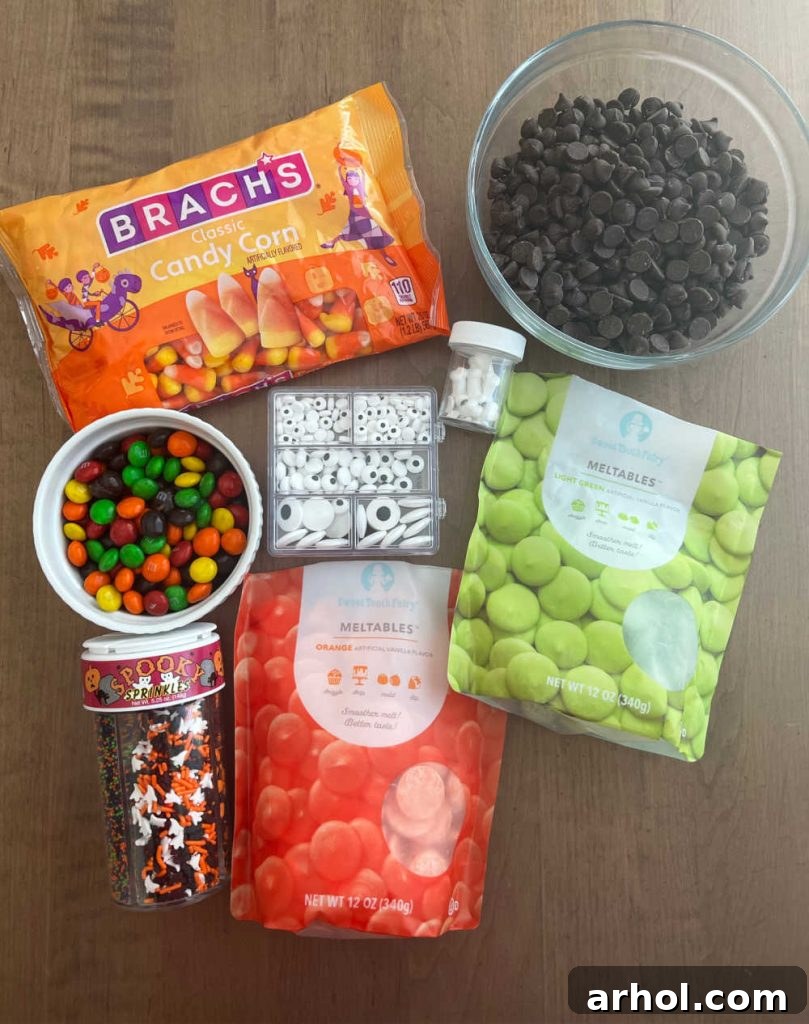
Crafting this festive Halloween treat requires only a handful of readily available ingredients. You’ll find these simple components at your local grocery store, craft supply store, or through online retailers, making your spooky dessert creation journey incredibly convenient.
- Semi-Sweet Chocolate Chips: These form the rich, foundational layer of your bark. Using semi-sweet chocolate provides a delightful depth of flavor that perfectly balances the sweetness of the candy melts. While semi-sweet is our top recommendation, you can certainly experiment with alternatives like dark chocolate chips for a more intense flavor, milk chocolate chips for a creamier, sweeter profile, or even almond bark or baker’s chocolate if preferred.
- Candy Melts: The key to those vibrant, eye-catching Halloween colors! Choose a variety of hues that scream “Halloween” – think electric green, pumpkin orange, deep purple, or spooky black. These candy coatings melt smoothly and set firmly, creating beautiful contrasting layers.
- Halloween-Themed Candies & Toppings: This is where the fun truly begins! Unleash your creativity with an assortment of spooky decorations. Essential additions include playful candy eyes, traditional candy corn, an array of Halloween sprinkles in various shapes (bats, ghosts, pumpkins), eerie candy bones, colorful M&M’s, or classic Reese’s Pieces. Don’t hesitate to incorporate mini chocolate chips or chopped nuts for added texture and flavor if desired.
In addition to these delectable ingredients, you’ll need a few basic kitchen tools: microwave-safe bowls (or a double boiler for a more controlled melting process), a sturdy baking sheet, wax paper or parchment paper to line your baking sheet (this is crucial for easy removal!), and a sharp knife or a simple toothpick for creating mesmerizing swirls and patterns.
Step-by-Step Guide to Making Easy Halloween Candy Bark
Creating this eye-catching Halloween candy bark is incredibly straightforward and surprisingly therapeutic. At its core, the process involves melting various types of chocolate and candy coatings, then artfully swirling them together to form delightful layers and captivating patterns. Here’s how to bring your spooky sweet vision to life:
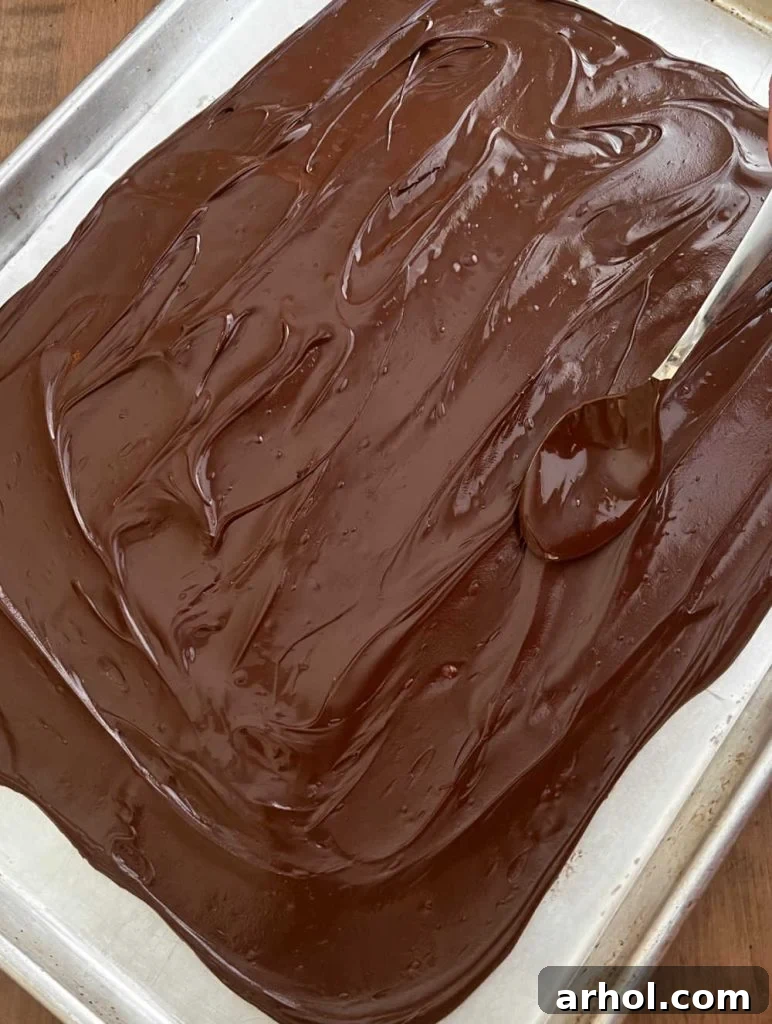
- Melt the Chocolate Base: Begin by placing your semi-sweet chocolate chips into a clean, microwave-safe bowl. Heat the chocolate in short, 30-second intervals, stirring thoroughly after each interval. This method prevents the chocolate from burning and ensures a silky-smooth consistency. Typically, this process takes just over a minute, depending on your microwave’s power. Alternatively, you can use a double boiler for a gentler, more controlled melting.
- Prepare the Baking Sheet: While your chocolate is melting, line a large baking sheet with a sheet of wax paper or parchment paper. This non-stick surface is essential for easily removing the hardened bark without any fuss or breakage.
- Spread the Chocolate Layer: Once the semi-sweet chocolate is perfectly melted and smooth, pour it onto your prepared baking sheet. Using a spoon, rubber spatula, or an offset spatula, gently and evenly spread the melted chocolate into a thin, consistent layer across the paper. This will form the sturdy and delicious foundation of your candy bark.
- Melt the Candy Coatings: In separate microwave-safe bowls, melt your orange and green (or chosen colors) candy coatings. Follow the same 30-second interval method, stirring diligently between each burst, until they are smooth and free of lumps.
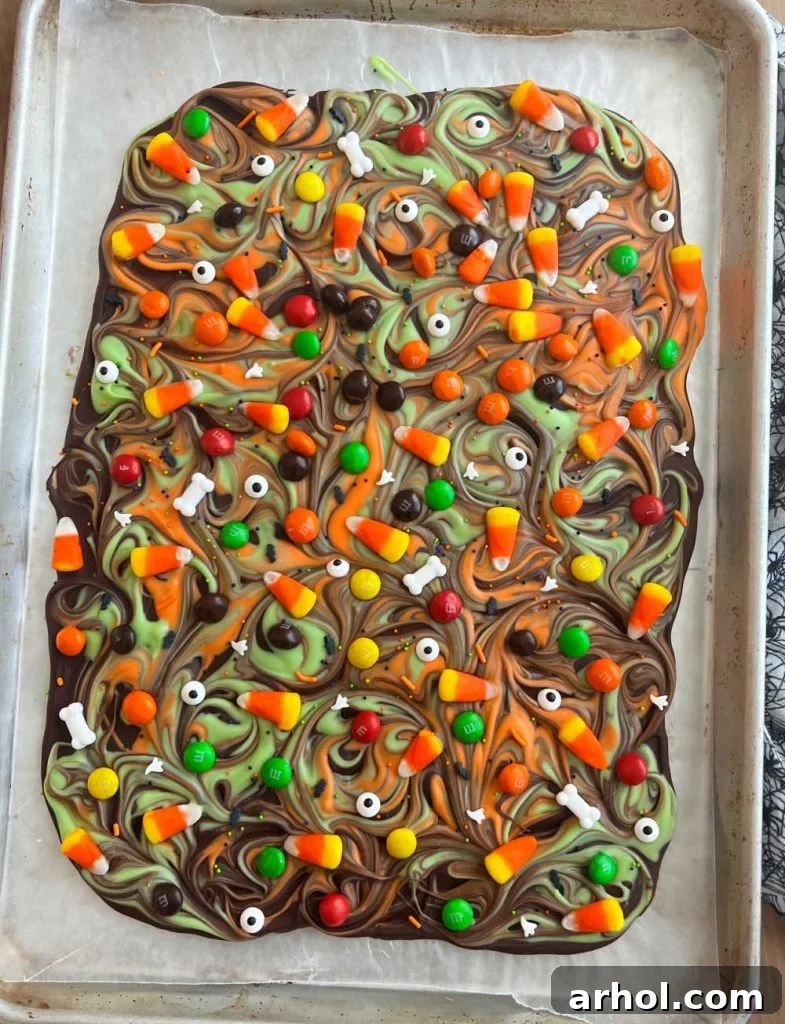
- Create the Swirls: Carefully pour dollops or lines of the melted orange and green candy coatings over the chocolate base. There’s no right or wrong way here – let your creativity flow! Once both colors are on the chocolate layer, take a clean toothpick or a thin knife and gently swirl the candy coatings into the chocolate. Create beautiful, intricate patterns that mimic spiderwebs, ghostly wisps, or just abstract Halloween art. Don’t over-mix, as you want distinct color separation to achieve the marbled effect.
- Add the Toppings: This is the final, exciting step! While the chocolate and candy melts are still wet, generously sprinkle your chosen Halloween candies, candy corn, sprinkles, and candy eyeballs over the entire surface. Press them down ever so slightly to ensure they adhere to the setting bark.
- Chill and Set: To solidify your bark quickly and efficiently, gently transfer the baking sheet to the refrigerator. Allow it to chill for at least 30 minutes, or until the bark is completely firm and snaps cleanly when broken.
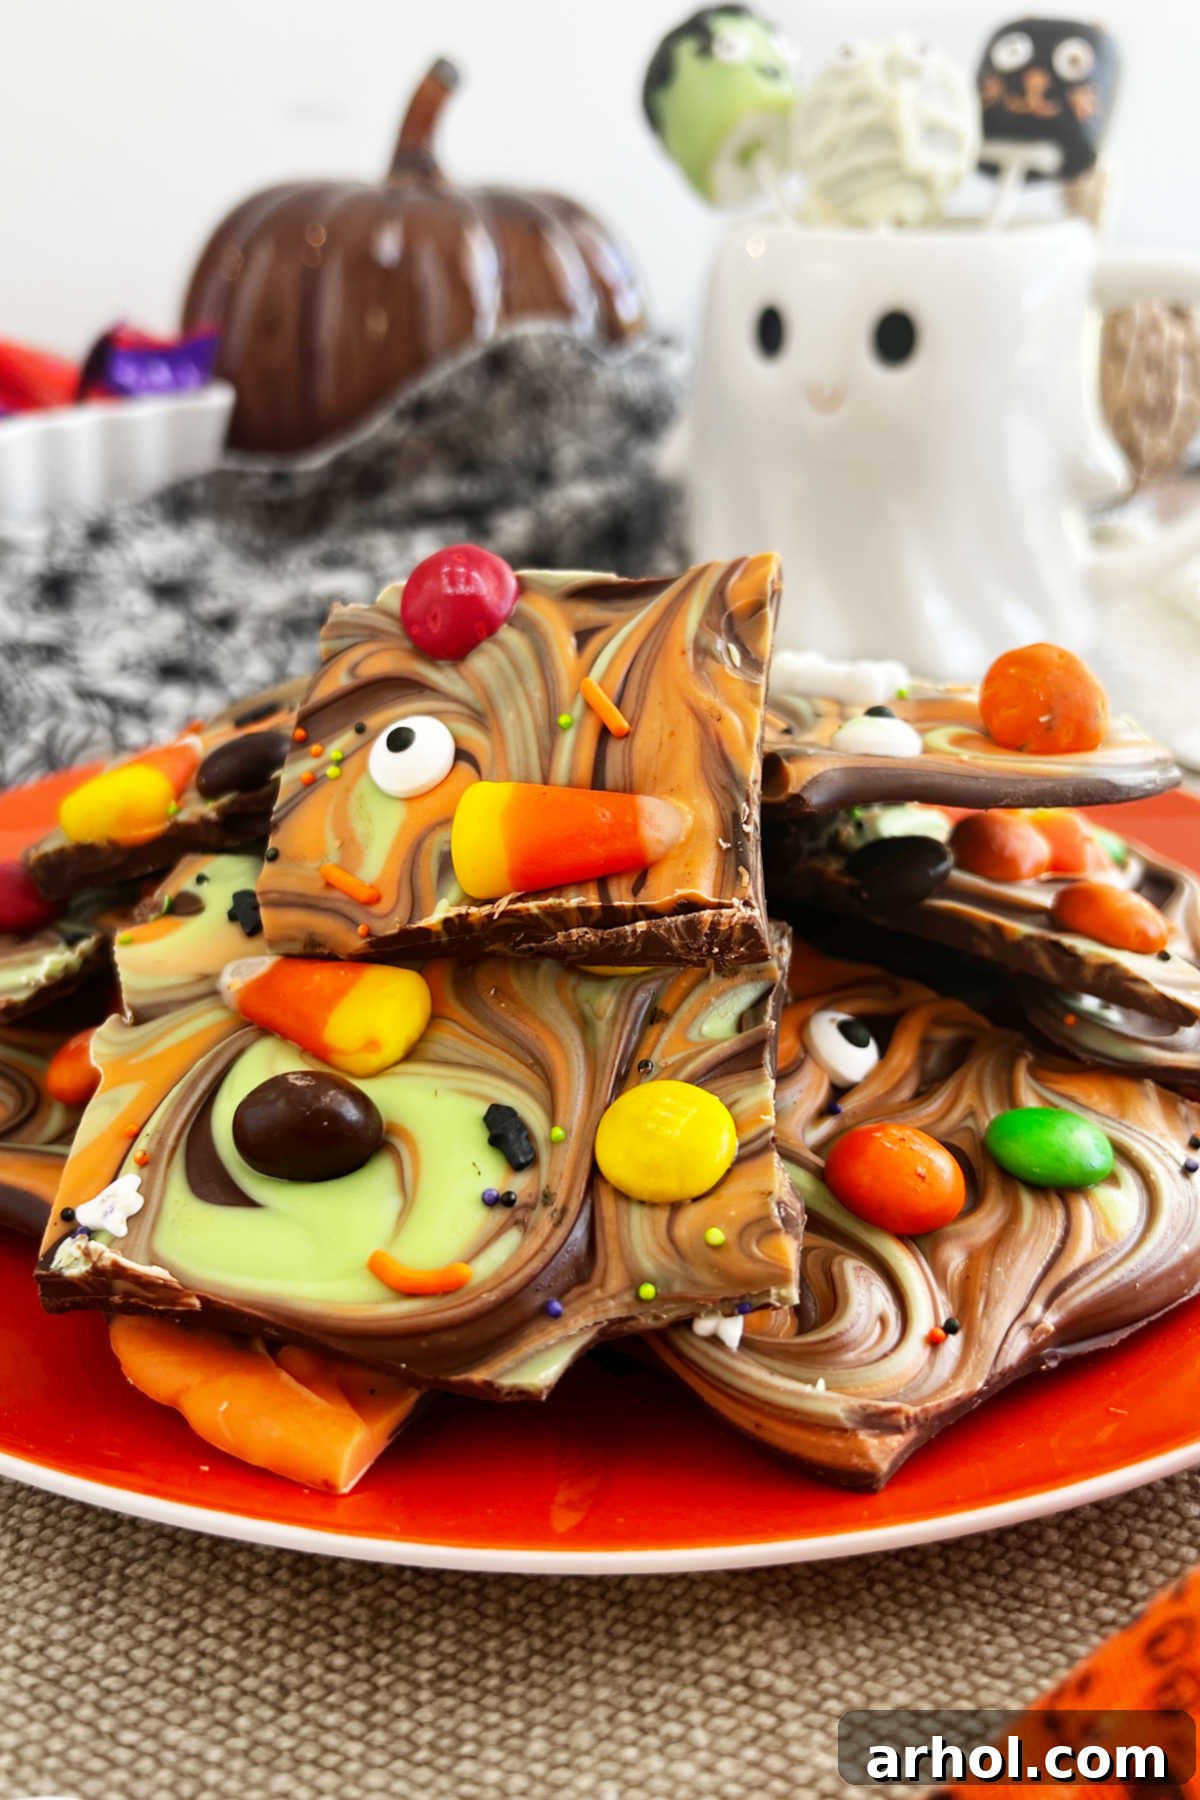
- Break and Serve: Once fully set, remove the bark from the refrigerator. Peel it off the wax or parchment paper. Using a sharp knife or even your hands, break or cut the bark into irregular, bite-sized pieces. Now it’s ready to serve and enjoy! See how incredibly easy that is?
Storing Your Halloween Bark for Freshness
Proper storage is key to keeping your Halloween Candy Bark fresh and delicious for as long as possible. Once your bark has fully set and been broken into pieces, transfer it to an airtight container. You can store this container at room temperature, ideally in a cool, dry place away from direct sunlight. This method is usually sufficient and will maintain the bark’s quality for about one to two weeks.
However, if your home tends to be particularly warm, or if you prefer a firmer bark with a cooler bite, you can certainly store it in the refrigerator. Just be aware that refrigeration can sometimes cause a slight “bloom” (a white film) on chocolate due to moisture, though it’s perfectly safe to eat. When storing in the fridge, ensure the airtight container is tightly sealed to protect the bark from absorbing any odors or moisture. No matter where you store it, it’s unlikely to last its full potential shelf life – it’s just too delicious to resist!
Pro Tips for Perfect Halloween Candy Bark
Achieving perfect, glossy, and delicious candy bark every time is easy with a few insider tips. These suggestions will help you avoid common pitfalls and elevate your Halloween treat to professional levels:
- Gentle Melting is Key: Always remember to microwave chocolate and candy melts in short bursts (30-second increments), stirring diligently after each interval. This slow and steady approach prevents the chocolate from overheating, which can cause it to “seize up” and become grainy, making it impossible to spread smoothly. If using a double boiler, ensure no water gets into the chocolate, as even a tiny drop can cause seizing.
- Preparation is Paramount: Before you even start melting, have all your ingredients and equipment laid out and ready to go. Chocolate sets quickly, especially if your kitchen is cool, so you’ll want to work efficiently. A prepared workstation ensures a smooth and stress-free process.
- Experiment with Chocolate Bases: While semi-sweet chocolate chips provide a wonderful base, don’t hesitate to explore other options. White chocolate chips or white chocolate bark can create a stunning contrast, especially with dark Halloween-colored candy melts. Or, for a richer taste, opt for a high-quality dark chocolate.
- Sweet and Salty Sensation: For those who love a delightful contrast, incorporate sweet and salty elements into your bark. Sprinkle crushed pretzel sticks, roasted peanuts, or other chopped nuts over the wet chocolate layers. The Pioneer Woman’s bark recipes are a great source of inspiration for these kinds of variations if you’re looking for detailed ratios!
- Quick Setting for Impatient Ghouls: If you’re short on time or simply can’t wait to try your delicious creation, you can speed up the setting process by placing the baking sheet in the freezer for 10-15 minutes instead of the refrigerator. Just be sure not to leave it in for too long, or it might become too brittle.
- Achieve Clean Slices: Once the bark is completely firm, use a large, sharp knife or even a pizza cutter to cut it into neat, uniform pieces. For even cleaner cuts, you can warm your knife slightly under hot water and dry it before each cut.
- Creative Topping Ideas: Beyond traditional Halloween candies, consider adding mini marshmallows, edible glitter, spooky sprinkles, mini chocolate cookies (crushed), or even a drizzle of caramel or white chocolate over the top once the main layers are swirled.
- Kid-Friendly Activity: This recipe is fantastic for involving children! They can help choose the candies, sprinkle the toppings, and even assist with the swirling (under supervision). It’s a wonderful way to create lasting Halloween memories.
- Gifting and Packaging: Halloween Candy Bark makes a fantastic homemade gift. Once cut, stack pieces in clear cellophane bags tied with festive ribbons, or arrange them in small Halloween-themed tins for a thoughtful treat.
More Hauntingly Good Halloween Recipes
If you’re looking to expand your repertoire of spooky season treats, we have a whole collection of recipes that are just as fun and easy as this candy bark! Last year, my kids and I had a blast making some seriously adorable Halloween Marshmallow Pops that were almost too cute to eat. We also whipped up a batch of crunchy and colorful Candy-Coated Halloween Pretzels and a delightfully spooky Halloween Dirt Cake, perfect for a graveyard scene. And let’s not forget our fun Halloween Cake pops! For even more inspiration, explore our full list of easy homemade Halloween treats!
Print Recipe
Easy Halloween Candy Bark
Easy Halloween Candy Bark is an incredibly simple Halloween dessert crafted with rich melted chocolate, vibrant candy melts, classic candy corn, and a festive assortment of your preferred candies. It’s the perfect no-bake treat for any Halloween party!
Ingredients
- 2 cups semi-sweet chocolate chips
- 2 cups green candy melts
- 2 cups orange candy melts
- Assorted fall or Halloween candies (e.g., candy corn, candy eyeballs, Halloween sprinkles, M&M’s, Reese’s Pieces)
Instructions
- Place semi-sweet chocolate chips, green candy melts, and orange candy melts in separate microwaveable bowls. Melt each according to package directions, typically in 30-second intervals, stirring after each until smooth.
- Line a baking sheet with wax paper or parchment paper. Pour the melted chocolate onto the prepared sheet and carefully spread it into a thin, even layer using a knife or spatula.
- Pour the orange and green melted candy coatings on top of the chocolate layer. Use a toothpick or a thin knife to gently swirl the colors together with the chocolate, creating a marbled effect.
- While the chocolate is still wet, top generously with your favorite Halloween candies and sprinkles.
- Refrigerate the bark for at least 30 minutes, or until it is completely firm.
- Once firm, break or cut the bark into smaller pieces, serve, and enjoy your festive treat!
Notes
I typically melt chocolate chips and candy melts in 30-second increments, stirring after each interval until the chocolate just begins to melt and becomes smooth. This prevents burning and seizing.
You can also use the double boiler method if you prefer a more controlled melting process.
Store your Halloween Candy Bark in an airtight container at room temperature for 1-2 weeks. For warmer climates, refrigeration is recommended.
Nutrition Information (Approximation per serving)
Calories: 204kcal
Carbohydrates: 22g
Protein: 1g
Fat: 12g
Saturated Fat: 9g
Polyunsaturated Fat: 0.2g
Monounsaturated Fat: 2g
Trans Fat: 0.01g
Cholesterol: 1mg
Sodium: 22mg
Potassium: 102mg
Fiber: 1g
Sugar: 19g
Vitamin A: 9IU
Calcium: 11mg
Iron: 1mg
Nutrition information is automatically calculated and should only be used as an approximation.
Additional Info
Whether you’re hosting a grand Halloween bash or simply craving a quick and delicious sweet treat, this Easy Halloween Candy Bark is festive enough for any party yet simple enough to enjoy as a dessert or snack anytime during the spooky season. Don’t forget, it’s also a fantastic project for using up any leftover Halloween candy you might have after trick-or-treating!
For more incredibly easy and delightful recipes, be sure to sign up for our weekly newsletter. You’ll get fresh ideas delivered right to your inbox! And for daily inspiration and behind-the-scenes fun, follow us on our social media channels. Happy haunting and happy baking (or, in this case, no-baking)!

Recipe originally published in 2016 and meticulously updated in 2023 for enhanced clarity, tips, and search engine optimization.