
Easy Valentine’s Day Crafts for Kids: Simple & Fun DIY Ideas for All Ages
Hey everyone! There’s a special kind of magic that unfolds when children get to create their own artwork. The sheer joy and pride on their faces as they bring their imaginative visions to life are truly priceless. However, as any parent or caregiver knows, that crafting enthusiasm can quickly fizzle out if a project is too complicated, requires too much adult intervention, or simply doesn’t allow for their natural spontaneity. Kids, especially younger ones, can easily lose interest and become restless when crafts are beyond their current skill level. And honestly, as adults, we often feel the same way! Crafting should be a source of relaxation and fun, not a stressful endeavor.
I distinctly remember a Valentine’s Day craft session last year in my little girl’s class that perfectly illustrated this point. We were attempting to create super cute picture frames, but the process was incredibly intricate. It involved fiddly components like tiny stickers, delicate toothpicks, and even glue guns – definitely not ideal for small hands! What started as a promising activity quickly devolved into a situation where the other moms and I ended up doing most of the work, while the children grew visibly bored and agitated. The finished frames were indeed charming, but the joy of creation was largely lost for the kids. That experience reinforced my conviction that the most successful children’s crafts are those that are genuinely easy for them to complete on their own, fostering independence and a true sense of accomplishment.
With that philosophy in mind, when we embark on crafting adventures at home, my priority is always simplicity and accessibility. I ensure that the projects are straightforward enough for my children to manage independently, allowing their creativity to flourish without unnecessary frustration. Even if the results are wonderfully simple, these handmade treasures are invaluable to me because they are tangible expressions of my children’s efforts and imagination. They represent shared moments, laughter, and the unique imprint of their little hands. As Valentine’s Day approaches – a holiday brimming with opportunities for heartwarming, handmade gestures – I’m excited to share two of our absolute favorite easy Valentine’s Day crafts for kids. These projects are not only perfect for small children to tackle independently, but they also offer plenty of room for older kids to get creative and truly enjoy the process. Get ready for some delightful, stress-free crafting that celebrates love and creativity!
1. Foam Heart Fun: A Mess-Free Masterpiece for Little Hands
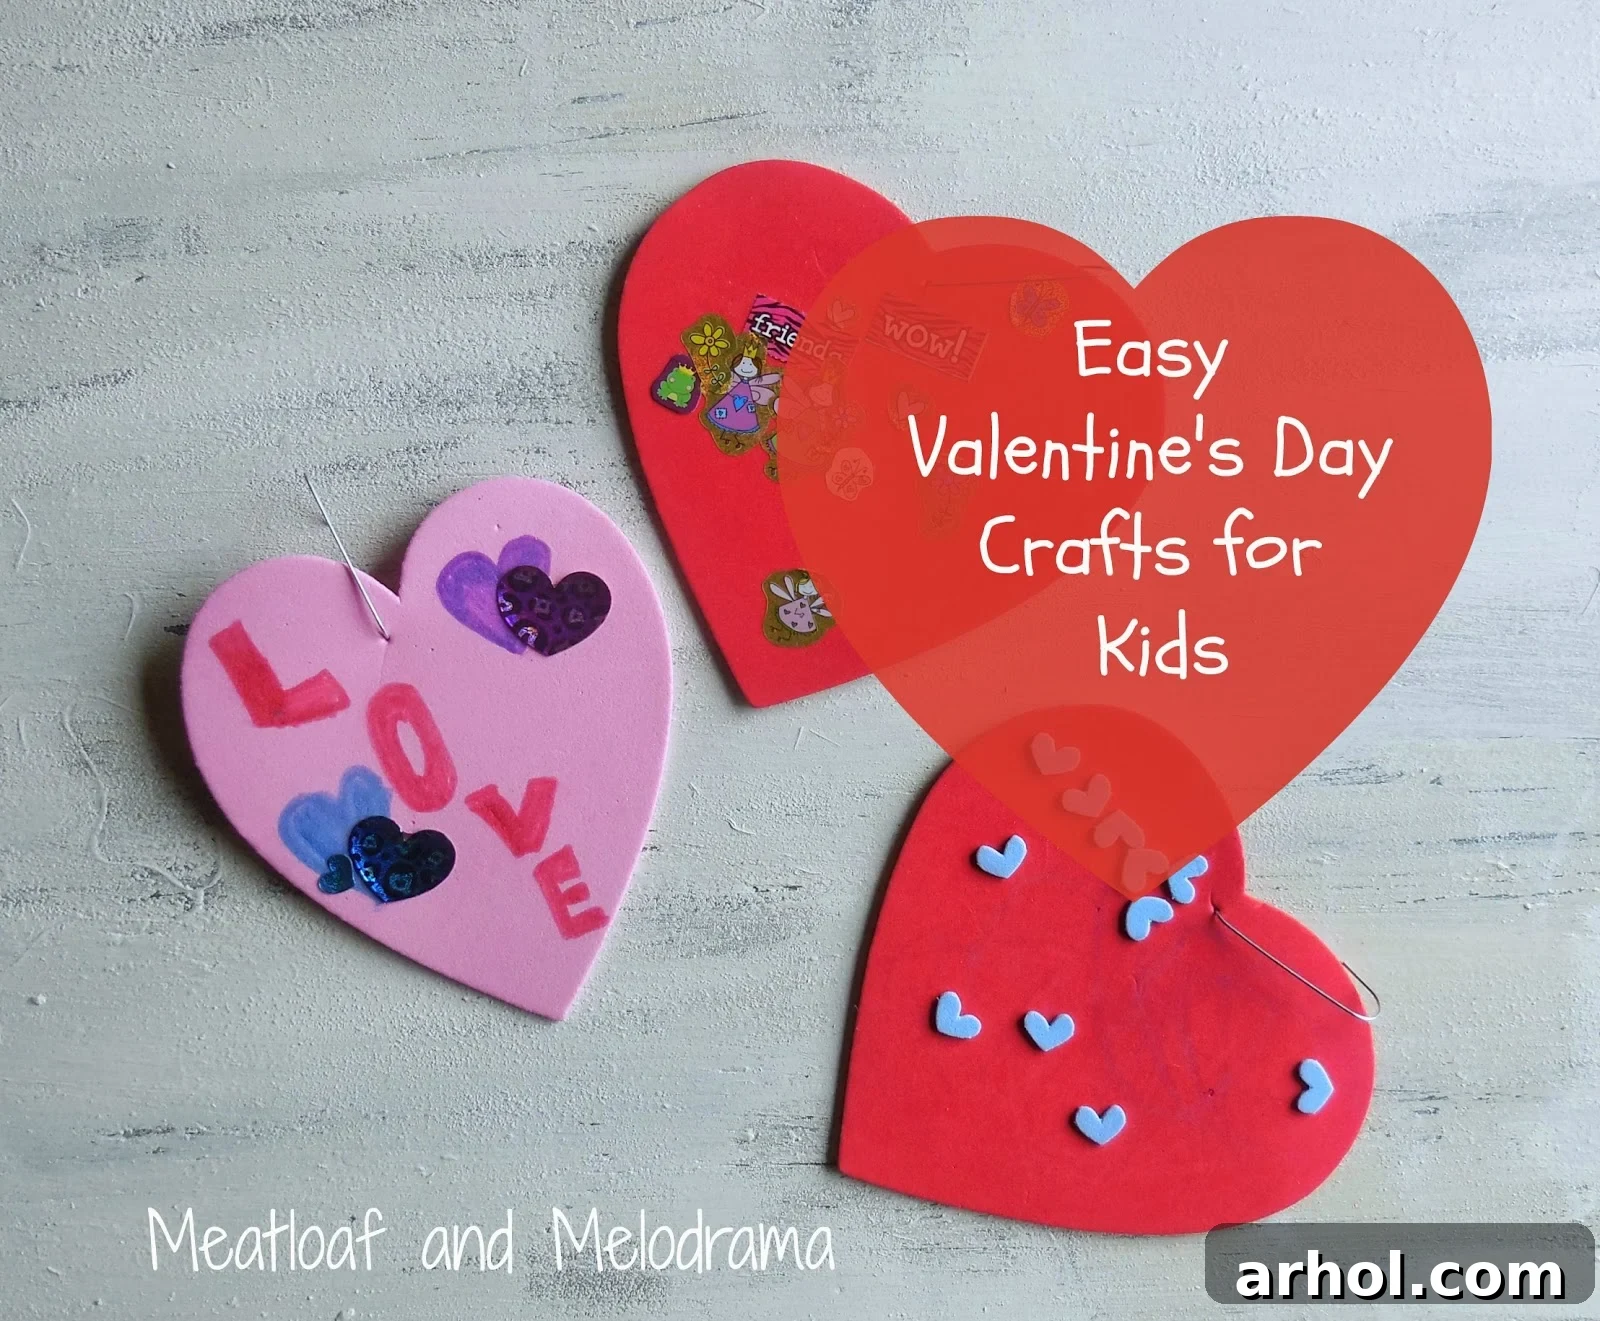
Foam hearts are an absolute game-changer when it comes to effortless and mess-free crafting, particularly for holidays like Valentine’s Day. Their pre-cut shapes, vibrant colors, and soft, pliable texture instantly make them inviting for young artists. The beauty of foam as a crafting material lies in its incredible versatility and the sheer lack of mess it produces. Forget about paint spills or sticky glue disasters; foam offers an immediate, clean, and engaging canvas for creativity. This makes foam heart crafts an ideal choice for busy parents, teachers, or anyone seeking a quick, satisfying, and beautiful project that truly focuses on the child’s independent expression.
Materials You’ll Need for Foam Heart Crafts:
- Assorted foam hearts (consider various sizes and a mix of colors to spark inspiration)
- Self-adhesive stickers (glitter stickers, foam shapes, letter stickers, googly eyes, gem stickers – the more variety, the better!)
- Washable markers (for younger children) or permanent markers (for older kids, to ensure no smudging)
- Glitter glue or non-toxic craft glue (optional, if you want to add non-adhesive embellishments or extra sparkle)
- Ribbon, string, or thin yarn (for hanging your finished creations)
- Ornament hooks or simple paper clips (if you plan to turn them into hanging decorations)
- Hole punch (if you’re not using hooks, to thread ribbon through)
Step-by-Step Guide to Decorating Foam Hearts:
- Preparation is Key: Begin by spreading out all your chosen foam hearts, stickers, and markers on a clean, flat surface. A placemat or a craft tray can be helpful to keep everything contained, though foam crafts are generally very tidy.
- Encourage Free Expression: The most crucial step is to simply hand over the materials and let your children’s imaginations take over. There are no strict rules or templates here; encourage them to decorate their hearts in any way they desire.
- Sticker Extravaganza for Toddlers: For our youngest crafters (toddlers and preschoolers), the primary activity will be exploring and applying stickers. Provide a generous assortment of different stickers and let them experiment with placement, color combinations, and layering. This activity is incredibly beneficial for developing fine motor skills, hand-eye coordination, and early decision-making.
- Marker Magic for Older Kids: Older children might enjoy adding more intricate details with markers. They can draw patterns, create borders, or write heartfelt messages like “Love You,” “Be Mine,” or the names of their friends, family members, or even their favorite teachers. Encourage them to personalize each heart, making it a unique gift or decoration.
- Embrace Individuality: It’s fascinating to see their individual personalities shine through! My little guy, for example, has always had an unwavering love for blue, so all his Valentine’s hearts consistently feature shades of blue. These personal touches are what make their creations so incredibly special.
- Ready to Hang: Once the decorating is complete, if you plan to hang your hearts, use a standard hole punch to create a small hole at the top of each heart. Alternatively, you can carefully push an ornament hook or a straightened paper clip through the foam. Thread a piece of ribbon, string, or yarn through the hole, and knot it securely, making them ready for display.
Creative Display Ideas for Your Foam Hearts:
Once your children have proudly completed their foam heart masterpieces, it’s time to showcase their hard work!
- The Charming Valentine’s Day Tree: This is a fantastically simple and visually delightful way to display a collection of decorated foam hearts. You can use a small indoor decorative tree, a potted plant like a ficus (as we did!), or even gather some sturdy branches from your yard, arrange them in a vase, and hang the hearts using ornament hooks or tied ribbons. This instantly transforms any corner of your home into a festive, love-filled haven.
- Festive Garlands and Banners: String multiple decorated hearts together using yarn or ribbon to create a cheerful garland. Hang this across a doorway, along a mantelpiece, or over a window to spread Valentine’s cheer throughout your home.
- Bright Window Art: For a simple yet effective display, use removable adhesive dots to stick the foam hearts directly onto windows. The sunlight filtering through their bright colors creates a beautiful, cheerful effect.
- Personalized Gift Tags: Attach a decorated foam heart to a Valentine’s Day gift bag or wrapped present for a sweet, personalized touch that shows extra thought and effort.
- The Classic Refrigerator Gallery: And, of course, the time-honored tradition of displaying kid art on the refrigerator is always a winner!
2. Salt Dough Creations: Enduring Keepsakes Made with Love
Beyond the immediate gratification of foam crafts, there’s a unique and timeless appeal to working with dough. This year, our family delved into the wonderful world of salt dough for our Valentine’s Day creations, and it was an absolute hit! Children are naturally captivated by the tactile experience of kneading, rolling, and shaping dough. It’s more than just a craft; it’s a sensory adventure that sparks imaginative play and significantly develops fine motor skills in a deeply engaging way. The true charm of salt dough lies in its surprising durability; once properly baked and sealed, these heartwarming creations can last for years, becoming cherished ornaments and decorations that evoke fond memories with each passing Valentine’s Day. They are truly enduring keepsakes that capture a moment in time.
DIY Salt Dough Recipe & Essential Materials:
Creating salt dough is remarkably simple, requiring only a few basic ingredients typically found in any pantry. Here’s a straightforward recipe and the additional supplies you’ll need:
- Ingredients for Your Salt Dough:
- 2 cups all-purpose flour
- 1 cup table salt (fine salt works best for a smooth texture)
- 1 cup warm water (you might need to adjust this slightly to achieve the perfect consistency)
- Optional: 1-2 tablespoons vegetable oil (this can help make the dough smoother and easier to handle, preventing cracks)
- Essential Crafting Supplies:
- Heart-shaped cookie cutters (or a variety of other festive shapes like stars or small animals)
- A rolling pin (a child-sized one is perfect for little hands)
- A drinking straw (critical for making holes if you plan to hang your ornaments)
- Baking sheet(s) and parchment paper (to prevent sticking during baking)
- Acrylic paints (various colors), glitter, and a selection of paintbrushes
- Clear sealant (such as Mod Podge, clear craft varnish, or a clear spray sealant like polyurethane)
- Ribbon, string, or twine (for creating hangers)
Making Your Salt Dough Hearts – A Step-by-Step Guide:
- Prepare the Dough: In a large mixing bowl, combine the flour and salt thoroughly. Gradually add the warm water (and vegetable oil, if you’re using it), mixing continuously until a stiff, firm dough begins to form. You may need to add a tiny bit more water if it’s too crumbly, or a little more flour if it’s too sticky, until you reach a good play-dough consistency.
- Knead and Roll: Turn the dough out onto a lightly floured surface. Knead it vigorously for about 5 to 10 minutes until it becomes wonderfully smooth, elastic, and pliable. Next, use your rolling pin to roll the dough out evenly to a thickness of approximately ¼ to ½ inch. This thickness ensures durability while allowing for proper drying.
- Cut Out Your Shapes: Use your heart-shaped cookie cutters to press firmly into the rolled dough, creating as many shapes as you desire. Carefully lift the cutouts and place them on your parchment-lined baking sheet. Gather the dough scraps, gently re-knead them, and re-roll to cut out even more shapes until all the dough is used.
- Create Hanging Holes: This is a crucial step if you intend to hang your creations! Before baking, use a drinking straw to poke a neat hole near the top of each heart. Make sure the hole is large enough for your chosen ribbon or string to pass through easily after drying.
- Bake or Air Dry Your Creations:
- Baking Method (Recommended for Speed and Durability): Place the cutouts on your parchment-lined baking sheet. Bake them in a preheated oven at a very low temperature (around 250°F / 120°C) for 2 to 4 hours. The exact baking time will depend on the thickness of your ornaments. They should feel completely hard and dry when finished. Flipping them halfway through can help ensure even drying. Once baked, allow them to cool completely on a wire rack.
- Air Dry Method (Oven-Free Option): If you prefer not to use an oven, simply place the hearts on a wire rack in a well-ventilated area and allow them to air dry for 2-3 days, or even longer for thicker pieces. Remember to flip them periodically to ensure both sides dry evenly and prevent warping.
- Decorate Your Hardened Hearts: Once your salt dough creations are fully cooled and rock-hard, it’s time for the most exciting part – decorating! Unleash the paints and brushes. Acrylic paints work wonderfully, offering vibrant colors and good coverage. My little diva absolutely adored adding playful polka dots to hers, which resulted in truly charming, whimsical pieces! You can also add glitter while the paint is still wet, draw intricate patterns, or even write small, heartfelt messages.
- Seal for Lasting Beauty: After all the paint and glitter have thoroughly dried (this is important!), apply a clear sealant. Mod Podge, a clear craft varnish, or a clear spray sealant will protect your beautiful creations from moisture and wear, giving them a lovely finished look and ensuring they last for many years to come. This step is key to transforming them into durable keepsakes.
- Add the Hangers: Once the sealant is completely dry, thread your chosen ribbon, string, or twine through the holes you made earlier and tie them into loops for easy hanging.
Decorating Your Home with Salt Dough Creations:
Once your beautifully crafted salt dough hearts are complete, the possibilities for incorporating them into your home décor are truly endless. Their charming rustic appeal and the undeniable warmth of handmade items add a unique and personal touch to any space, making your home feel extra special for Valentine’s Day.
- Mantelpiece Magic: Arrange a collection of your salt dough hearts artfully on your fireplace mantel. They can be nestled amongst flickering candles, intertwined with a delicate string of fairy lights, or placed alongside small floral arrangements to create a truly captivating and heartfelt focal point in your living space. The varying sizes and designs will add visual interest.
- Charming Shelf Embellishments: Smaller, perhaps polka-dotted hearts, can be hung from the edge of a decorative shelf using short ribbons, or simply placed leaning against books and framed photographs. They add a whimsical and personal touch to any display.
- Welcoming Wall Sconce Accents: As I discovered in our own home, even seemingly simple additions can make a significant impact. Tying a couple of salt dough hearts with elegant ribbon to wall sconces in your entryway creates a subtle yet incredibly sweet decorative element that extends a warm, handmade welcome to all your guests.
- Delightful Door Hangers: String several hearts together at varying lengths to create a charming door hanger for children’s bedroom doors, pantry doors, or even your front door. It’s a lovely way to spread festive cheer throughout the house.
- Unique Gift Toppers: For a truly personalized and eco-friendly touch, use a handmade salt dough heart as a unique gift topper instead of traditional bows or tags. It adds an extra layer of thought and love to any Valentine’s Day present.
- Imaginative Playtime: Don’t forget that the unbaked dough itself offers fantastic opportunities for creative play! As we discovered, kids love making “doll food” or other small shapes before you commit to baking the hearts into permanent decorations. This extends the fun and engagement even further, making the entire process more enjoyable for your little ones.
The Profound Benefits of Crafting with Your Children
Engaging in simple, fun crafts like these isn’t just about creating festive decorations; it’s a powerful and enriching tool for your child’s overall development and significantly strengthens family bonds. The positive impacts extend far beyond the finished product, fostering growth in numerous areas:
- Boosts Fine Motor Skills: Activities such as cutting, sticking, kneading dough, peeling stickers, and precise painting all contribute immensely to refining dexterity, hand-eye coordination, and developing the small muscles in their hands crucial for writing and other tasks.
- Fosters Creativity & Imagination: Children are given the freedom to make their own artistic choices, experiment with different colors, textures, and designs, and ultimately bring their unique visions to life. This nurtures their innate creativity and imaginative thinking.
- Encourages Problem-Solving: Even the simplest craft involves minor decisions and adjustments – which sticker goes where, how to roll the dough, which color to choose. These seemingly small choices build early problem-solving skills and critical thinking.
- Enhances Self-Esteem: Successfully completing a project, especially one they feel they’ve done independently, fills children with a wonderful sense of accomplishment and pride. This boosts their confidence and self-worth.
- Promotes Family Bonding: Crafting together creates invaluable shared experiences and precious memories. It’s a fantastic, screen-free way to spend quality time as a family, fostering conversation, collaboration, and laughter.
- Introduces New Concepts: Crafting offers a natural way to introduce various educational concepts, such as identifying shapes, recognizing colors, understanding different textures, and even grasping basic principles of baking (with salt dough).
- Develops Patience and Focus: While simple, crafts still require a degree of patience and focus, helping children to develop these essential skills in a fun and engaging context.
Practical Tips for Successful & Stress-Free Kid Crafting
To ensure your crafting sessions are enjoyable, productive, and memorable for everyone involved, here are a few practical tips to keep in mind:
- Preparation is Paramount: Before your little crafters even sit down, gather and lay out all the necessary materials. This minimizes interruptions, reduces waiting time, and helps keep little hands engaged from the very beginning of the activity.
- Embrace the Mess (Within Reason): While foam hearts and salt dough are relatively clean crafts, always be prepared for a little creative chaos. Cover your work surfaces with old newspapers, a disposable tablecloth, or a washable mat. An apron for the kids (and maybe you!) can also be a good idea.
- Focus on the Process, Not Perfection: It’s crucial to remember that the primary goal is to have fun, explore creativity, and enjoy the bonding experience – not to produce a flawless, gallery-worthy item. Celebrate your child’s effort, unique style, and individuality, regardless of the final aesthetic outcome.
- Let Them Lead: Offer gentle guidance and assistance when needed, but always allow your children to make their own artistic choices. This autonomy builds their independence, confidence, and ownership of their creations.
- Safety First, Always: Make sure to exclusively use non-toxic, child-safe materials for all crafts. Supervise younger children closely, especially when using tools like cookie cutters, scissors (if applicable), or even drinking straws to poke holes.
- Manage Expectations for Attention Spans: Children’s attention spans vary greatly by age and individual temperament. Keep crafting sessions short and sweet if needed, allowing them to take breaks or move on to other activities once their interest wanes.
- Celebrate Their Work with Pride: Once their crafts are complete, display them prominently in your home. This simple act shows your children that you value their efforts and creativity, which in turn encourages them to continue exploring their artistic side in the future.
Whether you choose the quick charm of foam hearts or the lasting appeal of salt dough ornaments, both these easy Valentine’s Day crafts for kids offer fantastic opportunities for joyful creation and meaningful memories with your children. They are not only inexpensive and delightfully simple to make, but they also result in beautiful, heartfelt decorations that you can proudly display and cherish year after year. These aren’t just crafts; they are keepsakes, imbued with the love, laughter, and unique creativity of your little ones, making your home feel extra special and warm for Valentine’s Day.
We’re always curious about how other families celebrate! Do you go all out with your Valentine’s Day decorations, creating an elaborate display of love, or do you prefer to keep it wonderfully simple and sweet with just a few handmade touches? Share your family’s crafting traditions and decorating styles with us!
Thank you so much for visiting our home and taking the time to explore our simple yet charming Valentine’s Day decorations. We sincerely hope these ideas inspire you to gather your loved ones and create some truly wonderful, love-filled memories with your family this season. Have a truly wonderful and heartwarming day!