
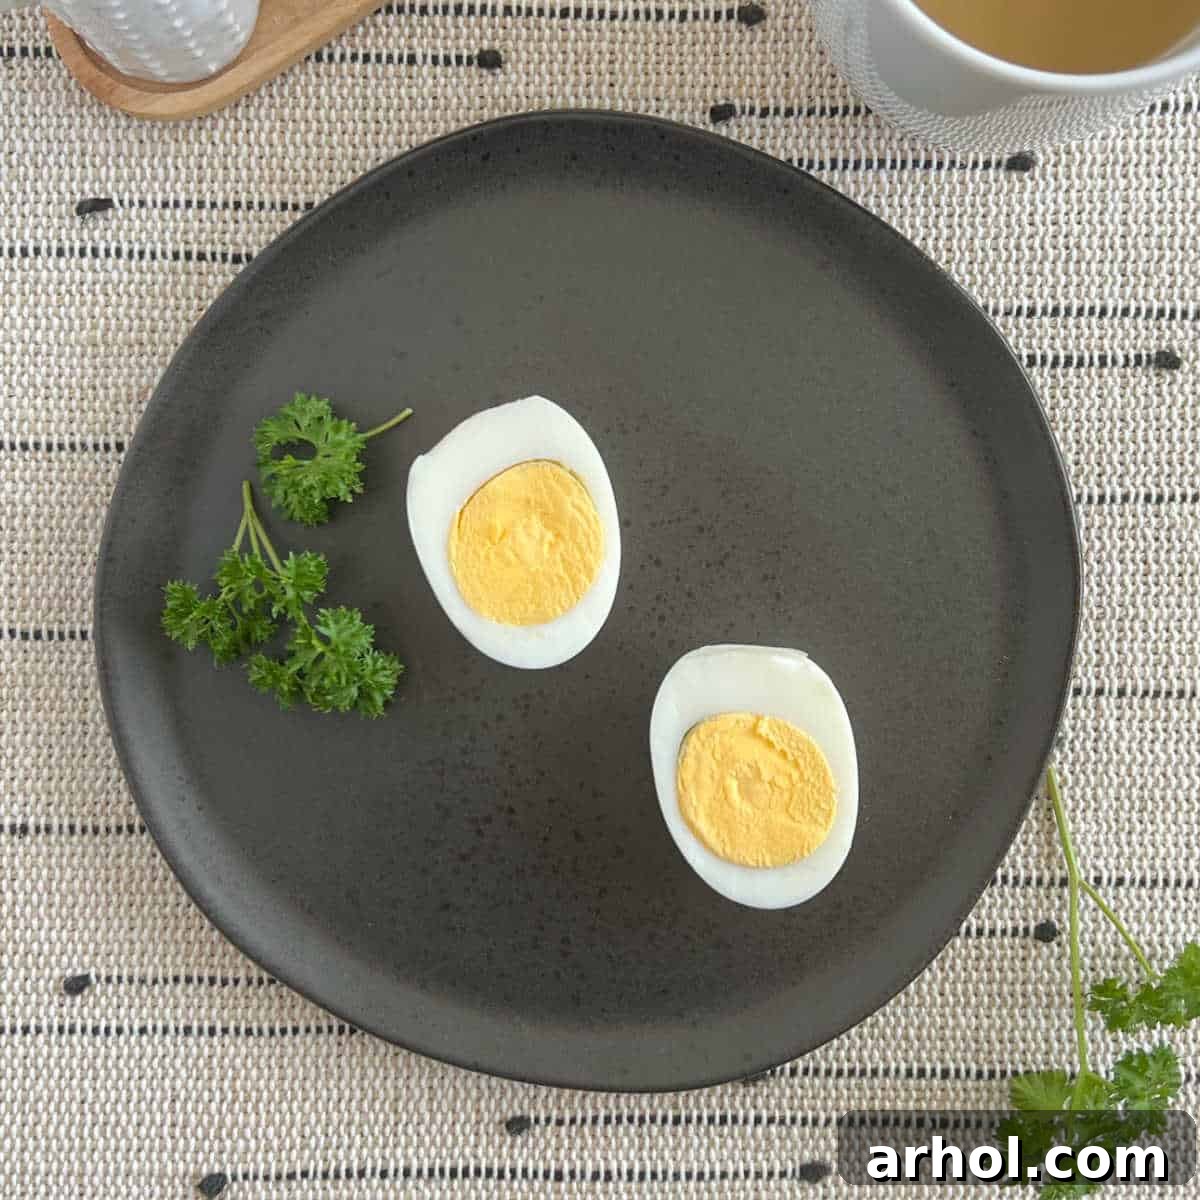
Unlock the secret to consistently perfect hard-boiled eggs with your Instant Pot. This comprehensive guide introduces you to the incredibly simple yet effective 5-5-5 method, guaranteeing delicious, easy-to-peel eggs every single time. Say goodbye to green rings and stubborn shells, and hello to effortless egg perfection for all your culinary needs.
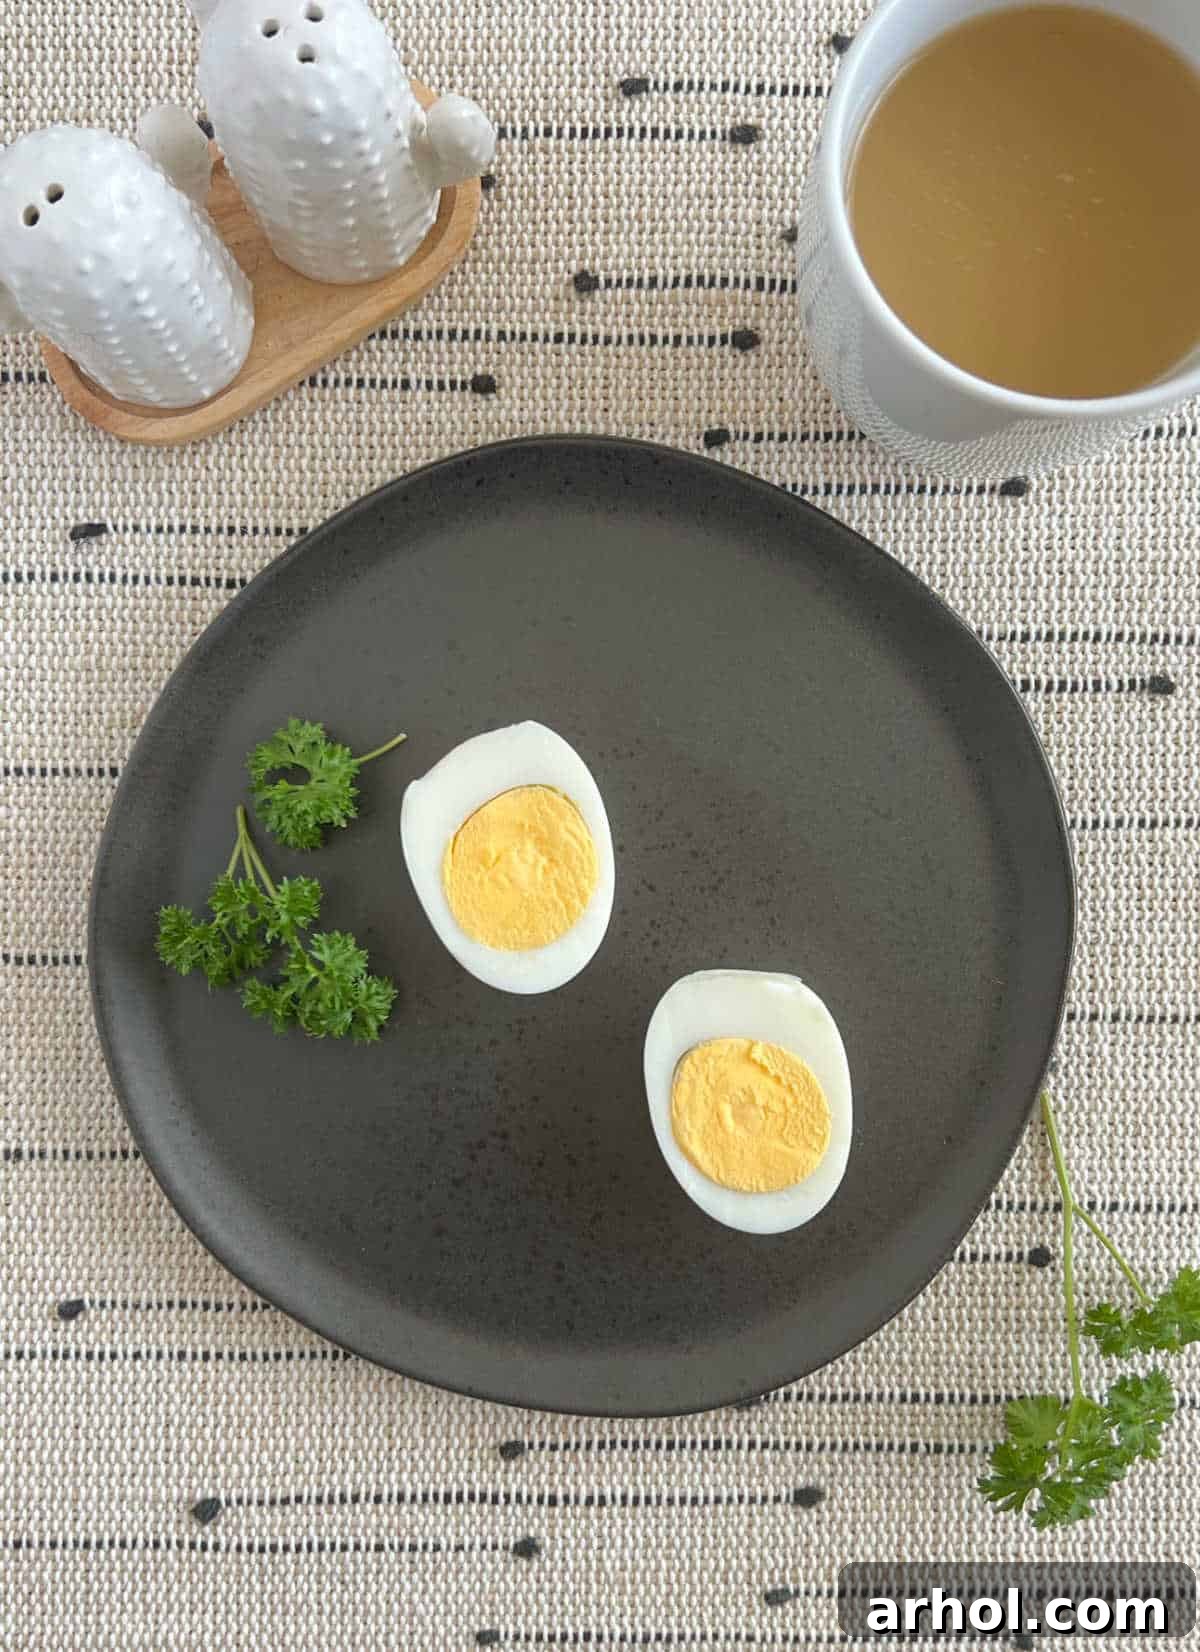
Table of Contents
- Mastering Instant Pot Hard Boiled Eggs: The 5-5-5 Method
- Why the Instant Pot is a Game-Changer for Hard Boiled Eggs
- Deciphering the 5-5-5 Method for Egg Perfection
- Storage Tips for Instant Pot Hard Boiled Eggs
- How Many Hard Boiled Eggs Can You Cook in the Instant Pot?
- Cooking Eggs in an 8-Quart Instant Pot or Larger Models
- Determining the Right Amount of Water for Pressure Cooking Eggs
- Pro Tips and Troubleshooting for Instant Pot Eggs
- Creative Ways to Enjoy Your Perfect Hard Boiled Eggs
- Instant Pot Hard Boiled Eggs Recipe
Mastering Instant Pot Hard Boiled Eggs: The 5-5-5 Method
Making hard-boiled eggs has long been a kitchen task that can be surprisingly frustrating. From shells that cling stubbornly to the egg white to the dreaded greenish-gray ring around the yolk, achieving consistent perfection can feel like a gamble. However, the Instant Pot has revolutionized this process, transforming it into one of the simplest and most reliable ways to cook eggs. I first discovered this method just before Easter, when the need for a large batch of easily peelable eggs for Easter egg dyeing became paramount. What started as a holiday shortcut quickly became my go-to technique for flawless hard-boiled eggs.
The Instant Pot, or any electric pressure cooker, makes light work of preparing hard-boiled eggs, especially when you employ the celebrated 5-5-5 method. This technique consistently delivers perfectly cooked eggs that are incredibly easy to peel, making it a favorite for busy home cooks. Whether you need a small batch for a snack or a dozen (or more!) for meal prep, this pressure cooker method ensures ideal results every single time. It truly stands out as one of the easiest and most rewarding Instant Pot recipes you can master.
Why the Instant Pot is a Game-Changer for Hard Boiled Eggs
For me, the Instant Pot method is undeniably superior to traditional stovetop boiling. It’s a foolproof approach that delivers exceptional results with minimal effort. Through numerous batches, I’ve found that the consistency is unmatched; nearly every egg emerges perfectly cooked, with only rare instances of minor cracks. Best of all, that unappealing green ring around the yolk – a common sign of overcooked eggs – is virtually eliminated.
Beyond the flawless outcome, the Instant Pot offers significant practical advantages. You no longer have to constantly monitor a pot of boiling water, freeing you up to attend to other tasks. Your kitchen stays fresh, as the pressure cooker contains the subtle “egg smell” that often lingers after stovetop cooking. Most importantly, the shells of Instant Pot eggs are remarkably easy to peel. This is often the biggest hurdle with hard-boiled eggs, but the pressure cooking process makes the membrane between the shell and the egg white less adherent, allowing for smooth, frustration-free peeling.
Deciphering the 5-5-5 Method for Egg Perfection
While various methods exist for making hard-boiled eggs in the Instant Pot, the 5-5-5 method has consistently proven to be the most reliable and effective. It’s the technique I’ve used time and again, and it’s widely considered the gold standard for perfectly cooked eggs in any electric pressure cooker. This method simplifies the cooking process into three distinct, equally important phases, each lasting approximately five minutes:
- 5 minutes of pressure cooking time: This is when the Instant Pot brings the internal temperature up and maintains high pressure, gently steaming the eggs to an ideal firm consistency.
- 5 minutes for a natural pressure release (NPR): After the cooking cycle finishes, allow the Instant Pot to naturally release pressure for five minutes. This gradual release helps prevent the eggs from overcooking and contributes to easier peeling by allowing the eggs to cool slightly within the humid environment of the pot.
- 5 minutes in an ice water bath (or cold water bath): Immediately after the partial natural release, transfer the eggs to an ice bath. This crucial step rapidly halts the cooking process, preventing any residual heat from overcooking the yolks and ensuring that characteristic bright yellow color. It also causes the egg whites to contract slightly, further aiding in effortless shell removal.
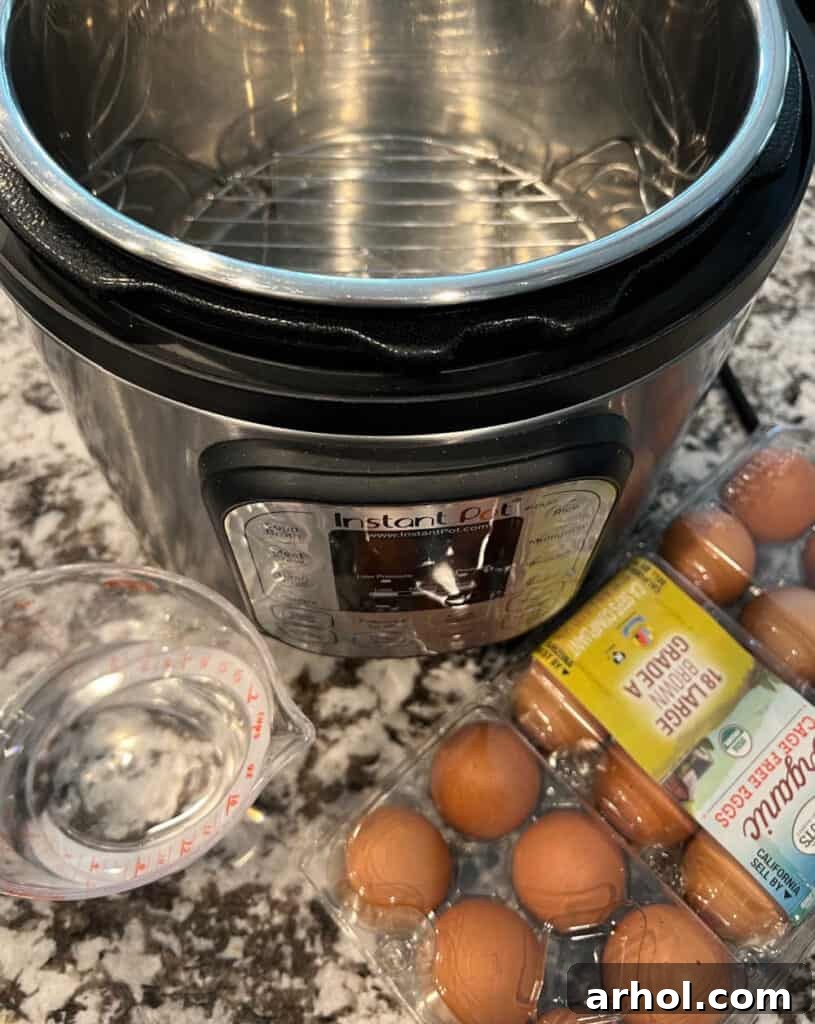
To execute this method, simply place the trivet or a steamer basket at the bottom of your Instant Pot. Add one cup of water (for a 6-quart model, see notes for other sizes), then carefully arrange your eggs on the trivet, ensuring they are not directly in the water. Secure the lid, set the valve to the sealing position, and cook on high pressure for 5 minutes.
Once the 5-minute pressure cooking cycle is complete, allow the Instant Pot to naturally release pressure for an additional 5 minutes. After this natural release, manually turn the valve to the venting position to perform a quick release of any remaining pressure. When the float valve (pin) drops, it’s safe to open the lid. Immediately transfer the hot eggs to a large bowl filled with ice water and let them cool for 5 minutes. This ice bath is essential for stopping the cooking process and making the shells incredibly easy to remove.
After the ice bath, your perfectly hard-boiled eggs are ready! You can peel them right away for immediate use or store them in the refrigerator for later enjoyment. They are fantastic in recipes like Instant Pot Potato Salad, Guacamole Deviled Eggs, Classic Deviled Eggs, Basil Parmesan Deviled Eggs, tuna salad with egg, and egg salad.
Storage Tips for Instant Pot Hard Boiled Eggs
Proper storage ensures your delicious hard-boiled eggs remain fresh and safe to eat. Unpeeled hard-boiled eggs can be stored in the refrigerator for up to 1 week. It’s best to keep them in their original carton or an airtight container to prevent them from absorbing odors from other foods. Once peeled, hard-boiled eggs should be stored in an airtight container with a damp paper towel to maintain moisture, and they will stay fresh for 2-3 days in the refrigerator. Always discard any eggs that have an unusual odor, slimy texture, or chalky appearance.
How Many Hard Boiled Eggs Can You Cook in the Instant Pot?
One of the great advantages of using an Instant Pot is its capacity for batch cooking. I routinely make a dozen eggs at once in my 6-quart Instant Pot, and it’s perfectly fine if they touch each other on the trivet or in the steamer basket. The pressure cooking environment ensures even cooking regardless of their proximity. While I typically stick to a dozen, many users successfully cook even larger quantities – up to 24 eggs (two dozen) or more – in a single batch, especially in larger Instant Pot models. For larger batches, ensure you use a trivet that allows for stacking, such as a tall trivet or a stackable steamer basket, to maximize space and promote even steaming.
Cooking Eggs in an 8-Quart Instant Pot or Larger Models
The 5-5-5 method is highly adaptable and works effectively in larger Instant Pot models, including the 8-quart. There’s a common misconception that eggs might overcook when using this method in an 8-quart pot, but this is not always the case. My experience with both an older 8-quart Duo and a newer 8-quart Duo Crisp has shown consistent results. The new Duo Crisp, for instance, took approximately 5 minutes to reach pressure, and after a 5-minute natural release, it quickly vented any remaining pressure, much like my 6-quart model. My older 8-quart Duo took slightly longer, around 7 minutes, to pressurize. Regardless of minor variations in pressurizing time, all three Instant Pots produced perfectly cooked hard-boiled eggs. I personally found that eggs subjected to a natural release (even a partial one) tended to have a slightly better texture and were often easier to peel compared to those with an immediate quick release.
If you find that your eggs are slightly overdone with a 5-minute natural release in your specific 8-quart model, consider doing an immediate quick release after the 5-minute cook time, followed by the 5-minute ice bath. Experimentation with your particular Instant Pot can help you fine-tune the timing for your ideal results.
Determining the Right Amount of Water for Pressure Cooking Eggs
The amount of water needed in your Instant Pot is crucial for generating enough steam to build pressure, not for directly boiling the eggs. For a standard 6-quart Instant Pot, 1 cup of cold water is sufficient. However, water requirements can vary between different Instant Pot models and sizes. It’s always best practice to consult your Instant Pot owner’s manual for precise recommendations for your specific unit. For example, my older 8-quart Duo requires 2 cups of water, whereas my newer 8-quart model functions perfectly with just 1 1/2 cups. Using too little water can prevent the pot from coming to pressure, while too much isn’t necessary and just takes longer to heat up. Sticking to the recommended amount for your model ensures optimal performance and safety.
Pro Tips and Troubleshooting for Instant Pot Eggs
Choosing the Right Eggs
While fresh eggs are delightful for many culinary uses, slightly older eggs (around 7-10 days old) are often recommended for hard boiling, especially for easier peeling. The pH of the egg white changes over time, making it less acidic and reducing its adherence to the shell membrane. If you only have very fresh eggs, don’t worry – the Instant Pot 5-5-5 method still yields excellent results, though peeling might require a tad more care.
Minimizing Cracked Eggs
Occasionally, an egg might crack during the pressure cooking process. This can happen if eggs are dropped, handled roughly, or if there’s a significant temperature difference between the eggs and the water. To minimize cracking: ensure eggs are placed gently on the trivet, avoid overcrowding the pot, and ideally, use eggs that are at room temperature or slightly warmed (though this isn’t strictly necessary for the 5-5-5 method).
Adjusting for Altitude and Egg Size
At very high altitudes, liquids boil at lower temperatures, which can slightly affect cooking times. If you live at a high altitude (above 3,000 feet) and find your eggs are consistently undercooked, you might need to increase the pressure cooking time by 1-2 minutes. Similarly, if you use extra-large or jumbo eggs, an extra minute of pressure cooking time might be beneficial. For smaller eggs, like medium, you could try reducing the natural release time slightly, perhaps to 3-4 minutes, before the quick release and ice bath.
Perfect Peeling Techniques
The ice bath is your best friend for easy peeling. Once the eggs are sufficiently chilled, gently tap an egg on a hard surface to create small cracks all around the shell. Then, roll it between your hands to further loosen the shell before peeling under cool running water. This helps wash away small shell fragments and makes the process even smoother.
Creative Ways to Enjoy Your Perfect Hard Boiled Eggs
Beyond being a simple snack, hard-boiled eggs are incredibly versatile and can elevate a multitude of dishes. Here are some ideas:
- Classic Egg Salad: Dice your eggs and mix with mayonnaise, mustard, celery, and seasonings for a timeless sandwich filling.
- Deviled Eggs: Halve the eggs, scoop out the yolks, mash with mayo and your favorite flavorings (mustard, relish, hot sauce), then pipe back into the whites.
- Salad Topping: Slice or chop hard-boiled eggs to add protein and texture to garden salads, Caesar salads, or even noodle bowls.
- Nicoise Salad: A French classic featuring tuna, green beans, potatoes, tomatoes, olives, and, of course, hard-boiled eggs.
- Curried Eggs: Gently simmer peeled hard-boiled eggs in a fragrant curry sauce for a unique and comforting meal.
- Ramen or Pho Garnish: A halved hard-boiled egg adds richness and substance to any Asian-inspired soup.
- Meal Prep Powerhouse: Cook a large batch at the start of the week for quick, high-protein additions to breakfasts, lunches, and snacks throughout busy days.
- Tuna Salad with Egg: Combine with tuna, mayonnaise, and other ingredients for a heartier sandwich or cracker topping.
Instant Pot Hard Boiled Eggs
Dee
10 minutes
5 minutes
15 minutes
12
Equipment
-
Instant Pot Pressure Cooker
Ingredients
- 1 cup water
- 12 large eggs
- ice and additional water for cooling
Instructions
-
Place trivet in the Instant Pot, and pour in 1 cup water.
-
Arrange eggs evenly on the trivet.
-
Cover, turn valve to sealing position, and hit PRESSURE COOK for 5 minutes.
-
Do a 5-minute natural release, and then turn valve to venting position to release any remaining pressure. When the pin drops, remove the lid, and carefully transfer the eggs to a large bowl filled with ice water.
-
Allow eggs to cool for 5 minutes, then remove from the ice bath, and peel or place in the refrigerator until ready to use.
Notes
To make hard-boiled eggs in an 8-quart Instant Pot, use 1 1/2 cups water or 2 cups, depending on the specific instructions in your owner’s manual. If you find your eggs are consistently overdone with the 5-minute natural release, you may try an immediate quick release after the 5-minute cook time, followed by the 5-minute ice bath.
Nutrition
Carbohydrates: 1g,
Protein: 6g,
Fat: 4g,
Saturated Fat: 1g,
Cholesterol: 164mg,
Sodium: 64mg,
Potassium: 61mg,
Sugar: 1g,
Vitamin A: 238IU,
Calcium: 25mg,
Iron: 1mg
Nutrition information is automatically calculated and should only be used as an approximation.
Additional Info
Appetizer, Breakfast
American
Like this? Leave a comment below!
This post was originally published in 2018 and has been comprehensively updated in 2024 to provide the most current and detailed information.
For more easy and delicious recipes, be sure to sign up for our weekly newsletter and follow us on your favorite social media channels. Happy cooking!