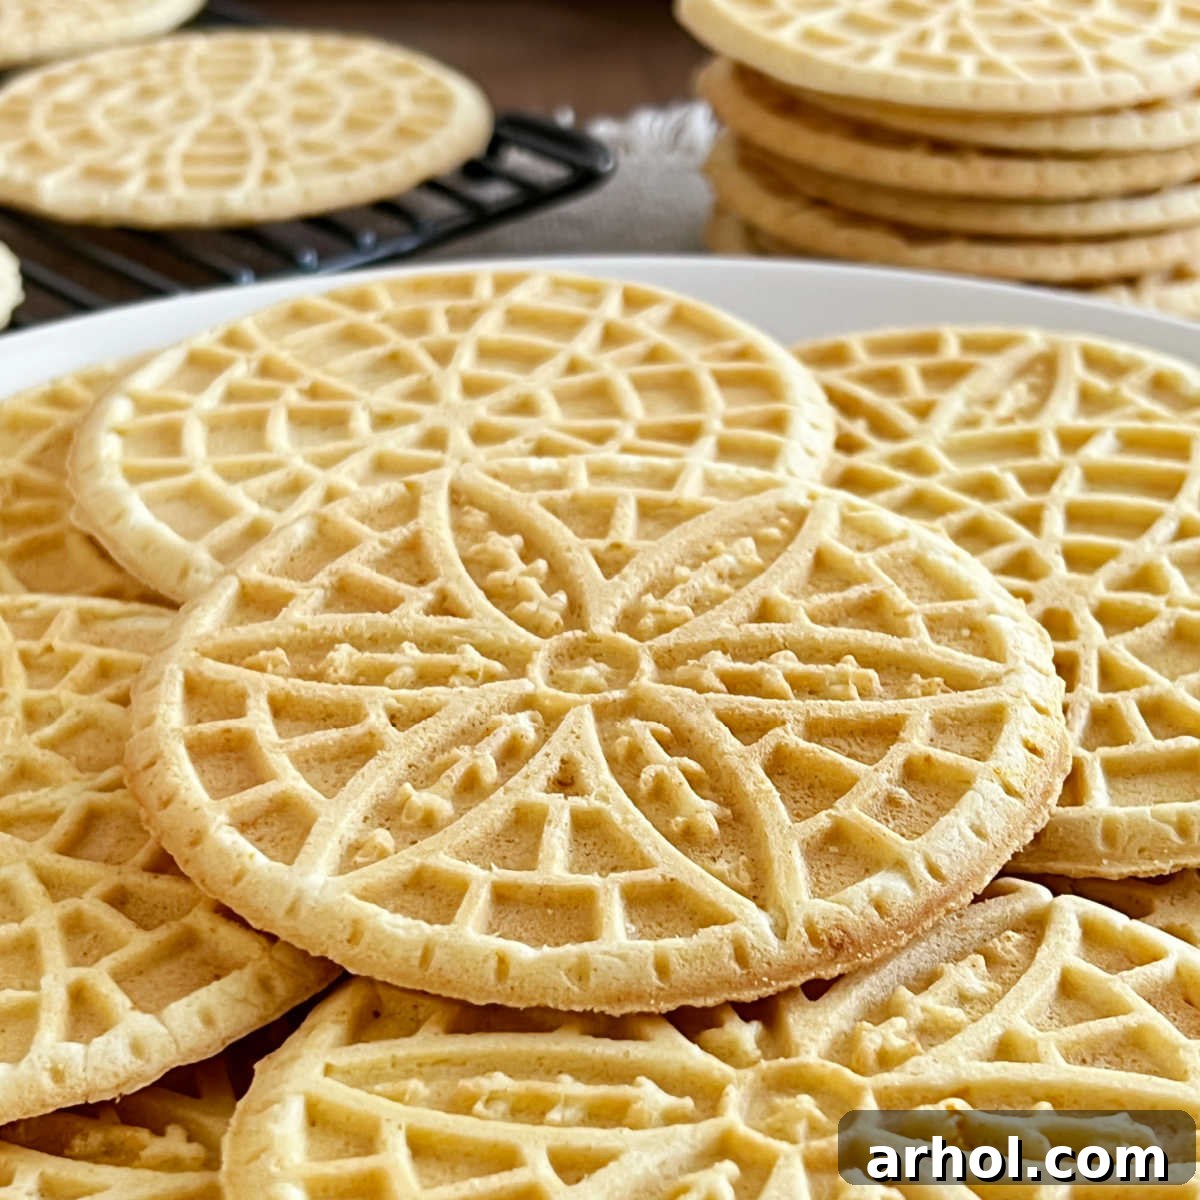
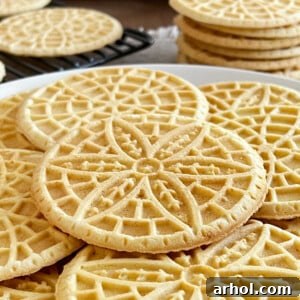
Grandma’s Anise Pizzelle Recipe brings to life traditional Italian wafer cookies, also known as waffle cookies, that are incredibly light, crisp, and utterly delicious. This timeless family favorite, infused with the distinctive flavor of anise, has been a cherished centerpiece of our holiday celebrations for generations.
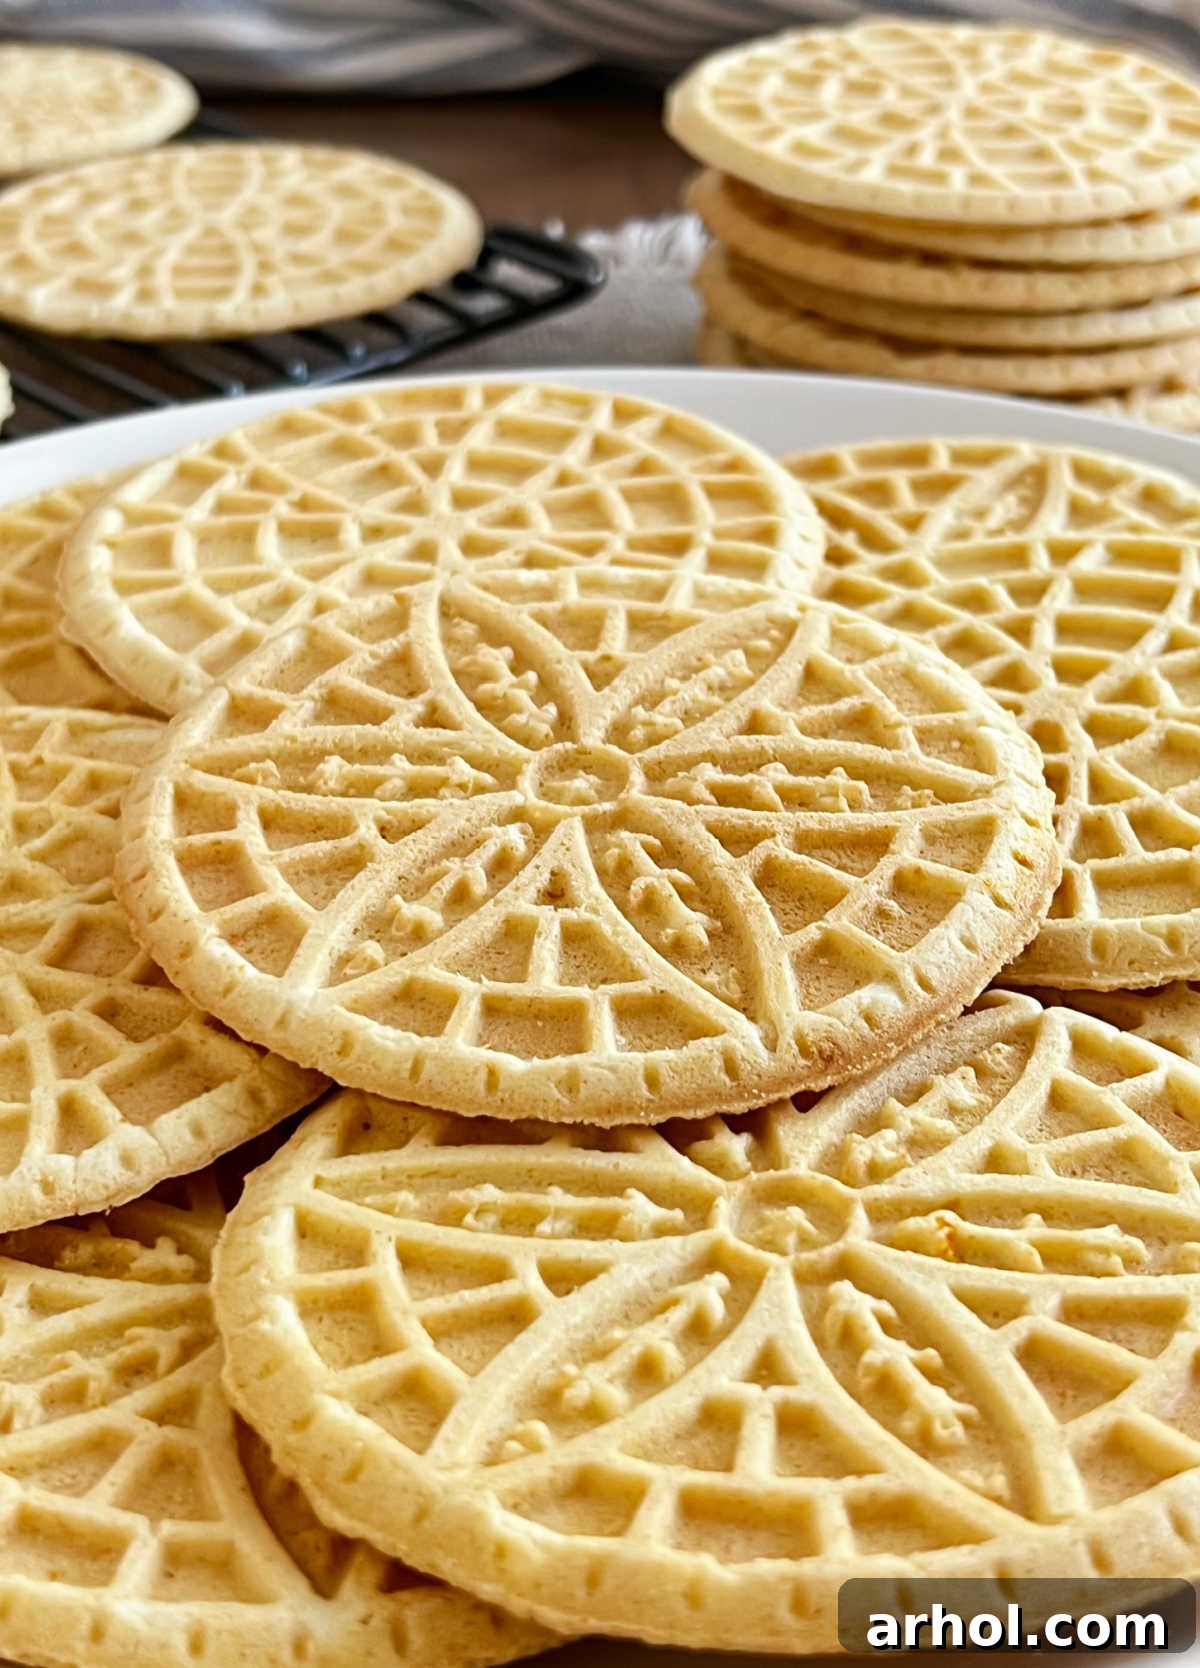
The Enduring Legacy of Grandma’s Pizzelles: A Timeless Family Recipe
There’s something truly magical about recipes passed down through generations, and my grandma’s pizzelle recipe holds a particularly special place in my heart. Though she was of Polish heritage, her culinary expertise extended across borders, thanks to her time working in an Italian bakery and her close Italian relatives. This exposure gifted our family with a treasure trove of authentic Italian delights, none more beloved than these exquisite pizzelle cookies.
Each Christmas, our home would be filled with the sweet, aromatic scent of anise as Grandma meticulously prepared colossal batches of these traditional Italian waffle cookies. Using her cherished vintage pizzelle iron, she would press out hundreds of these delicate, often intricately patterned, cookies. They weren’t just cookies; they were an embodiment of holiday spirit and family tradition, carefully stored in a large metal roaster, ready to be shared with everyone who walked through our door. The original recipe produced cookies that were famously light, beautifully crispy, and traditionally flavored with a harmonious blend of anise oil, subtle vanilla, and bright citrus zests—a combination that still defines the perfect pizzelle for our family.
Today, with the convenience of an electric pizzelle press, I continue this heartwarming tradition. While I’ve made minor adjustments to adapt the recipe for modern equipment and often scale it down (the original truly makes a ton!), the essence of Grandma’s pizzelles remains. The delightful crunch and unique flavor instantly transport me back to those cherished holiday memories. My family adores these crispy treats, and they disappear almost as quickly as I can make them!
Table of Contents
- The Enduring Legacy of Grandma’s Pizzelles
- A Brief History of Pizzelle Cookies
- Crafting Your Perfect Pizzelles: Essential Ingredients
- How to Make Anise Pizzelle Cookies
- Achieving and Maintaining Pizzelle Crispness: Storage Secrets
- Pizzelle Perfection: Advanced Tips and Creative Variations
- More Family Christmas Recipes
- Grandma’s Anise Pizzelle Recipe Card
A Brief History of Pizzelle Cookies
Pizzelles are among the oldest known cookies, believed to have originated in the Abruzzo region of Italy. The word “pizzelle” itself derives from the Italian word “pizze,” meaning “flat” and “round,” although various shapes and patterns exist. These charming wafer cookies were traditionally made using intricate irons, often depicting family crests, floral patterns, or religious symbols. This practice dates back centuries, with the iron being a prized possession passed down through families, much like my grandma’s vintage press.
Historically, pizzelles were a festive treat, especially popular during holidays like Christmas and Easter, as well as at weddings and other celebrations. Their delicate texture and subtle sweetness made them a beloved accompaniment to coffee, wine, or simply enjoyed on their own. While modern electric presses have made the process faster and more accessible, the tradition of gathering around to make and share these special cookies remains a treasured part of Italian and Italian-American culture.
Crafting Your Perfect Pizzelles: Essential Ingredients
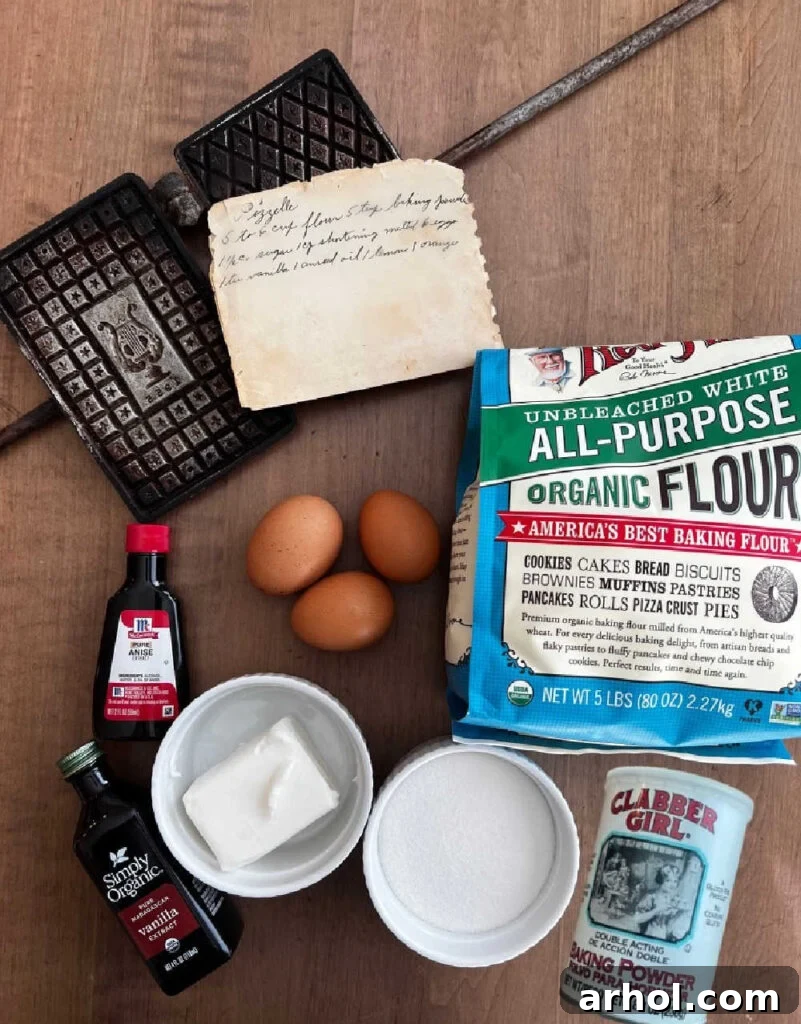
Creating these delightful pizzelles requires just a handful of straightforward ingredients, readily available at any grocery store. The true magic lies in their careful combination and the traditional pressing method. Remember, a pizzelle press is an absolute must-have for this recipe!
- Large Eggs: Eggs provide structure and richness to the batter, contributing to the pizzelle’s characteristic crispness and delicate texture.
- Granulated Sugar: White sugar not only sweetens the cookies but also helps achieve that desirable golden-brown color and a slightly caramelized flavor during cooking.
- Shortening (or Butter, melted and cooled): Shortening yields a very crisp pizzelle, making it a traditional choice. However, melted and cooled unsalted butter can be substituted for a richer, buttery flavor. Ensure it’s cooled to prevent cooking the eggs prematurely.
- Anise Extract (or Anise Oil): This is the signature flavor of these traditional Italian cookies, offering a distinct, slightly licorice-like aroma. If using potent anise oil, remember that a little goes a long way – typically half the amount of extract is sufficient for the same intensity.
- Vanilla Extract: Vanilla complements the anise beautifully, adding depth and a mellow sweetness that prevents the anise from being overpowering. It creates a well-rounded flavor profile.
- All-Purpose Flour: Standard all-purpose flour provides the primary structure for the cookies. Measure it correctly to ensure the right batter consistency – not too thick, not too thin.
- Baking Powder: A leavening agent, baking powder helps these thin cookies achieve a light, airy quality and a slight rise, which is crucial for their delicate crispness.
- Lemon Zest and Orange Zest (Optional): For an extra layer of brightness and complexity, citrus zests can be added. They lift the overall flavor, making the pizzelles even more fragrant and refreshing.
How to Make Anise Pizzelle Cookies: A Step-by-Step Guide to Perfection
Making pizzelles is a rewarding experience, especially when you follow these steps to ensure a perfect batch of crisp, flavorful Italian wafer cookies.
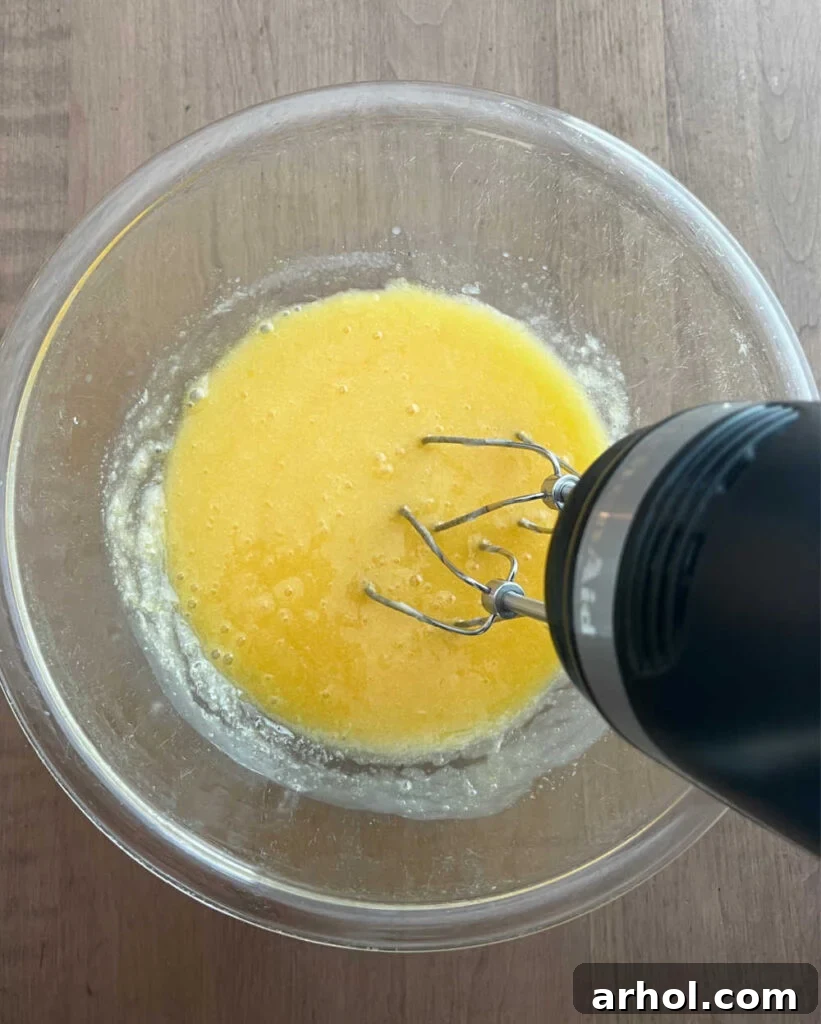
- Prepare the Wet Ingredients: Begin by melting your shortening (or butter) and setting it aside to cool slightly to a lukewarm temperature. In a large mixing bowl, gently beat the large eggs using an electric mixer until they are just combined and slightly frothy.
- Combine Flavors and Sweetness: Add the granulated sugar to the beaten eggs and continue mixing until the sugar is well incorporated and the mixture is smooth. Next, pour in the cooled melted shortening, anise extract, and vanilla extract. If you’ve chosen to include lemon and orange zests for that extra bright flavor, add them now. Mix everything thoroughly until all ingredients are well combined.
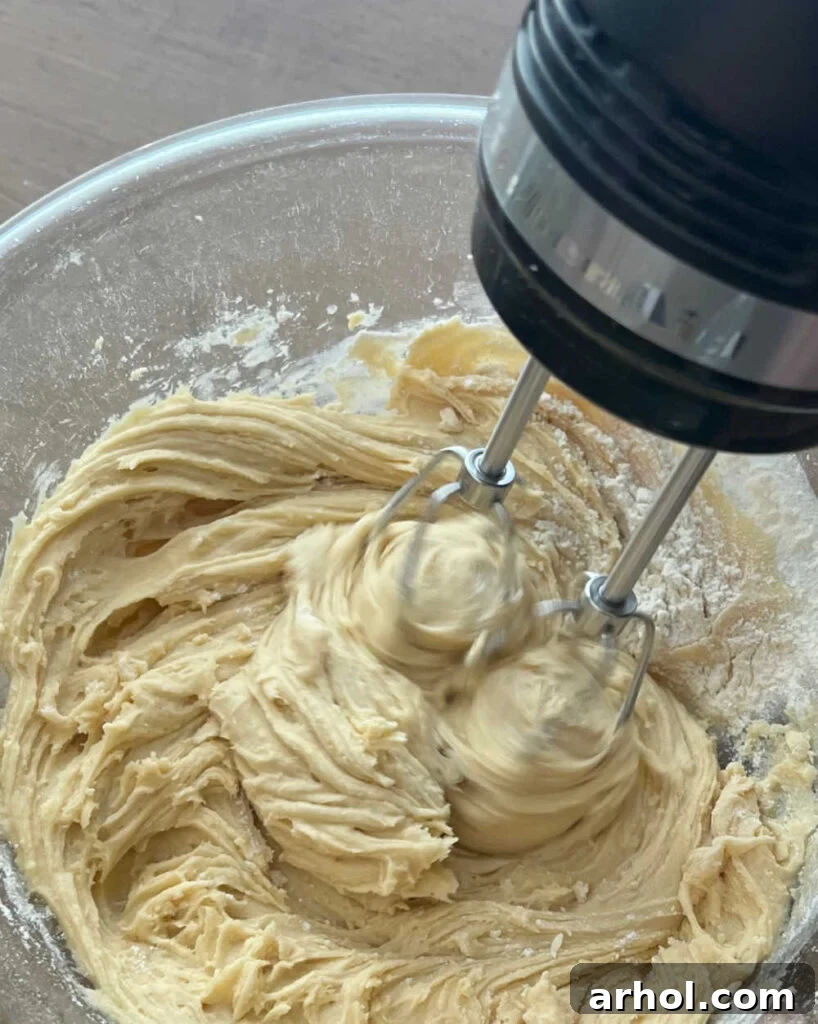
- Incorporate Dry Ingredients: Gradually add the all-purpose flour and baking powder to the wet mixture. Mix on a low speed until the ingredients are fully incorporated and the batter becomes smooth. Remember to scrape down the sides of the bowl frequently to ensure no dry spots remain. Unlike traditional cookie dough, pizzelle batter will be quite thick and sticky, resembling a very dense pancake or waffle batter. This consistency is perfectly normal and desired for beautifully textured pizzelles.
- Preheat Your Pizzelle Press: Following your manufacturer’s directions, preheat your pizzelle press. Most modern presses will have an indicator light to show when it’s ready. It’s crucial for the press to be at the correct temperature for even cooking and optimal crispness.
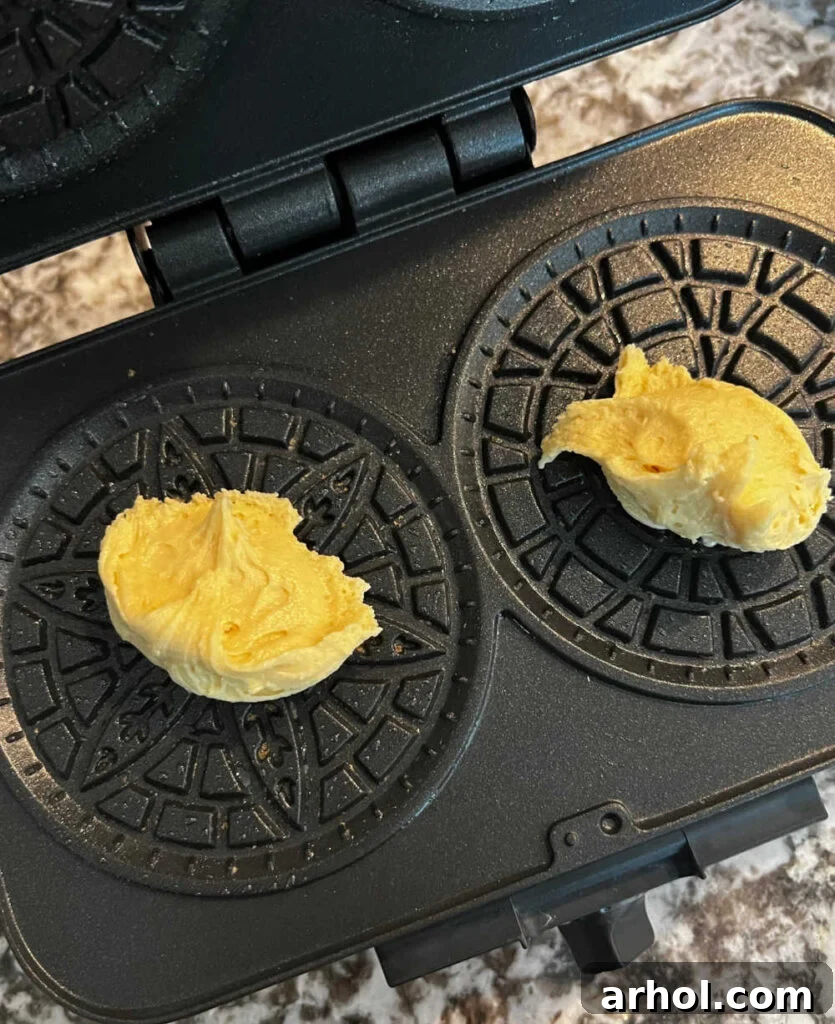
- Scoop and Cook: Using a tablespoon or a small cookie scoop, carefully drop a portion of the sticky batter onto the center of each grid on the hot pizzelle press. You can use a small spoon or your fingers (carefully, as the press is hot!) to gently guide the batter into place.
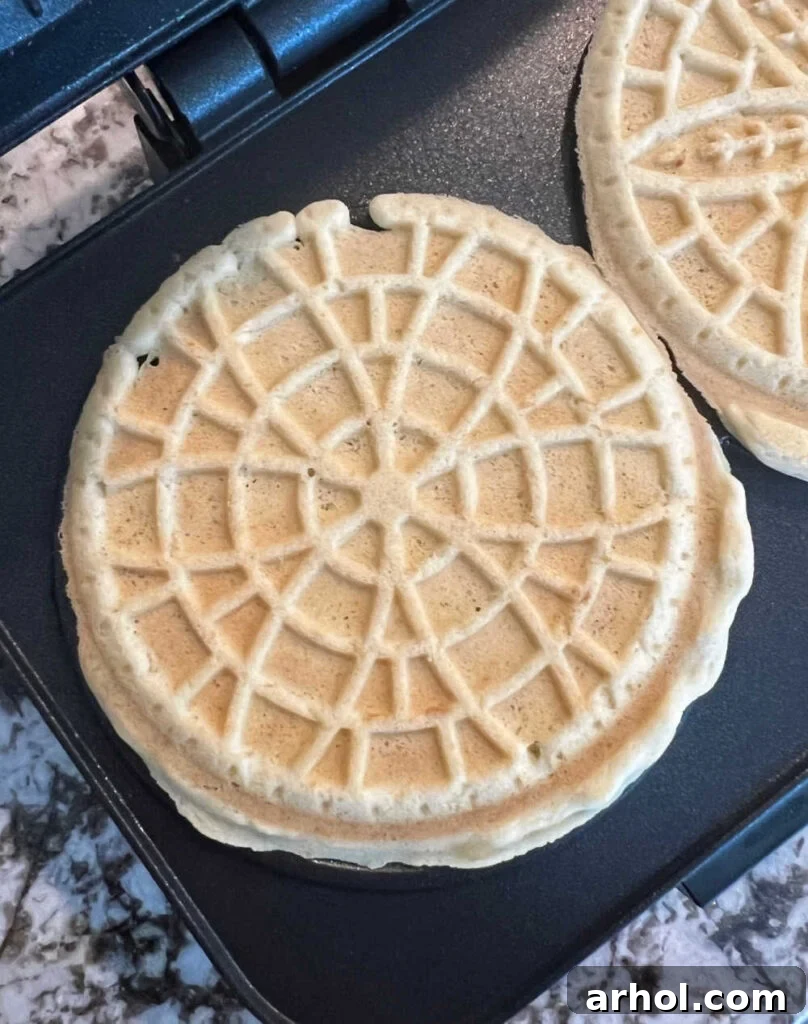
- Press and Bake: Close the lid of the pizzelle press firmly. Allow these delicate Italian cookies to cook for approximately 30-60 seconds, or until they achieve a beautiful light golden-brown color and are cooked to your desired doneness. Cooking times can vary slightly depending on your specific press and desired crispness.
- Carefully Remove and Cool: Once cooked, use a fork or a thin silicone spatula to carefully lift the warm pizzelles from the press. They will be incredibly soft and pliable right off the iron—this is completely normal.
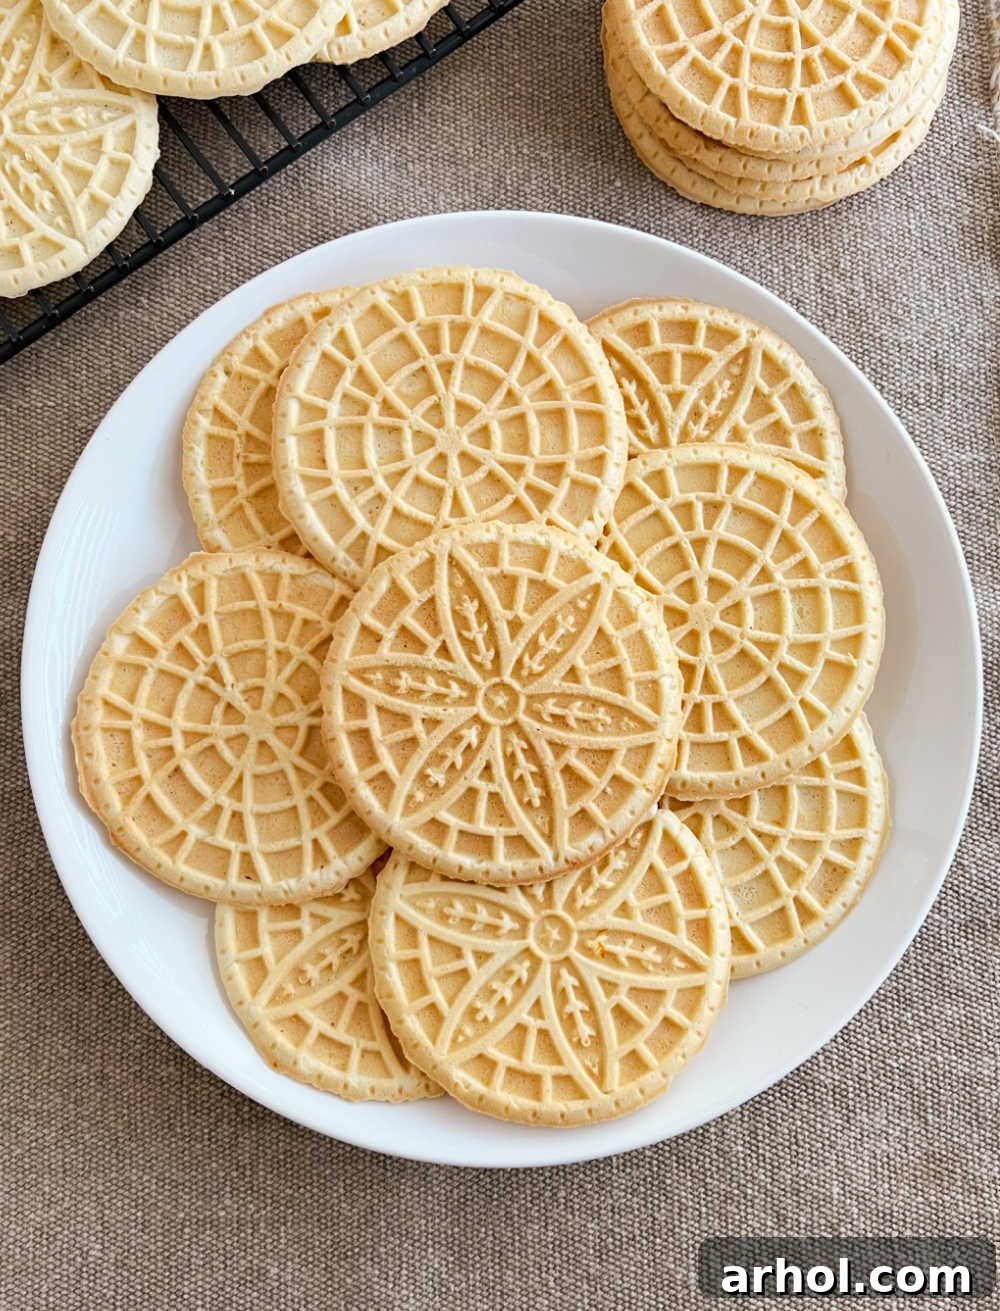
- Crisp to Perfection: Immediately transfer the freshly cooked pizzelles to a wire rack. Arrange them in a single layer, ensuring they don’t overlap. This allows air to circulate around them, which is essential for them to cool down and crisp up beautifully. Once completely cool, they will reach their signature crisp texture. You can then gently transfer the cooled pizzelles to an airtight container for storage.
Achieving and Maintaining Pizzelle Crispness: Storage Secrets
The hallmark of a perfect pizzelle is its delicate crispness, and proper storage is crucial to preserving this quality. To keep your pizzelles at their best, store them in an airtight container at room temperature. A metal tin, like the kind Grandma used, is often considered the best choice as it effectively keeps moisture out, preventing the cookies from softening.
When stored correctly, pizzelles will retain their crisp texture and fresh flavor for about one week. It’s important to avoid storing them in the refrigerator, as the cool, humid environment will cause them to absorb moisture and become soft. If you wish to extend their shelf life, pizzelles freeze exceptionally well. Simply place them in an airtight freezer-safe container, layering parchment paper between them to prevent sticking. They can be frozen for up to three months, making them a fantastic make-ahead holiday treat. When ready to serve, simply thaw them at room temperature, and they should regain most of their original crispness.
Pizzelle Perfection: Advanced Tips and Creative Variations
Mastering pizzelle making is a delightful journey. Here are some invaluable tips and creative variations to help you achieve perfection and explore new ways to enjoy these charming Italian cookies:
- Pizzelle Press Care: Always refer to your electric pizzelle press manufacturer’s directions for specific usage and care. Many modern presses feature non-stick surfaces. It’s often recommended to lightly brush the grids with a small amount of vegetable oil before you start cooking (and occasionally between batches if needed), rather than using non-stick cooking spray. Some sprays contain ingredients that can build up and damage the non-stick coating over time. If your press is an older, non-stick model, a light coat of cooking spray might be acceptable, but always check the manual.
- The Quest for Crispness: The most common challenge with pizzelles is maintaining their crisp texture. The key is to allow the cookies to cool completely on a wire rack in a single layer before storing them. Air circulation is vital! If your pizzelles aren’t as crispy as you’d like, environmental humidity might be a factor. High humidity in the air can make it challenging for them to crisp up or cause them to soften quickly. Baking on a dry day can make a noticeable difference.
- Beyond the Flat Wafer: Creative Shaping: Don’t limit pizzelles to just flat cookies! Their pliable nature when warm makes them incredibly versatile. As soon as they come off the press, while still hot and soft, you can quickly mold them into various shapes:
- Waffle Cones: Roll them into cones for a homemade ice cream treat.
- Cannoli Shells: Wrap them around a small wooden dowel (often included with pizzelle presses) to create elegant cannoli shells, perfect for filling with ricotta cream.
- Edible Bowls: Drape them over the bottom of a small bowl or muffin tin to form delicate edible cups for fruit, mousse, or ice cream.
- Flavor Customization: While anise is traditional and beloved, it’s not for everyone, as its flavor can be reminiscent of black licorice. If you prefer a milder taste, you have options:
- Vanilla-Only: Simply omit the anise extract and double the vanilla extract for a classic, sweet vanilla wafer.
- Subtle Anise: For a hint of anise without the intensity, use anise seeds instead of extract. Grind them finely and add a small amount to the batter.
- Chocolate Dipped: For an indulgent twist, dip cooled pizzelles halfway into melted dark, milk, or white chocolate. Garnish with crushed pistachios, sprinkles, or a drizzle of contrasting chocolate.
- Powdered Sugar Dusting: A simple dusting of powdered sugar is a classic and elegant finish that enhances their delicate appearance and sweetness.
- Don’t Waste a Drop: Troubleshooting and Scraps: It might take a few attempts to perfect the art of dropping just the right amount of batter and getting perfectly round, symmetrical pizzelles. Don’t fret if you have excess dough around the edges! These “scraps” are perfectly delicious. We love to break them off and nibble on them as a baker’s treat, or even crumble them into our favorite Christmas snack mix for added crunch and flavor. If cookies are sticking, ensure your press is well-seasoned or lightly oiled. If they are too thick, you might be using too much batter or your press isn’t closing completely.
More Family Christmas Recipes
If you cherish tried-and-true family recipes, especially during the festive holiday season, you’ll love exploring these other beloved dishes from our kitchen. Expand your holiday menu with our homemade pierogi recipe, savor the rich flavors of grandma’s nut roll recipe, try the comforting grandma’s halupki recipe (stuffed cabbage rolls), or whip up this easy haluski recipe with kielbasa. And for a truly decadent Christmas dessert, our eggnog pie is an absolute must-try!
Print Recipe
Grandma’s Anise Pizzelle
By: Dee
Grandma’s Anise Pizzelle Recipe creates traditional Italian wafer cookies that are light, crisp, and incredibly delicious. A true family favorite for any occasion!
Prep Time: 10 minutes
Cook Time: 1 minute
Total Time: 11 minutes
Servings: 30 cookies
Equipment
- 1 pizzelle press (electric or stove-top)
Ingredients
- 3 large eggs
- ¾ cup granulated sugar
- ½ cup shortening (melted and cooled, or use unsalted butter)
- 1 tablespoon anise extract
- ½ teaspoon vanilla extract
- 1 ¾ cups all-purpose flour
- 3 teaspoons baking powder
- ½ teaspoon lemon zest (optional, for brighter flavor)
- ½ teaspoon orange zest (optional, for brighter flavor)
Instructions
- In a large mixing bowl, lightly beat the eggs using an electric mixer until just combined.
- Add the sugar to the eggs and mix until well combined and smooth.
- Stir in the melted and cooled shortening, anise extract, and vanilla extract. If using, add the lemon and orange zests at this stage. Mix until all wet ingredients are fully incorporated.
- Gradually add the all-purpose flour and baking powder to the wet mixture. Mix until the batter is smooth and well combined, ensuring you scrape down the sides of the bowl as needed. The batter will be thick and sticky, similar to a dense waffle batter.
- Preheat your pizzelle press according to the manufacturer’s instructions until it reaches the correct temperature.
- Using a tablespoon or a small cookie scoop, drop approximately 1 tablespoon of batter onto the center of each grid on the hot press.
- Close the lid of the pizzelle press and cook for about 30 seconds to 1 minute, or until the pizzelles are a light golden-brown color and cooked to your desired crispness.
- Carefully remove the cooked pizzelles from the press using a fork or a thin silicone spatula. They will be soft at first.
- Place the warm pizzelles on a wire rack in a single layer to cool completely. As they cool, they will crisp up.
- Repeat the process with the remaining batter until all pizzelles are made.
Notes
- If substituting anise oil for anise extract, use only about ½ teaspoon of oil due to its higher potency.
- Unsalted butter can be used in place of shortening for a richer flavor. Ensure it is melted and then cooled to lukewarm before adding to the batter.
- For electric pizzelle presses with a non-stick surface, follow the manufacturer’s instructions. Many recommend lightly brushing the press with vegetable oil to prevent sticking and preserve the coating, rather than using non-stick cooking spray, which can sometimes leave a residue.
- Always allow pizzelles to cool completely on a wire rack before storing them. This step is crucial for achieving and maintaining their crisp texture. Store them in an airtight container at room temperature. In humid climates, pizzelles may not stay as crisp.
Nutrition
Nutrition information is automatically calculated and should only be used as an approximation.
Additional Info
Course: Dessert
Cuisine: Italian
For more heartwarming holiday recipes and simple, delicious meals your family will adore, be sure to sign up for our weekly newsletter and follow us on your favorite social media platforms.