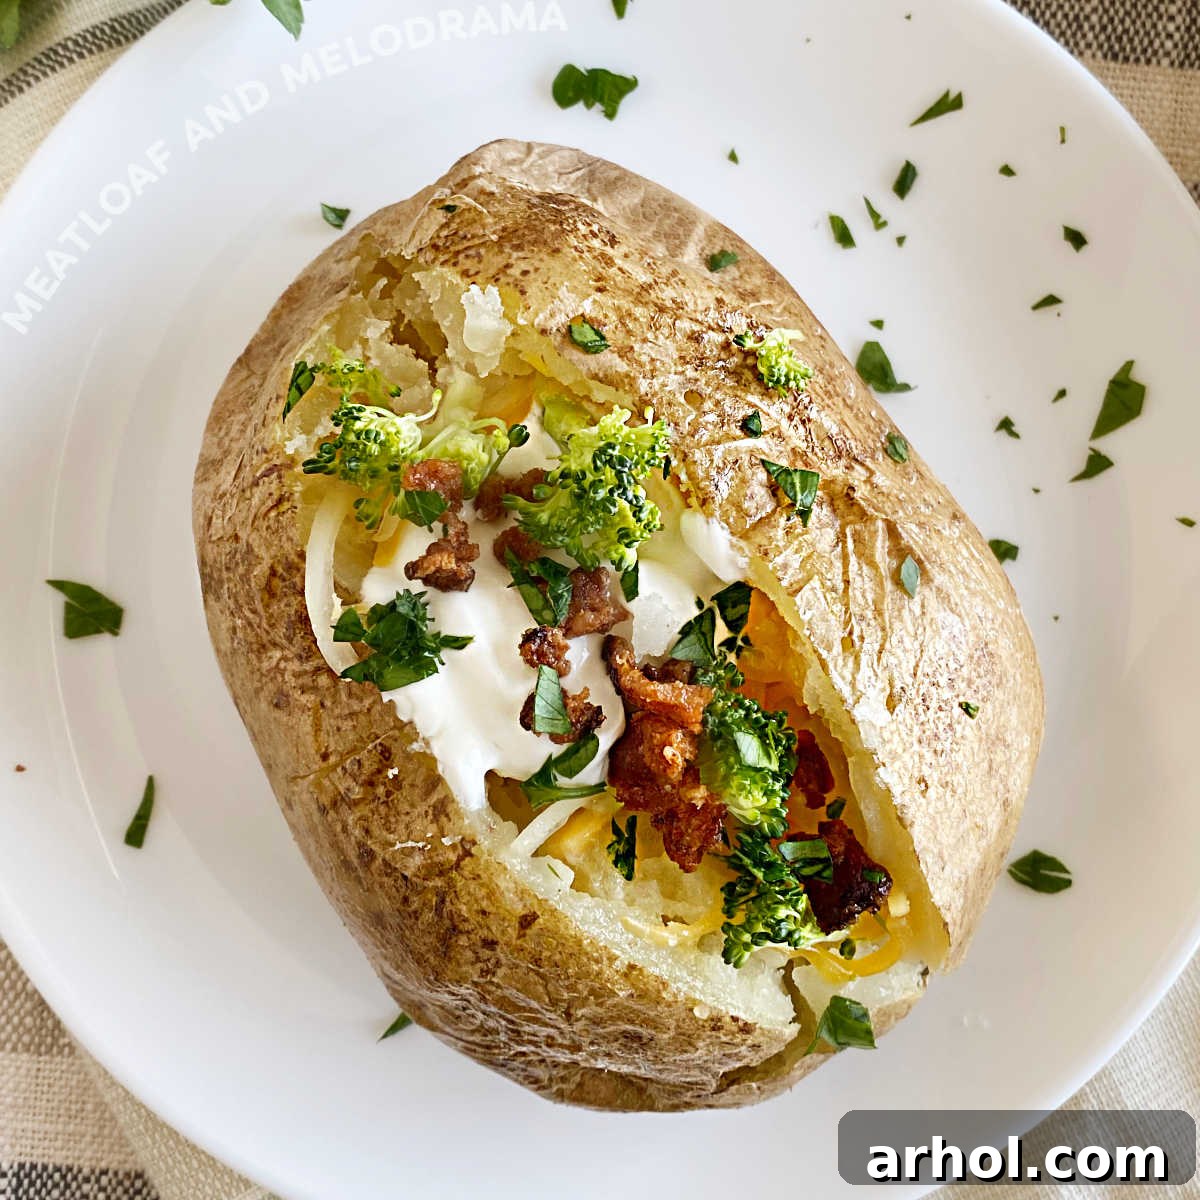
Welcome to the ultimate guide for creating the perfect baked potato in minutes, right in your microwave! This Easy Microwave Baked Potato recipe isn’t just a quick fix; it’s a game-changer for anyone seeking a fluffy, tender side dish without the long wait of oven baking. Ideal for busy weeknights, a speedy lunch, or when you simply need a delicious accompaniment to your meal, these potatoes are ready to impress.
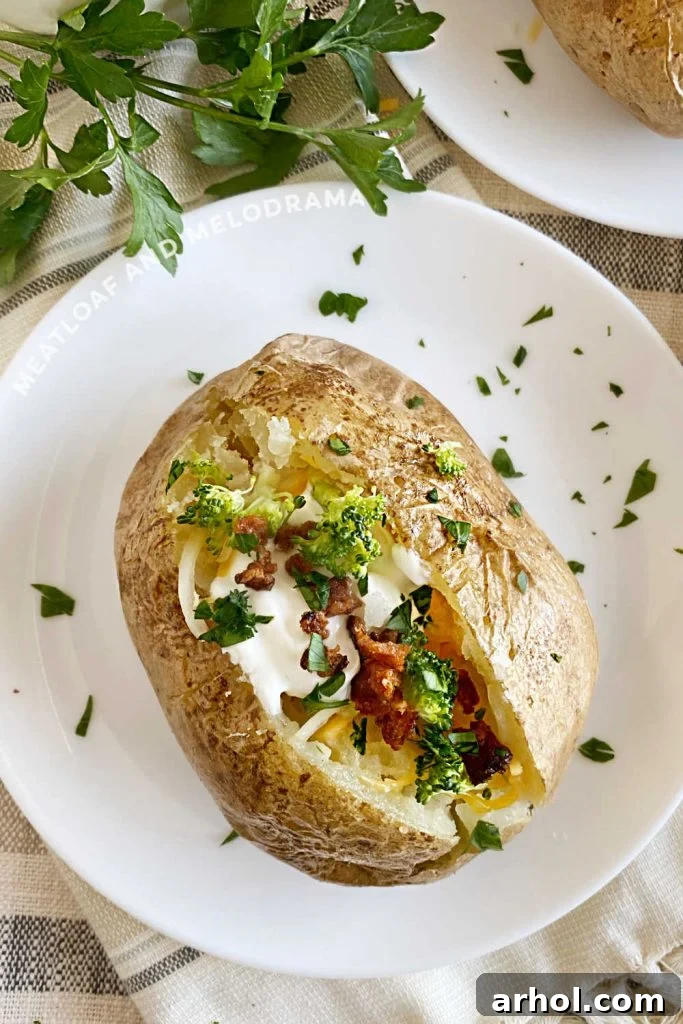
There’s an undeniable satisfaction that comes with a hearty steak, perfectly complemented by a warm, fluffy baked potato. However, the traditional oven method can demand an hour or more of your time – a luxury many simply don’t have, especially during warmer months or hectic weekdays. My family has long relied on the microwave for this classic side, a tradition born from the need for speed and simplicity, and it has consistently delivered outstanding results.
Having perfected this effortless recipe over the years, it remains my go-to method for preparing a quick and delicious baked potato. The process is incredibly straightforward: a few simple steps, a quick set of the timer, and you’re rewarded with the best soft, fluffy baked potatoes in a fraction of the time it would take in a conventional oven. This method not only saves time but also energy, making it a smart choice for any kitchen.
The versatility of your microwave extends far beyond just potatoes. I regularly use it to cook a variety of vegetables and quick meals, all achieving perfect doneness. From vibrant broccoli and sweet corn on the cob to tender carrots, delicate cauliflower, crisp asparagus, and flavorful green beans, the microwave consistently delivers perfectly cooked results. It’s also fantastic for a speedy bowl of ramen or creamy sweet potatoes. Explore the full range of microwave recipes to unlock even more convenience in your kitchen!
Table of Contents
- Ingredient Notes
- Best Potatoes for Baking
- What Size Potato to Use
- Cleaning Tips
- How to Bake A Potato in the Microwave
- How Long to Microwave a Potato
- How to Get Crispy Skins
- Best Way to Slice Them
- Potato Toppings
- Storage
- Recipe Tips for Success
- Easy Microwave Baked Potato Recipe
Essential Ingredient Notes
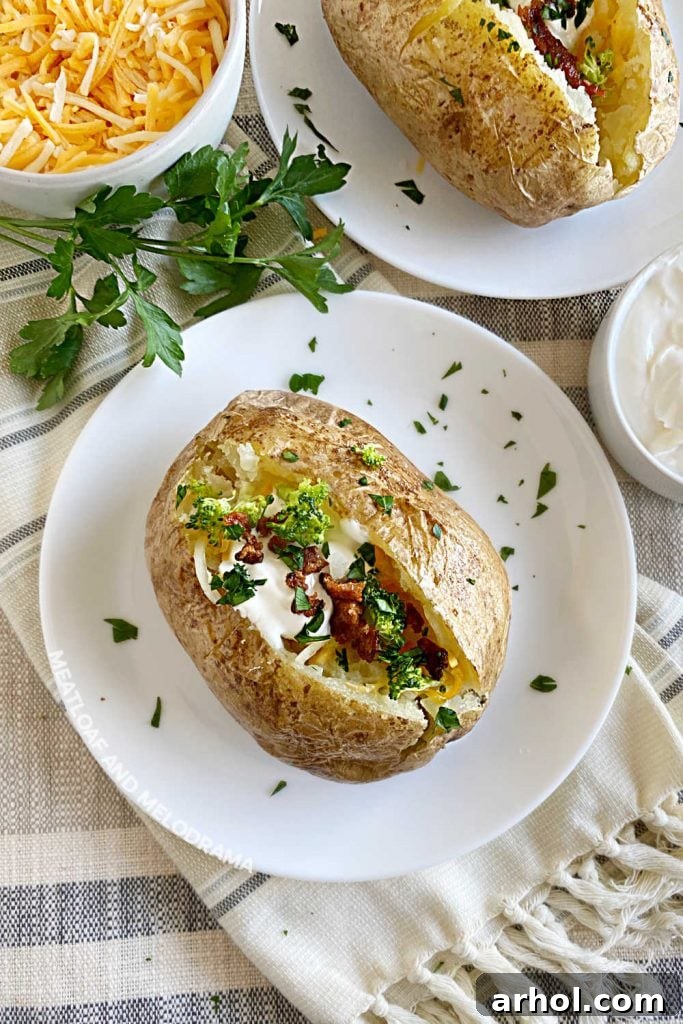
Crafting a perfect microwave baked potato requires minimal ingredients and a few common kitchen tools. Here’s what you’ll need for this incredibly simple yet satisfying recipe:
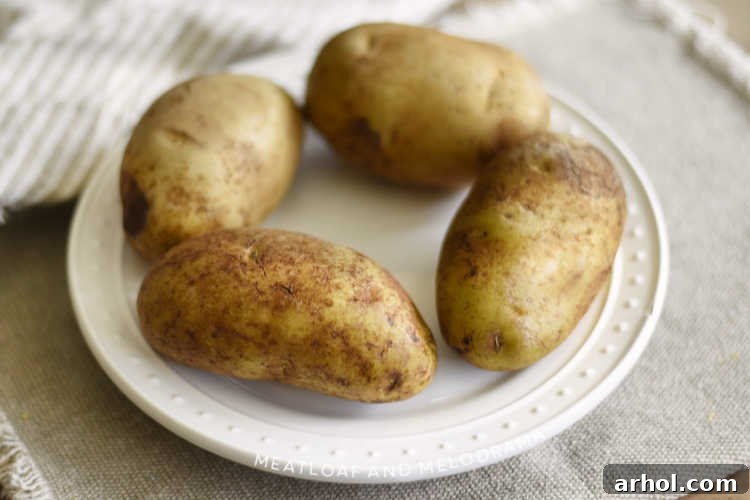
- Russet Potatoes: These are the star of our dish. I typically prepare four potatoes, but you can easily adjust the quantity based on your needs. Russets are prized for their high starch content and thick skins, which are ideal for achieving that coveted fluffy interior.
In addition to your potatoes, I also recommend gathering a few optional items and tools:
- Olive Oil: A light coating of olive oil is optional but highly recommended if you desire crispy, restaurant-quality potato skins. It helps to conduct heat and achieve a delightful texture.
- Sea Salt and Black Pepper: Also optional, but a sprinkle of sea salt and freshly ground black pepper on the skin before cooking or on the finished potato significantly enhances flavor and can contribute to a crispier exterior.
- Fork: Absolutely essential for pricking holes in the potato, allowing steam to escape safely during cooking and preventing any unexpected potato explosions in your microwave.
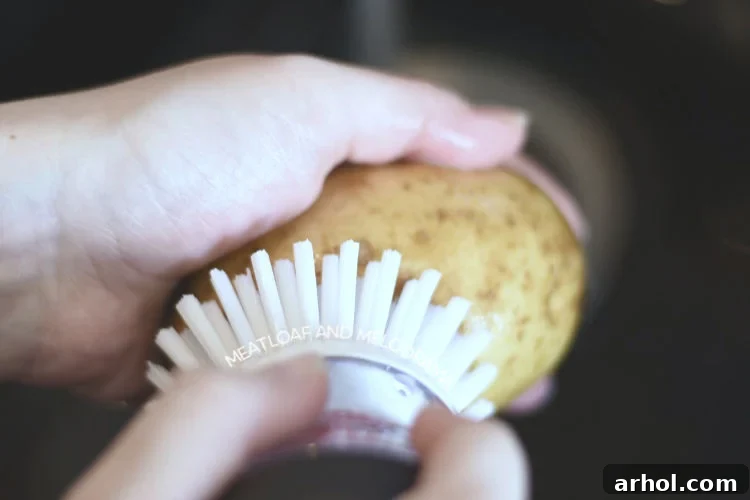
- Kitchen Brush: A dedicated kitchen brush is the most effective tool for thoroughly scrubbing your potatoes clean under running water, ensuring all dirt and impurities are removed.
- Microwave-Safe Plate: Ensure you have a plate that is safe for microwave use to prevent any accidents or damage.
- Foil: After cooking, covering the potatoes with aluminum foil helps them steam and become even softer and fluffier during their resting period.
- Oven Mitts: Your microwave plate and potatoes will be extremely hot post-cooking, so oven mitts are crucial for safe handling.
- Pair of Tongs: Tongs provide a secure way to handle hot potatoes, especially when flipping them during cooking or transferring them to a serving plate.
Choosing the Best Potatoes for Baking
When it comes to achieving the quintessential fluffy baked potato, not all spuds are created equal. Our top recommendation is the Russet potato, also widely known as an Idaho potato or simply a “baking potato.” These particular varieties are specifically chosen for their ideal characteristics that make them perfect for baking.
Russets boast a high starch content and a relatively low moisture level. This unique composition is key to their success as baked potatoes, as it allows the internal flesh to cook up light, dry, and incredibly fluffy, unlike waxier varieties that might turn gummy or dense. Their thick, sturdy skins also hold up well during cooking, whether in the microwave or oven, providing a natural casing that can crisp up beautifully.
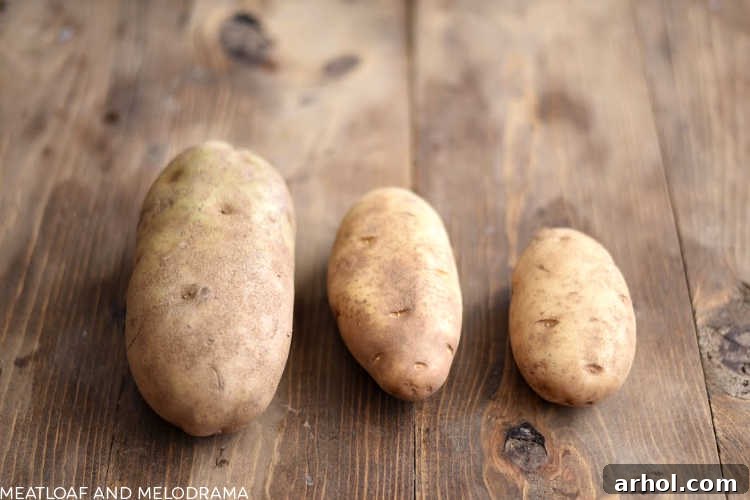
You’ll typically find Russet potatoes available in various sizes: large, medium, and small. When you’re at the grocery store, aim for potatoes that are as uniform in shape and firmness as possible. This ensures even cooking and a consistent texture. Carefully inspect each potato, avoiding any that show signs of bruises, cuts, green spots, or soft areas, as these can indicate spoilage or an uneven cooking experience. A good Russet potato should feel firm and solid in your hand.
Selecting the Right Potato Size
The size of your potato can significantly influence cooking time and how you plan to serve it. For most side dish applications, I generally opt for medium-sized Russet potatoes, which typically measure about 4 to 5 inches in length. These are perfectly portioned for individual servings alongside a main course, offering a satisfying amount of fluffy potato without being overwhelming.
However, if you’re looking to turn your baked potato into a substantial main dish, particularly when loaded with numerous toppings, the larger Russet varieties (6 inches or more) are an excellent choice. Be prepared that these larger spuds are quite substantial and might require being cut in half after cooking to manage portion sizes, or simply to make them easier to eat!
Small potatoes, while quicker to cook, are better suited for specific uses like potato skins or when you need very small portions. Knowing the approximate size you’re working with is crucial, as it directly impacts the microwave cooking duration. Always consider your meal plan and appetite when making your selection.
Essential Cleaning Tips for Potatoes
Before any cooking can begin, proper cleaning of your potatoes is paramount. The skin of a Russet potato, while delicious when crispy, can often harbor dirt and residual soil, which you definitely don’t want in your meal. The best and most effective way to clean your potatoes is by scrubbing them thoroughly under cold running water.
Grab a dedicated kitchen brush and gently but firmly scrub the entire surface of each potato. Pay particular attention to any indentations or eyes where dirt might accumulate. Cold water or cool water is perfectly fine for this process. Once scrubbed clean, rinse each potato thoroughly to remove any loosened debris.
After rinsing, it’s crucial to pat them completely dry with a clean paper towel. Excess moisture can interfere with the cooking process and prevent the skin from crisping up later (if you choose that optional step). If you don’t have a kitchen brush handy, a clean, slightly damp paper towel can serve as a decent substitute for scrubbing, though a brush offers superior cleaning power.
How to Bake a Potato to Perfection in the Microwave
As I’ve emphasized, preparing potatoes in the microwave is incredibly simple, but there are a few clever tricks that guarantee soft, fluffy baked potatoes with perfectly even cooking and no hard spots. These steps are crucial for achieving the best possible texture and preventing common microwave mishaps.
First and foremost, you must use a fork to generously poke holes all over the surface of each potato. Aim for about 5-8 punctures per potato, ensuring they are evenly distributed. This seemingly small step is vital: it allows steam to escape from the potato during cooking. Without these escape vents, the internal pressure can build up, leading to a “potato explosion” – a messy and undesirable outcome that nobody wants in their microwave! The holes also help promote more even cooking throughout the potato.
Once your potatoes are thoroughly pricked, arrange them evenly on a microwave-safe plate. It’s important to avoid overcrowding the plate, especially if you’re cooking multiple potatoes, to ensure even microwave exposure. Contrary to popular belief or some other recipes, there’s no need for plastic wrap, any special covers, or even a damp paper towel. The natural skin of the potato acts as its own cooking vessel, and direct microwave energy is what we’re after to cook them quickly and efficiently. Now, you’re all set to begin cooking and transform these humble spuds into delicious, fluffy baked potatoes!
Optimal Microwave Cooking Times for Potatoes
The exact cooking time for a baked potato in the microwave is influenced by several factors: the number of potatoes you’re cooking, their size, and the wattage of your specific microwave oven. Below is a general guide to help you achieve perfectly cooked, fluffy potatoes every time. Remember, these are starting points, and you may need to adjust slightly based on your microwave’s power.
- For 1 Potato: Cook for 3 minutes on one side, then flip the potato over and cook for an additional 2 minutes.
- For 2 Potatoes: Cook for 4 minutes on each side, for a total cooking time of 8 minutes. Remember to flip them halfway through.
- For 4 Potatoes:
- Medium Potatoes (approx. 5 inches long): Start with 5 minutes per side, for a total of 10 minutes cooking time.
- Small Potatoes (approx. 4 inches long): Cook for 4 minutes per side, totaling 8 minutes.
- Large Potatoes (approx. 6 inches or more): These require longer. Begin with 6 minutes per side, for a total initial cook time of 12 minutes. You might need to turn these larger potatoes three times or cook for an additional 3-5 minutes, flipping every 2-3 minutes, for a total of 15-18 minutes to ensure they are fully cooked through.
The best strategy for evenly microwaving baked potatoes is to cook them in shorter increments and flip them. Instead of trying to cook for, say, 10 minutes all at once, splitting the time and turning the potatoes ensures that all sides receive adequate microwave energy, preventing hard spots and promoting a consistently soft texture.
Always check for doneness by easily sticking a fork or a thin knife into the thickest part of the potato. If it glides in without resistance, your potato is perfectly cooked. If you feel any firm spots, continue cooking in 1-minute increments, flipping between each, until they are tender throughout.
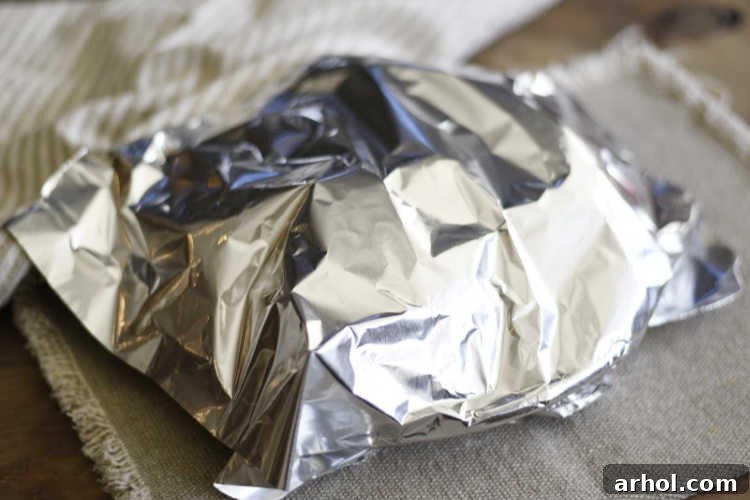
After the potatoes have finished cooking, carefully remove the plate from the microwave using oven mitts, as it will be extremely hot. Immediately cover the potatoes tightly with aluminum foil and let them rest for approximately 5 minutes. This resting period is a critical step that often gets overlooked. A microwave-baked potato continues to cook gently while covered, as the trapped steam further softens the interior. Even if the potatoes don’t seem as perfectly soft as you’d like right out of the microwave, they will become significantly more tender and fluffy after this brief, essential resting period. This ensures a uniform, delightful texture from skin to core.
Achieving Deliciously Crispy Potato Skins
While a microwave baked potato is wonderfully fluffy on the inside, the skin can sometimes lack that coveted crispiness characteristic of an oven-baked version. This step is entirely optional, but if you’re aiming for that “steakhouse-style” baked potato experience with beautifully crispy skins and an even fluffier interior, it’s a simple and rewarding addition.
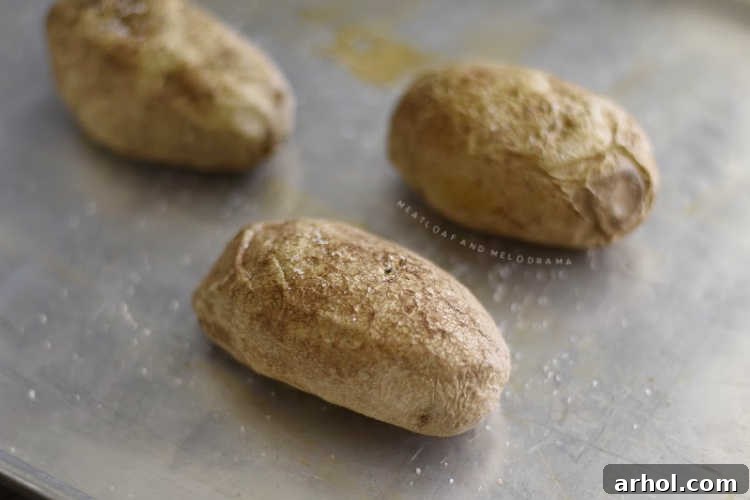
Once your potatoes have been microwaved and rested (as described above), carefully transfer them to a baking sheet. Lightly brush each potato with a small amount of olive oil or vegetable oil. The oil helps to conduct heat and facilitates the browning process. Then, generously sprinkle the skins with sea salt. The coarse salt not only adds flavor but also helps to draw out moisture and contribute to the crisp texture.
Place the baking sheet in a preheated oven at 400°F (200°C) for about 5 to 10 minutes, or until the potato skins begin to turn a darker golden-brown and feel wonderfully crisp to the touch. Keep a close eye on them to prevent burning. As an added benefit, this brief stint in the hot oven doesn’t just crisp the skins; it also works wonders on the potato’s interior, evaporating any remaining excess moisture and making the fluffy insides even more airy and tender. The contrast between the crunchy skin and the cloud-like interior is truly unmatched.
The Best Way to Slice Baked Potatoes for Toppings
Once your baked potato is perfectly cooked, hot, and fluffy, the way you slice it can enhance its presentation and make it easier to load with your favorite toppings. Forget simply cutting it in half; there’s a technique that allows the soft interior to “pop” up, creating a perfect well for your delicious additions.
Using a sharp knife, make a single vertical cut lengthwise down the center of the potato, extending almost from end to end but not quite cutting all the way through the bottom skin. This creates the primary opening. Next, to encourage the fluffy insides to rise, make a couple of short horizontal cuts, about an inch or two long, on each side of the main vertical cut. These smaller cuts should be perpendicular to the main cut and also shouldn’t go all the way through the bottom skin.
Finally, gently press inward on each end of the potato. As you apply slight pressure, the soft, steamy interior will naturally rise up and out through the cuts, creating an inviting, fluffy mound. Be careful not to apply too much pressure, which could cause the potato to break apart. This method not only looks appealing but also provides ample surface area for butter, sour cream, cheese, and all your desired toppings, making every bite a delight.
Elevate Your Baked Potato with Delicious Toppings
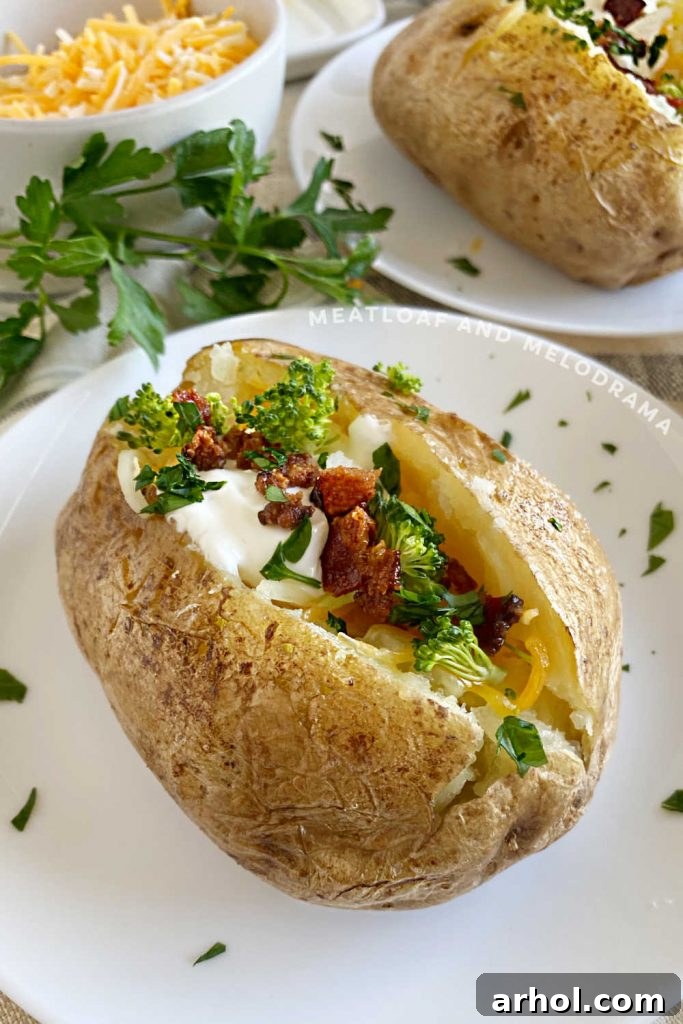
A baked potato is a blank canvas, ready to be transformed into a culinary masterpiece with a variety of delectable toppings. While a simple pat of butter and a dollop of sour cream are always classic and satisfying, don’t stop there! Consider setting up a “baked potato bar” for a fun and customizable meal, allowing everyone to create their ultimate loaded baked potato. Add your favorite toppings for the best baked potato ever!
Here are some fantastic ideas to get you started, ranging from classic to creative:
- Butter: A foundational topping, essential for richness.
- Sour Cream: Adds a creamy tang that balances the potato’s starchiness.
- Bacon Bits: For the best flavor and texture, use real, crispy bacon bits – please, no artificial alternatives!
- Shredded Cheddar Cheese: Melts beautifully into the hot potato, offering a savory, gooey layer. Other cheeses like Monterey Jack, Colby, or a Mexican blend also work wonderfully.
- Raw or Steamed Broccoli Florets: Adds a fresh crunch and a healthy green element. Quickly steamed broccoli is also a great option.
- Chili: A hearty and filling topping that turns a side dish into a complete meal. Add a sprinkle of cheese and sour cream for a “chili cheese potato.”
- Pico de Gallo: A fresh, vibrant, and slightly spicy topping. Try my homemade pico de gallo for an explosion of flavor!
- Guacamole: Creamy, rich, and full of healthy fats – a surprising but delicious addition.
- Caramelized Onions: Sweet and savory, they add depth of flavor.
- Sautéed Mushrooms: Earthy and tender, perfect for a more gourmet touch.
- Chives or Green Onions: Finely chopped for a mild oniony bite and a pop of color.
- Pulled Pork or Chicken: For a truly loaded and satisfying main course.
- Jalapeños: Sliced fresh or pickled for a spicy kick.
- Olives: Sliced black or green olives for a briny note.
Storage and Reheating Baked Potatoes
Proper storage is key to enjoying your microwave baked potatoes even after the initial meal. If you have any delicious leftovers, make sure to store them correctly to maintain their quality and freshness for future enjoyment.
Refrigeration: Allow the baked potatoes to cool completely to room temperature before storing. Once cool, place them in an airtight container or wrap them tightly in plastic wrap or aluminum foil. Stored in the refrigerator, baked potatoes will keep well for 3 to 4 days. This makes them excellent for meal prepping or quick lunches throughout the week.
Freezing: For longer storage, baked potatoes can be frozen. Once cooled, wrap each potato individually in aluminum foil, then place them in a freezer-safe bag or container. They can be stored in the freezer for up to 3 months. Freezing is a great option if you’ve cooked a larger batch or want to have quick, ready-to-heat sides on hand.
Reheating in the Microwave: To reheat a refrigerated baked potato, place it on a microwave-safe plate. Microwave for 1 to 2 minutes, or until thoroughly heated through and soft. For a frozen potato, you may need to microwave for 3-5 minutes, flipping halfway, or until tender.
Reheating in the Oven (for crispier skin): If you prefer to regain some of that crispy skin (or to achieve it for the first time on a reheated potato), preheat your oven to 400°F (200°C). Place the refrigerated potato directly on the oven rack and bake for 15-20 minutes, or until heated through and the skin is crisp. For frozen potatoes, bake for 30-45 minutes, or until soft and hot in the center.
Top Tips for Perfect Microwave Baked Potatoes
To ensure your microwave baked potatoes are consistently perfect – fluffy on the inside, evenly cooked, and safe – keep these crucial tips in mind:
- Always Poke Holes: This is non-negotiable! Poking several holes all over the potato with a fork is essential. It allows steam to escape during cooking, preventing pressure buildup and, consequently, preventing your potato from exploding in the microwave. It also helps with even cooking.
- Flip for Even Cooking: To avoid hard spots and ensure uniform tenderness, always turn your potatoes halfway through the cooking process. This exposes all sides to the microwave’s energy, resulting in a perfectly cooked potato from top to bottom.
- Adjust Cook Time for Size and Quantity: Remember that cooking times are estimates. They vary significantly with the size of the potato (larger potatoes take longer), the amount of potatoes being cooked simultaneously (more potatoes require more time), and the wattage of your specific microwave oven. Start with the recommended times and add in 1-minute increments as needed.
- Test for Doneness: The best way to check if your potato is done is to gently squeeze it or pierce it with a fork. It should yield easily to pressure and the fork should slide in without resistance. If there’s any firmness, continue microwaving in short bursts.
- Don’t Overcrowd: If cooking multiple potatoes, ensure they are not touching each other on the plate. Giving them space allows the microwave energy to circulate evenly around each potato, preventing uncooked patches.
- Allow for Resting: Covering the cooked potatoes with foil and letting them rest for 5 minutes is vital. This trapped steam continues to cook the potato gently, making the interior even fluffier and ensuring a consistent, tender texture.

Rating: 5 out of 5 stars based on 23 ratings
Easy Microwave Baked Potato
By: Dee
This Easy Microwave Baked Potato recipe is the best way to get the perfect baked potato in minutes. A quick side dish anytime!
Prep Time: 5 minutes
Cook Time: 12 minutes
Total Time: 17 minutes
Servings: 4
Ingredients
- 4 medium russet potatoes
- 1 teaspoon olive oil (optional, for crispy skin)
- 1 teaspoon sea salt (optional, for crispy skin and flavor)
Instructions
- Scrub potatoes well under cold running water, and pat dry thoroughly with a paper towel.
- Use a fork to poke holes evenly over the entire surface of each potato (about 5-8 times per potato). This prevents steam buildup and helps with even cooking.
- Place the pricked potatoes on a microwave-safe plate. Cook on full power for 5 minutes. Carefully turn the potatoes over, and cook for an additional 5 minutes. Potatoes should feel cooked through and soft when poked with a fork. If not, continue cooking in 1-minute increments, flipping between each, until done.
- Carefully remove from the microwave (using oven mitts as the plate will be hot), and cover immediately with aluminum foil. Let the potatoes rest for about 5 minutes or until ready to serve. This resting period helps to further steam and soften the interior.
- Optional for Crispy Skins: For steakhouse-style crispy skins, rub a little olive oil over the cooked potatoes, place them on a baking sheet, and sprinkle with sea salt. Bake in a preheated 400°F (200°C) oven for 5-10 minutes, or until the skins are visibly crispy and golden.
Notes
- For 4 small potatoes, cook for 8 minutes total (4 minutes per side).
- For larger to extra-large potatoes, total cooking time may range from 15 to 18 minutes. Start with 6 minutes per side and adjust with 2-3 minute increments, flipping each time, until fully tender.
- For 1 potato, try cooking for 3 minutes before turning over and cooking for another 2 minutes.
- When cooking 2 potatoes, microwave for 4 minutes per side (8 minutes total).
- Microwave oven cook times vary significantly with wattage. The cook times provided here were tested with a 900-watt microwave. Always adjust based on your appliance’s power.
Nutrition
Nutrition information is automatically calculated, so should only be used as an approximation. Per Serving (based on 4 servings for medium potatoes, without optional oil/salt):
- Calories: 177 kcal
- Carbohydrates: 38g
- Protein: 4g
- Fat: 1g
- Sodium: 592mg
- Potassium: 888mg
- Fiber: 2g
- Sugar: 1g
- Vitamin C: 12.1mg
- Calcium: 28mg
- Iron: 1.8mg
Nutrition information is automatically calculated, so should only be used as an approximation.
Additional Info
Course: Side Dish
Cuisine: American
Like this recipe? Leave a comment below and share your thoughts!
For more easy and delicious recipes that make mealtime simpler and more enjoyable, be sure to sign up for our newsletter and follow us on social media. You won’t want to miss our latest tips and tricks for effortless cooking!