
Crafting Rustic Twig Snowflake Ornaments: Your Guide to Frugal & Festive Decor
Embrace the cozy spirit of winter and infuse your home with natural charm by creating stunning DIY rustic twig snowflake ornaments. Perfect for adding a touch of personalized elegance to your Christmas tree or holiday display, these handmade decorations are not only incredibly budget-friendly but also remarkably simple and quick to make. Join us on a delightful crafting journey as we transform humble branches into sparkling, unique symbols of the season, bringing warmth and rustic beauty to your festive celebrations.
The Inspiration Behind Our Winter Twig Craft
There’s something truly magical about the crisp, cool air of winter, even in the desert where temperatures below 60 degrees Fahrenheit feel distinctly chilly. This invigorating cold sparked a wonderful idea: to craft some beautiful rustic twig snowflake ornaments for our Christmas tree. This year, I’ve been thoroughly enjoying the challenge and creativity of thrifty decorating, finding joy in transforming simple, inexpensive materials into cherished holiday accents. These twig ornaments fit the bill perfectly – they were not only incredibly frugal, costing next to nothing, but also surprisingly easy and quick to assemble, making them an ideal project for a frosty afternoon.
The allure of handmade decor lies in its unique character and the personal touch it adds to your home. Unlike mass-produced items, each rustic snowflake you create tells a story, reflecting your effort and festive spirit. It’s a wonderful way to connect with the season, embrace sustainable practices, and create lasting memories, especially if you involve family members in the crafting process. Plus, the satisfaction of seeing your own creations adorning your home is truly unparalleled.
Gather Your Supplies: What You’ll Need for DIY Twig Ornaments
Before you embark on this delightful crafting adventure, let’s ensure you have all the necessary items at hand. The beauty of this project is how few specialized tools you need, making it accessible to almost anyone. Most materials can be found right in your backyard or at a local craft store for a minimal cost.
- Twigs or Small Branches: Look for pieces that are relatively straight and varying in thickness. You’ll need enough to create multiple snowflake designs. These can be collected from your yard, a local park (check local regulations), or even purchased from a craft supplier if natural options aren’t available.
- Hot Glue Gun and Glue Sticks: An essential for quick and strong bonding. Ensure your glue gun is in good working order and you have a sufficient supply of glue sticks.
- Scissors or Small Pruners: Useful for breaking or trimming your twigs to the desired lengths.
- Ornament Hooks, Twine, or Ribbon: For hanging your finished snowflakes. Choose based on your aesthetic preference and the type of tree or surface you’ll be decorating.
- Optional: Spray Paint: White, silver, gold, or any desired color can elevate the look of your natural twigs, giving them a frosted or metallic finish. I often have a supply of spray-painted branches on hand, which came in handy for this project.
- Optional: Glitter, Beads, Small Embellishments: For adding that extra sparkle and personal flair, turning your rustic pieces into “rustic chic” ornaments.
- Optional: Protective Surface: A newspaper or craft mat will protect your work area from glue and paint.
Step-by-Step Guide to Crafting Your Twig Snowflakes
1. Selecting and Preparing Your Twigs for Crafting
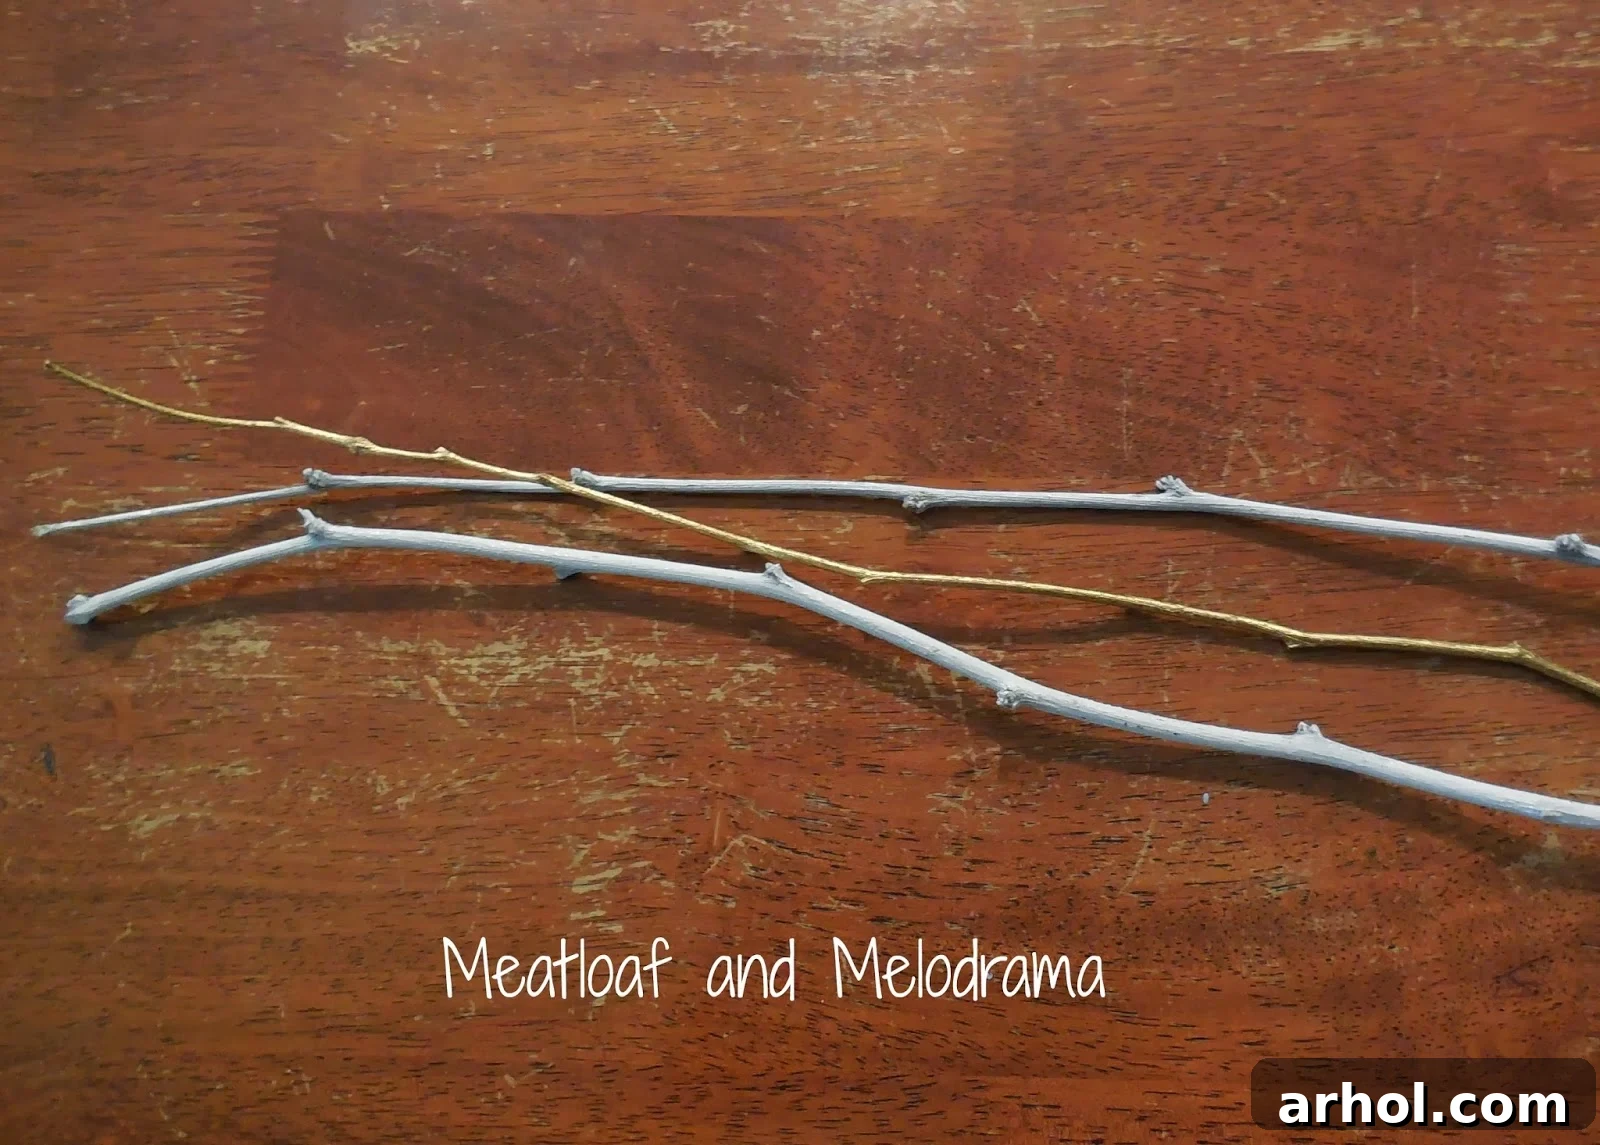
The foundation of your beautiful rustic ornaments lies in the twigs themselves. Begin by carefully selecting twigs of various lengths and thicknesses. For snowflake designs, thinner, more pliable twigs are often easier to work with, allowing for more intricate shapes. If your twigs are fresh, it’s a good idea to let them dry out for a day or two to prevent shrinkage or warping after assembly. Once collected, clean any dirt, loose bark, or debris from your twigs to ensure a smooth crafting surface. If you’re opting for a painted finish, now is the time to apply your spray paint. I already had a large stash of spray-painted branches, so I simply went through them, selecting pieces that were thin and straight enough for this particular project, envisioning the delicate patterns they would form.
Consider using different shades of metallic spray paint like gold, silver, or rose gold to give your rustic elements a touch of glamour. White paint can create a beautiful frosted effect, perfect for a winter wonderland theme. Remember to work in a well-ventilated area when spray painting and allow ample drying time before proceeding to the next step. This preparation phase is crucial, as well-prepared twigs will make the rest of the crafting process much smoother and ensure a more professional-looking final product.
2. Forming Your Snowflake Designs from Twig Pieces
Once your twigs are ready, it’s time to bring your vision to life. Begin by breaking or cutting the branches into smaller, manageable pieces. The key here is to have a variety of lengths that will allow you to create the distinct spokes of a snowflake or the points of a star. Lay out your twig pieces on a flat surface, experimenting with different arrangements until you achieve the desired shape. You might start with a central point and branch outwards with six or eight pieces for a classic snowflake, or arrange five pieces for a star. While these shapes could certainly be called stars, the cold weather put me in a “snowy” mood, so I decided to call them snowflakes!
Don’t be afraid to try different configurations. Some snowflakes might have shorter, thicker twigs at the center, radiating out to thinner ones. Others might have intricate layered designs. The beauty of this DIY project is the freedom to create unique, organic shapes. Take your time during this step to ensure you’re happy with the symmetry and overall aesthetic before reaching for the glue gun. This is where your creativity truly shines, making each ornament a one-of-a-kind piece of art.
3. Secure with Hot Glue for Lasting Hold
With your snowflake designs laid out, it’s time to make them permanent. Using your hot glue gun, carefully apply a small amount of glue to the points where the twigs intersect and overlap. Press the pieces together firmly for a few seconds until the glue sets. Because the twig pieces are generally small and lightweight, they bond almost immediately, which makes this step incredibly fast and efficient. Work one joint at a time, ensuring each connection is strong before moving to the next. You want your snowflakes to be sturdy enough to hang securely on your tree or display without falling apart.
Remember to exercise caution when working with a hot glue gun to avoid burns. If you’re crafting with children, adult supervision is essential, or consider using a low-temperature glue gun. The quick-drying nature of hot glue is a major advantage for this project, allowing you to create multiple ornaments in a short amount of time, perfect for last-minute holiday decorating or crafting sessions with friends and family.
4. Attaching the Hangers for Easy Display
Once your twig snowflakes are fully assembled and the glue has dried completely, it’s time to add a hanger. Turn each snowflake over and decide which point will be the top. I found that gluing a small ornament hook directly to the top of the tallest twig worked best for my project. The pre-made hooks offer a clean and sturdy way to hang the ornaments. However, you have several options here:
- Ornament Hooks: As mentioned, these are simple and effective. They work particularly well for trees with thick branches, as the hooks can easily latch on.
- Ribbon: A piece of festive ribbon, tied into a loop and hot glued to the back, adds a softer, more elegant touch. Choose colors that complement your holiday decor.
- Twine or Jute String: For an even more rustic feel, a loop of natural twine or jute string can be glued to the top. This blends seamlessly with the organic nature of the twigs.
- Invisible Thread: For a floating effect, clear fishing line or invisible thread can be used, making the ornament appear to float freely on the tree.
Consider the weight of your ornaments and the branches of your tree when choosing a hanger. For our tree with its thick branches, hooks provided the most secure and hassle-free hanging solution, ensuring our beautiful snowflakes stayed perfectly in place.
5. Adding Sparkle and Bling (Optional but Highly Recommended!)
I know these ornaments are designed to be rustic, but if you’re familiar with some of my other crafting projects, you’ll know I have an undeniable love for a little bit of sparkle! So, of course, I simply had to add a touch of “bling” to each snowflake. Just enough to catch the light and add an extra layer of magic and festive glow without overwhelming their natural charm. This step is entirely optional, but it truly elevates the rustic appeal, giving your homemade decorations a refined, festive finish.
Here are a few ways you can add that extra dazzle:
- Glitter: Apply a thin layer of craft glue to certain areas or edges of your snowflake, then sprinkle fine glitter over it. Silver, gold, or iridescent glitter works wonderfully. Tap off the excess and let it dry completely.
- Metallic Paint Pens: Use gold or silver paint pens to highlight the edges or central points of your twigs, adding a sophisticated shimmer.
- Small Beads or Rhinestones: Hot glue tiny beads, self-adhesive rhinestones, or even small sequins to the intersections of the twigs for a delicate, jewel-like effect.
- Snow Spray: For a truly frosted look, a light dusting of artificial snow spray can create a realistic wintry appearance.
Experiment with different embellishments to find what best suits your personal style and existing holiday decor. The contrast between the raw, earthy twigs and the sparkling accents creates a captivating visual appeal, making your rustic twig snowflake ornaments truly stand out.
Displaying Your Beautiful Twig Snowflakes
Once your rustic twig snowflake ornaments are complete and sparkling, it’s time to showcase them! While they look absolutely stunning on the Christmas tree, their versatility allows for numerous creative display options throughout your home, bringing a cohesive rustic charm to your holiday decor.
- Christmas Tree Decor: This is their primary destination, where their natural elements beautifully contrast with traditional ornaments and twinkling lights. The subtle sparkle will catch the light, adding depth and interest to your tree.
- Mantelpiece Decoration: Arrange a cluster of these snowflakes on your mantel, perhaps intertwined with some evergreen garlands, pinecones, and fairy lights. They create a cozy, inviting focal point.
- Window Displays: Hang them from curtain rods or directly on window frames using invisible thread. As natural light passes through, their shapes and sparkle will be beautifully illuminated.
- Wreaths and Garlands: Incorporate your twig snowflakes into existing holiday wreaths or garlands. They can be hot glued directly onto the base, adding texture and a handmade touch.
- Gift Toppers: For a truly thoughtful touch, use a small twig snowflake as a unique embellishment on your wrapped gifts. It’s a gift within a gift!
- Table Centerpieces: Create a festive table arrangement by placing several snowflakes around candles, scattered among festive greenery, or even propped up in a clear vase.
- Wall Art: String multiple snowflakes together at varying lengths to create a charming rustic wall hanging, perfect for a cozy corner or entryway.
Their organic shapes and personalized touches make them a conversation starter and a testament to your holiday crafting prowess. Don’t limit yourself to just one display idea – spread the festive charm throughout your home!
Capturing Their Charm: The Challenge of Photography
One of the most surprising challenges of this entire project was capturing the true beauty and sparkle of these ornaments in photographs. The subtle glitter and the way they interact with light proved to be incredibly elusive for the camera. While I tried my best, it was hard to truly convey how each snowflake seemed to twinkle and glow on the tree, especially when illuminated by the soft glow of Christmas lights. The depth and dimension they offered were also difficult to translate into a two-dimensional image.
This experience truly highlighted that some things are best appreciated in person, where you can fully immerse yourself in their tactile beauty and subtle shimmer. The delicate nature of the twigs, the precise placement of each glitter speck, and the overall rustic-chic aesthetic are truly captivating when viewed up close. It’s almost enough to make me wish for a dusting of real snow here in the desert, just to see how exquisitely these rustic snowflakes would complement a truly wintry landscape!
Why Choose DIY Rustic Ornaments for Your Holiday Decor?
Opting for homemade decorations like these rustic twig snowflakes offers a wealth of benefits beyond just saving money. It’s a choice that reflects a deeper appreciation for the holidays and the environment.
- Personal Touch: Each ornament carries a piece of your personality and effort, making your holiday decor uniquely yours. It’s a wonderful departure from generic store-bought items.
- Cost-Effective: By utilizing readily available natural materials like twigs, you significantly reduce the cost of decorating, proving that stunning holiday decor doesn’t have to break the bank.
- Eco-Friendly & Sustainable: Reusing natural elements and avoiding manufactured plastics makes this a greener choice for holiday decorating. It’s a small step towards a more sustainable celebration.
- Family Activity: Crafting these ornaments can be a delightful activity for the whole family. It fosters creativity, encourages teamwork, and creates cherished memories that last a lifetime.
- Unique & Memorable Gifts: These handmade ornaments make thoughtful and personal gifts for friends, neighbors, and teachers. A rustic twig snowflake tied to a gift can elevate its presentation and convey genuine sentiment.
- Sense of Accomplishment: There’s immense satisfaction in looking at something beautiful you’ve created with your own hands. It adds a special glow to your holiday season.
Embracing DIY projects like these allows you to slow down, be present, and truly immerse yourself in the festive season, creating decor that is both beautiful and meaningful.
Embrace the Winter Wonderland: Crafting No Matter Your Climate
The best part about these rustic twig snowflake ornaments? You don’t need to live in a snowy region to create them! Whether your winter involves white blankets of snow or mild, sunny days, the simple act of gathering twigs and transforming them into beautiful holiday decor is accessible to everyone. If you have access to twigs – and most places do – you possess all the primary materials needed to craft your very own collection of charming rustic snowflake ornaments. It’s an easy, rewarding, and environmentally conscious way to bring the essence of a winter wonderland into your home, regardless of what the weather outside brings.
So, why wait? Gather your supplies, unleash your creativity, and let the magic of handmade holiday decorations fill your home this season. These rustic twig snowflakes are not just ornaments; they are small pieces of art, crafted with love and infused with the spirit of the holidays.