
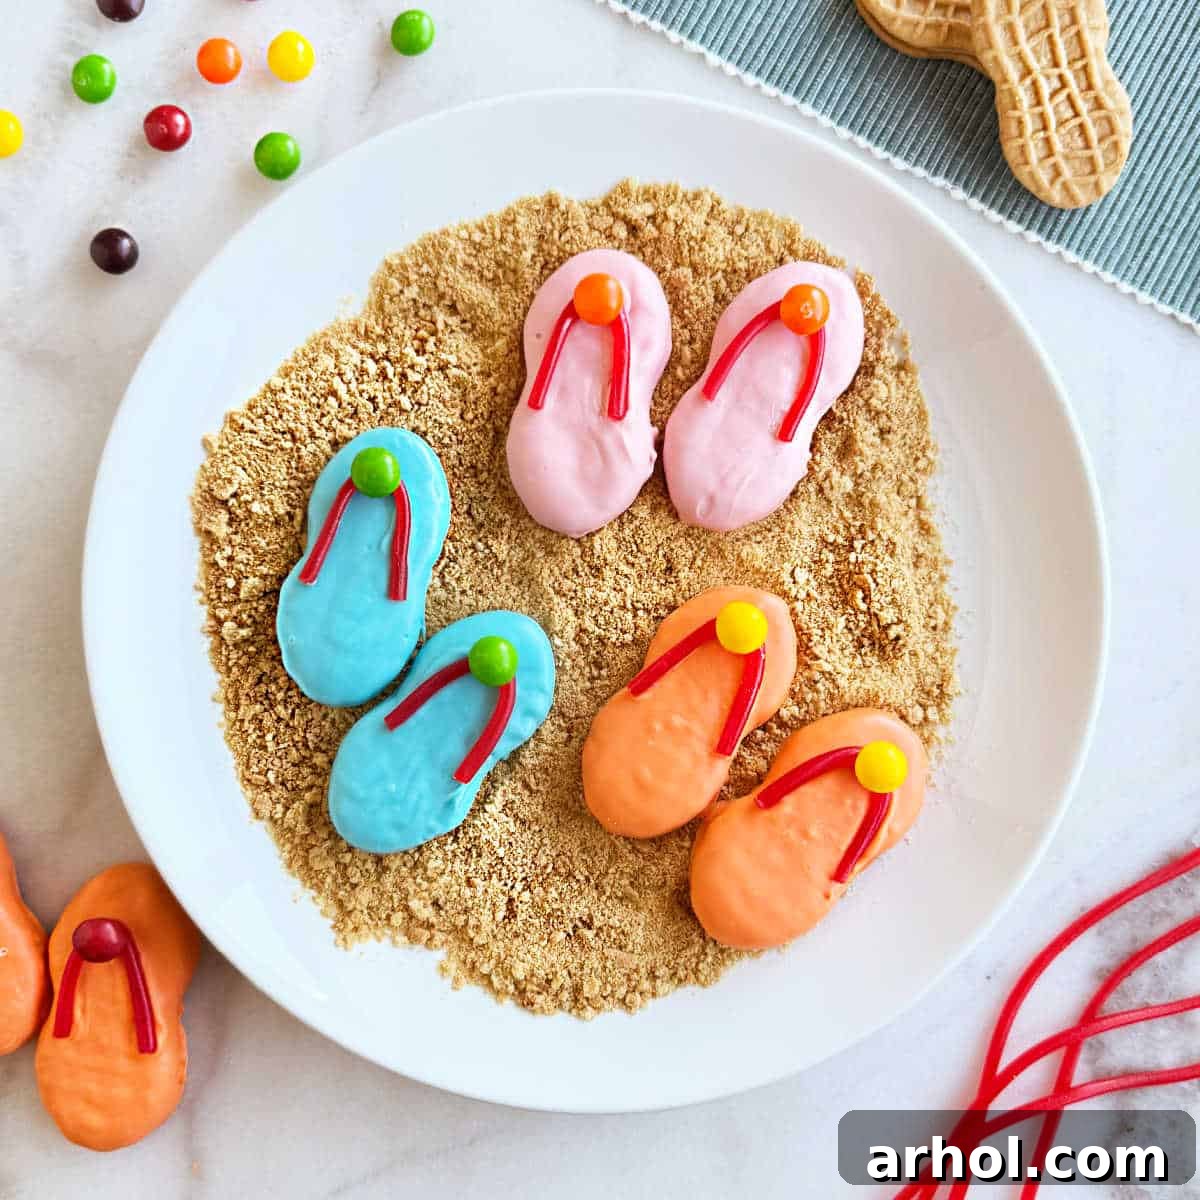
Welcome to the ultimate guide for creating the most adorable and effortlessly delicious summer treats: Easy Flip Flop Cookies! Imagine the sun shining, the pool glistening, and a plate full of these whimsical, colorful cookies ready to delight everyone. Made with readily available Nutter Butter cookies, vibrant candy coating, and a sprinkle of fun candies, this no-bake dessert is an absolute must-have for any summer gathering. Whether you’re planning a lively pool party, a casual backyard barbecue, or simply looking for a sweet, simple activity with the kids, these flip flop cookies are guaranteed to bring smiles and a taste of pure summer joy. They combine the perfect balance of salty and sweet, offering a delightful crunch and a burst of color that captures the playful spirit of the season. Let’s dive into making these irresistible treats that are as fun to make as they are to eat!
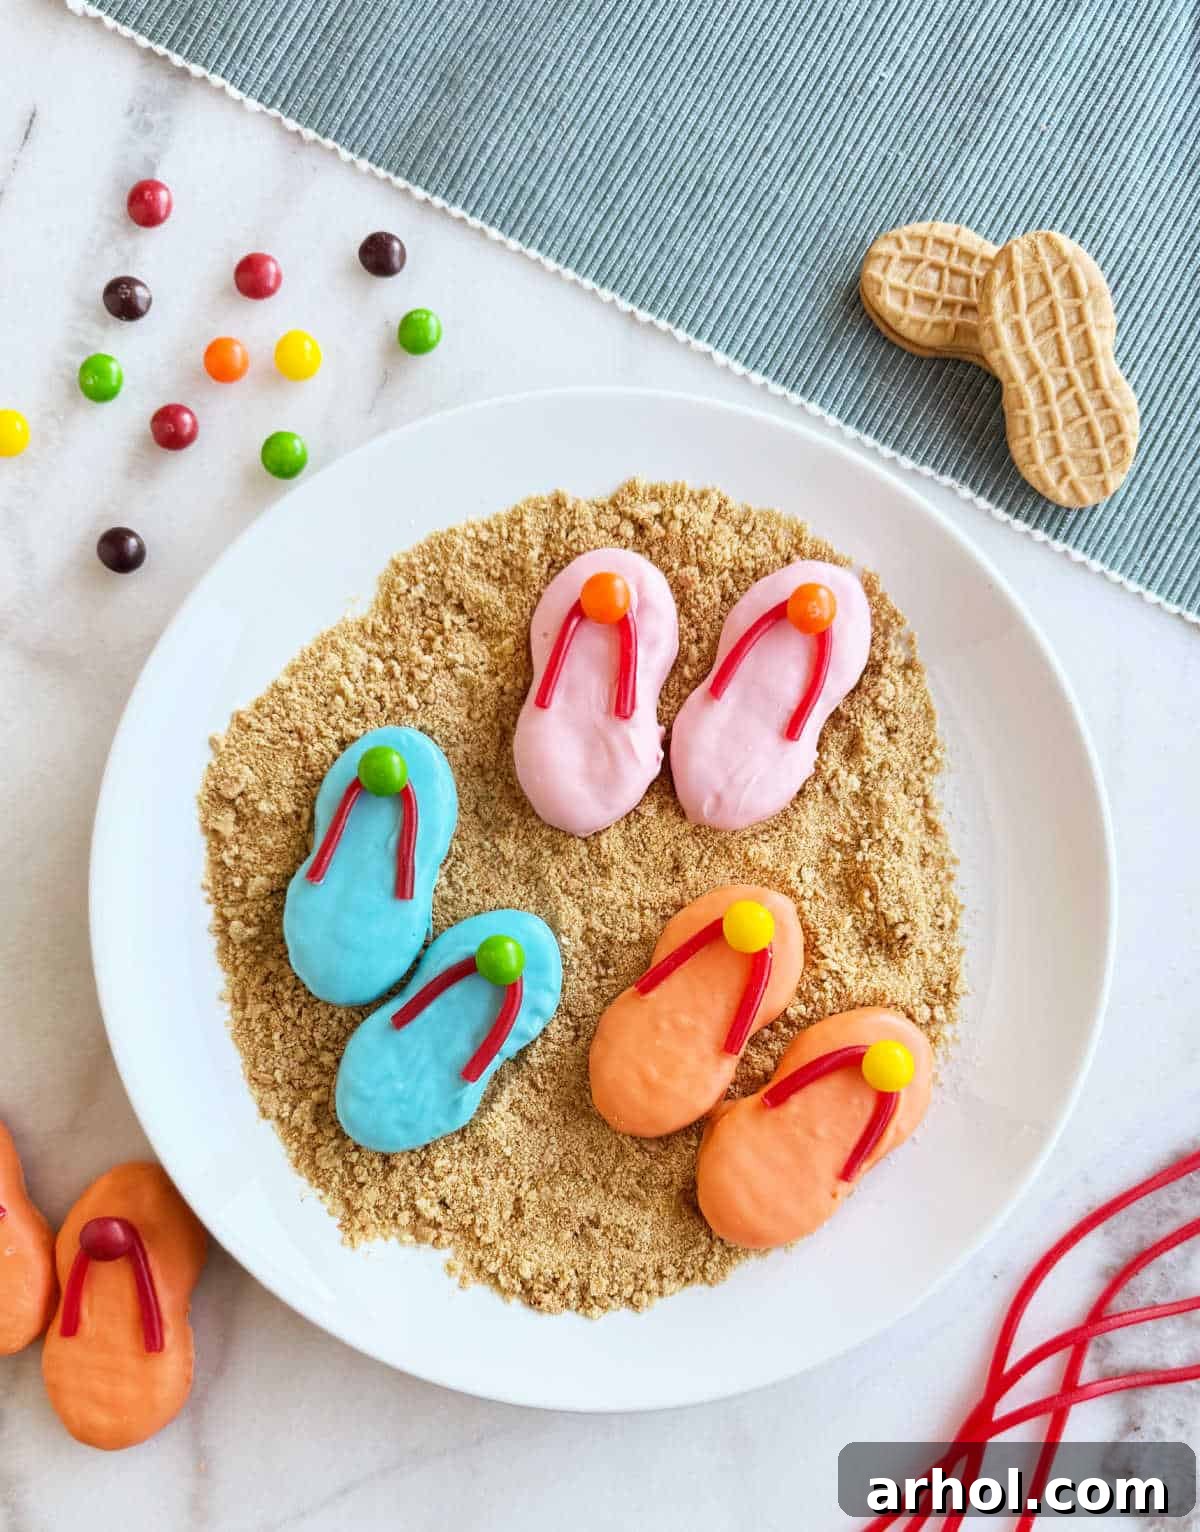
Nutter Butter Flip Flops: The Ultimate Summer Party Dessert
Summer means easy living, and your party snacks should reflect that carefree spirit! As a busy parent, I’m always looking for simple yet show-stopping treats, especially when it comes to celebrating special occasions. For my teenage daughter’s summer birthday, she requested a laid-back pool party with just a few close friends. While keeping it simple, I still wanted to ensure the girls had some super fun and easy snacks to enjoy – and that’s how these delightful Nutter Butter Flip Flop Cookies became the star of our dessert table.
These charming no-bake cookies are born from the ingenious combination of store-bought Nutter Butter peanut butter cookies, a smooth candy coating, and a touch of colorful candy embellishments. The oval shape of Nutter Butters makes them the perfect canvas for our summery flip-flop design. What makes them truly special is that irresistible salty-sweet combination – the rich, creamy peanut butter of the Nutter Butter cookie perfectly complements the sugary candy coating. It’s a flavor profile that kids (and adults, myself included!) absolutely adore. Plus, Nutter Butters are incredibly versatile; we’ve used them to create all sorts of holiday treats, from spooky ghosts for Halloween to festive reindeer for Christmas, proving their adaptability beyond just the summer months.
The beauty of these flip flop cookies lies in their simplicity and visual appeal. They’re not just a dessert; they’re an edible decoration that instantly sets a playful, beachy mood. Forget complicated baking steps or long ingredient lists; this recipe focuses on maximizing fun and flavor with minimal effort. They are, without a doubt, the perfect dessert to bring to just about any summer celebration, from backyard barbecues to Fourth of July picnics or simply as a special treat on a hot afternoon. After all, what’s more emblematic of casual summer fun than a trusty pair of flip-flops? I confess, I’m a year-round flip-flop enthusiast myself, only swapping them out when the desert chill gets too intense. And in the desert, those snow days are few and far between!
Essential Ingredients for Your Easy Flip Flop Cookies
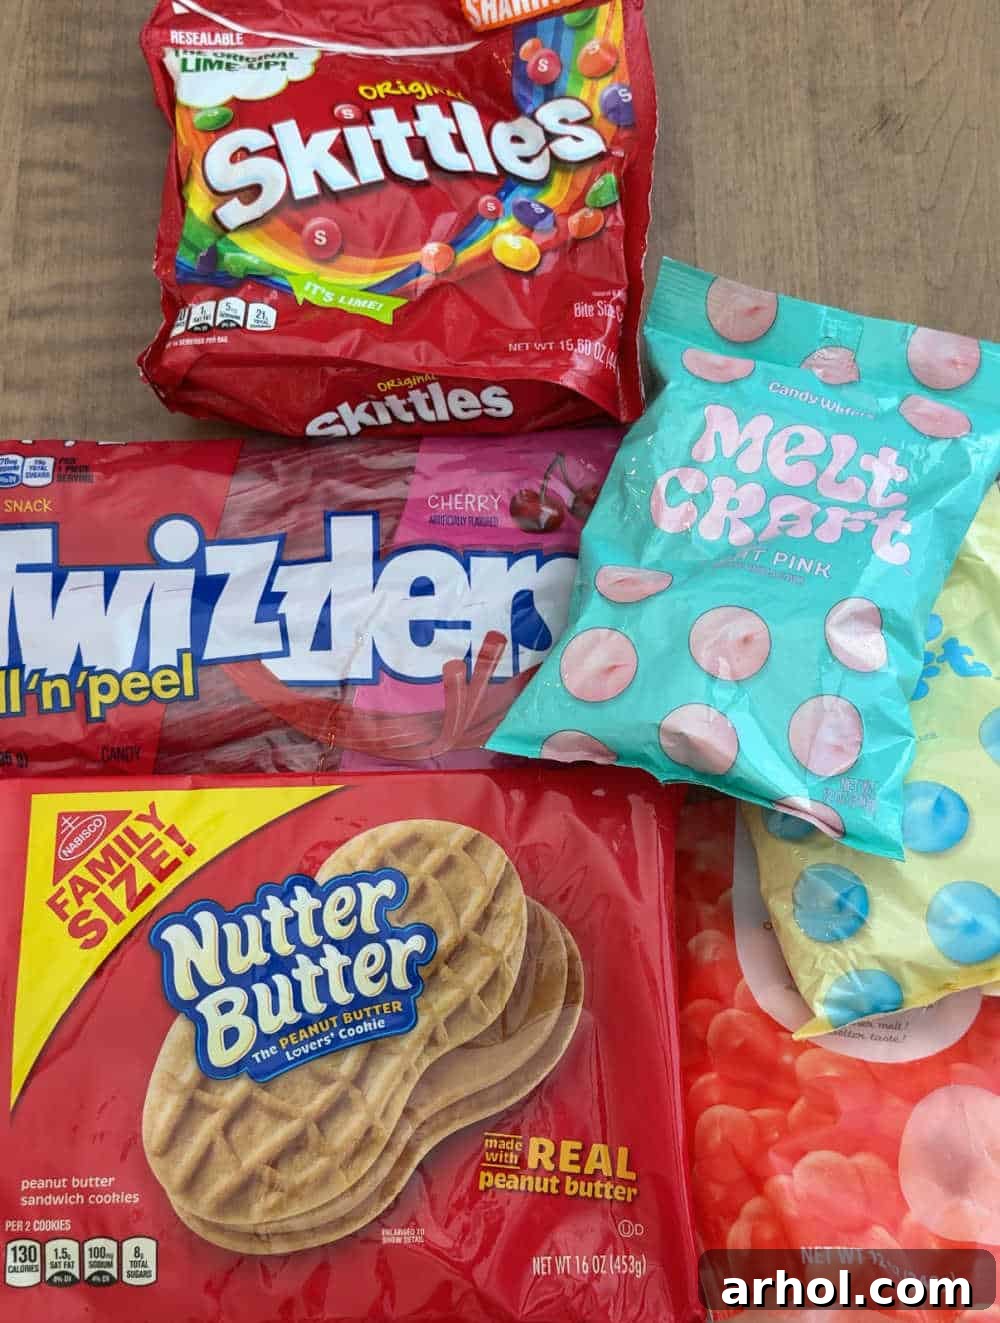
Creating these delightful flip flop cookies requires just a handful of simple ingredients, making it an accessible and enjoyable project for anyone. You won’t need to scour specialty stores; most items are readily available at your local grocery store. Here’s a detailed look at what you’ll need to transform ordinary cookies into extraordinary summer treats. Full measurements and detailed instructions can be found in the comprehensive recipe card below.
- Nutter Butter Cookies: These iconic peanut butter sandwich cookies are the absolute star and foundation of our flip flops. Their distinct oval shape is perfectly suited for the cookie “sole.” The peanut butter flavor also provides a wonderful salty contrast to the sweet candy coating. If Nutter Butters aren’t available, you can easily substitute them with any other oval-shaped sandwich cookie, such as Vienna Fingers or similar options, just ensure they have a firm enough texture to hold up to dipping.
- Candy Coating (Candy Melts): Choose your favorite colored candy melts to create vibrant and fun flip flop bases. Candy melts are specifically designed to melt smoothly and set quickly, providing a professional-looking finish. They come in a rainbow of colors, allowing you to customize your flip flops to match any party theme or simply to create a colorful assortment. White candy melts can also be colored with oil-based food coloring if you prefer a specific shade not readily available.
- Twizzlers Candy Ropes (or Thin Licorice): These are ingeniously used to form the “straps” of your flip flops. The flexibility and easy-to-cut nature of Twizzlers make them ideal. You’ll want the thinner, pull-apart variety for best results. If Twizzlers aren’t your preference, thin strips of fruit leather or other pliable licorice candies can also work beautifully to create the iconic V-shape strap.
- Skittles (or Small Colorful Candies): These provide the perfect decorative “gem” for the center of your flip flop straps. Their bright colors and small size make them ideal for adding that final touch of sparkle and charm. Feel free to get creative with other small candies like mini M&M’s, small jelly beans, sprinkles, or even edible glitter for an extra festive look.
Additional Tools You’ll Need:
- Microwave-safe bowl for melting candy melts
- A fork or dipping tools for easy coating
- Wax paper or parchment paper for drying cookies
- A sharp knife or kitchen scissors for cutting Twizzlers
- A sturdy plate or baking sheet for arranging the cookies to dry
How to Make Nutter Butter Flip Flop Cookies: A Simple Step-by-Step Guide
Get ready for some sweet, no-fuss fun! Making these Nutter Butter Flip Flop Cookies is an incredibly straightforward process, perfect for all skill levels and a fantastic activity to do with children (with adult supervision, especially during the melting phase). The basic steps involve melting, dipping, and decorating – that’s it! Follow these simple instructions to create a batch of adorable, edible flip flops that will be the talk of your next summer gathering.
Step 1: Preparing Your Candy Coating
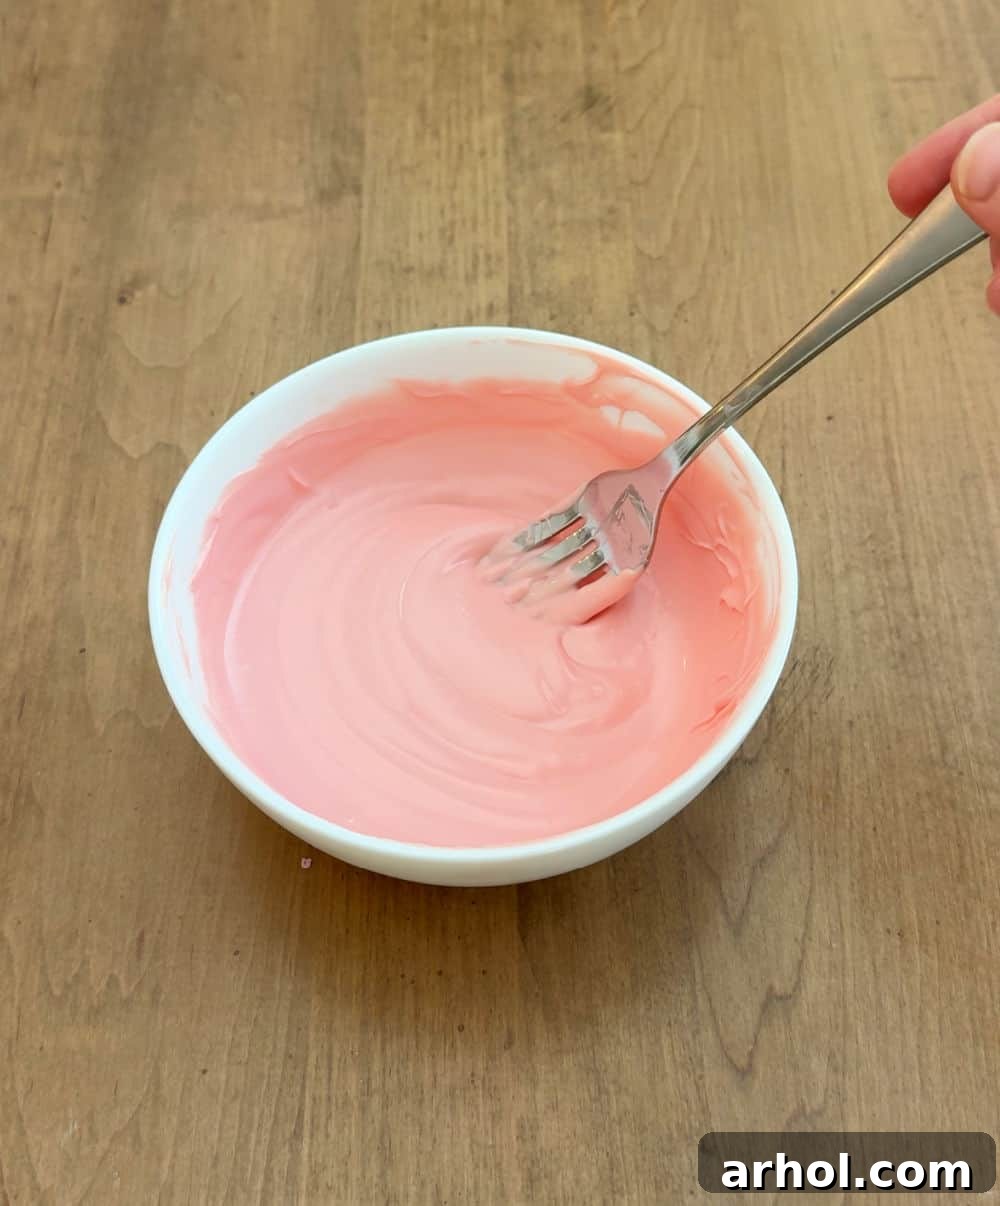
Begin by melting your chosen colored candy coating. Place the candy melts in a microwave-safe bowl. Heat them in short increments, typically 30 seconds at a time, stirring thoroughly after each interval. This prevents the candy from overheating and becoming clumpy or scorched. Continue heating and stirring until the candy melts are completely smooth and fluid, with no lumps remaining. A creamy, even consistency is key for a beautiful, smooth coating on your cookies.
Step 2: Dipping the Nutter Butter Cookies
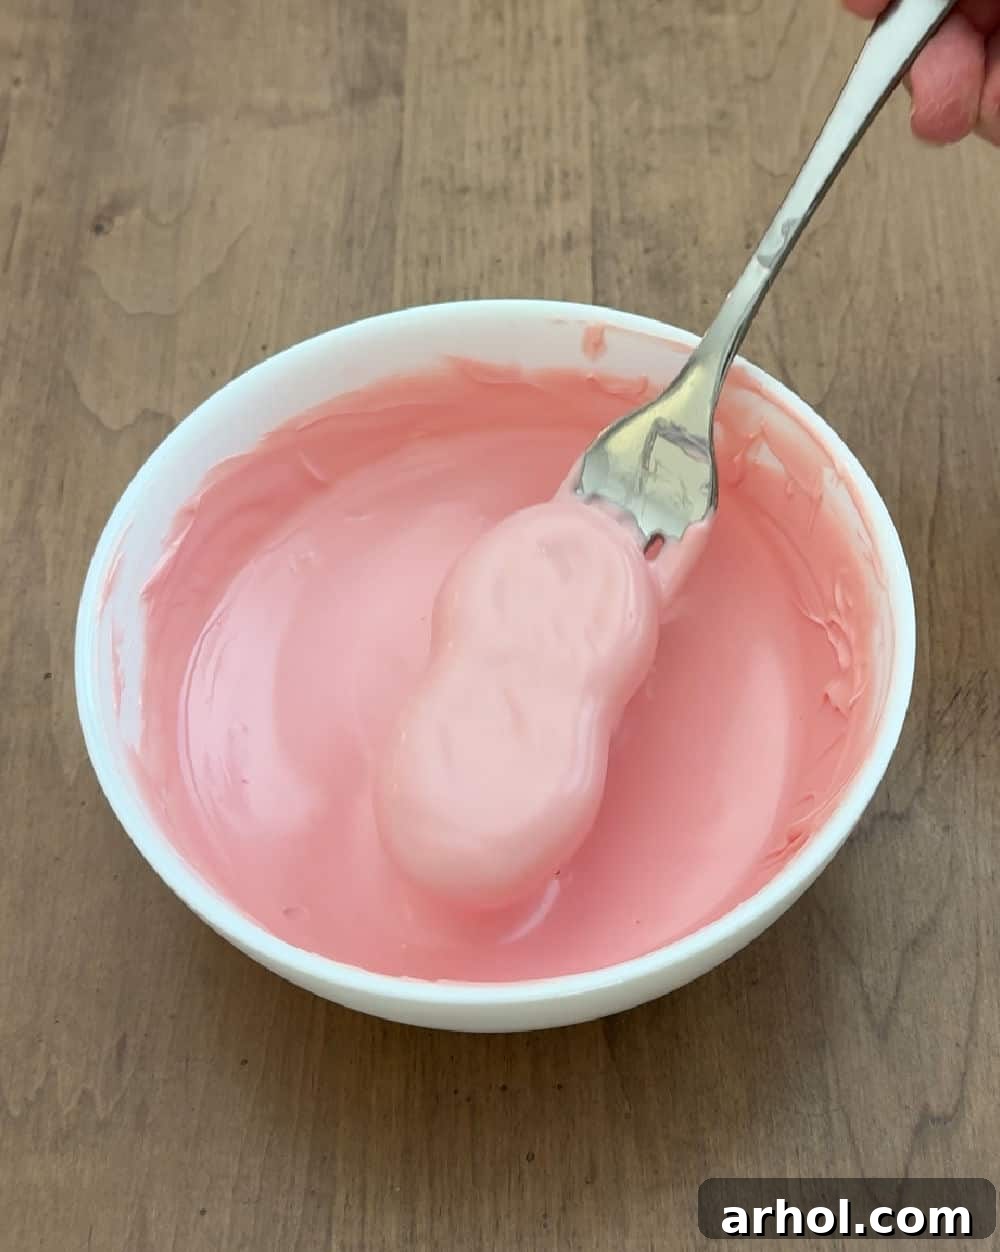
Once your candy coating is perfectly melted, it’s time to transform the Nutter Butters into flip-flop bases. Using a fork or a specialized dipping tool, carefully submerge one Nutter Butter cookie into the melted candy coating, ensuring it’s completely covered. Gently tap the fork against the side of the bowl to allow any excess coating to drip off. This helps create a smooth, even layer without too much build-up. Carefully transfer the dipped cookie to a sheet of wax paper or parchment paper-lined plate or tray. Repeat this process with the remaining Nutter Butter cookies.
Step 3: Crafting the Flip Flop Straps
This is where the flip-flops truly come to life! While the candy coating on your dipped cookies is still soft but starting to firm up (this is crucial – if it’s too wet, the straps will slide off; if it’s too dry, they won’t stick), prepare your Twizzler straps. Snip short sections of the Twizzlers candy ropes with kitchen scissors. For each cookie, bend a section of Twizzler into a ‘V’ shape, mimicking a flip flop strap. Gently press the ends of the Twizzler ‘V’ into the soft candy coating on the cookie. The coating should be firm enough to hold the strap in place but pliable enough for the Twizzler to adhere securely.
Step 4: Adding Colorful Embellishments
To complete the flip-flop look, add a decorative “gem” to the center of each strap. Take a Skittle or your chosen small colorful candy. Dab a tiny bit of melted candy coating onto the back of the Skittle (or simply press it lightly onto the still-soft coating at the bend of the strap). Carefully place the Skittle directly onto the bend of the Twizzler strap, pressing gently to secure it. Repeat for all your cookies.
Step 5: Drying and Setting
Once all your cookies are dipped and decorated, allow them to fully set and harden on the wax paper-lined plates or trays. This can take anywhere from 15-30 minutes, depending on the thickness of your candy coating and the room temperature. For faster setting, you can place the trays in the refrigerator for about 10-15 minutes. Ensure the candy coating is completely firm before handling or storing the cookies.
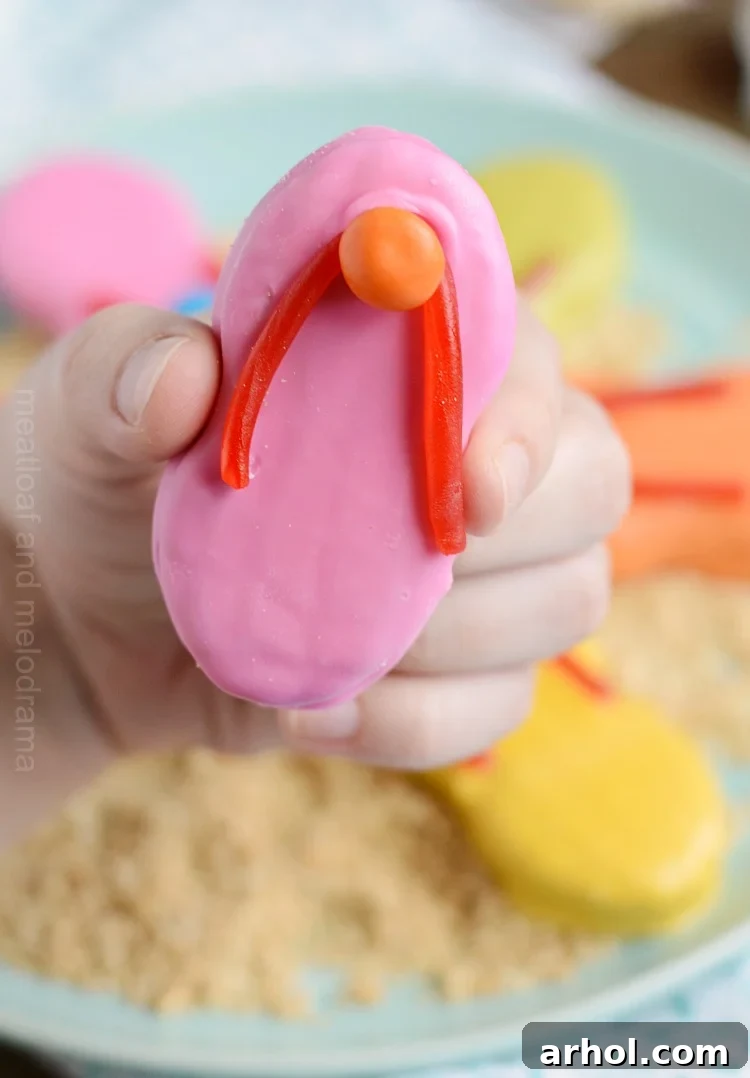
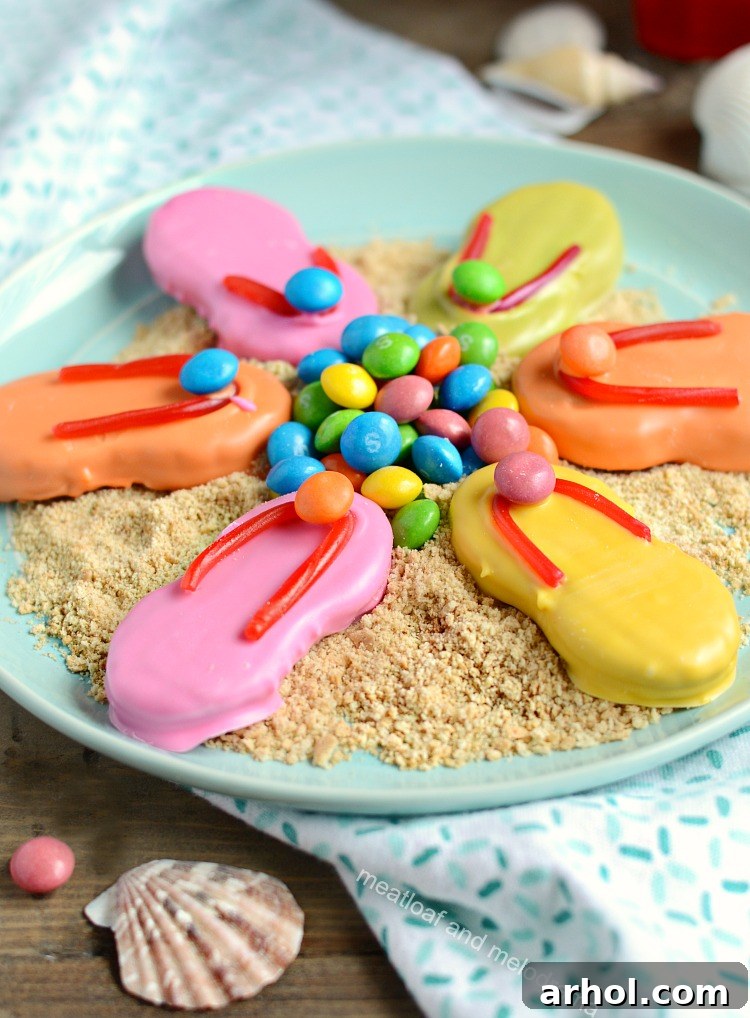
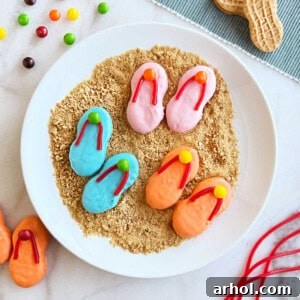
For an extra touch of fun and a delightful presentation, consider crushing some graham crackers to resemble sand. Once your flip-flop cookies are completely set, you can arrange them on a platter covered with this “sand” for a truly adorable, beach-themed display. It’s a super cute detail that really elevates the whole experience!
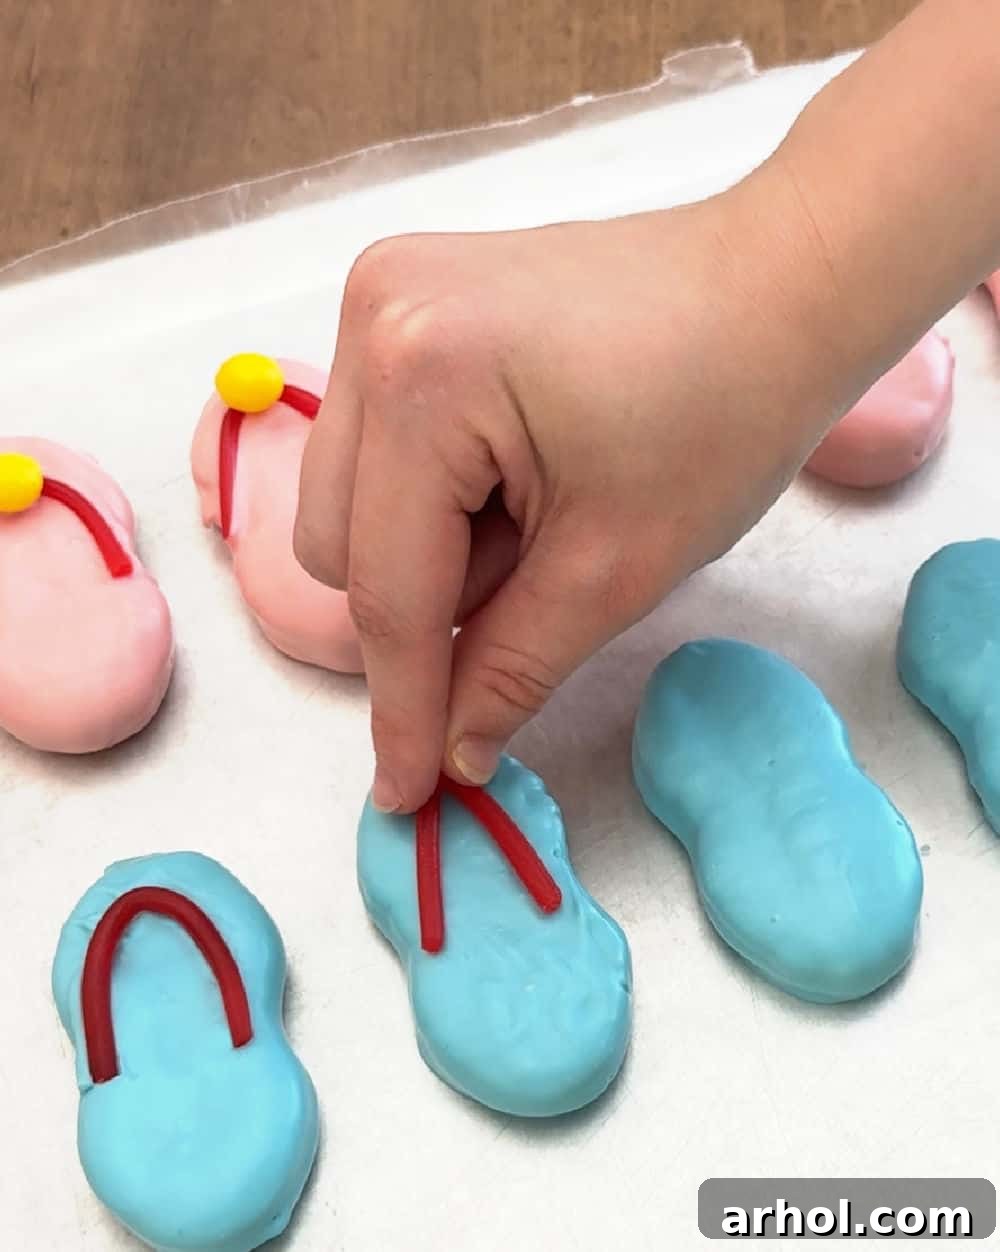
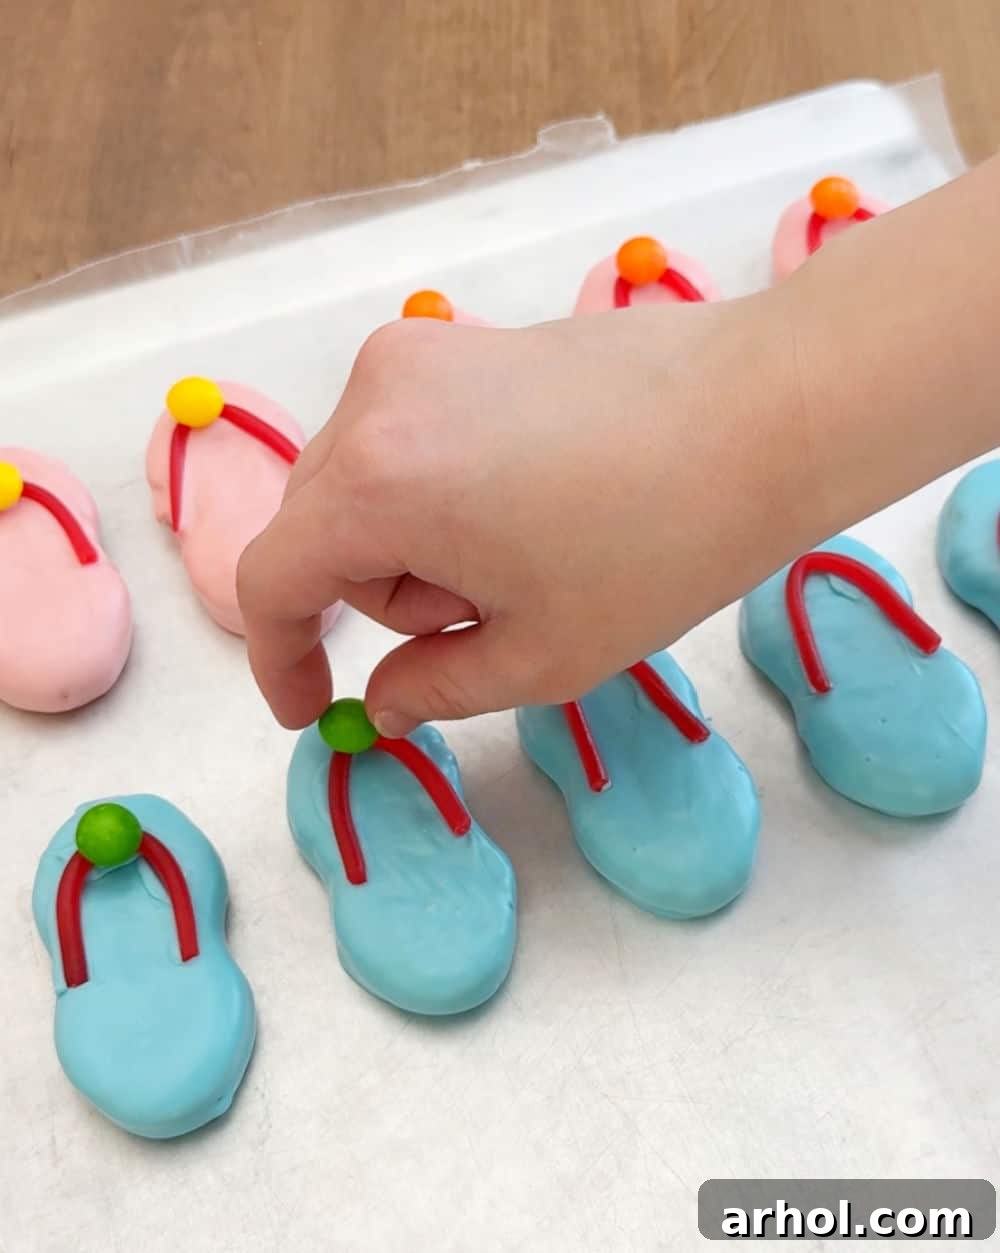
Remember, the trick to successful decoration is timing. We discovered that adding the candy straps and embellishments worked best when the coating was just beginning to firm up – still tacky, but not completely wet. This ensures the candies adhere securely without sliding off. The result? A batch of super cute, perfectly set flip-flop cookies ready for your summer celebrations!
Expert Tips for Flawless Flip Flop Cookies
To ensure your Nutter Butter Flip Flop Cookies turn out perfectly every time, keep these expert tips in mind:
- Melting Candy Coating: Always melt your candy coating in the microwave in short, controlled increments (30 seconds at a time). Stir well after each interval to distribute heat evenly and prevent scorching or clumping. Overheated candy melts can become thick and unworkable.
- Achieving the Right Consistency: If your candy melts seem too thick after melting, you can thin them slightly by stirring in a small amount of shortening (like Crisco) or a few drops of coconut oil. Add a tiny bit at a time until you reach your desired smooth, dippable consistency.
- Dipping Technique: Use a fork to dip and remove the cookies. This allows excess coating to drip off easily through the tines, preventing a messy, overly thick layer on your cookies. Gently tap the fork against the side of the bowl after dipping.
- Drying Surface: Always place your freshly dipped cookies on wax paper or parchment paper-lined plates or trays. This prevents them from sticking to the surface as the candy coating sets.
- Timing is Everything for Decorations: Allow the candy coating to dry slightly – just enough to become tacky but still soft – before adding the candy straps and decorative Skittles. If the coating is too wet, the decorations will slide off. If it’s too dry, they won’t stick without extra melted candy coating.
- Alternative Straps: If you don’t have Twizzlers or prefer a different look, you can also use decorating icing (like royal icing or even pre-made cookie icing) piped onto the cookies to create the strap design. This gives you even more color options!
- Creative Presentation: For a truly show-stopping display, place your finished flip flop cookies on a platter covered with crushed graham crackers to resemble a sandy beach. You can further enhance this beach scene with mini paper umbrellas or by placing a fun fruit dip or creamy dessert dip in the center of the plate, surrounded by your adorable cookies.
- Storage: Store your completed flip flop cookies in an airtight container at room temperature for up to a week. If stacking, place parchment paper between layers to prevent sticking.
The Easy Flip Flop Cookies Recipe Card
Pin
Easy Flip Flop Cookies
Ingredients
- 1 16-ounce package of Nutter Butter cookies
- 3 12-ounce packages of candy melts in assorted colors
- Twizzlers candy ropes (thin variety, for straps)
- Skittles (or other small, colorful candies for decoration)
Instructions
-
Melt the candy coating in a microwave-safe bowl according to package directions, heating in short increments (e.g., 30 seconds) and stirring until smooth and completely melted.
-
Dip each Nutter Butter cookie into the melted candy coating until completely covered. Use a fork to carefully lift the cookie and gently tap it against the bowl’s edge to remove excess coating. Place the dipped cookies onto wax paper or parchment paper-lined plates or trays, allowing them to partly dry.
-
While the coating is still tacky but starting to firm up, snip short strands of Twizzlers and bend each into a ‘V’ shape to resemble flip flop straps. Gently press the ends of the Twizzler straps onto the coated cookies.
-
Add a small dab of melted candy coating to the back of each Skittle (or directly onto the still-soft coating at the bend of the strap) and place them on the folded centers of the Twizzler straps for decoration.
-
If desired, sprinkle some colored sugar or edible glitter on the cookies for added sparkle before the coating fully hardens. Allow cookies to fully set at room temperature or chill briefly in the refrigerator until firm.
Notes
When melting candy coating, always do so in short increments in the microwave, stirring thoroughly after each interval to prevent scorching and ensure a smooth consistency.
Always let cookies dry completely on wax paper-lined plates or cookie sheets to prevent sticking.
For best adhesion, allow the candy coating to dry slightly and become tacky before adding candy straps, but don’t wait until it’s fully hardened. Alternatively, decorating icing can be used for the straps in place of candy.
For a fun, beach-themed presentation, serve the finished cookies on a platter covered with crushed graham crackers to mimic sand.
Nutrition
Nutrition information is automatically calculated, so should only be used as an approximation.
Additional Info
Discover More Fun Summer Treats and Dessert Ideas!
Once you’ve mastered these delightful Easy Flip Flop Cookies, you might find yourself inspired to explore even more creative and effortless summer dessert recipes. The joy of no-bake treats and simple, festive creations is that they allow you more time to enjoy the sunshine and company. If you loved making these, you’ll definitely want to try some of our other crowd-pleasing summer favorites:
- Whip up some adorable beach party cupcakes, complete with edible sand and tiny umbrellas, perfect for carrying on the summer theme.
- For a classic kid-friendly dessert, our easy dirt cups are always a hit, offering a playful twist with their layered textures and sweet flavors.
- Cool down with homemade drumsticks, a nostalgic frozen treat that’s surprisingly simple to recreate in your own kitchen.
- Impress your guests with an easy ice cream sandwich cake, a layered masterpiece that comes together in minutes and is perfect for a hot day.
- And for those special milestones, our fun chocolate graduation caps are a sweet way to celebrate achievements with a clever design.
Each of these recipes is designed with simplicity and fun in mind, ensuring your summer dessert menu is always exciting and stress-free. So, go ahead and explore; your next favorite summer treat is just a click away!