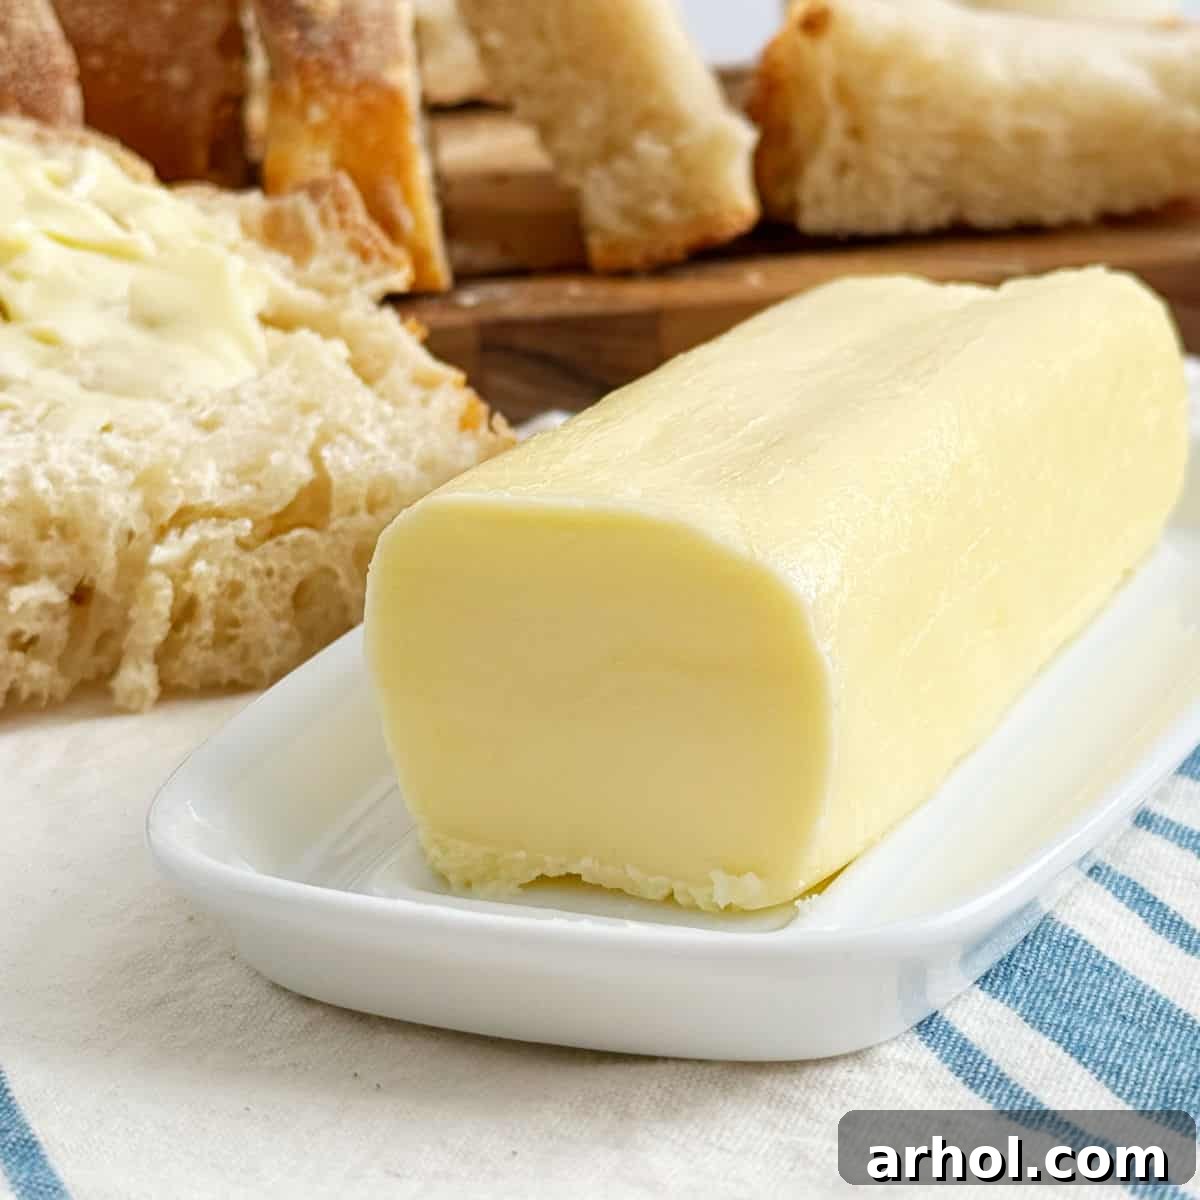
Homemade Butter: Fresh, Easy & Delicious in Minutes
There’s nothing quite like the taste of fresh, homemade butter. Rich, creamy, and incredibly flavorful, making your own butter is a simple culinary delight that requires just two basic ingredients and a mixer. This easy-to-follow recipe transforms ordinary heavy cream into a golden, spreadable masterpiece, complete with a batch of delicious buttermilk. Whether you’re looking to elevate your everyday meals, impress guests, or craft a thoughtful, unique gift, this guide will walk you through every step to achieve perfect homemade butter.
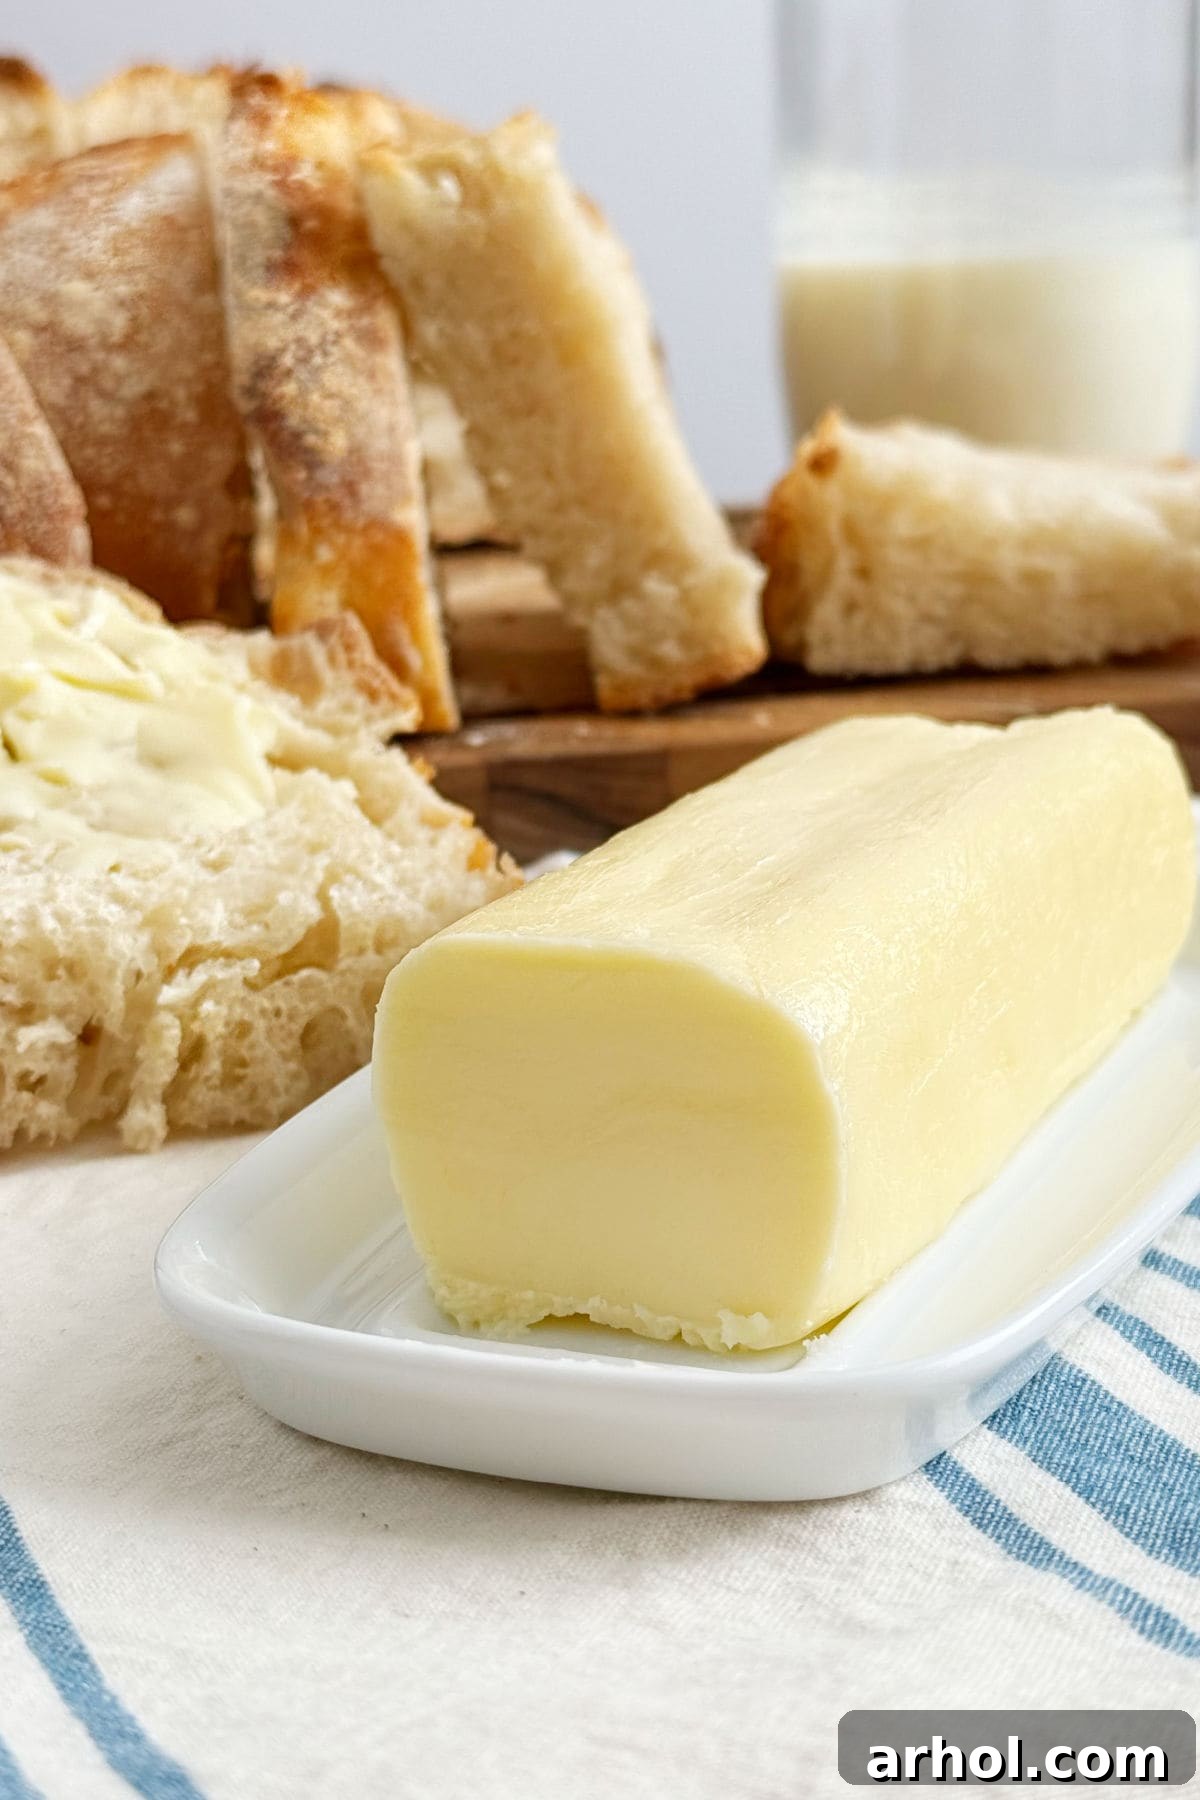
The Simple Pleasure of Homemade Butter
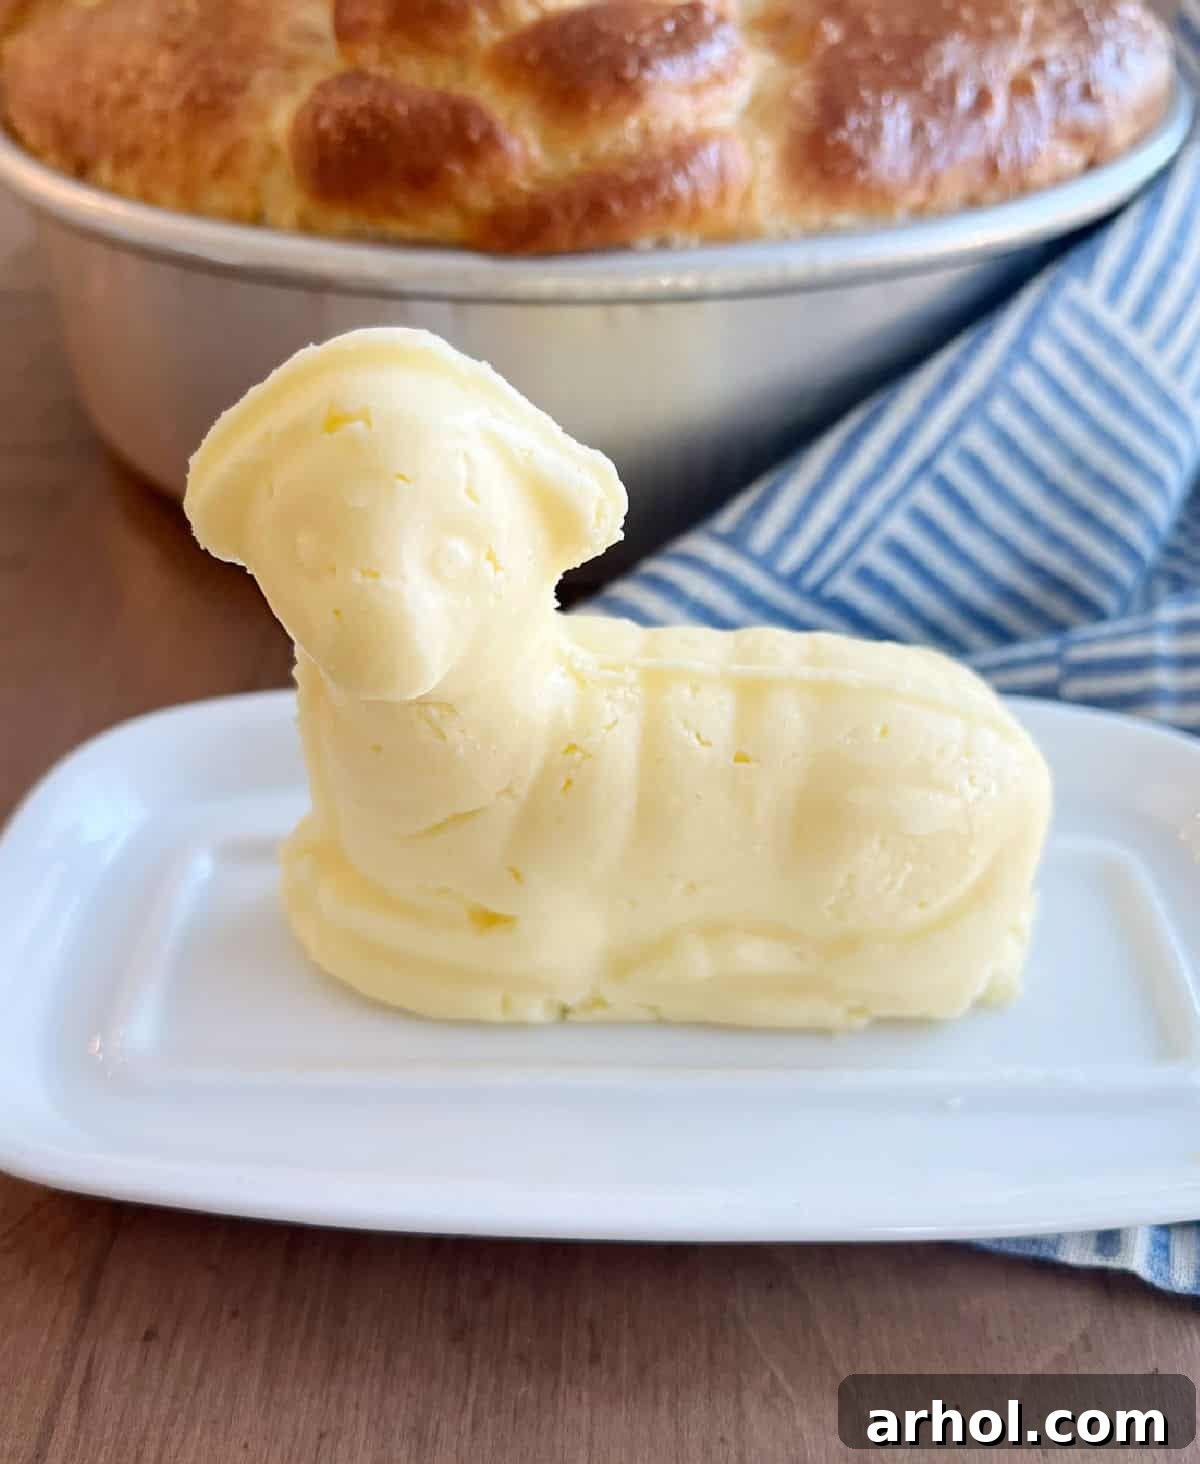
My journey into making butter began out of necessity when I couldn’t find a traditional butter lamb for our Polish Easter celebration one year. What started as a problem quickly turned into a passion. The resulting butter was not only delicious but also incredibly satisfying to create. While store-bought butter remains a convenient staple, having this easy homemade butter recipe in your repertoire is a game-changer for special occasions or whenever you crave that extra touch of freshness. You don’t need a bulky churn or specialized equipment – a simple electric mixer (handheld or stand mixer) is all it takes. Though technically possible, I strongly advise against shaking cream in a glass jar unless you’re seeking an intense arm workout and endless patience!
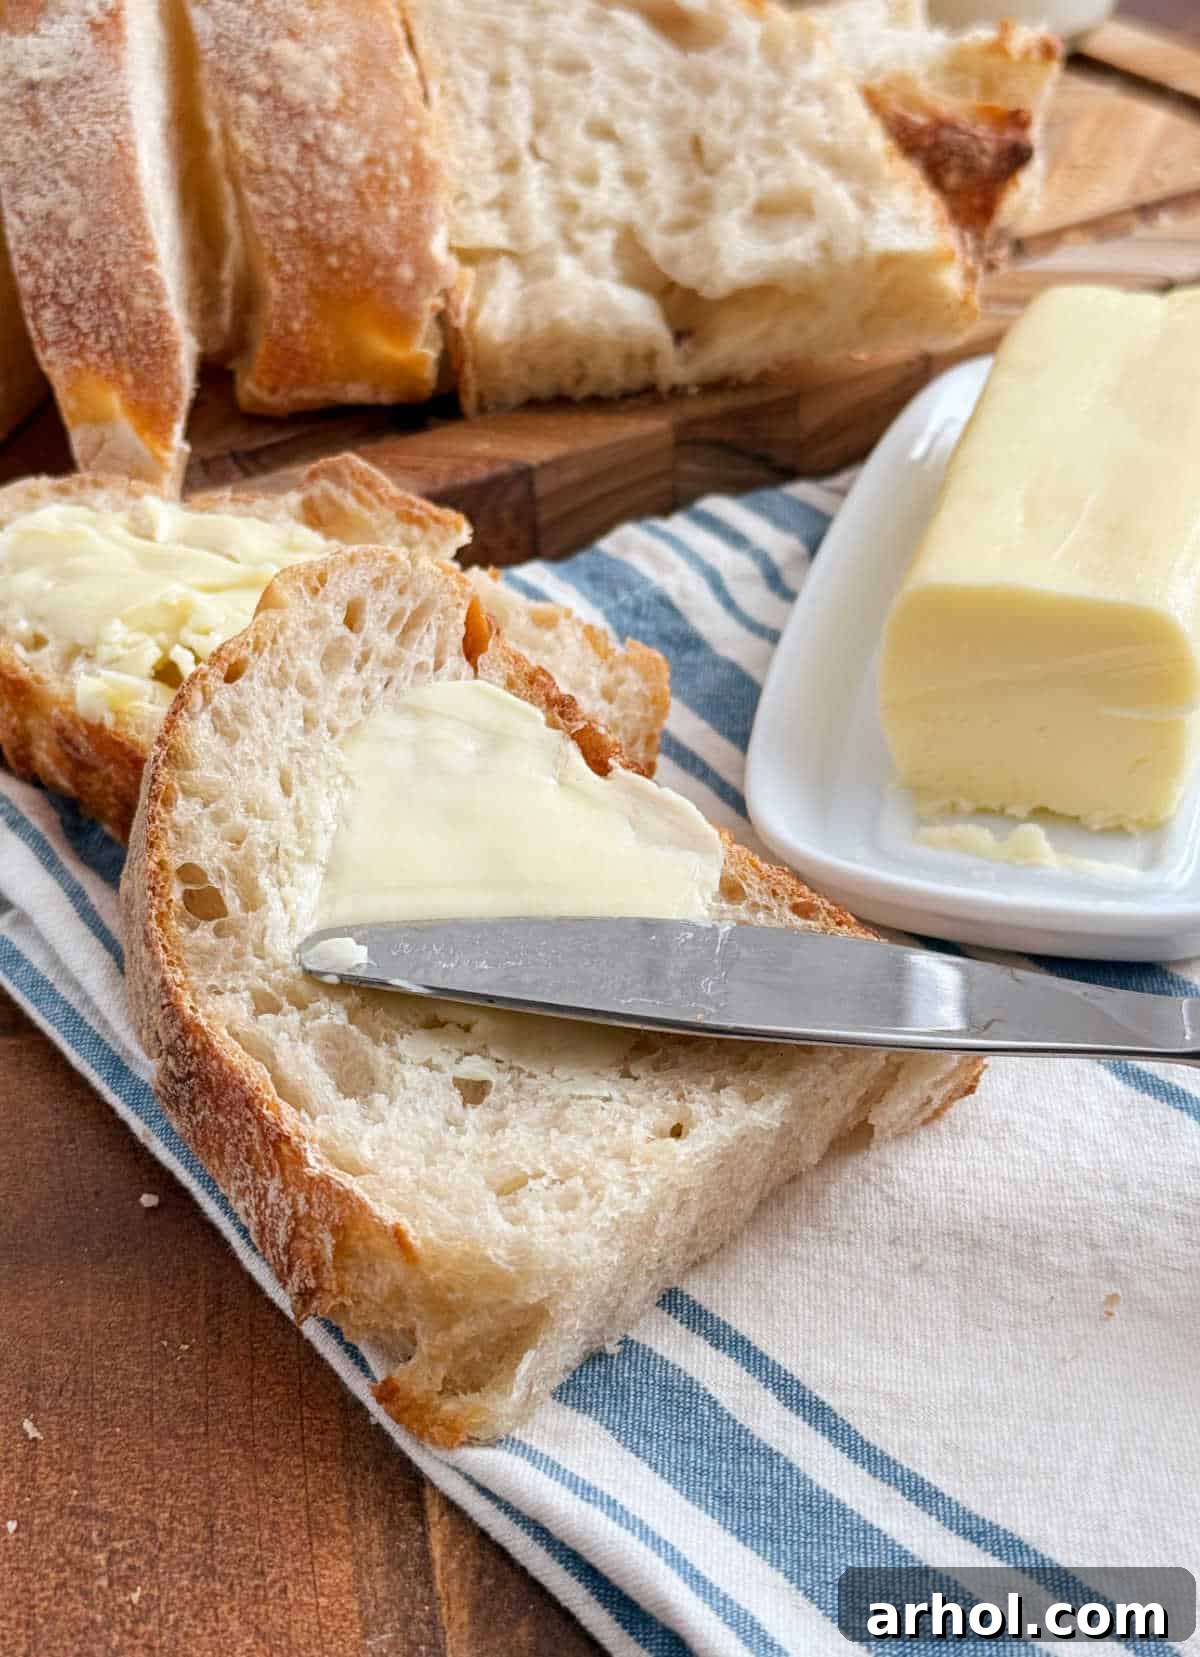
The allure of homemade butter extends beyond its preparation. Imagine spreading rich, freshly churned butter on warm, crusty bread. It’s an experience that truly elevates a simple meal. We particularly enjoy it with our favorite homemade breads, such as a sweet nut bread, traditional paska, or a tangy slice of sourdough. The difference in flavor and texture is profound, offering a creamy, slightly sweet, and utterly luxurious taste that no mass-produced butter can replicate.
Why Make Your Own Butter? Beyond the Easter Lamb Story
Aside from the sentimental tradition of a butter lamb, there are numerous compelling reasons to embrace homemade butter:
- Superior Flavor & Freshness: The most significant benefit is the unparalleled taste. Homemade butter boasts a vibrant, milky flavor that is incredibly fresh and often richer than commercial varieties. You’ll notice the difference immediately.
- Control Over Ingredients: You decide what goes into your butter. No artificial colors, preservatives, or questionable additives. Just pure cream and, if you choose, natural sea salt. This is especially appealing for those with dietary concerns or who prefer clean eating.
- Cost-Effective (Sometimes): While the price of heavy cream can vary, making butter at home can be more economical, especially if you catch sales on large quantities of cream. Plus, you get homemade buttermilk as a valuable byproduct!
- Rewarding & Fun: There’s a deep satisfaction in transforming a liquid into a solid, delicious food item. It’s a simple kitchen science experiment that yields a tasty reward, and it can be a fun activity to involve children in.
- Impressive Gift Idea: A beautifully wrapped stick or molded shape of homemade butter makes a fantastic and thoughtful gift for holidays, housewarmings, or as a thank-you gesture for any food lover.
- Customizable: As you’ll see later, homemade butter is a blank canvas for various flavor infusions, allowing you to create unique compound butters not found in stores.
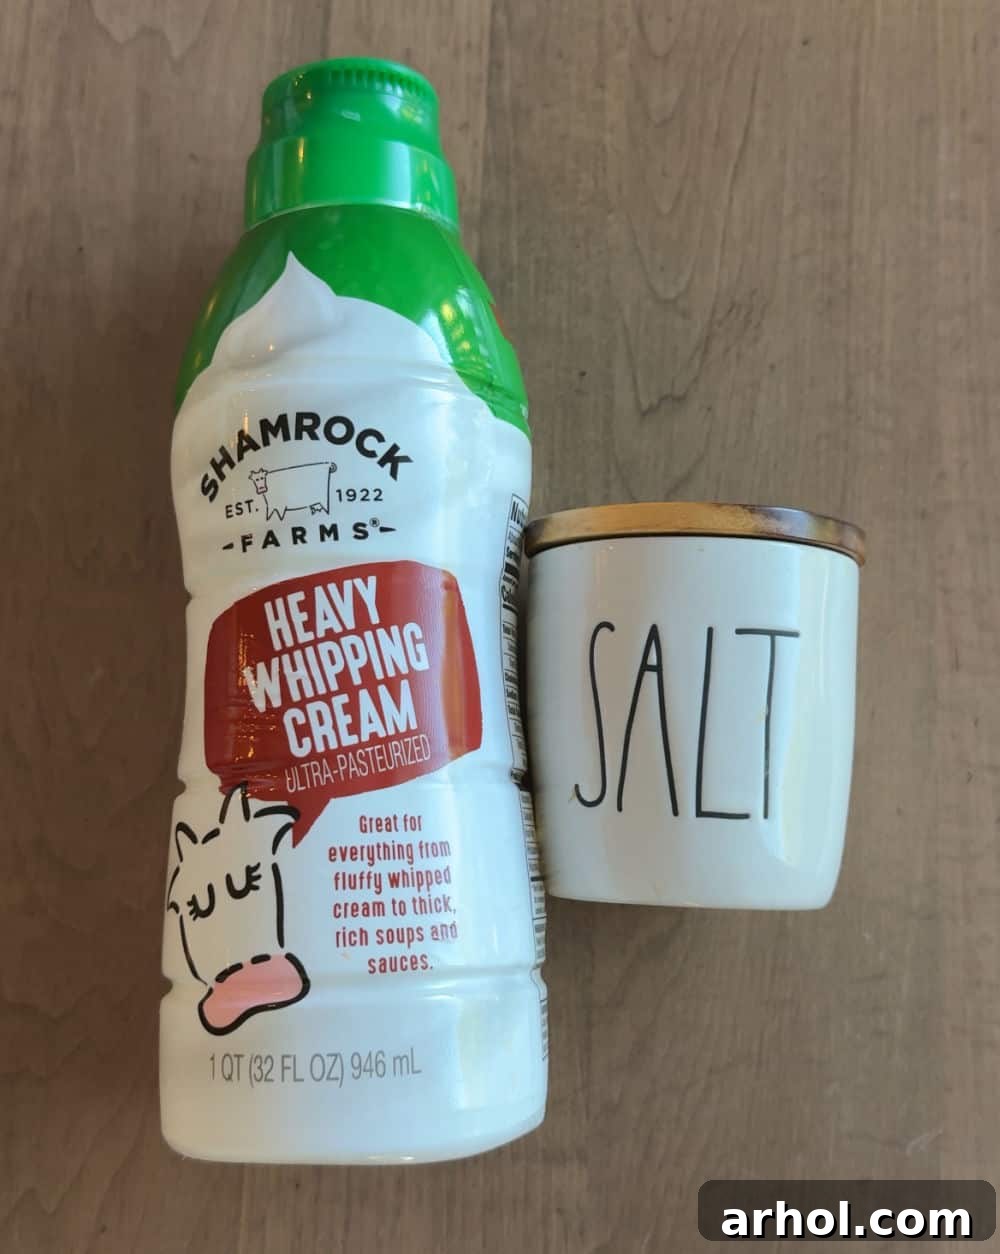
Essential Ingredients for Your Homemade Butter
The beauty of this recipe lies in its simplicity. You truly only need one or two core ingredients. Detailed measurements can be found in the recipe card towards the end of this article, but here’s a breakdown of what you’ll need:
- Heavy Cream: This is the star of the show. You must use heavy whipping cream, which typically has a milkfat content of 36% or higher. The high fat content is crucial for the butter-making process; it’s the fat globules that clump together to form butter. Avoid using half-and-half, light cream, or whole milk, as these do not contain enough fat to successfully separate into butter and buttermilk. For best results, ensure your heavy cream is very cold, as this helps the fat globules solidify and separate more efficiently. Opting for organic or grass-fed heavy cream can also contribute to a richer, more flavorful final product.
- Salt: While technically optional, salt plays a vital role in both flavor and preservation. If you prefer unsalted butter for baking or specific dietary needs, you can certainly omit it. However, I always recommend adding a touch of good quality sea salt or Himalayan pink salt for a balanced and enhanced flavor profile that makes the butter perfect for spreading and general cooking. Salt also acts as a natural preservative, helping your homemade butter last longer. You can adjust the amount of salt to your personal preference.
Step-by-Step: How to Make Butter at Home
Making butter is a straightforward process, primarily involving whipping cream beyond its whipped-cream stage until the fat separates from the liquid. Follow these steps for a smooth butter-making experience:
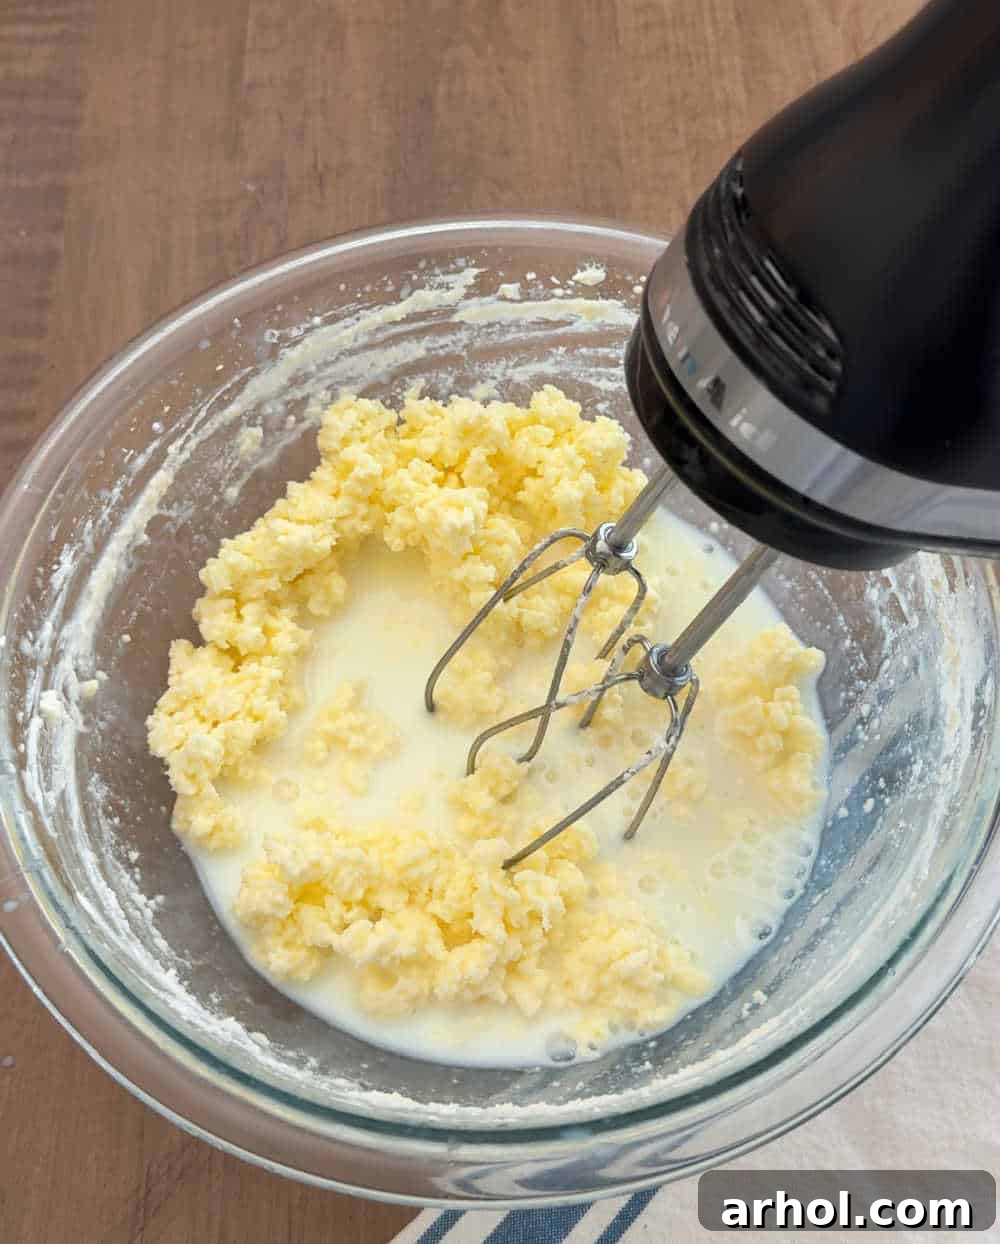
Step 1: The Whipping Begins. Pour your very cold heavy whipping cream into a large mixing bowl. Begin beating with your electric mixer (handheld or stand mixer with a whisk attachment) on a low speed. This initial low speed helps prevent splashing as the cream is still liquid. Gradually increase the speed to medium. The cream will first thicken to soft peaks, then stiff peaks, like regular whipped cream. Keep going! It will then start to look grainy, then yellow, and eventually, the fat solids (butter) will separate from the liquid (buttermilk). This process typically takes about 10-12 minutes, but can vary depending on your mixer and cream.
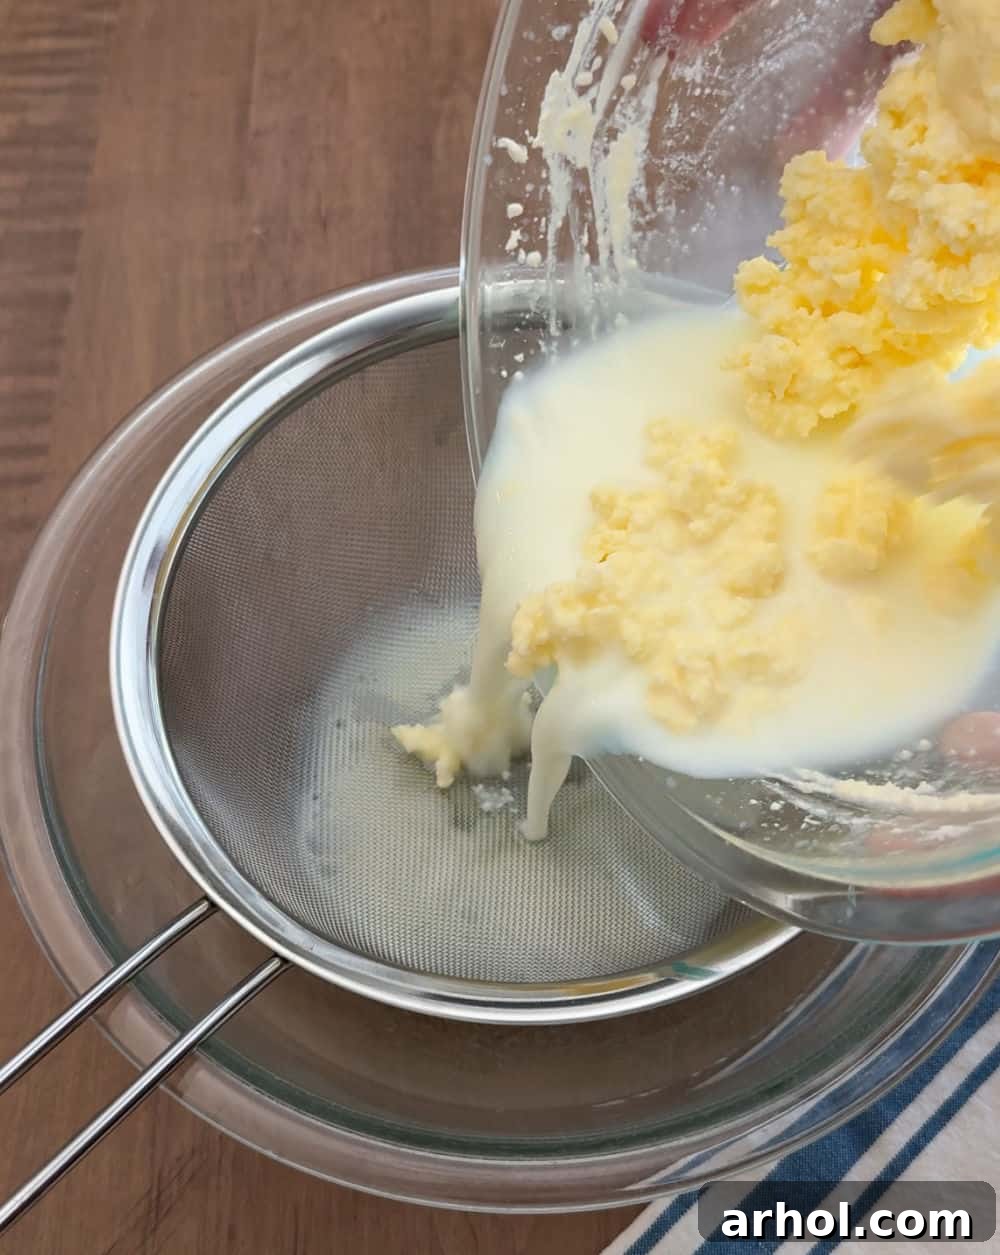
Step 2: Separating Butter from Buttermilk. Once the butter solids have clearly separated, and you see distinct chunks of butter floating in a milky liquid, it’s time to strain. Place a fine mesh strainer over a clean mixing bowl. Carefully pour the entire contents of your mixer bowl into the strainer. The liquid that drains into the bowl is your homemade buttermilk – do not discard it! It’s fantastic for baking or making fluffy pancakes. Gently press the butter against the strainer to extract as much buttermilk as possible.
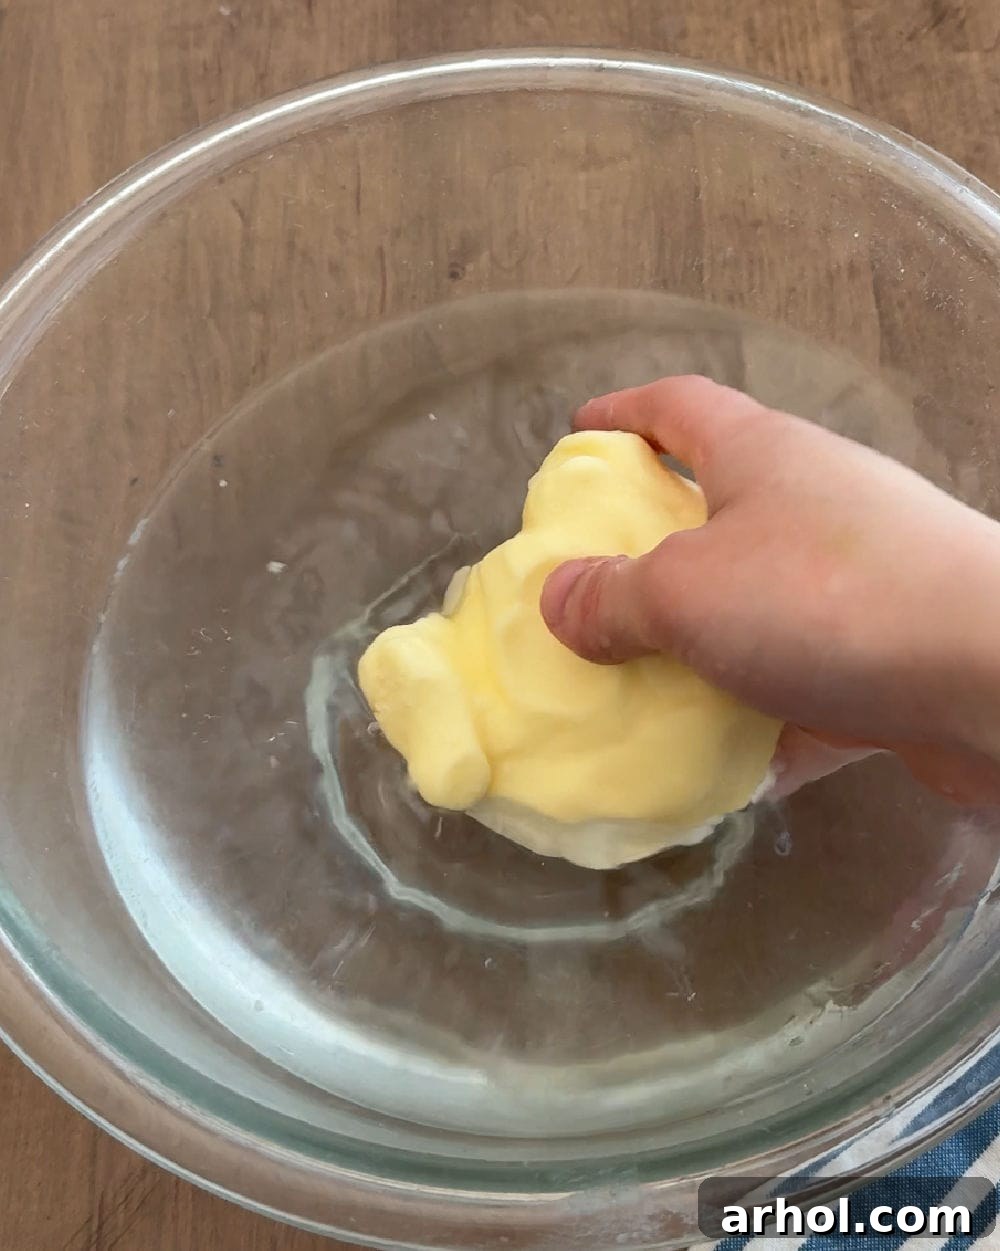
Step 3: The Crucial Rinse. This step is vital for ensuring your butter lasts longer and tastes its best. Transfer the butter solids into a bowl filled with ice-cold water. Using your hands or a spatula, gently knead and squeeze the butter. The water will become cloudy as it pulls out residual buttermilk. Drain the cloudy water and repeat this process with fresh cold water. Continue rinsing and kneading until the water runs completely clear. This indicates that almost all the buttermilk has been removed, which is crucial because any leftover buttermilk will cause your butter to spoil quickly.
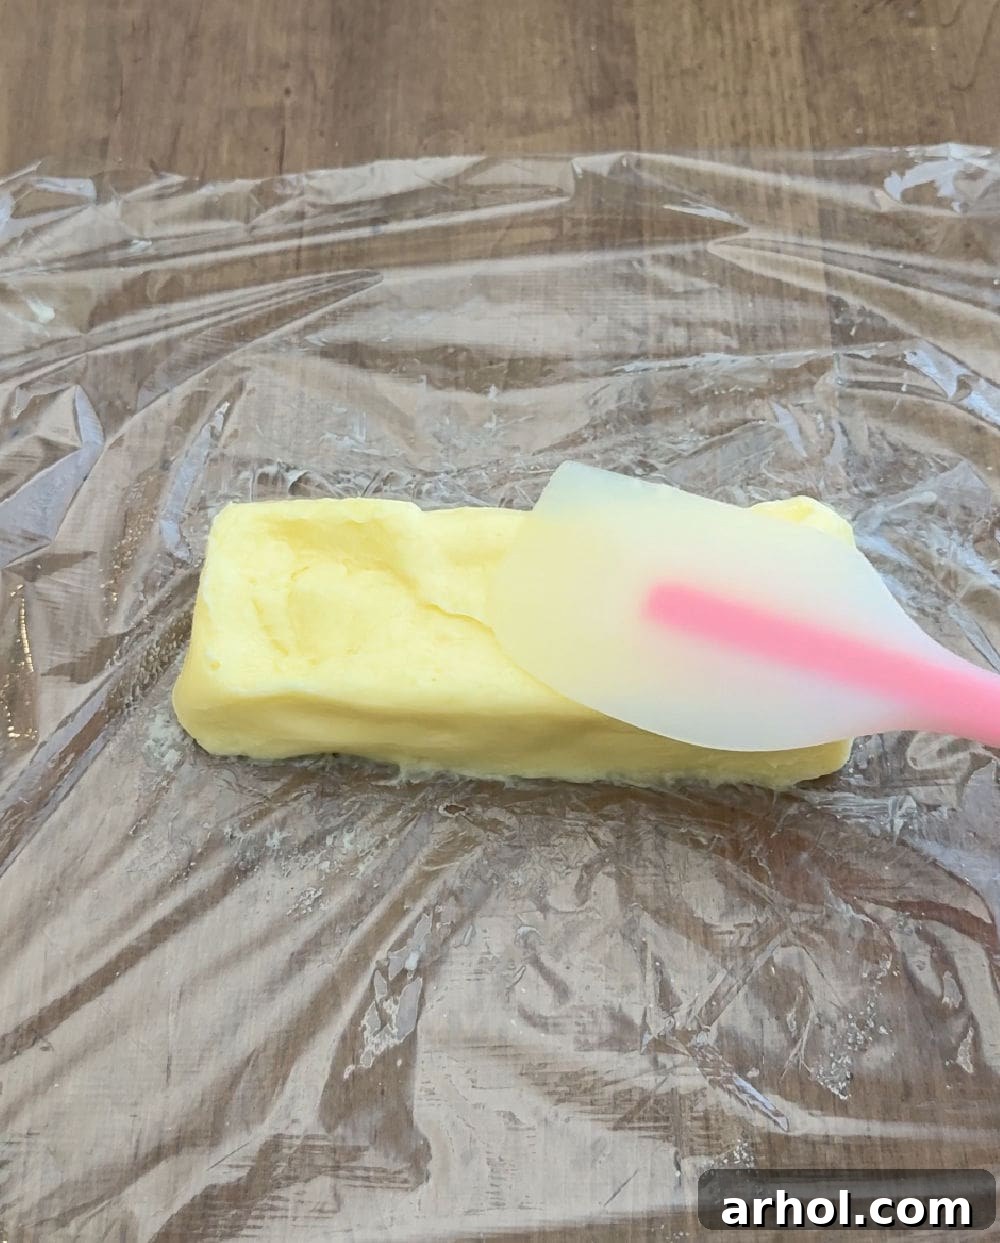
Step 4: Seasoning and Shaping. Once rinsed, press out any remaining water from the butter. Now is the time to add salt if you desire. Place the butter on a sheet of plastic wrap or parchment paper, sprinkle with salt, and knead it gently to evenly distribute the seasoning. Then, shape your butter into a traditional stick, a ball, or press it into a decorative butter mold. Wrap it tightly in plastic wrap or parchment paper, and refrigerate until firm and ready to use.
Storing Your Freshly Made Butter and Buttermilk
Proper storage is key to enjoying your homemade butter for as long as possible:
- Homemade Butter: Store your butter in an airtight container or tightly wrapped in plastic wrap or parchment paper in the refrigerator. It will stay fresh for about 3-4 weeks. For longer storage, you can freeze butter for up to 6 months. To freeze, wrap it very tightly in several layers of plastic wrap, then place it in a freezer-safe bag or container. Thaw in the refrigerator before use.
- Homemade Buttermilk: The tangy liquid byproduct, true buttermilk, should also be stored in an airtight container in the refrigerator. It will last for about 1 week and is perfect for making exceptionally moist baked goods like pancakes, biscuits, cornbread, or as a marinade for chicken.
Creative Variations & Flavor Infusions
One of the most exciting aspects of making your own butter is the endless possibilities for customization. Unleash your inner chef by creating delicious compound butters that can enhance any dish:
- Herb Butters: Before shaping, simply mix in finely chopped fresh herbs like chives, parsley, rosemary, dill, or thyme. These are fantastic on roasted vegetables, grilled fish, or steak.
- Garlic Butter: For a savory kick, add minced fresh garlic or, for a mellower flavor, roasted garlic. A pinch of black pepper or a touch of red pepper flakes can also be added. Perfect for garlic bread or sautéing.
- Sweet Butters: Transform your butter into a delectable spread by incorporating sweeteners. For a luxurious honey butter, mix in a generous amount of honey. Note that honey butter will be softer and not hold a stick shape, so it’s best stored in a jar or bowl. Cinnamon sugar butter is another delightful sweet option, ideal for toast or pancakes.
- Citrus Butters: Mix in zest from lemons, limes, or oranges for a bright, aromatic butter that pairs beautifully with seafood or pastries.
- Spicy Butters: Add a pinch of cayenne pepper, chili powder, or smoked paprika for a butter with a gentle heat.
If you’re feeling fancy, consider using a decorative butter mold to create beautiful shapes for special occasions. Instead of wrapping with plastic wrap, simply press the seasoned butter firmly into the mold and refrigerate until set. You can find molds in various designs, from intricate flowers to festive shapes like the traditional butter lamb.
For an alternative method of straining and rinsing, some people prefer wrapping the butter solids in cheesecloth to squeeze out the buttermilk more vigorously. While it’s a valid technique, I’ve personally found that thoroughly rinsing and squeezing by hand until the water runs clear works just as effectively without the extra step of handling cheesecloth.
Expert Tips for Butter-Making Success
- Start Slow: When using an electric mixer, always begin on the lowest speed until the cream begins to thicken. This prevents heavy cream from splashing all over your kitchen and ensures a cleaner workspace.
- Don’t Skip the Rinse: This cannot be stressed enough. Thoroughly rinsing the butter in cold water to remove all traces of buttermilk is critical. Any leftover buttermilk will drastically shorten your butter’s shelf life and can lead to a sour taste. Continue rinsing until the water is perfectly clear.
- Cold Cream is Key: Ensure your heavy cream is very cold when you start. Cold cream whips up faster and separates more efficiently.
- Use a Deep Bowl: The cream will expand and splash as it whips and separates. A deep mixing bowl will contain the mess much better than a shallow one.
- Listen and Watch: Pay attention to the sound of your mixer and the visual changes in the cream. You’ll hear the motor working harder as the cream thickens, and you’ll see the distinct stages of whipped cream, then curdling, and finally separation.
- Adjust Salt to Taste: If you’re adding salt, start with ½ teaspoon per two cups of cream. You can always add more to taste after the initial mixing.
Frequently Asked Questions About Homemade Butter
What kind of cream should I use for making butter?
You absolutely must use heavy whipping cream or heavy cream with a minimum of 36% milkfat. Lighter creams, half-and-half, or whole milk do not contain enough fat to churn into butter and will only whip into a liquid foam.
Can I make unsalted butter at home?
Yes, absolutely! Simply omit the salt from the recipe. Unsalted homemade butter is perfect for baking, where you want precise control over the salt content of your dish, or for those who prefer to add salt to their butter at the table.
How long does homemade butter last?
When stored properly in an airtight container in the refrigerator, homemade butter will stay fresh for approximately 3 to 4 weeks. If you’ve rinsed it thoroughly to remove all buttermilk, it might even last a bit longer. For extended storage, you can freeze it for up to 6 months.
What can I do with the leftover buttermilk?
Homemade buttermilk is a delicious and valuable byproduct! It’s excellent for baking, lending a tender crumb and tangy flavor to pancakes, waffles, biscuits, cornbread, and scones. You can also use it in marinades for chicken or pork, or as a base for creamy salad dressings.
Is homemade butter cheaper than store-bought?
The cost-effectiveness of homemade butter largely depends on the price of heavy cream in your area. If you can find heavy cream on sale, making your own can often be more economical. Additionally, consider the added value of getting fresh buttermilk for free!
Homemade Butter Recipe Card
Homemade Butter
Learn how to make butter at home with just two ingredients and a mixer using this easy homemade butter recipe. Makes a delicious gift!
Prep Time: 20 minutes
Total Time: 20 minutes
Servings: 16 (1 tbsp each)
Equipment
- 1 electric mixer (handheld or stand mixer)
- Large mixing bowl
- Fine mesh strainer
- Another clean bowl (for buttermilk)
- Plastic wrap or parchment paper
Ingredients
- 2 cups heavy whipping cream (very cold)
- ½ teaspoon sea salt (optional, or to taste)
Instructions
- Add the very cold heavy whipping cream to a large mixing bowl. Begin beating with an electric mixer on low speed until the cream starts to thicken (about 3 minutes).
- Increase the speed to medium and continue beating until whipped cream is formed (about 2 minutes). The cream will have soft, then stiff peaks.
- Increase the speed to high and beat continuously until the butter solids separate from the buttermilk. This stage will happen quite quickly, usually within 5 minutes, and you will see distinct yellow clumps of butter floating in a milky liquid.
- Place a fine mesh strainer over a clean mixing bowl. Carefully pour the contents of your mixer bowl into the strainer, allowing the buttermilk to drain into the bowl below. Gently press the butter solids to extract more buttermilk.
- Set aside the strained buttermilk for future use (e.g., pancakes or baking).
- Transfer the butter solids to a bowl filled with ice-cold water. Gently massage and knead the butter in the water with your hands or a spatula. The water will become cloudy as it draws out residual buttermilk.
- Discard the cloudy water and replace it with fresh, ice-cold water. Repeat the kneading and rinsing process. Continue until the water runs completely clear, ensuring all buttermilk has been removed.
- Remove the butter from the water and press out any excess moisture. Place the butter on a sheet of plastic wrap or parchment paper. If using, sprinkle with sea salt.
- Mix in the salt thoroughly by kneading, then shape the butter into a stick, a ball, or press it into a mold.
- Cover the shaped butter tightly with plastic wrap or parchment paper and refrigerate until firm and ready to serve.
Notes
- A stand mixer with a whisk attachment works wonderfully for this recipe.
- If you prefer not to shape the butter into a stick, simply place it into a small, airtight container or bowl and cover it.
- You can use cheesecloth to strain the butter if you don’t have a fine mesh strainer, or to help squeeze out as much buttermilk as possible during the rinsing step.
- Omit the salt entirely if you desire unsalted butter, or adjust the amount to your personal taste.
Nutrition
Serving: 1 tbsp, Calories: 101kcal, Carbohydrates: 1g, Protein: 1g, Fat: 11g, Saturated Fat: 7g, Polyunsaturated Fat: 0.5g, Monounsaturated Fat: 3g, Cholesterol: 34mg, Sodium: 81mg, Potassium: 28mg, Sugar: 1g, Vitamin A: 437IU, Vitamin C: 0.2mg, Calcium: 20mg, Iron: 0.03mg
Nutrition information is automatically calculated, so should only be used as an approximation.
Additional Info
Course: Condiment
Cuisine: American
We hope you enjoy the delightful experience of making and savoring your very own homemade butter. It’s a simple luxury that truly enhances any meal.
If you loved this recipe, please leave a comment below to share your experience!
For more easy and delicious recipes, be sure to sign up for our newsletter and follow us on social media.