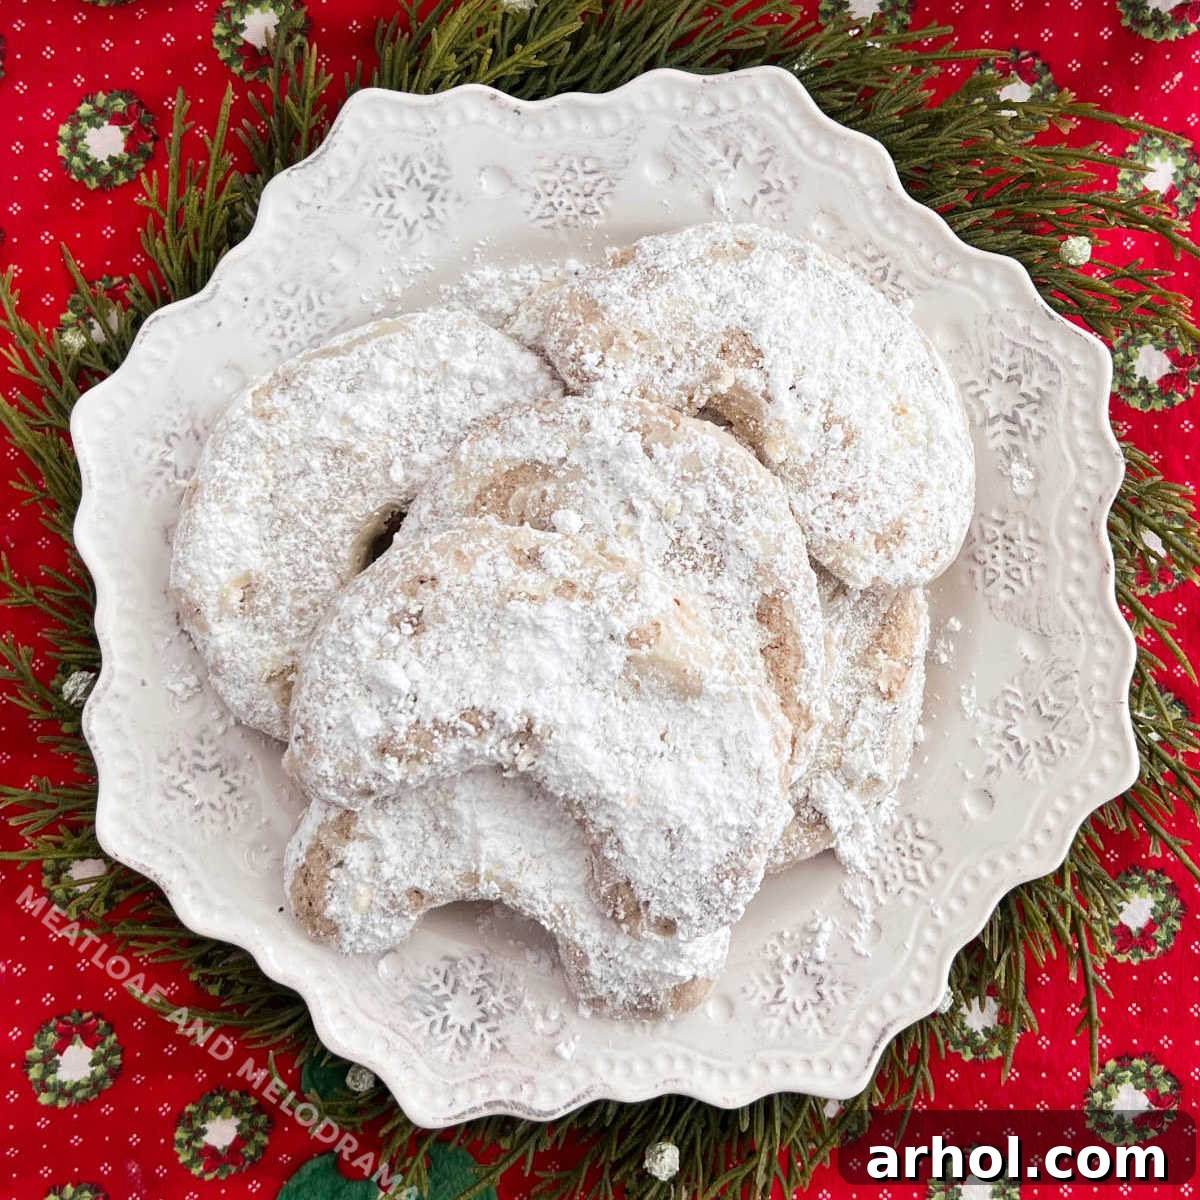
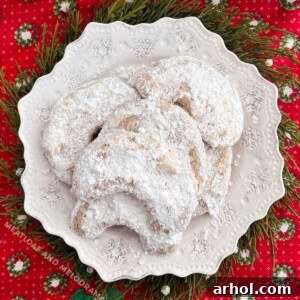
Indulge in the irresistible charm of these Easy Walnut Crescent Cookies, a delightful holiday treat that promises to melt in your mouth with every bite. Dusted generously with powdered sugar and rich with nutty flavor, these crescent-shaped delights are a cherished part of festive celebrations. This simple yet elegant recipe brings traditional comfort and joy to your holiday season, making them a must-bake for Christmas and beyond.
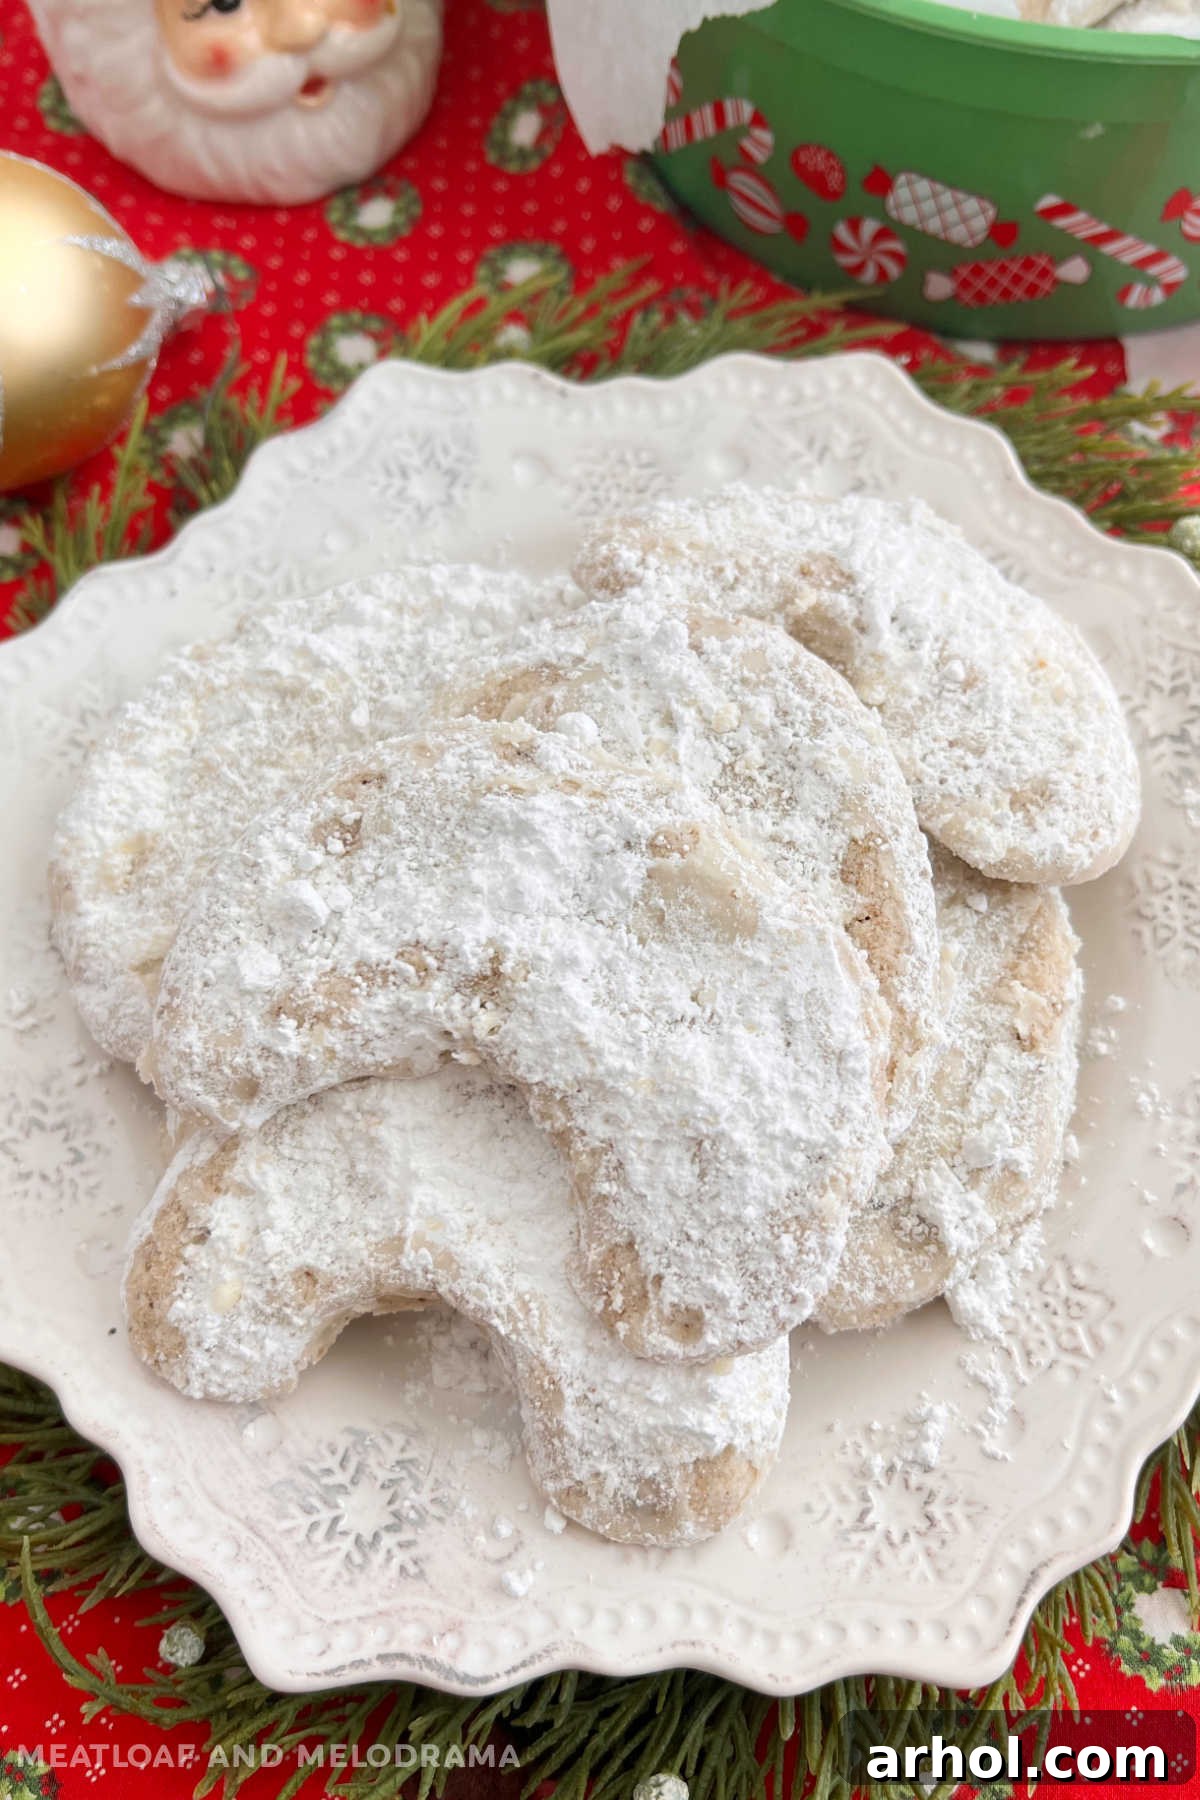
Table of Contents
- A Timeless Holiday Treat
- Cultural Roots of Crescent Cookies
- Essential Ingredients for Perfect Crescents
- Step-by-Step Guide to Making Walnut Crescent Cookies
- Achieving Baking Perfection: Time and Temperature
- The Magical Powdered Sugar Coating
- Delicious Variations to Explore
- Storage Tips for Lasting Freshness
- Make-Ahead Magic: Prepare Dough in Advance
- Easy Crescent Cookies Recipe Card
- Final Thoughts on Your Holiday Baking
A Timeless Holiday Treat
Christmas crescent cookies, often celebrated as Russian tea cakes or Mexican wedding cookies, hold a special place in holiday baking traditions. The key difference lies in their graceful, moon-like shape rather than the classic round ball. These delicate butter cookies, known for their tender crumb and rich flavor, are incredibly versatile and universally loved.
Cultural Roots of Crescent Cookies
My particular recipe for Walnut Crescent Cookies draws inspiration from my grandmother’s cherished Polish walnut crescents, sometimes called nut horns. However, this version is streamlined for modern bakers, offering a quicker prep time and the convenience of being egg-free. Grandma fondly referred to them as Polish or Slovak walnut cookies, but it’s fascinating to note that similar recipes abound across various European cultures. For instance, the traditional Austrian cookies, Viennese crescent cookies (Vanillekipferl), share a strong resemblance, showcasing the widespread appeal of these buttery, nutty treats. Each culture infuses its unique touch, yet the essence of a tender, melt-in-your-mouth cookie remains constant.
Beyond these delightful crescents, you might also enjoy exploring other classic recipes for your festive table, such as Grandma’s soft molasses spice cookies, elegant meringue chocolate chip cookies, or charming cornflake wreath cookies. Each offers a distinct flavor and texture, ensuring there’s a perfect cookie for every palate during the holiday season.
Essential Ingredients for Perfect Crescents
Crafting these easy crescent cookies requires just a handful of straightforward ingredients, many of which you likely already have in your pantry. Opting for quality ingredients ensures the best flavor and texture in your final product.
- Butter: I always recommend using salted butter. The hint of salt perfectly balances the sweetness and enhances the overall flavor of the cookies. Ensure it’s softened to room temperature for optimal creaming.
- Powdered Sugar (Confectioner’s Sugar): This fine sugar is crucial for the tender texture of the dough and provides the iconic snowy coating that makes these cookies so festive.
- Vanilla Extract: A good quality vanilla extract adds a warm, aromatic depth that complements the walnuts beautifully.
- All-Purpose Flour: The foundation of our cookie structure, all-purpose flour provides the necessary body without making the cookies tough.
- Ground Walnuts: The star of these cookies! Freshly ground walnuts offer the most vibrant nutty flavor. Make sure they are finely ground to integrate smoothly into the dough.
- Ground Cinnamon: A touch of cinnamon adds a subtle warmth and spice, enhancing the holiday feel of these cookies.
- Salt: Just a pinch helps to balance the flavors and brings out the richness of the butter and walnuts.
Step-by-Step Guide to Making Walnut Crescent Cookies
Let’s dive into the simple process of creating these delightful walnut crescents. Precision and care in each step will ensure your cookies are perfect every time.
Preparing Your Walnuts
Before you begin mixing, the first crucial step is to prepare your walnuts. If you don’t have pre-ground walnuts, you’ll need to finely crush or grind them. A food processor is typically the easiest and most efficient tool for this, yielding a consistent, fine texture. Alternatively, for a more hands-on approach, place the walnuts in a sturdy zip-top bag and use a meat tenderizer or a rolling pin to crush them into small pieces. The goal is to achieve a fine grind, almost like coarse flour, to ensure they blend seamlessly into the dough.
Mixing the Dough
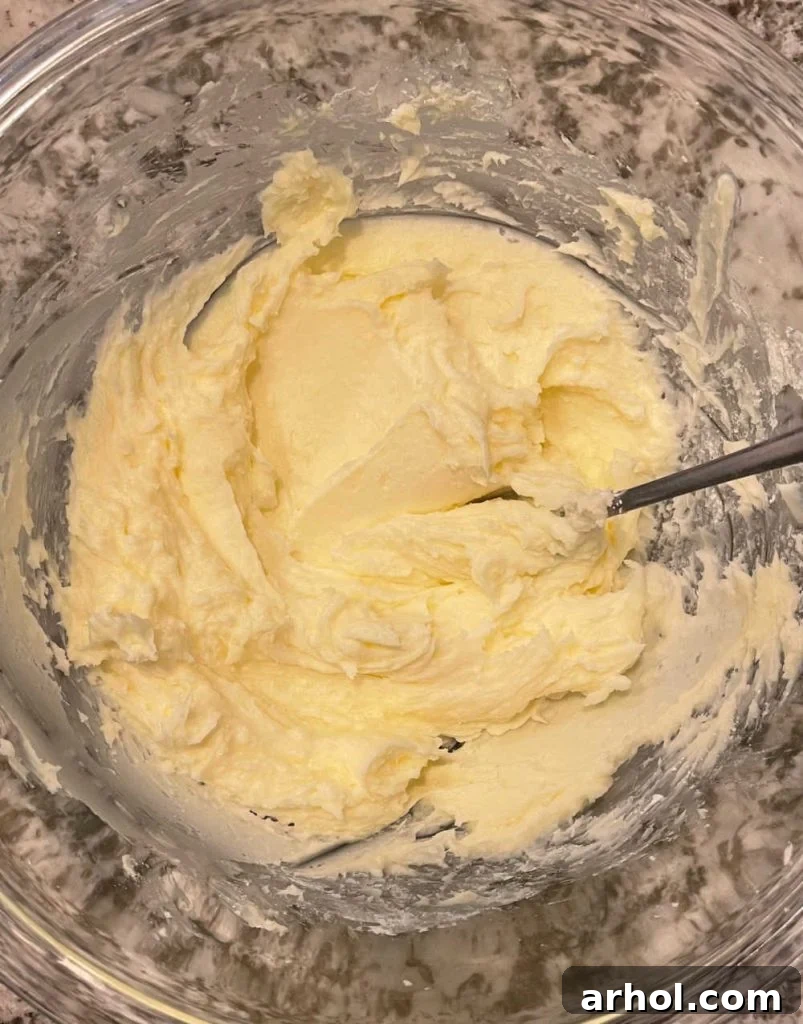
Once your walnuts are ready, it’s time to assemble the dough. In a large mixing bowl, combine the softened butter and powdered sugar. Using a hand mixer on medium speed or a stand mixer fitted with the paddle attachment, cream these two ingredients together until the mixture is light, fluffy, and perfectly smooth. This step incorporates air into the butter, contributing to the delicate texture of the baked cookies.
Next, gently stir in the vanilla extract, ensuring it is well incorporated into the creamy base. Then, gradually add the all-purpose flour, one cup at a time, mixing thoroughly after each addition. This ensures the flour is evenly distributed and prevents the dough from becoming overworked. Finally, add the ground walnuts, cinnamon, and salt. Mix everything until the ingredients are fully combined and a thick, cohesive dough forms. The dough will be quite dense, which is exactly what you want for shaping.
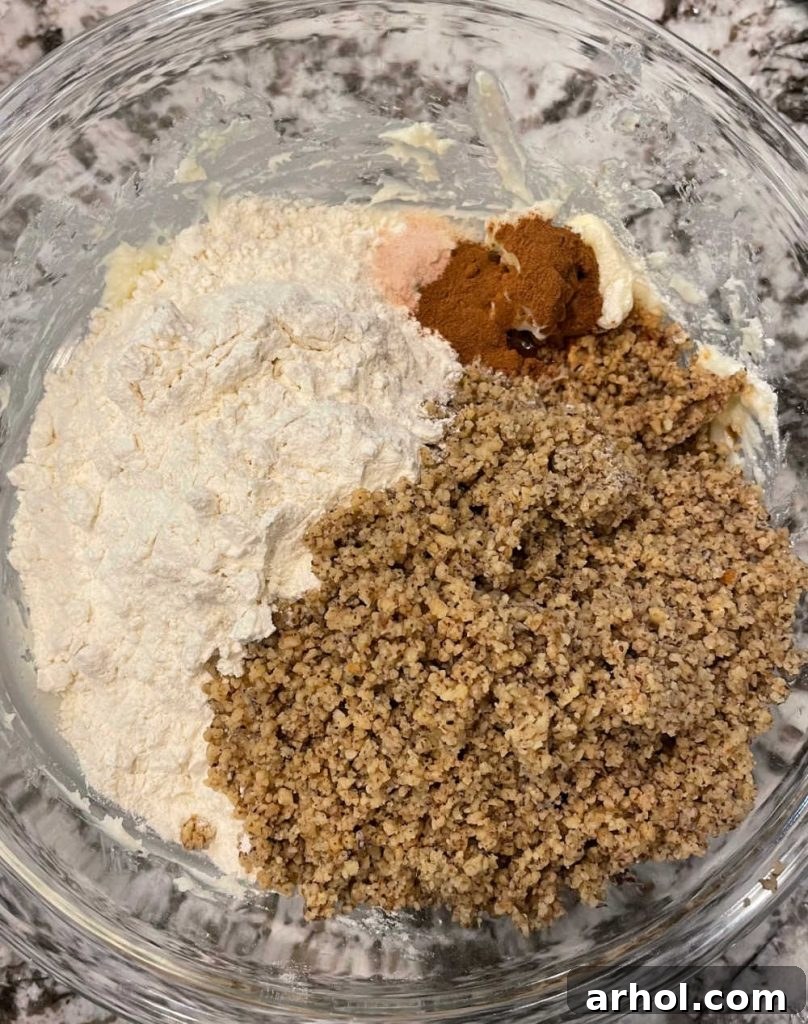
While some recipes suggest adding all dry ingredients at once, I often find that adding them gradually allows for better control and ensures a perfectly uniform dough. Rest assured, both methods yield excellent results as long as you mix thoroughly to avoid any pockets of unmixed flour.
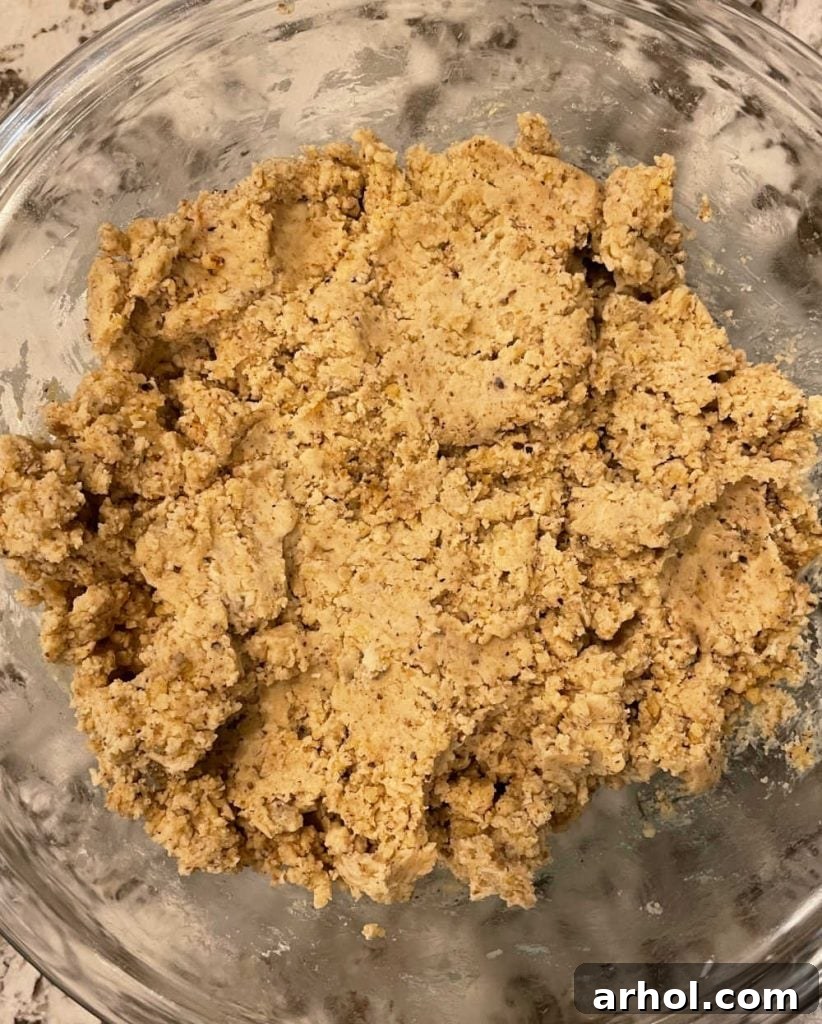
Shaping the Crescents
Once your dough is prepared, it’s time for the fun part: shaping these beautiful crescent cookies. Take a small portion of dough, roughly enough to form a 1-inch ball. Roll this ball between your palms to create a short, thick log. Then, gently pinch and curve the ends of the log to form the iconic crescent moon shape. If you find it challenging to achieve the perfect curve in your hands, you can also lightly shape them on your prepared baking sheet.
Place the formed crescent cookies on an ungreased cookie sheet lined with aluminum foil or parchment paper. Lining the sheet prevents sticking and makes for easier cleanup. These cookies don’t spread significantly during baking, so you don’t need to leave excessive space between them, though a consistent distance ensures even baking.
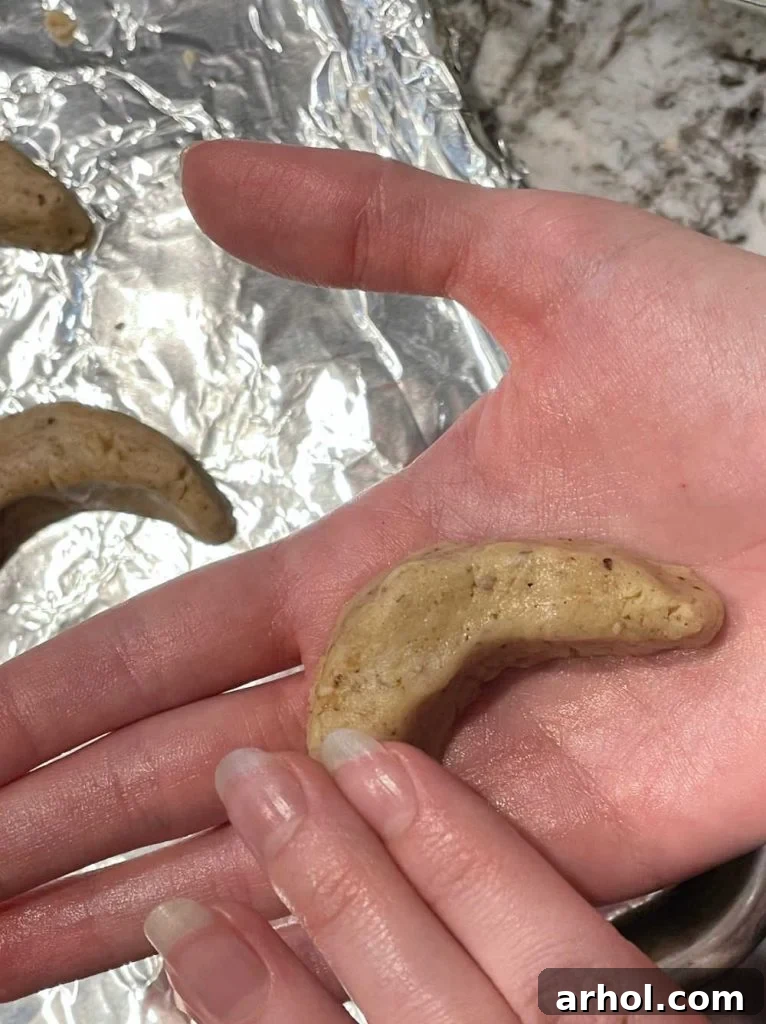
Achieving Baking Perfection: Time and Temperature
Preheat your oven to 350 degrees Fahrenheit (175 degrees Celsius). This precise temperature is ideal for ensuring the cookies bake through without browning too quickly. Place your cookie sheets in the preheated oven and bake for approximately 15 minutes. The cookies are done when their edges appear firm and the bottoms are just faintly golden brown. Avoid over-baking, as these delicate butter cookies can dry out quickly. A slightly pale top is perfectly normal and desired for their melt-in-your-mouth texture.
Once baked, remove the cookies from the oven and allow them to cool on the baking tray for a few minutes before carefully transferring them to a wire rack to cool further. This initial cooling period on the hot tray helps them firm up and prevents breakage.
The Magical Powdered Sugar Coating
The hallmark of these crescent cookies is their generous coating of powdered sugar. This step is best done when the walnut crescents are still warm but cool enough to handle comfortably. The warmth helps the powdered sugar adhere beautifully, creating that signature snow-dusted look and enhancing their tender texture.
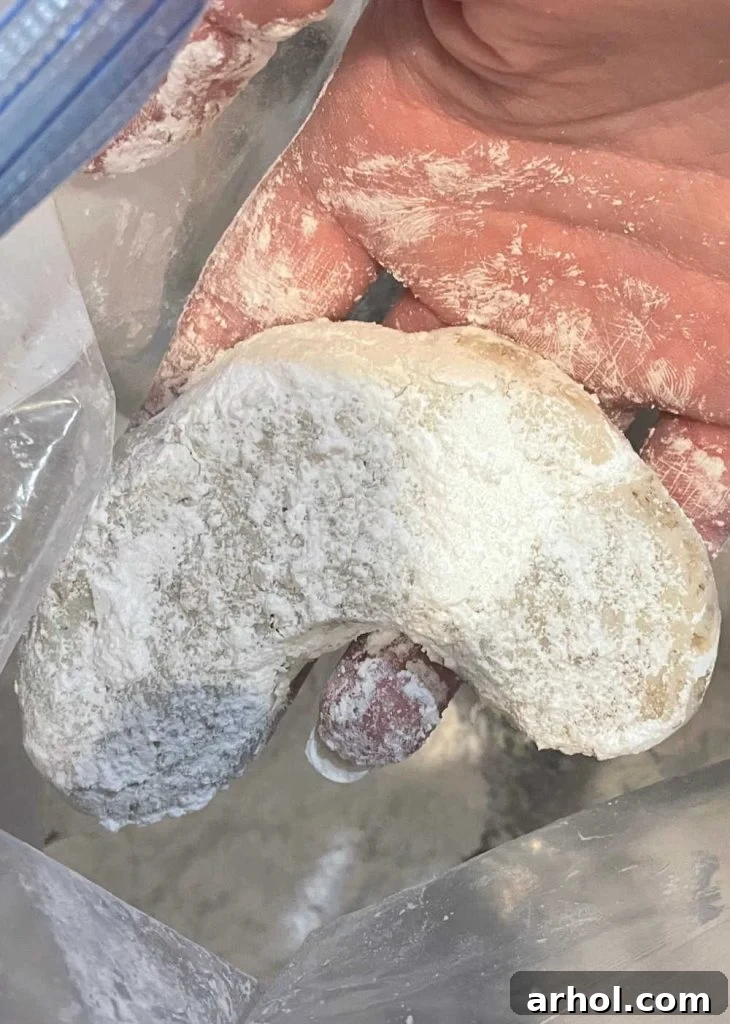
You have a couple of options for applying the powdered sugar. One popular method is to pour about two cups of powdered sugar into a shallow bowl. Gently roll each warm cookie in the sugar, flipping it until it’s thoroughly coated. Alternatively, for an even easier and less messy approach, place the powdered sugar into a large zip-top bag. Drop a few warm crescents into the bag, seal it, and gently shake until each cookie is perfectly coated. Once coated, transfer them to a clean wire rack or cookie sheet to cool completely. For an extra touch of festive elegance, sprinkle a little more powdered sugar over the tops of the cookies just before serving.
The result is a batch of rich, buttery cookies that offer a truly melt-in-your-mouth experience without being overly sweet. The slight bitterness of the walnuts, the delicate spice of cinnamon, and the subtle sweetness of the powdered sugar create a harmonious balance that is simply divine.
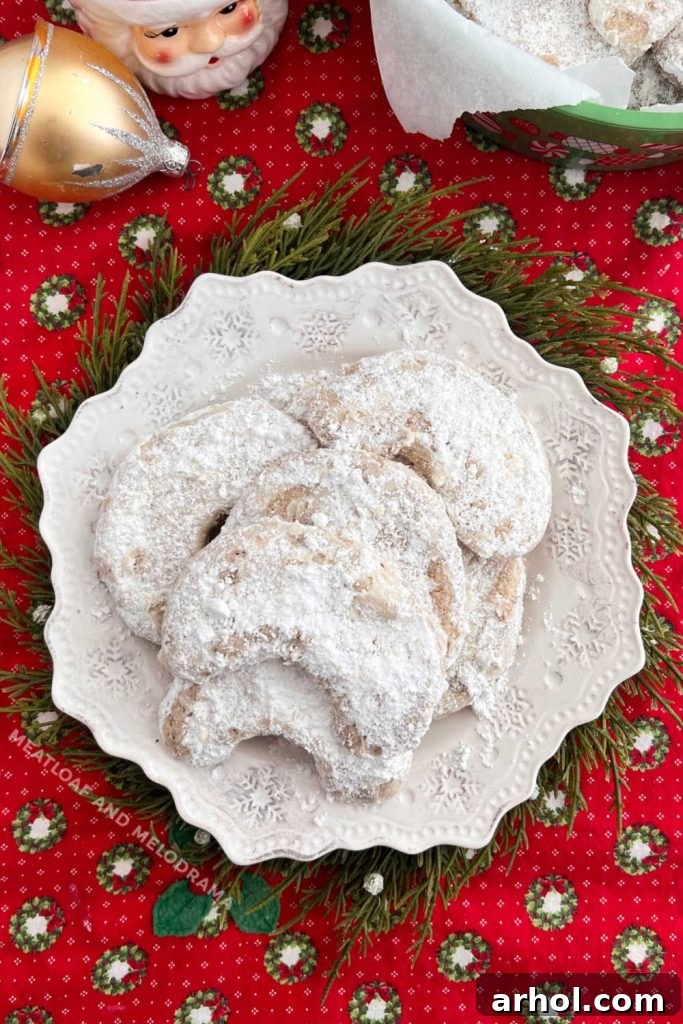
Delicious Variations to Explore
While the classic walnut crescent cookie is undeniably delicious, this recipe offers a fantastic canvas for creative variations. Experimenting with different nutty flavors can introduce exciting new dimensions to this beloved holiday treat.
- Almond Crescent Cookies: Substitute ground walnuts with an equal amount of finely ground almonds. For an even more intense almond flavor, swap out the vanilla extract for a teaspoon of almond extract. The combination creates an exquisite, fragrant cookie that’s equally festive.
- Pecan Crescents: Ground pecans offer a slightly different, buttery flavor profile. Follow the same recipe, simply replacing walnuts with pecans, for a Southern-inspired holiday cookie.
- Shape Alternatives: If you’re short on time or prefer a simpler shape, you can easily roll the cookie dough into traditional round balls, much like Russian tea cakes. They’ll still have the same incredible taste, just a different presentation.
- Citrus Zest: For a bright, zesty twist, add 1-2 teaspoons of finely grated orange or lemon zest to the dough along with the vanilla extract. Citrus pairs beautifully with walnuts and powdered sugar.
- Espresso Kick: A teaspoon of instant espresso powder mixed into the dry ingredients can deepen the flavor of the walnuts and add a sophisticated touch.
Storage Tips for Lasting Freshness
To keep your walnut crescent cookies fresh and delicious for as long as possible, store them in an airtight container at room temperature. A cookie jar lined with wax paper or parchment paper can be particularly helpful, as the powdered sugar coating can sometimes become slightly sticky. Stored correctly, these cookies will maintain their delightful texture and flavor for up to a week.
Make-Ahead Magic: Prepare Dough in Advance
One of the best features of this recipe is its make-ahead potential, particularly when it comes to the dough. The crescent cookie dough freezes exceptionally well, making it a perfect option for busy holiday bakers. Simply wrap the raw dough tightly in plastic wrap, then place it inside a freezer-safe bag. It can be stored in the freezer for up to one month.
For easier thawing and portioning, I recommend dividing the dough into 2 or 3 smaller portions before freezing. When you’re ready to bake, transfer the frozen dough to the refrigerator to thaw overnight, or leave it at room temperature for a few hours until it’s pliable enough to shape. Then, proceed with shaping and baking as directed in the recipe. This make-ahead option means you can have freshly baked cookies whenever the craving strikes, or quickly whip up a batch for unexpected guests.
Easy Crescent Cookies
Dee
20 minutes
15 minutes
35 minutes
30
Ingredients
Cookie Dough
- 1 cup butter (2 sticks)
- ½ cup powdered sugar
- 1 teaspoon vanilla extract
- 2 cups all-purpose flour
- 2 cups ground walnuts
- 1 teaspoon ground cinnamon
- ¼ teaspoon salt
Coating
- 2 cups powdered sugar (for coating)
Instructions
- Preheat oven to 350°F (175°C).
- In a large mixing bowl, cream the softened butter and powdered sugar together using a hand or stand mixer until smooth and creamy.
- Stir in the vanilla extract until well combined.
- Gradually add the all-purpose flour, 1 cup at a time, mixing well after each addition until fully incorporated.
- Add the ground walnuts, cinnamon, and salt. Mix thoroughly until a thick, cohesive dough forms.
- Take small portions of dough (about 1-inch balls), roll them into short log shapes, and then gently curve them to form crescent shapes.
- Place the shaped crescents on an ungreased cookie sheet lined with parchment paper, leaving about 2 inches between them.
- Bake for 15 minutes, or until the edges are firm and the bottoms are slightly golden. Allow to cool slightly on the baking sheet before handling.
- While still warm, dip or shake the cookies in powdered sugar until well coated. Place on a wire rack or clean cookie sheet to cool completely. Sprinkle with additional powdered sugar if desired.
Notes
For a simpler approach, you can form the dough into small balls instead of crescent shapes.
Nutrition
Carbohydrates: 15g
Protein: 2g
Fat: 9g
Saturated Fat: 4g
Polyunsaturated Fat: 3g
Monounsaturated Fat: 2g
Trans Fat: 1g
Cholesterol: 14mg
Sodium: 62mg
Potassium: 38mg
Fiber: 1g
Sugar: 8g
Vitamin A: 159IU
Vitamin C: 1mg
Calcium: 10mg
Iron: 1mg
Nutrition information is automatically calculated, so should only be used as an approximation.
Additional Info
Dessert
American
Like this? Leave a comment below!
Recipe first published in 2013 and updated in 2021.
Final Thoughts on Your Holiday Baking
There’s something truly special about these powdered sugar walnut crescent cookies – they are, without a doubt, one of my all-time favorite holiday treats! I have a deep appreciation for simple, uncomplicated recipes, and this one perfectly fits the bill. Not only is it incredibly easy to follow, but the resulting cookies are consistently delicious and universally adored. Their rich, buttery flavor combined with the delicate crunch of walnuts and a snowy dusting of powdered sugar makes them an instant classic.
These delightful crescents are absolutely perfect for pairing with a warm cup of hot chocolate on a chilly Christmas Eve, creating a moment of pure festive bliss. If you’re searching for a quick, elegant, and irresistibly sweet treat to bake this Christmas, this walnut crescent cookie recipe is precisely what you need. It’s a timeless tradition that brings warmth and cheer to any holiday gathering.
For more easy recipes and inspiring holiday baking ideas, make sure to sign up for my newsletter! You can also follow me on your favorite social media platforms to stay updated with the latest culinary delights and tips. Happy baking, and enjoy these wonderful, melt-in-your-mouth cookies!