
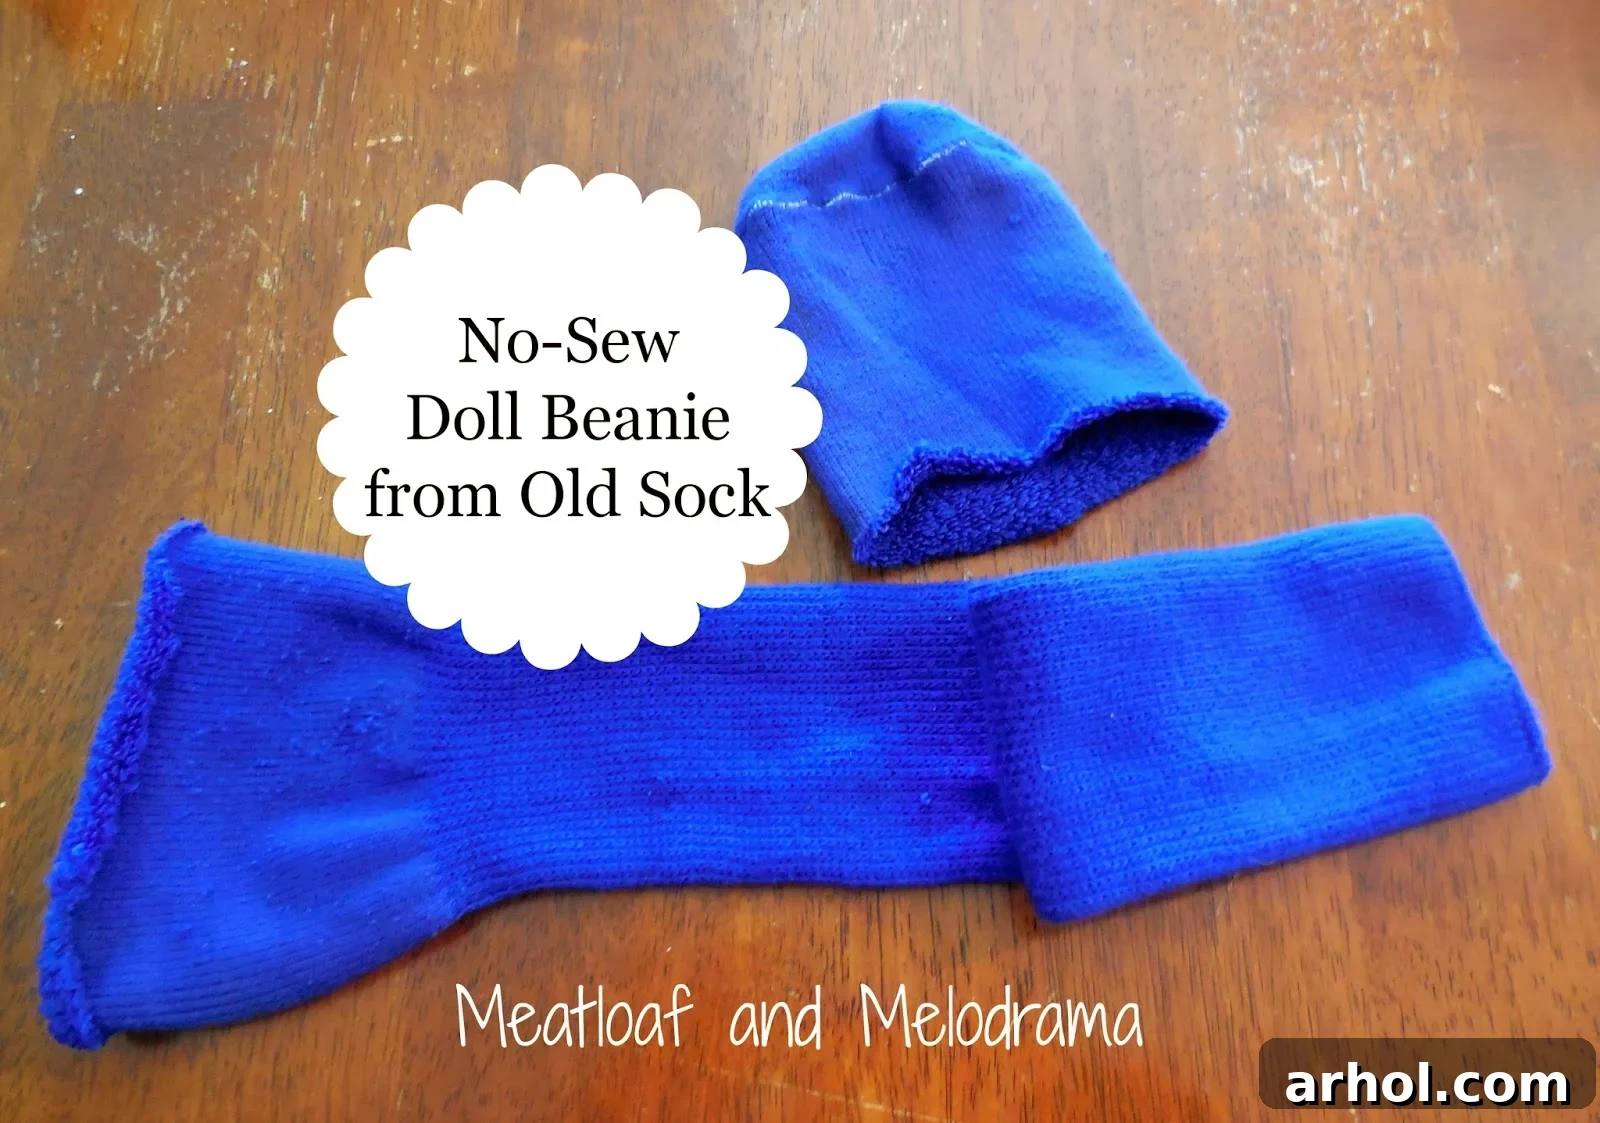
Hello fellow crafters and doll enthusiasts!
Today, we’re diving into another wonderfully creative and incredibly simple project for your beloved American Girl dolls, or any similar-sized doll. My little one, an imaginative doll lover, recently came up with a brilliant idea for repurposing an old sock into a chic, no-sew doll beanie. This isn’t her first foray into upcycled doll fashion; just last month, she transformed a vibrant red soccer sock into an adorable AG doll outfit, perfect for the holiday season. While that ensemble captured the spirit of Christmas, she was eager to expand her doll’s wardrobe with some stylish everyday wear. For the festive outfit, she cleverly snipped the very tip of the sock’s toe to fashion a tiny beret. This time around, she utilized a slightly larger portion of the toe area, turning it into an effortlessly cool beanie for her doll, showcasing just how versatile an old sock can be.
Crafting an Adorable No-Sew American Girl Doll Beanie from an Old Sock
Welcome to a world of simple yet spectacular doll crafting! If you’re looking for a fun, budget-friendly, and eco-conscious way to create unique accessories for your American Girl dolls, you’ve come to the right place. This detailed guide will walk you through making an adorable no-sew beanie from an old sock, a project so easy even the youngest crafters can join in. Not only does it transform forgotten socks into fashionable doll wear, but it also sparks creativity and teaches valuable lessons about repurposing materials. This DIY American Girl doll beanie is a perfect project for a rainy afternoon or any time inspiration strikes!
Why Choose No-Sew Doll Clothes and Accessories?
The appeal of no-sew doll clothes is immense, particularly for busy parents and eager young designers. There’s no need for complicated patterns, sharp needles, or time-consuming stitching. This method opens up the world of doll fashion to everyone, regardless of their sewing skills, making it an ideal choice for homemade doll outfits.
- Kid-Friendly: Without needles and thread, this project is much safer and more accessible for children to tackle independently or with minimal supervision. It fosters a sense of accomplishment and encourages imaginative play, making it a truly easy doll craft.
- Budget-Friendly: Old socks are abundant in most households, making this a virtually free craft. Instead of buying expensive doll clothes or accessories, you can create unique pieces with items you already own. This is a fantastic way to save money while still providing endless fun.
- Eco-Conscious: Repurposing old socks gives them a new life, diverting textiles from landfills. It’s a wonderful way to teach children about sustainability and creative recycling, turning “waste” into wonderful doll accessories.
- Quick & Easy: These projects can be completed in minutes, providing instant gratification for impatient little crafters. It’s perfect for a rainy afternoon activity or a spontaneous burst of creativity, yielding a cute doll hat in no time.
- Unleash Creativity: From choosing sock colors and patterns to adding embellishments, there are endless possibilities for personalization, allowing each doll outfit to be truly one-of-a-kind. Every old sock doll hat can reflect a unique style.
Gathering Your Simple Supplies for a DIY Doll Beanie
One of the best aspects of this no-sew doll beanie project is how few materials it requires. You likely have everything you need lying around your home, making it one of the most accessible American Girl doll crafts!
- An Old Sock: The star of our show! Choose a clean, old sock. Crew socks or tube socks work best as they offer more material for a comfortable fit. Consider the color and pattern – a solid color allows for more embellishment, while a striped or patterned sock can create an interesting design on its own. Remember, the wider the sock, the more slouchy or baggy your beanie will be, so match it to your doll’s head size for the perfect fit for your American Girl doll.
- Scissors: A good pair of sharp scissors is essential for clean cuts through the sock fabric. Adult supervision is recommended for younger children when using scissors to ensure safety.
- Embellishments (Optional, but highly recommended for fun!): This is where the magic happens and your doll’s beanie truly comes to life! We opted for round foam stickers, which are perfect for little hands due to their adhesive backing. Other fantastic ideas for decorating your homemade doll hat include fabric glue, mini pom-poms, rhinestones, glitter, fabric markers, small buttons (ensure they are securely glued if using for younger children to prevent choking hazards), or even small pieces of felt cut into shapes.
For our project, my little designer was keen on adding some flair to her doll’s new beanie. Initially, we considered using mini pom-poms, which always add a cute touch and are a popular choice for doll accessories. However, keeping safety and kid-friendliness paramount, we rummaged through our craft stash and stumbled upon a treasure trove of colorful, round foam stickers. These self-adhesive gems proved to be the perfect choice, allowing her to decorate the hat all by herself without any need for messy glue, making the process even simpler and more enjoyable.
Step-by-Step Guide: How to Make Your American Girl Doll Beanie
Follow these simple steps to create a fantastic, no-sew beanie for your American Girl doll in just a few minutes! This easy doll hat project is perfect for crafters of all ages.
Step 1: Prepare Your Sock for Cutting
Lay your chosen sock flat on a clean, steady surface. The essential part of the sock for making this beanie is the toe end. For an American Girl doll, you’ll want to cut a piece that’s roughly 4-5 inches long, starting from the very tip of the toe and measuring upwards. This measurement will give you enough material for the main body of the hat and a small, stylish cuff. The width of your chosen sock will determine the fit and style – a wider sock will result in a more slouchy or baggy beanie, while a narrower one will create a snugger fit. Before making your final cut, hold the sock up to your doll’s head to get a rough visual estimate of the length. It’s always better to cut a bit longer than too short, as you can easily trim more off later.
Step 2: Make the Initial Cut for the Beanie Base
With your measurements in mind, carefully cut straight across the sock, approximately 4-5 inches from the very tip of the toe. Aim for a clean, even cut. This section will form the primary body of your American Girl doll beanie. After cutting, you should have a tube of fabric with one closed end (which was the original toe of the sock) and one open, freshly cut end. The closed end will naturally become the top of the beanie, sitting neatly on your doll’s head, and the open end is where the doll’s head will comfortably go in.
Step 3: Test the Fit on Your Doll
Now, it’s time for a fitting! Gently slide the freshly cut sock piece onto your American Girl doll’s head. Position the closed end so it sits nicely at the top of her head. The open, cut end will likely look a bit rough and unfinished at this stage, but don’t worry – that’s perfectly normal and will be addressed in the next step when we create the cuff. Adjust the length to see if it feels too long or too short for your doll’s style preference. If it appears excessively long, carefully trim a small amount from the open end until you achieve the desired beanie length and proportion. Remember, the bottom edge will be rolled up, so factor that into your final length.
Step 4: Create the Beanie Cuff for a Polished Look
Once you’re satisfied with the overall length of your doll’s beanie, take the open, rough edge of the sock piece and roll it upwards. Roll the fabric towards the top of the beanie, creating a neat and even cuff. Typically, a cuff of about half an inch to an inch works perfectly, giving the beanie a classic, finished appearance. This simple rolling action not only neatly hides the raw, cut edge but also gives the beanie a professional, store-bought look, closely mimicking a traditional knitted hat with a distinct band across the bottom. The inherent elasticity of the sock fabric will ensure the cuff stays securely in place without any need for glue or stitching.
As you can see, even with a seemingly rough edge after the initial cut, a simple roll-up instantly transforms it into a polished cuff, just like a high-quality knit hat. It’s a clever trick that makes this no-sew American Girl doll hat look incredibly professional. My own teen daughter even has a similar style beanie, though hers is polka-dot-free, opting for a more minimalist look! Our little diva, however, was definitely aiming for a cuter, more playful vibe with her embellishments, proving that personalization is key to any great outfit. That’s truly all there is to the basic construction of this DIY doll beanie – incredibly simple, isn’t it?
Step 5: Embellish Your Doll’s Beanie and Personalize It
This is where your doll’s personality truly shines through, and you can make your old sock doll hat unique! My daughter chose a delightful mix of white and green foam stickers. She simply popped them out from their sheet and arranged them in a charming, random pattern all over the beanie, creating a fun polka-dot effect. The great thing about these self-adhesive stickers is their ease of use – no messy glue required, and they adhere wonderfully to the sock fabric, making this part of the craft super kid-friendly. Plus, if she decides to change the look later, many foam stickers can be carefully peeled off without damaging the fabric, allowing for endless redesign possibilities and continuous creative play!
Other Creative Embellishment Ideas for Your DIY Doll Hat:
- Fabric Paint Pens: For older children or with adult supervision, fabric paint pens can be used to draw intricate designs, create tiny polka dots, write your doll’s initial, or even add small phrases.
- Small Patches: Iron-on or glue-on patches, perhaps with cute animals or tiny logos, can add a unique and personalized touch to your doll’s beanie.
- Ribbons/Bow: A small satin or grosgrain ribbon tied around the cuff, or a tiny fabric bow securely glued to the side, can add a touch of elegance or whimsy.
- Felt Shapes: Cut out tiny hearts, stars, flowers, or any other fun shapes from felt scraps and attach them with fabric glue for a textural, colorful accent.
- Mini Pom-Poms: For a classic beanie look, attach a single mini pom-pom to the very top of the hat. You can use fabric glue for this.
- Glitter Glue: Add a touch of sparkle with glitter glue, creating shimmering patterns or highlighting existing designs.
Showcasing Your Doll’s New Look: Styling Tips for Your American Girl Doll
Expand Your Doll’s No-Sew Wardrobe! Beyond the Beanie
The beauty of this project is its adaptability. This “old sock” technique isn’t limited to just beanies! With a little imagination, you can create a whole range of no-sew doll clothes and accessories, making it a truly versatile approach to American Girl doll crafts. Encourage your children to experiment and see what else they can design.
- Doll Skirts: Cut a larger section of a sock (the leg part) and use the top elastic band as the waistband for a simple, comfortable skirt. Just make sure the sock is wide enough to fit over the doll’s hips.
- Doll Dresses: With slightly larger socks, you can cut armholes and a neck opening to fashion a basic dress. The stretchiness of the sock fabric makes it forgiving and easy to slip on and off.
- Doll Scarves: Simply cut a long, narrow strip from the leg of a sock. The raw edges will naturally roll slightly, giving it a finished look without any sewing.
- Arm Warmers/Leg Warmers: Cut sections from the sock leg, leaving both ends open, and slide them onto your doll’s limbs for a trendy layered look.
- Headbands: Cut a thin strip from the elasticized top of a sock for an instant headband.
These projects not only provide endless entertainment but also encourage children to think creatively about how everyday items can be transformed into something new and exciting. It’s an empowering feeling for kids to make something beautiful and functional with their own hands, fostering problem-solving skills and boosting their self-confidence through creative play. This is the heart of what makes DIY doll clothes so rewarding.
Final Thoughts & Your Creative Journey
If you have girls, granddaughters, or any young doll enthusiasts in your life who adore American Girl dolls or similar-sized companions, they are sure to fall in love with the joy of creating their own easy, no-sew doll outfits. This simple sock beanie project is just the beginning of a wonderful crafting adventure that fosters creativity, resourcefulness, and hours of imaginative play. It’s a testament to how simple materials can spark incredible fun and learning.
We genuinely hope this detailed tutorial inspires you and your little ones to embark on this fun DIY journey. It’s incredibly satisfying to see old items given new life and transformed into cherished doll accessories, contributing to a more sustainable and creative lifestyle.
Thank you so much for visiting us today and taking the time to explore this latest creative project. We always love to hear from our community, so if you decide to try making your own no-sew American Girl doll beanie, please do share your experiences and thoughts in the comments below. What kind of sock did you use? What unique embellishments did you add? We can’t wait to see your unique creations and hear about your crafting adventures!
Take care, stay creative, and have an absolutely awesome day filled with crafting and fun!
Warmly,
Dee 🙂