
DIY Valentine’s Day Heart Pillow: A No-Sew Craft for Cozy Home Decor
Hello fellow crafters and home decor enthusiasts! As Valentine’s Day approaches, many of us start thinking about adding a touch of festive warmth to our homes. While I don’t typically go all out with extensive holiday decorating, I absolutely adore incorporating subtle, heartfelt accents, especially those crafted by hand. This year, my inspiration struck unexpectedly during a closet clean-out, leading to a delightful, budget-friendly DIY project: a charming Valentine’s Day heart pillow.
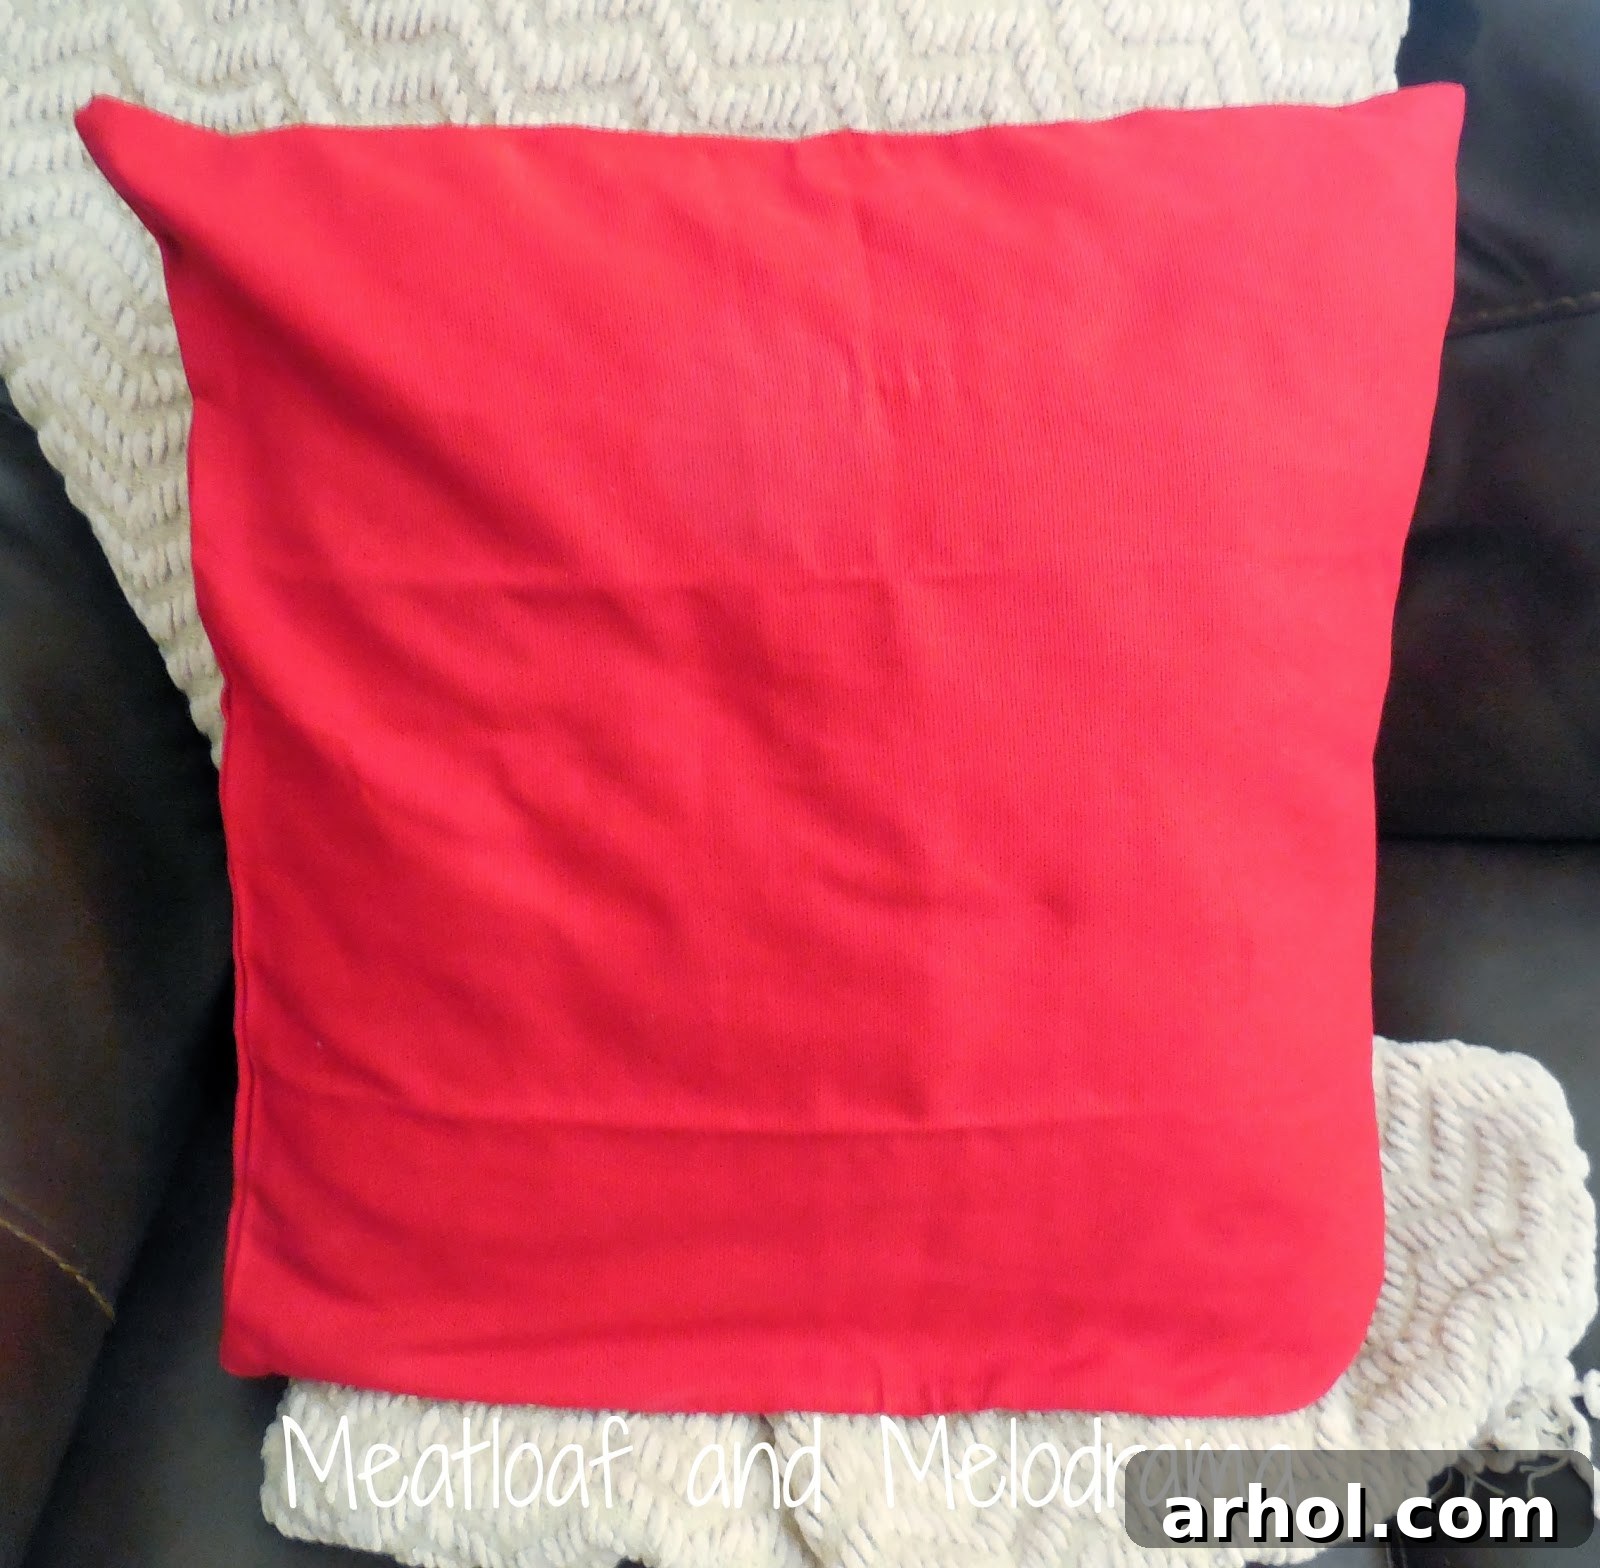
It all began with a discovery – a beautiful red pillow cover I’d purchased on clearance what feels like ages ago. My initial plan was to transform it into a Christmas decoration, but as the holiday season rushed by, time simply got away from me. Plus, we already have a lovely collection of Christmas-themed pillows. Holding the vibrant red fabric, a new vision sparked: this wasn’t just a clearance find; it was the perfect canvas for a romantic Valentine’s Day statement piece. I envisioned a sweet, simple heart design that would instantly elevate our living space with a touch of seasonal charm.
Why a DIY Heart Pillow is the Perfect Valentine’s Day Craft
The allure of handmade decor, especially for holidays, is undeniable. There’s something incredibly satisfying about creating something beautiful with your own hands, infusing it with personal meaning, and then displaying it proudly in your home. Heart pillows, in particular, have been incredibly popular lately, gracing everything from high-end boutiques to indie craft markets. I’ve admired so many variations of them and realized that replicating that charming, artistic look didn’t require advanced sewing skills or expensive materials. My goal was to craft my own version, a unique heart pillow, by stamping a heart shape onto the fabric using simple craft paint. This approach promised ease, creativity, and the undeniable satisfaction of a successful DIY project, all while staying true to my preference for no-sew crafts.
Choosing a DIY pillow project for Valentine’s Day offers numerous benefits. Firstly, it allows for complete customization. You can select colors that complement your existing decor, choose patterns that reflect your personal style, and even involve your family in the creative process. Secondly, it’s often far more budget-friendly than purchasing store-bought decorative pillows, especially if you, like me, already have a few craft supplies or a clearance item waiting for its moment to shine. Lastly, a handmade pillow serves as a unique and heartfelt declaration of love, not just for your home, but for the craft itself. It’s a tangible expression of warmth and affection, perfect for the season of love.
Gather Your Simple Supplies for a Stamped Heart Pillow
One of the best aspects of this DIY heart pillow project is its minimal material requirement. You likely have most of these items lying around, making it an incredibly accessible craft. Here’s what you’ll need to get started:
- Red Pillow Cover: Or any color that inspires you! Mine was a clearance find, but a plain canvas, linen, or cotton cover works beautifully.
- Inner Pillow Insert: Use an existing pillow from your couch or a spare one to fill the cover. This provides a stable surface for stamping.
- Craft Paint: I opted for classic red, white, and a touch of gold for a whimsical sparkle. Acrylic craft paints are perfect for fabric.
- Wine Corks: These are your secret weapon for stamping! Save them from your next bottle of wine, or ask friends for theirs. They create wonderful, imperfect circles.
- Wooden Heart (or other stencil/guide): I had a wooden heart from another project, which was the perfect size. A cardboard cutout, a heart-shaped cookie cutter, or even a printed template cut from paper can work as a guide.
- Cardboard or Plastic Barrier: An essential item to place inside the pillow cover to prevent paint from seeping through to the back of the cover or the inner pillow.
- Small Plate or Palette: For dispensing and mixing your craft paints.
The beauty of this project truly lies in its simplicity and the ability to repurpose everyday items. Using wine corks not only gives the pillow a charming, rustic texture but also adds an eco-friendly touch, transforming something destined for the recycling bin into a creative tool.
Step-by-Step Guide to Crafting Your Charming Stamped Heart Pillow
1. Prepare Your Pillow Cover for Stamping
The first step in our creative journey is to prepare your pillow cover. For this project, I chose to work with the pillow insert already inside the cover. This provides a taut, stable surface, which is crucial for achieving clean (or intentionally rustic!) paint stamps. Slip your pillow insert into the cover, ensuring it’s snugly fitted and the fabric is smooth and free of wrinkles on the surface you intend to decorate. If your cover is a lighter material or you plan to use a generous amount of paint, it’s a good idea to place a piece of cardboard or plastic inside the pillow cover, between the front and back fabric layers. This acts as a barrier, preventing any paint from bleeding through to the other side or staining your actual pillow insert. Since I wasn’t using an excessive amount of paint for this design, I wasn’t overly concerned about major seepage, but it’s always better to be safe, especially with a new or favorite pillow.
2. Position Your Heart Guide for a Perfect Shape
Once your pillow cover is prepped, it’s time to define the star of the show: the heart. Instead of wrestling with a traditional stencil, I found a clever alternative in a wooden heart shape I happened to have on hand from another crafting endeavor. This heart was absolutely perfect – just the right size and with beautifully defined edges to serve as a guide. Carefully center your chosen heart guide on the pillow cover. Take a moment to step back and ensure it looks balanced and aesthetically pleasing. If you don’t have a wooden heart, a sturdy cardboard cutout, a large heart-shaped cookie cutter, or even a simple heart drawn and cut from thick paper can work just as effectively. The key is to have a defined edge to stamp around.
3. Begin Stamping the Outline with Rustic Wine Corks
Now for the fun part: stamping! This is where the wine corks come into play, offering a unique texture and a beautifully imperfect, rustic look that’s hard to achieve with brushes. Dispense a small amount of your chosen outline color (I used red) onto a small plate or palette. Take a wine cork, dip one end gently into the paint, ensuring it’s evenly coated but not overloaded. Then, carefully begin stamping along the edge of your heart guide. The cork’s circular shape naturally creates a lovely dotted border.
I’m a huge advocate for crafting with materials I already have on hand, and these corks proved to be far superior to a stencil brush for the look I was going for. The cork allows for an organic, slightly uneven application, which adds to the charm and handmade feel of the pillow. Don’t strive for absolute perfection with each stamp; the beauty is in the slight variations. If you miss a spot or want more coverage, you can always go back and add another stamp or a small touch of paint later. The goal is a consistent yet naturally imperfect outline that frames your heart shape beautifully. This method celebrates the subtle nuances of handcrafting and ensures your pillow is truly one-of-a-kind.
4. Fill the Heart with Playful Dots and Whimsical Colors
With the basic outline of your heart established, it’s time to bring the center to life. This is where you can truly let your creativity shine! I chose to fill the interior of the heart with a delightful mix of gold and white circular stamps. While white dots formed the primary base, introducing a scattering of gold dots added a captivating element of interest and a touch of unexpected whimsy. The metallic sheen of the gold paint caught the light beautifully, making the design feel a little more sophisticated and festive.
The beauty of using the cork stamping method is that the paint isn’t applied perfectly evenly, which creates a wonderful illusion of depth and varied shades. This subtle unevenness made it appear as if there were more colors and textures at play than just the two I used, adding to the charm and handcrafted appeal. You can experiment with overlapping the white and gold dots, varying the pressure of your stamps, or even introducing another complementary color. Consider soft pinks, light grays, or even a pale teal for a modern twist on the classic Valentine’s palette. The freedom to mix and match colors and densities makes each pillow truly unique.
The Joy of Handmade Decor: Why DIY Matters
The finished product brought such a huge smile to my face. My husband even commented, thinking I had meticulously sewn tiny buttons onto the pillow cover! I had to remind him with a chuckle that sewing is definitely not my forte, especially intricate buttonwork. This little anecdote perfectly encapsulates the magic of this project: it looks intricate and thoughtfully designed, yet it was incredibly simple and required no sewing skills whatsoever. I am genuinely thrilled with how this pillow turned out, and perhaps even more so by the fact that I essentially created a beautiful, custom heart pillow without spending a single penny!
This experience reinforces my love for DIY projects. The satisfaction derived from transforming simple materials into something beautiful and functional for your home is immeasurable. Handmade decor adds personality, character, and a story to your living space that mass-produced items simply cannot. It reflects your taste, your effort, and a touch of your soul. Furthermore, crafting is a wonderful way to unwind, tap into your creativity, and produce meaningful items that you can cherish or give as thoughtful gifts. It’s a testament to the idea that you don’t need a massive budget or advanced skills to create something truly special.
Beyond Valentine’s Day: Adapting Your Stamping Skills
The beauty of the wine cork stamping technique extends far beyond just this Valentine’s Day heart pillow. Once you’ve mastered this simple method, you’ll find countless opportunities to apply it to other home decor projects and seasonal crafts. Imagine creating custom tea towels with fruit stamps for your kitchen, designing personalized tote bags with polka dots, or even crafting unique gift wrap. This stamping technique is incredibly versatile and can be adapted for any season or occasion.
- Holiday Decor: Stamp snowflakes for winter, pumpkins for fall, or stars for patriotic holidays.
- Children’s Crafts: Corks are easy for little hands to hold, making this a fantastic activity for kids to create their own art or decorate items for their rooms.
- Custom Fabric: Use this method to create your own unique patterned fabric for small sewing projects (if you’re a sewer!), or to add decorative borders to plain curtains.
- Greeting Cards: Small cork stamps can create charming patterns and designs on handmade cards.
The possibilities are truly endless, limited only by your imagination. So, don’t let this be a one-off project! Embrace the simplicity and charm of cork stamping and see where your creativity takes you.
Conclusion: Your Beautiful, Budget-Friendly Heart Pillow Awaits!
So, are you a fan of DIY pillow covers and handmade home accents? I hope this project inspires you to look at your clearance finds and everyday items with fresh, creative eyes. This no-sew Valentine’s Day heart pillow is a testament to how easy and rewarding crafting can be. It’s quick to make, incredibly budget-friendly, and adds a personal, heartwarming touch to your decor, making your home feel extra special for the season of love. What a wonderful way to celebrate!
Thanks so much for reading about my latest craft du jour! I truly hope you feel inspired to try out this simple yet impactful project. If you do, I’d love to hear about your experience or see your creations. Have a wonderful, awesome day filled with creativity and joy!
Happy crafting!
Dee