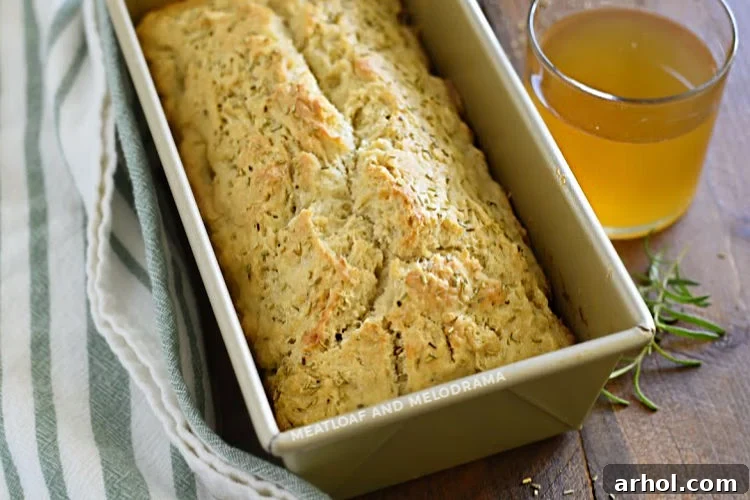
Discover the delightful simplicity of homemade bread with this incredibly easy Rosemary Beer Bread recipe. Perfect for beginners and seasoned bakers alike, this no-yeast bread comes together in about an hour, requiring no kneading and minimal fuss. Whether you opt for versatile all-purpose flour or convenient self-rising flour, you’re just a few steps away from a fragrant, crusty loaf that will fill your home with an irresistible aroma.
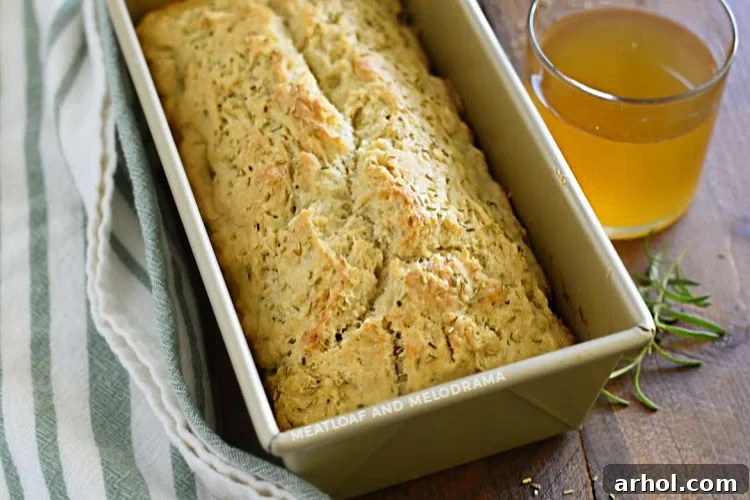
If you’ve been searching for a bread recipe that delivers on flavor without the complexities of traditional yeast breads, your quest ends here. This rosemary-infused beer bread is not only super simple to prepare but also boasts an absolutely delicious taste and a wonderfully rustic texture. It’s the kind of comforting, homemade goodness that makes any meal feel special or elevates a simple snack into a gourmet experience.
While I may not be a beer drinker myself, I absolutely adore incorporating it into my cooking and baking! The unique depth of flavor it lends to dishes is truly remarkable. If you enjoy cooking with beer, you might also love exploring recipes like Instant Pot Beer Ribs, Instant Pot Corned Beef and Cabbage, and Instant Pot Carnitas.
Unlocking the Magic of No-Yeast Beer Bread
Beer bread has long been a beloved staple for its straightforward preparation and satisfying results. It falls into the category of “quick breads,” meaning there’s absolutely no yeast involved, which translates to zero kneading and no lengthy rising times. This makes it an ideal choice for busy weeknights or when you crave fresh, warm bread without the commitment.
At its core, the basic beer bread recipe is incredibly simple, relying on just a few key ingredients: flour (either self-rising or all-purpose combined with baking powder and salt), sugar, and, of course, beer. The magic happens as the carbonation in the beer reacts with the baking powder, providing the lift and airy texture typically achieved by yeast. A generous pour of melted butter over the top before baking is essential, creating an incredibly crisp, golden crust and infusing every bite with rich, buttery flavor.
While plain beer bread is undeniably delicious on its own, adding a touch of dried rosemary elevates it to another level. The woody, fragrant notes of rosemary beautifully complement the subtle malty undertones of the beer, creating a savory profile that’s both inviting and incredibly satisfying. Beyond its incredible flavor contribution, baking with rosemary fills your entire kitchen with an enchanting aroma, making the anticipation of that first slice even more exciting.
Why You’ll Love This Easy Rosemary Beer Bread Recipe
Beyond its simple preparation, this rosemary beer bread offers a multitude of reasons to become your new favorite go-to bread recipe:
- Effortless & Quick: Forget the multi-hour process of traditional bread making. This recipe is mixed in minutes and baked in less than an hour, perfect for last-minute cravings.
- No Yeast Required: Ideal for those who are intimidated by yeast or simply don’t have any on hand. The beer provides all the necessary leavening.
- Incredible Flavor: The combination of savory rosemary and the subtle complexities of beer creates a unique and irresistible taste.
- Versatile Pairing: It pairs beautifully with everything from hearty stews and chili to a simple pat of butter or a cheese board.
- Amazing Aroma: The scent of fresh-baked rosemary bread filling your home is a reward in itself!
How to Make Rosemary Beer Bread: A Step-by-Step Guide
Making this bread is truly a breeze. Here’s a detailed breakdown to ensure your success:
- Combine Dry Ingredients: Begin by adding your chosen flour (all-purpose or self-rising), baking powder (if using all-purpose), and sea salt (if using all-purpose) to a large mixing bowl. Give them a quick stir to ensure they are well combined. Next, add the sugar and about 1 ½ tablespoons of the dried rosemary, reserving the rest for the topping.
- Flour Tip: While sifting the flour isn’t strictly necessary for this recipe, I sometimes do it personally as I find it can contribute to a slightly lighter and airier bread texture. It’s a small extra step that can make a noticeable difference if you prefer a less dense crumb.
- Self-Rising Flour Note: If you’re using self-rising flour, remember to omit the baking powder and salt from your dry ingredients. Self-rising flour already contains these leavening agents and seasoning, so adding more would throw off the balance.
Choosing the Best Beer for Your Bread
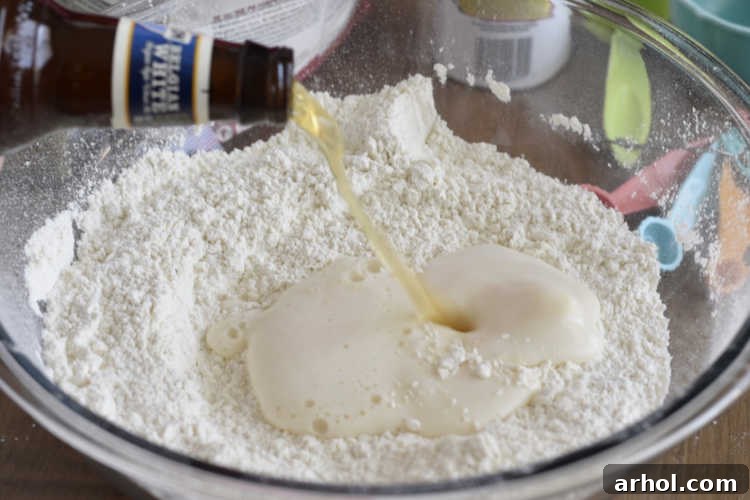
One of the beauties of beer bread is its adaptability when it comes to the star ingredient: beer! Any beer will genuinely work for making beer bread, so feel free to use your favorite brew or whatever you happen to have stashed in your fridge.
Different beers will impart slightly different flavor profiles to your bread. A lighter lager might result in a more subtle beer flavor, while an ale, stout, or darker beer could add a richer, more pronounced malty note. For this recipe, I often use a wheat beer like Blue Moon, which provides a lovely, mild sweetness and a hint of citrus that complements the rosemary beautifully. Don’t fret about the alcohol content – it completely evaporates during the baking process, making beer bread a delicious and safe treat for the entire family to enjoy!
The Beauty of No-Knead Bread
This is where the “easy” part really shines! You absolutely do not need to knead this bread dough, nor do you need to mix it vigorously. Simply combine the ingredients with a large spoon until everything is just incorporated. Overmixing can develop the gluten too much, leading to a tougher bread, so aim for just combined. The batter will naturally be quite sticky, and this is perfectly normal for beer bread dough, so there’s no need to worry!
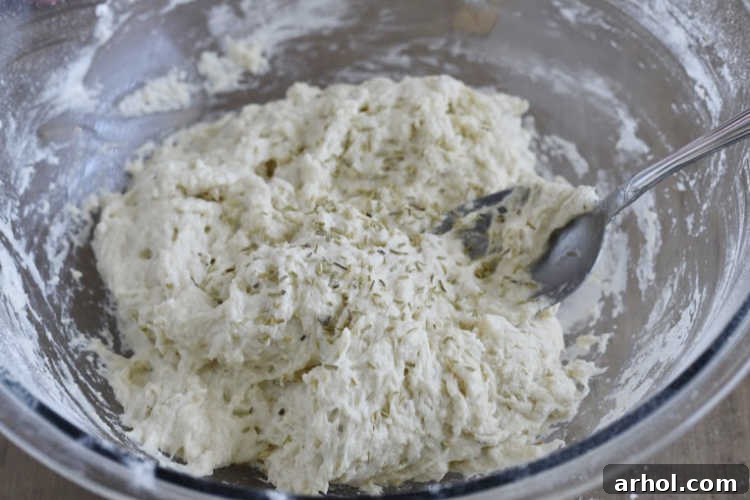
Once your dough is mixed, generously spoon it into a well-buttered loaf pan. While baking spray can be used, taking the extra moment to butter the pan really does impart more flavor to the crust and helps achieve that golden-brown finish. Now for the crucial finishing touch: melt some butter (about 3 tablespoons) and pour it evenly all over the top of the dough. This melted butter is key to developing that fantastic, crisp, and flavorful crust that beer bread is famous for. Finally, sprinkle the remaining dried rosemary over the buttered surface. Now, your bread is ready for the oven!
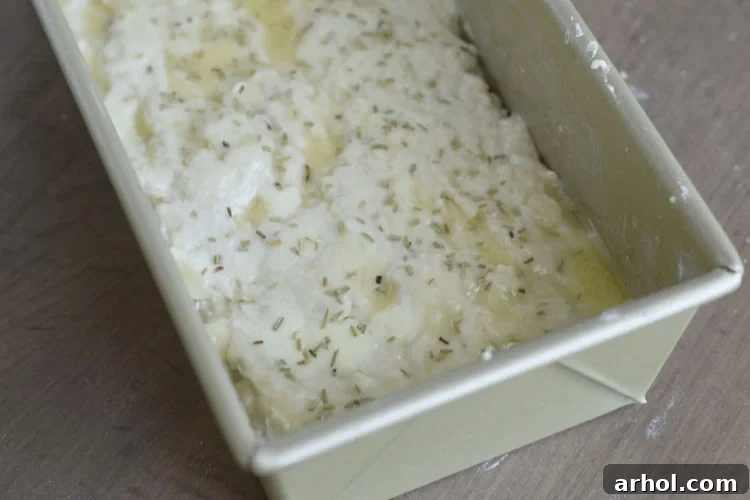
Baking time is typically around 50 minutes. However, oven temperatures can vary, so it’s always a good idea to check your bread a little earlier, perhaps at the 45-minute mark, especially if your oven tends to run hot. You’ll know it’s perfectly baked when a toothpick inserted into the center comes out clean. And friends, I must warn you: this rosemary bread smells absolutely divine as it bakes! You’re going to be utterly drooling in anticipation as the amazing aroma fills your kitchen.
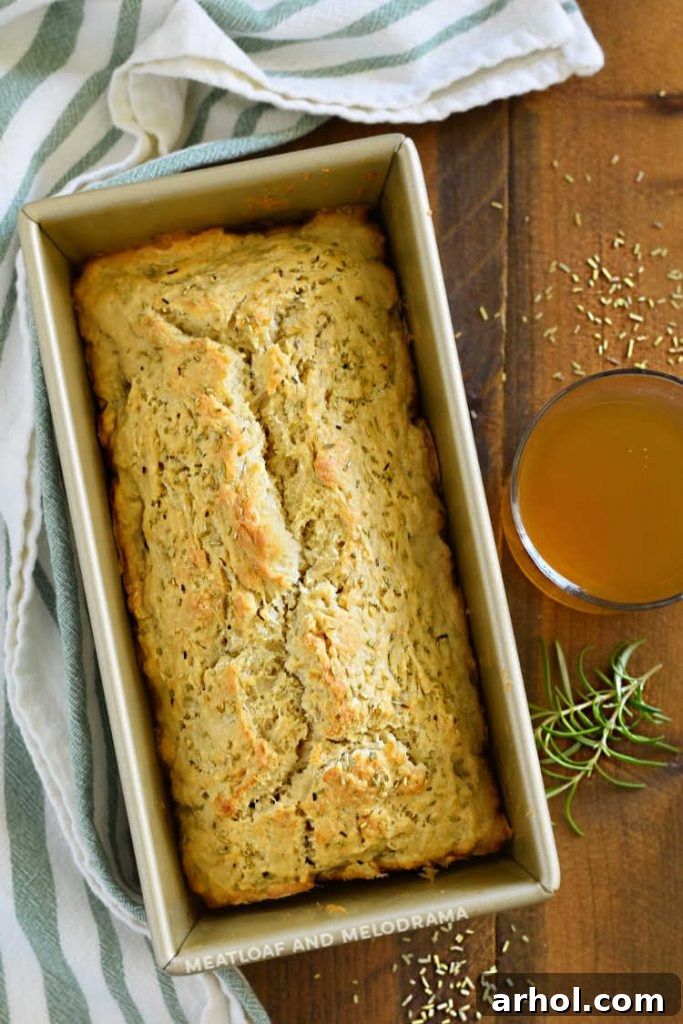
The Importance of Letting Your Bread Rest
I know, I know—it’s incredibly tempting to slice right into that warm, fragrant loaf as soon as it comes out of the oven. But trust me, letting the bread rest and cool down a little is a crucial step for the best texture. Allow it to cool in the pan for about 10-15 minutes. This cooling period allows the internal structure of the bread to set properly, preventing it from becoming gummy or crumbling when sliced. After resting, it should pop out of the pan easily. Transfer it to a cutting board, slice it up with a serrated knife, and then you can finally indulge! Enjoy it as is, or serve with a generous spread of butter, a drizzle of olive oil, or alongside your favorite soup or stew.
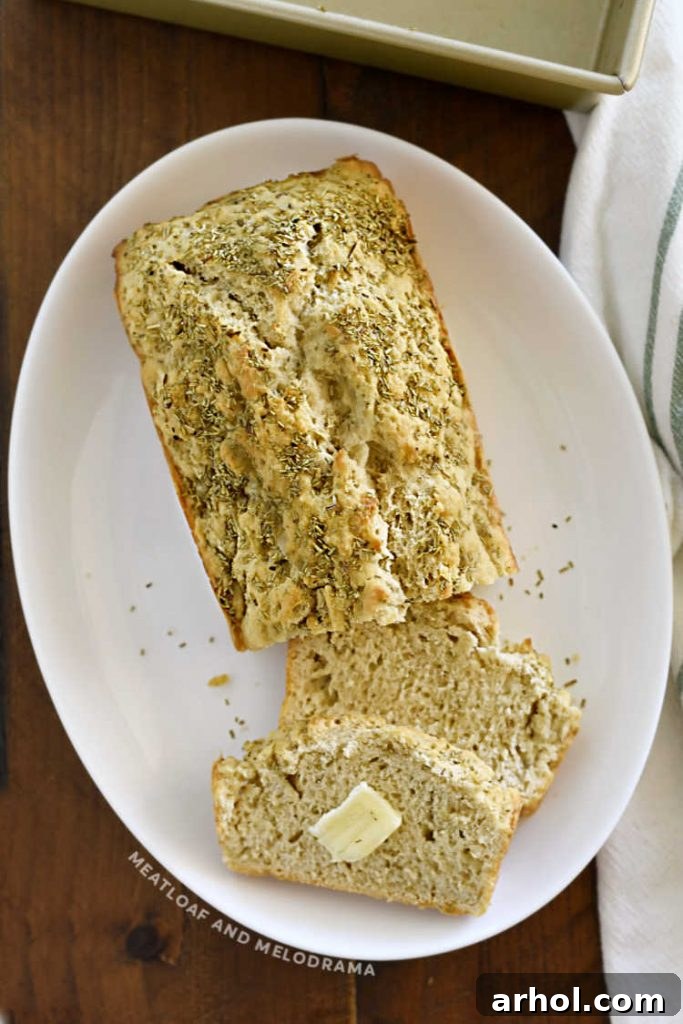
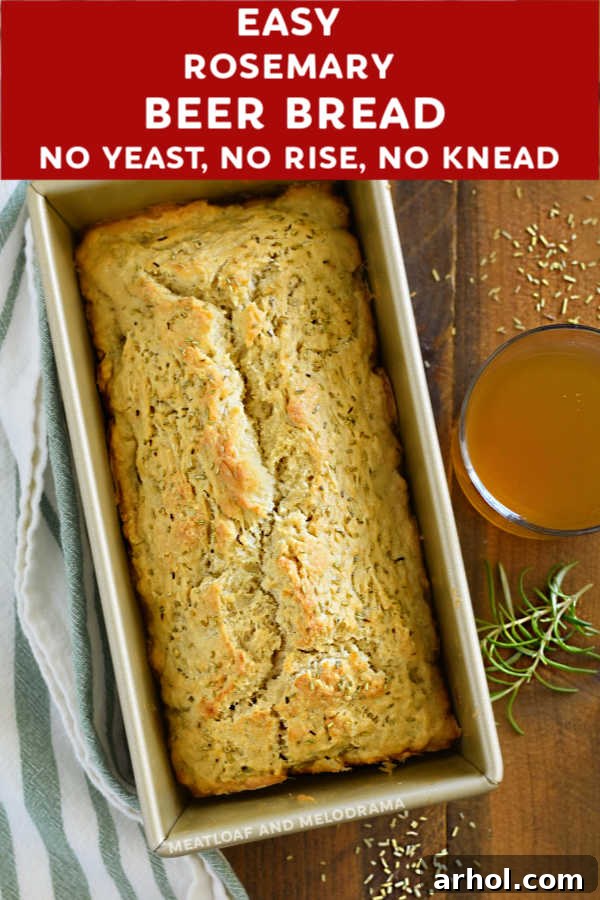
Rosemary Beer Bread Recipe
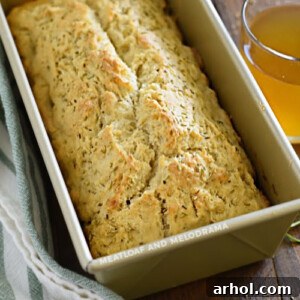
Rosemary Beer Bread
Ingredients
- 3 cups all-purpose flour (or self-rising)
- 3 teaspoons baking powder (omit if using self-rising flour)
- 1 teaspoon sea salt (omit if using self-rising flour)
- 2 tablespoons sugar
- 2 tablespoons dried rosemary (divided)
- 12 ounces beer (your favorite type)
- 3 tablespoons butter (melted)
Instructions
- Preheat your oven to 350 degrees F (175 degrees C).
- In a large mixing bowl, combine the flour, baking powder (if not using self-rising flour), and sea salt (if not using self-rising flour). Stir lightly to combine.
- Add the sugar and 1 1/2 tablespoons of the dried rosemary to the dry ingredients.
- Pour the 12 ounces of beer into the mixing bowl. Mix all ingredients with a large spoon until they are just combined. Be careful not to overmix; the dough will be sticky, which is normal.
- Generously spoon the sticky dough evenly into a well-buttered 9×5 inch loaf pan.
- Pour the 3 tablespoons of melted butter all over the top surface of the dough in the pan.
- Sprinkle the remaining 1/2 tablespoon of dried rosemary over the buttered top of the bread.
- Place the loaf pan in the preheated oven and bake for 45 to 50 minutes, or until a toothpick inserted into the center of the loaf comes out clean.
- Once baked, remove the bread from the oven and allow it to cool slightly in the pan for about 10-15 minutes. This helps the bread set.
- After cooling, carefully remove the bread from the pan onto a cutting board, slice, and serve warm with butter, or enjoy plain.
Notes
For a slightly lighter texture, you can sift the all-purpose flour before adding it to the bowl.
If you are using self-rising flour, remember to omit the baking powder and salt from the ingredients list.
Nutrition
Carbohydrates: 40 g,
Protein: 5 g,
Fat: 5 g,
Saturated Fat: 3 g,
Cholesterol: 11 mg,
Sodium: 332 mg,
Potassium: 215 mg,
Fiber: 2 g,
Sugar: 3 g,
Vitamin A: 147 IU,
Vitamin C: 1 mg,
Calcium: 81 mg,
Iron: 2 mg
Nutrition information is automatically calculated and should only be used as an approximation.
Additional Info
Serving Suggestions and Pairings
This versatile Rosemary Beer Bread is more than just a side; it’s a centerpiece in its own right. Its savory, herby notes make it an excellent companion to a wide array of dishes:
- Soups and Stews: Dunk thick slices into hearty beef stew, creamy tomato soup, or a comforting lentil soup. The crusty exterior and soft interior are perfect for soaking up rich broths.
- Chili: A natural pairing! The bread’s slight sweetness and savory depth complement the spicy kick of a good bowl of chili.
- Charcuterie Boards: Serve slices alongside an assortment of cheeses, cured meats, olives, and fruit for an elegant appetizer or light meal.
- Breakfast or Brunch: While savory, it can be a unique addition to a brunch spread. Toast a slice and top with scrambled eggs or even a fried egg.
- Sandwiches: For an extraordinary sandwich experience, use slices of this beer bread as the base for gourmet grilled cheese or a simple turkey and provolone.
- Plain or with Butter: Sometimes, the simplest way is the best. A warm slice with a generous smear of softened butter or a drizzle of good quality olive oil is pure bliss.
How to Store Leftover Beer Bread
While we often find ourselves gobbling up an entire loaf in one sitting (it’s just that good!), it’s useful to know how to store any leftovers to keep them fresh. To maintain its best quality, store beer bread in a tightly-covered container or a zip-top bag at room temperature. It will stay wonderfully fresh for about 2-3 days on the counter. Avoid storing it in the refrigerator, as the cold temperature can actually cause bread to stale faster. For longer storage, you can slice the bread and freeze it in an airtight container or freezer bag for up to 2-3 months. Simply thaw at room temperature or toast slices directly from frozen for a quick treat.