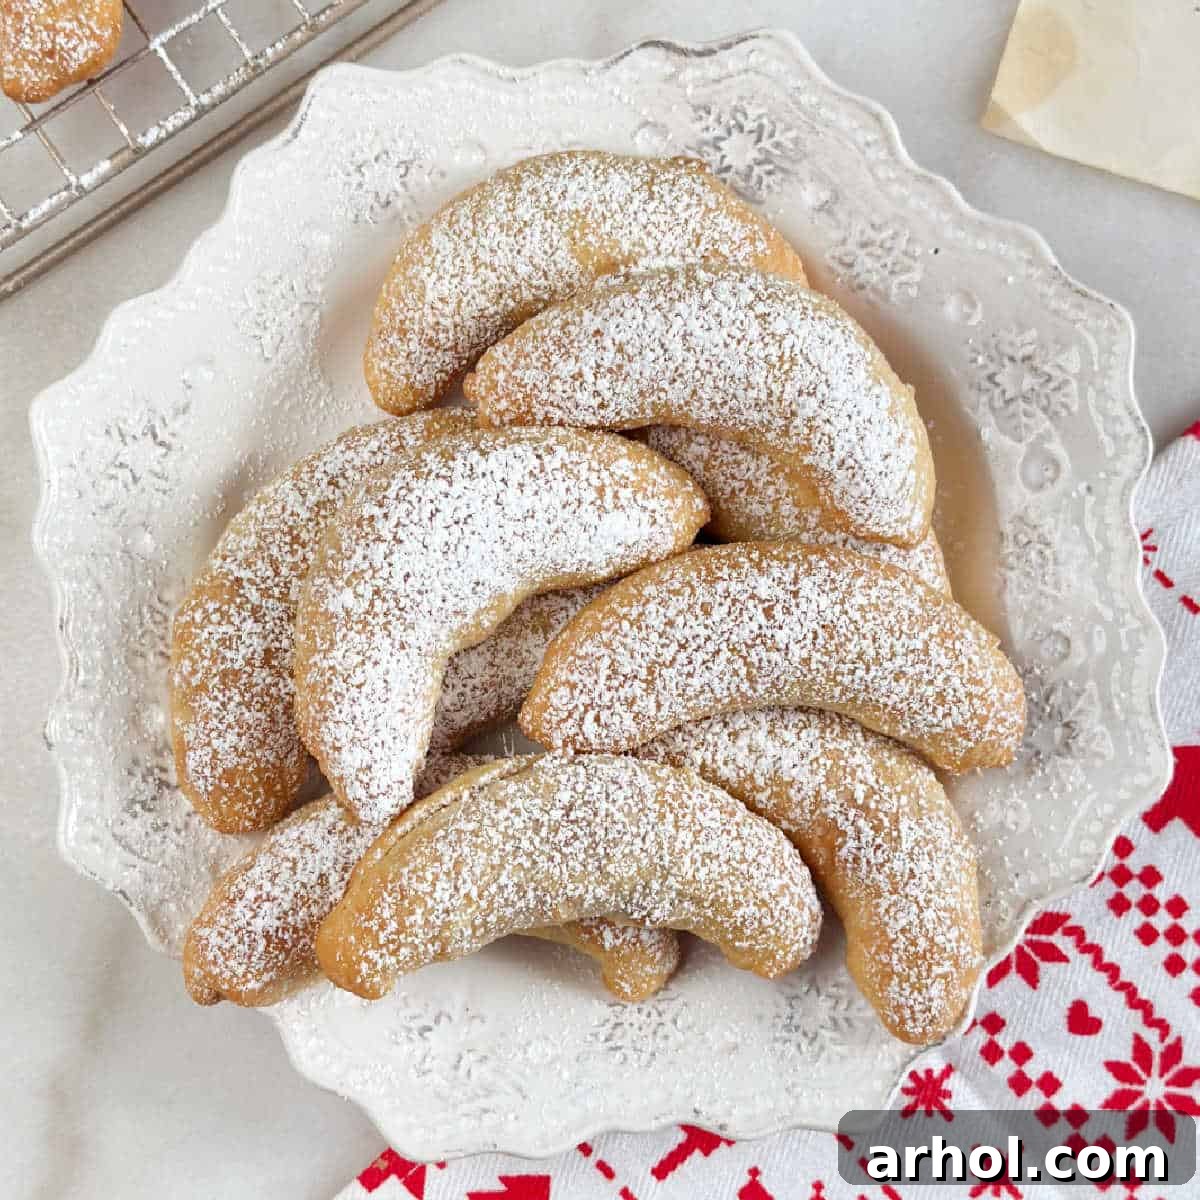
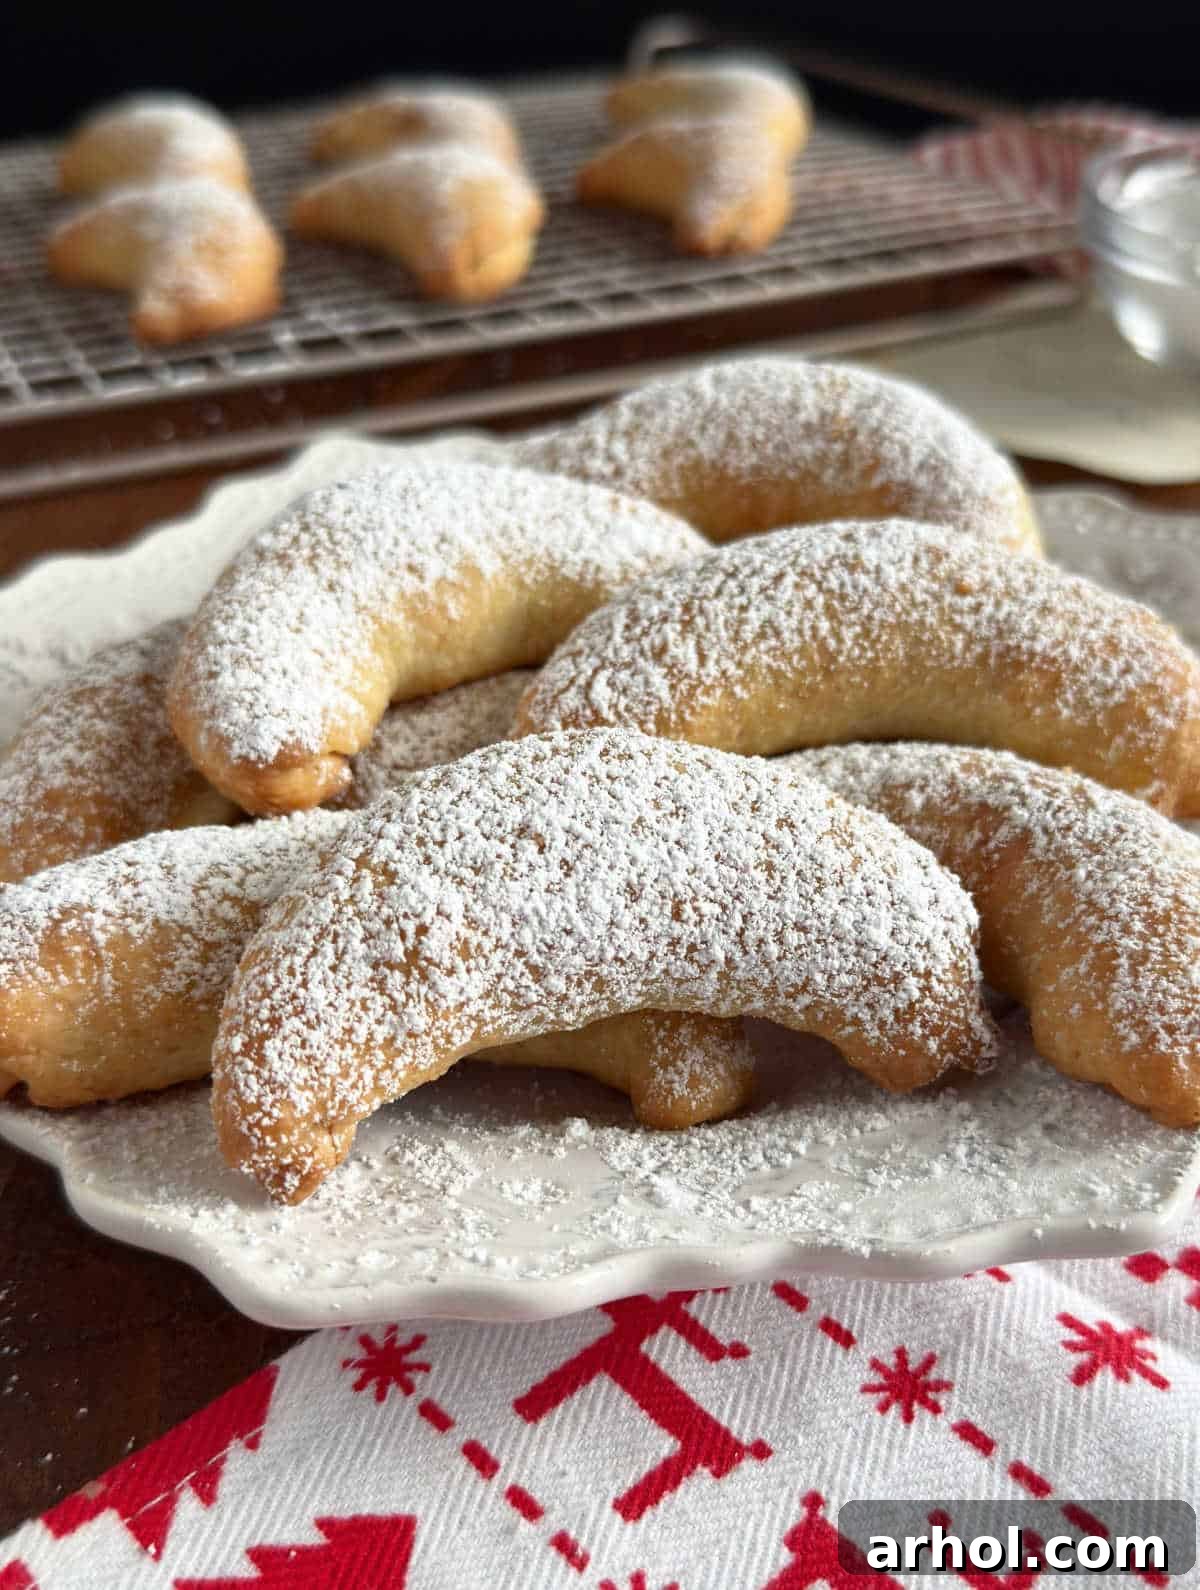
There’s nothing quite like the taste of tradition, especially when it comes to holiday baking. Grandma’s Nut Horns, affectionately known as Rosky, are a timeless classic that brings warmth and nostalgia to any festive gathering. These exquisite, buttery crescent-shaped cookies are generously filled with finely ground walnuts and lovingly finished with a delicate dusting of powdered sugar. A true centerpiece for any holiday cookie tray, these Slovak and Polish Christmas cookies are surprisingly easy to master and promise to become a cherished part of your family’s annual traditions.
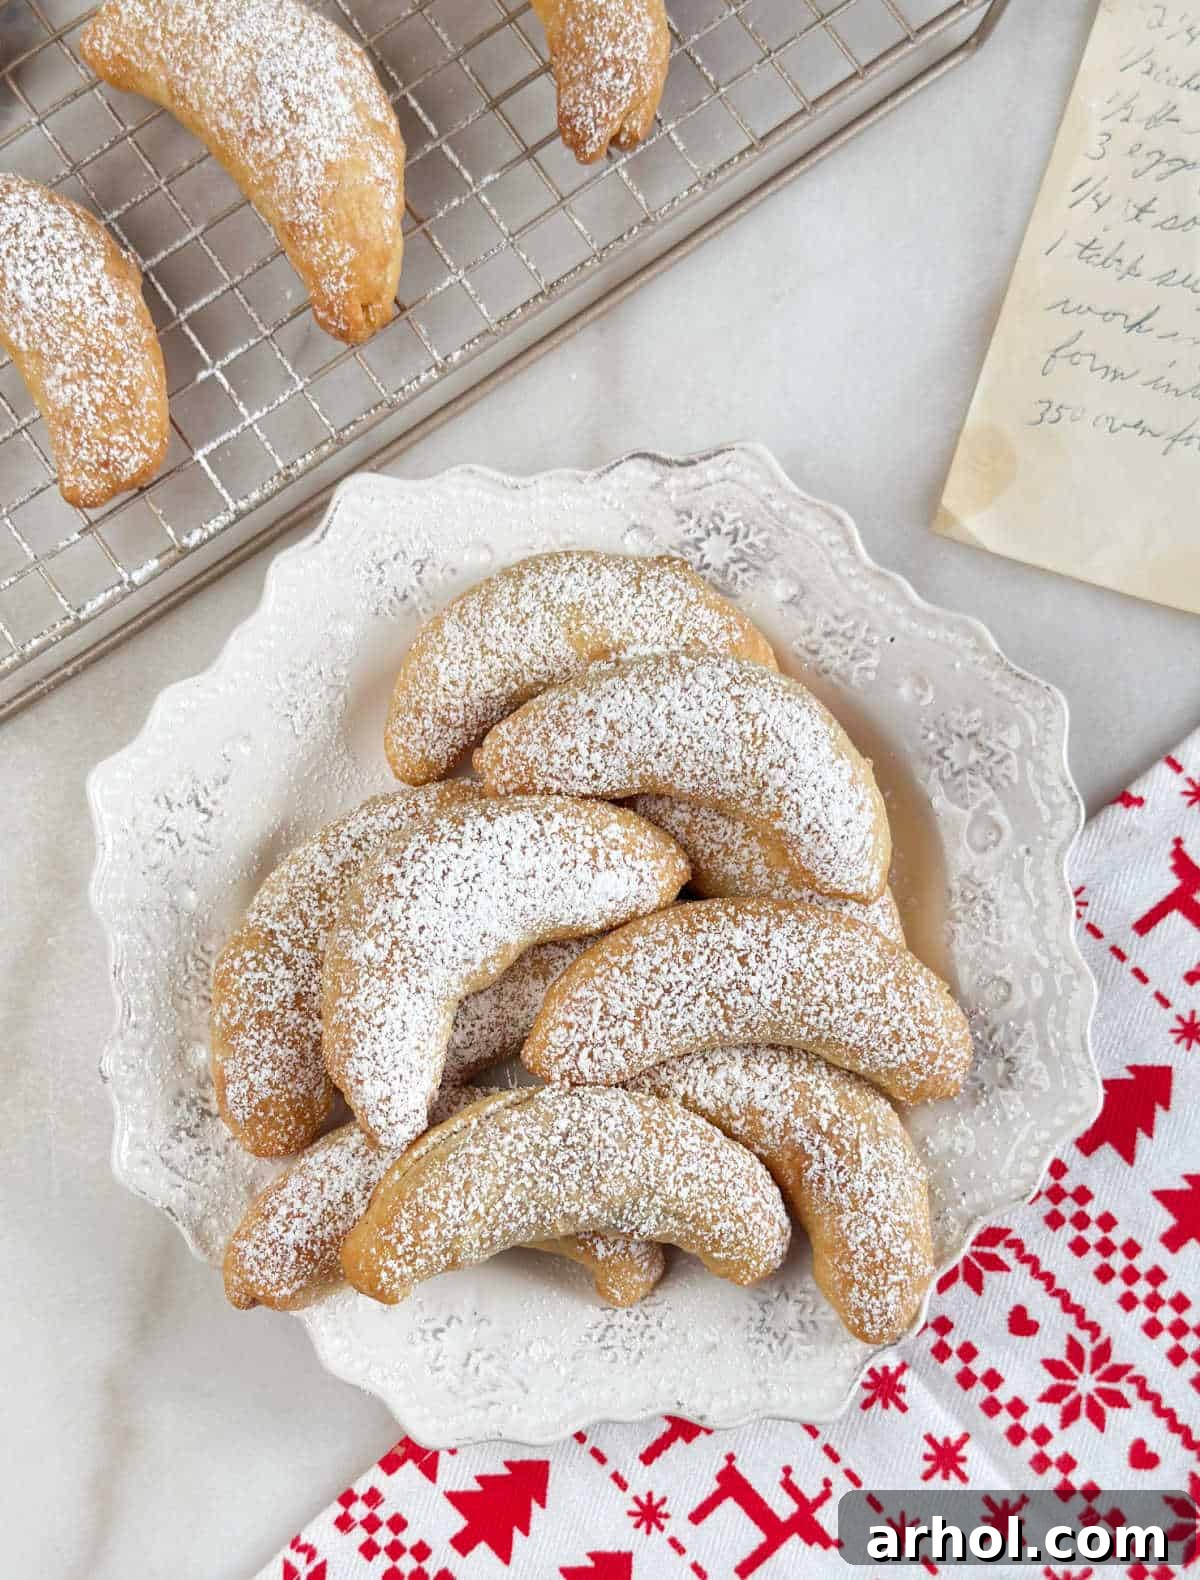
Grandma’s Nut Horns (Rosky): The Ultimate Slovak & Polish Christmas Cookie Recipe
Growing up, the arrival of Christmas was always heralded by the irresistible aroma of my Polish grandma baking her special nut horn cookies. These weren’t just any cookies; they were a symbol of the holiday season, a link to our heritage, and a source of pure joy. Each bite offers a delicate balance of soft, buttery rolled dough embracing a sweet, aromatic walnut filling, all enhanced by a cloud of powdered sugar. It’s a flavor profile that transports you straight to a cozy, festive kitchen.
My grandma lovingly called these delightful crescent cookies Rosky or Roshky. However, depending on the specific region of Eastern Europe your family hails from, you might recognize them by other beloved names such as Kifli, Kolache, Kolacky, or even simply butterhorn cookies. Despite the different nomenclature, the essence remains the same: a tender, sweet pastry filled with nuts. For me, these stand out as one of my absolute favorite Polish Christmas cookies, and I’m thrilled to say that my own children now cherish them just as much as I do. Sharing this recipe is not just about baking; it’s about preserving a delicious piece of history and creating new memories.
Why You’ll Fall in Love with This Family Favorite Nut Horn Recipe!

Rosky are renowned for their incredibly soft and tender texture, offering a comforting sweetness that isn’t overwhelmingly sugary, unlike many other holiday treats. This makes them perfectly balanced and enjoyable, even after a rich holiday meal. They offer a sophisticated yet humble sweetness that appeals to all palates.
The dough, a cornerstone of any good cookie, is remarkably uncomplicated and a joy to work with. It comes together quickly and requires just a brief chilling period—around 30 minutes—before you can begin the satisfying process of rolling and shaping. This minimal downtime means you can get to the baking fun sooner, making it an ideal recipe for busy holiday preparations.
We absolutely adore savoring these delicate nut horns with a warm cup of freshly brewed coffee or a soothing mug of tea. They also pair wonderfully with a festive glass of eggnog, making them versatile for any time of day during the holidays. And let’s be honest, who doesn’t believe that Santa Claus himself has a special spot for these homemade delights on his cookie plate?
Beyond their delicious taste and ease of preparation, these cookies hold a deep cultural significance. They represent generations of Eastern European baking traditions, often passed down from grandmothers to their families. By making Rosky, you’re not just baking; you’re participating in a culinary heritage, creating edible history that connects you to the past and delights those in the present. Their timeless appeal ensures they remain a staple on holiday tables year after year.
Essential Ingredients for Perfect Nut Horns
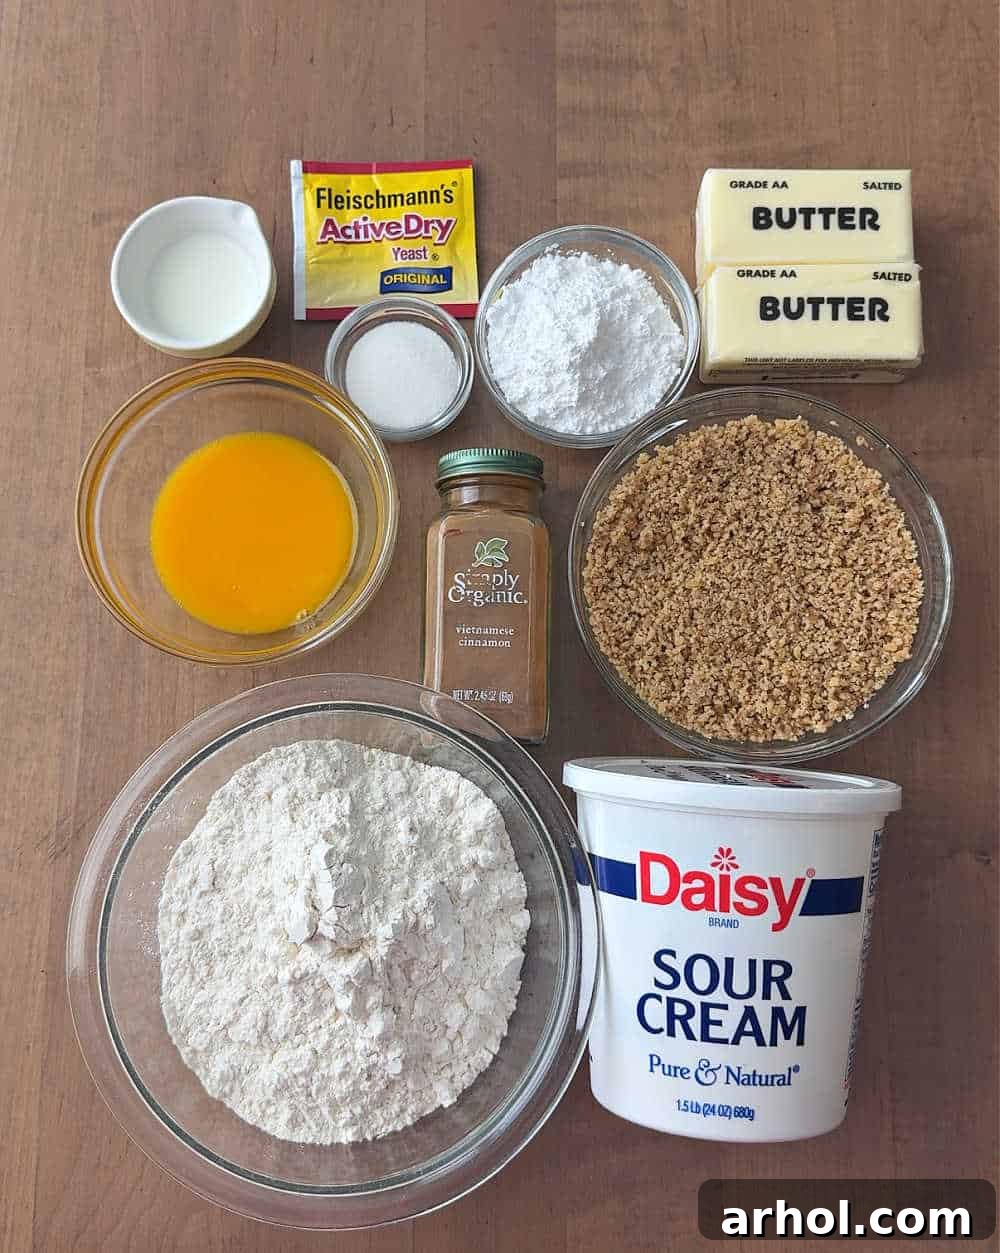
Crafting these traditional nut horns requires a few key ingredients, each playing an important role in achieving their signature taste and texture. Here’s a detailed overview of what you’ll need to gather. Exact measurements can be found in the printable recipe card below, ensuring you have everything at your fingertips for baking success.
- Egg Yolks: These are crucial for the dough’s richness, color, and tender crumb. They contribute to the luxurious, melt-in-your-mouth quality of the cookies. Don’t let the egg whites go to waste; they can be used to make other delicious treats like these surprise cookies.
- Butter: High-quality butter is the heart of both the dough and the filling, imparting a deep, rich flavor and a wonderfully tender texture. I typically use salted butter for an added depth of flavor that complements the walnuts, but unsalted butter works perfectly too; just ensure it’s softened at room temperature for easier and more uniform mixing.
- Sugar: You’ll need granulated sugar for both the dough and the sweet walnut filling, providing the primary sweetness. For the finishing touch, a generous amount of powdered sugar is essential for that iconic snowy appearance and an extra kiss of sweetness.
- Sour Cream: This is a secret ingredient for many traditional Eastern European pastries. Sour cream adds an incredible tenderness and subtle tang to the dough, preventing it from being too dry and giving it a unique, delicate texture that sets Rosky apart.
- All-Purpose Flour: The foundation of our dough. Use good quality all-purpose flour for a consistent texture. Measure it correctly by spooning it into your measuring cup and leveling it off, rather than scooping directly, to avoid a dense cookie.
- Active Dry Yeast: While these aren’t yeasted bread, a small amount of active dry yeast provides a subtle lift to the dough, contributing to its incredible softness and lightness. I’ve found active dry yeast to be most reliable for this recipe, giving just the right amount of delicate rise without a strong yeasty flavor.
- Walnuts: The star of our filling! Freshly ground walnuts are paramount for the best flavor and texture. You can easily grind them yourself using a food processor or a blender until they reach a fine, crumbly consistency. Avoid pre-ground walnuts if possible, as their flavor can be diminished.
- Milk: A small amount of milk helps bind the walnut filling together, ensuring it’s moist and pliable, not dry. It also contributes to the overall richness of the filling.
- Ground Cinnamon: This warm spice is essential for enhancing the natural nuttiness of the walnuts, adding a classic, inviting aroma and flavor that screams “holiday season.” A little cinnamon goes a long way in creating that perfect traditional taste.
Having all your ingredients at room temperature, especially the butter and sour cream, is key to achieving a smooth, well-combined dough. This preparation step ensures that everything blends together seamlessly, leading to the best possible texture for your nut horns.
Step-by-Step Guide to Baking Grandma’s Nut Horns
Making these cherished nut horns is a delightful process that, while requiring a bit of patience, is quite straightforward. Follow these steps carefully to ensure perfect results every time.
Preparing the Dough: The Foundation of Flavor
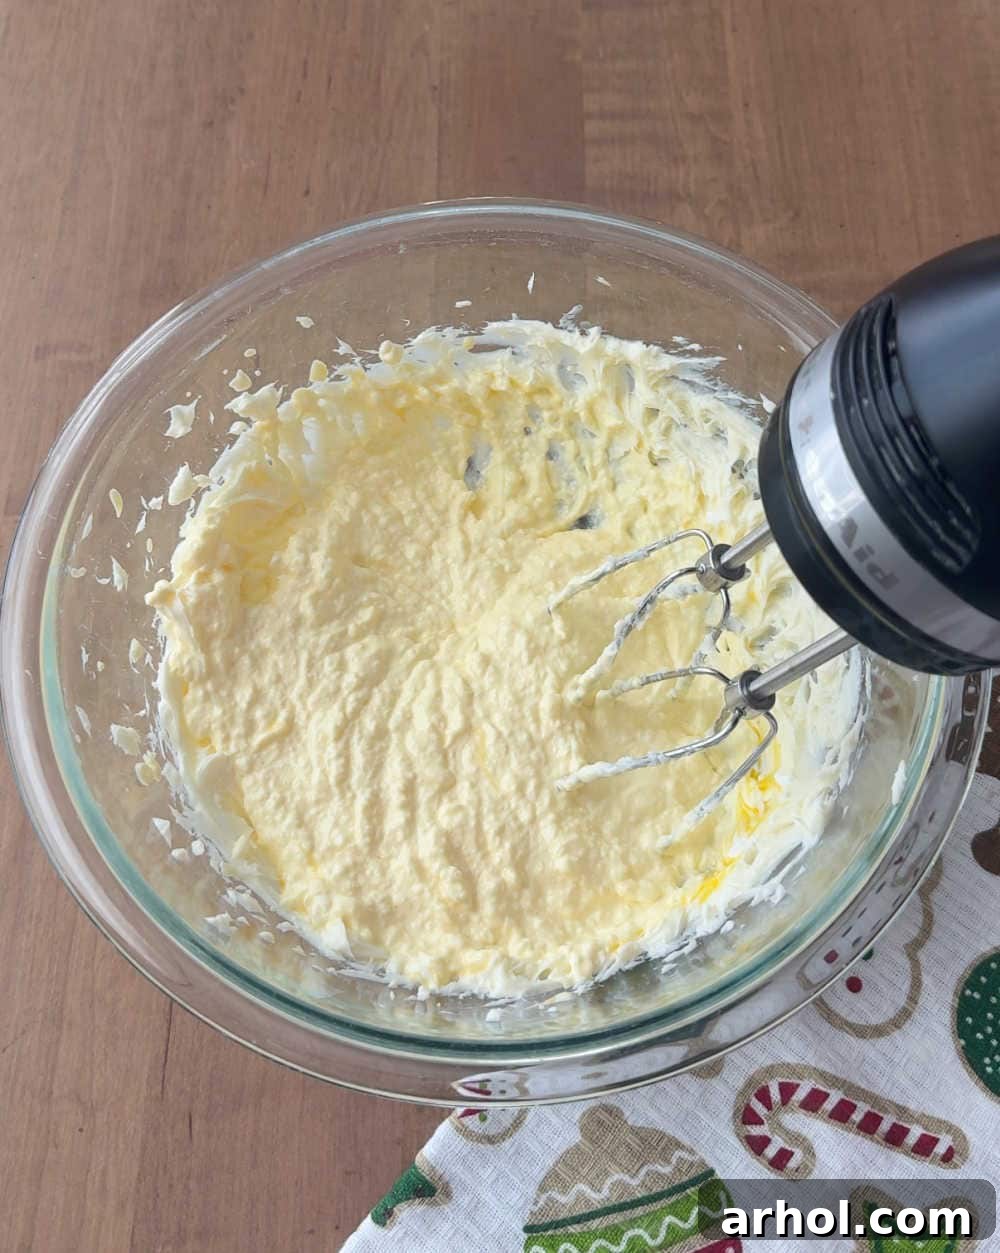
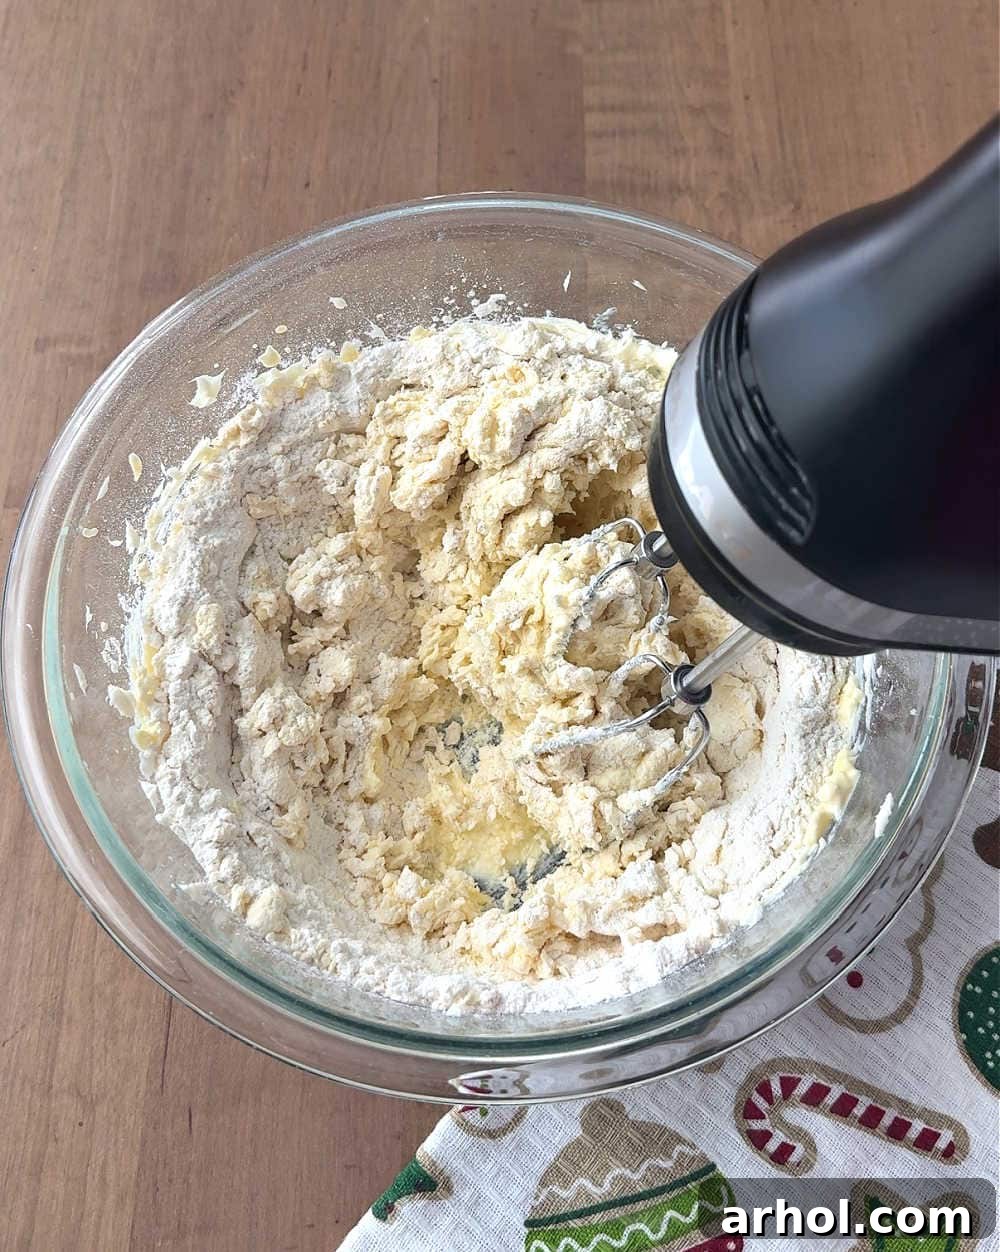
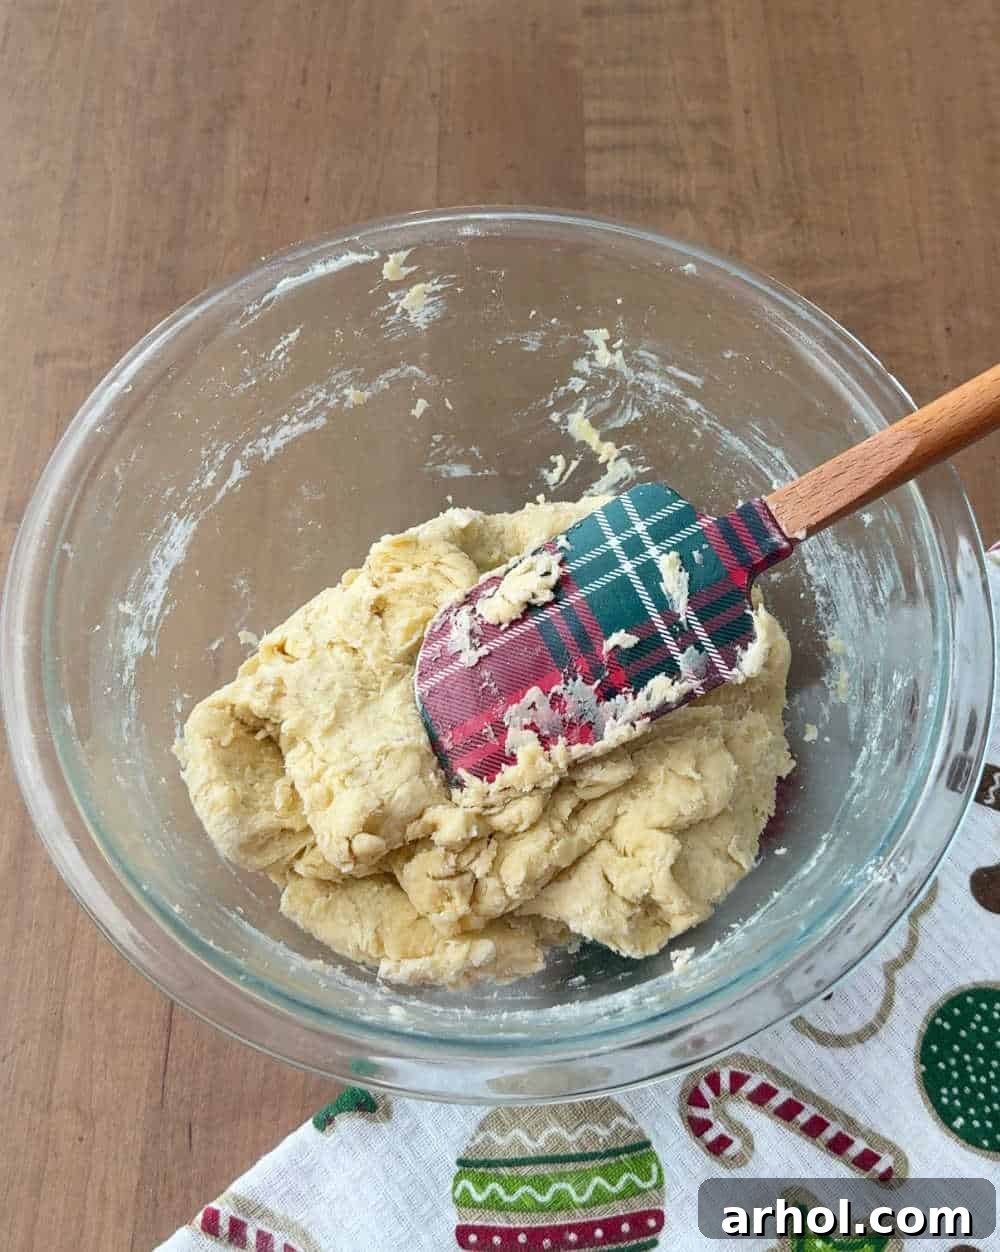
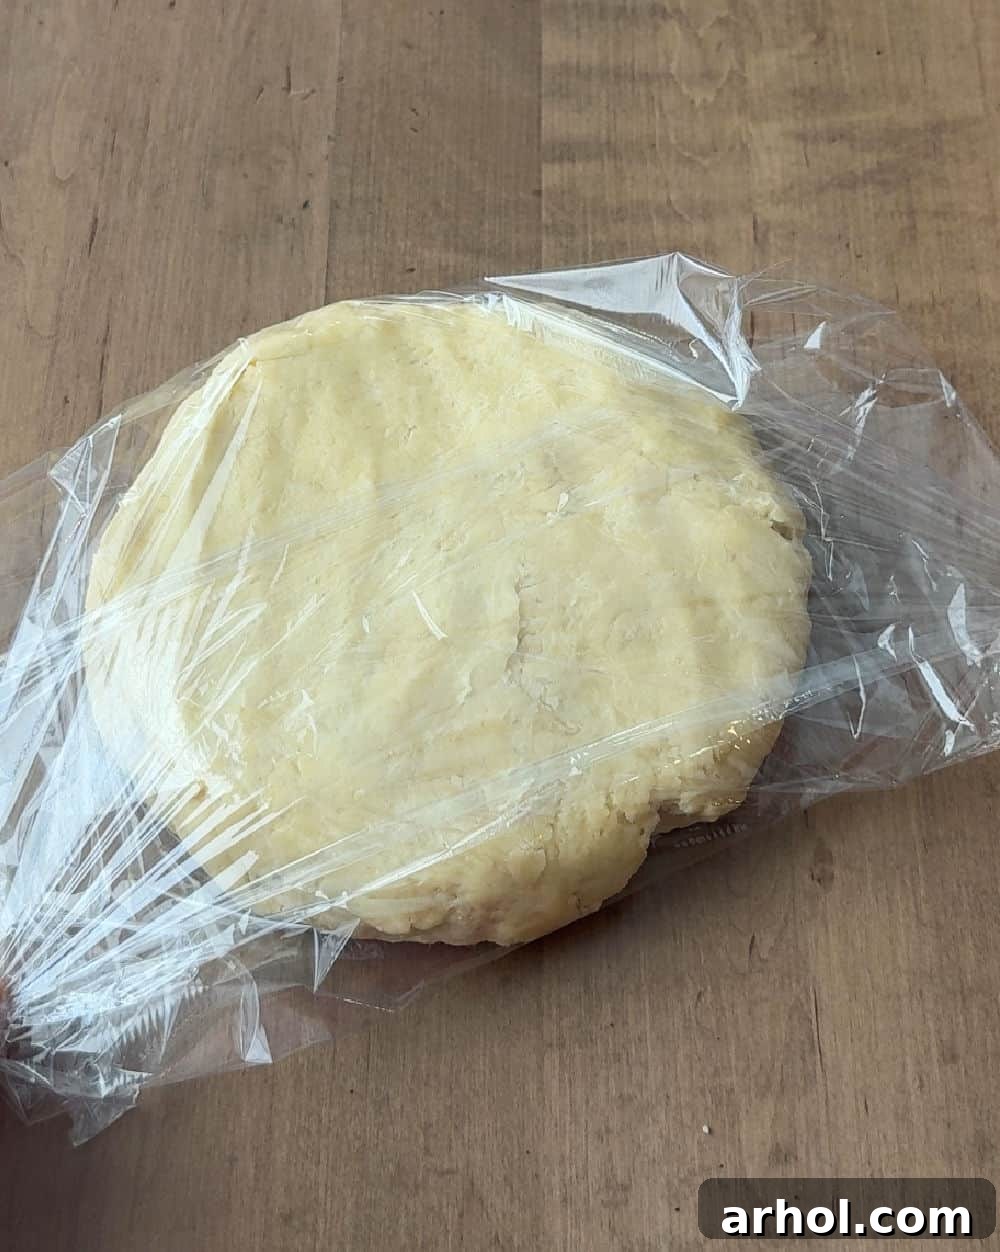
Begin by combining the softened butter and granulated sugar in a large mixing bowl. Using an electric mixer or a stand mixer with the paddle attachment, cream them together until the mixture is light, fluffy, and pale in color. This step incorporates air, making the cookies tender. Next, beat in the egg yolks one at a time, followed by the sour cream, mixing until just blended. The sour cream will contribute to the dough’s signature tenderness. After this, sprinkle in the active dry yeast, then gradually add the all-purpose flour, mixing until a soft, pliable dough begins to form. At this stage, if you’re not using a stand mixer, you may find it easier to switch to a sturdy spatula, a wooden spoon, or even your hands to incorporate the last of the flour. The dough should be soft but not overly sticky. If it feels too wet, add a tiny bit more flour, one tablespoon at a time, until it’s manageable. Once the dough is ready, wrap it tightly in plastic wrap and refrigerate it for approximately 30 minutes. This chilling period is crucial as it allows the dough to firm up, making it much easier to roll and shape. While the dough chills, take this opportunity to prepare your delicious walnut filling.
Assembling and Baking Your Rosky: The Signature Shape
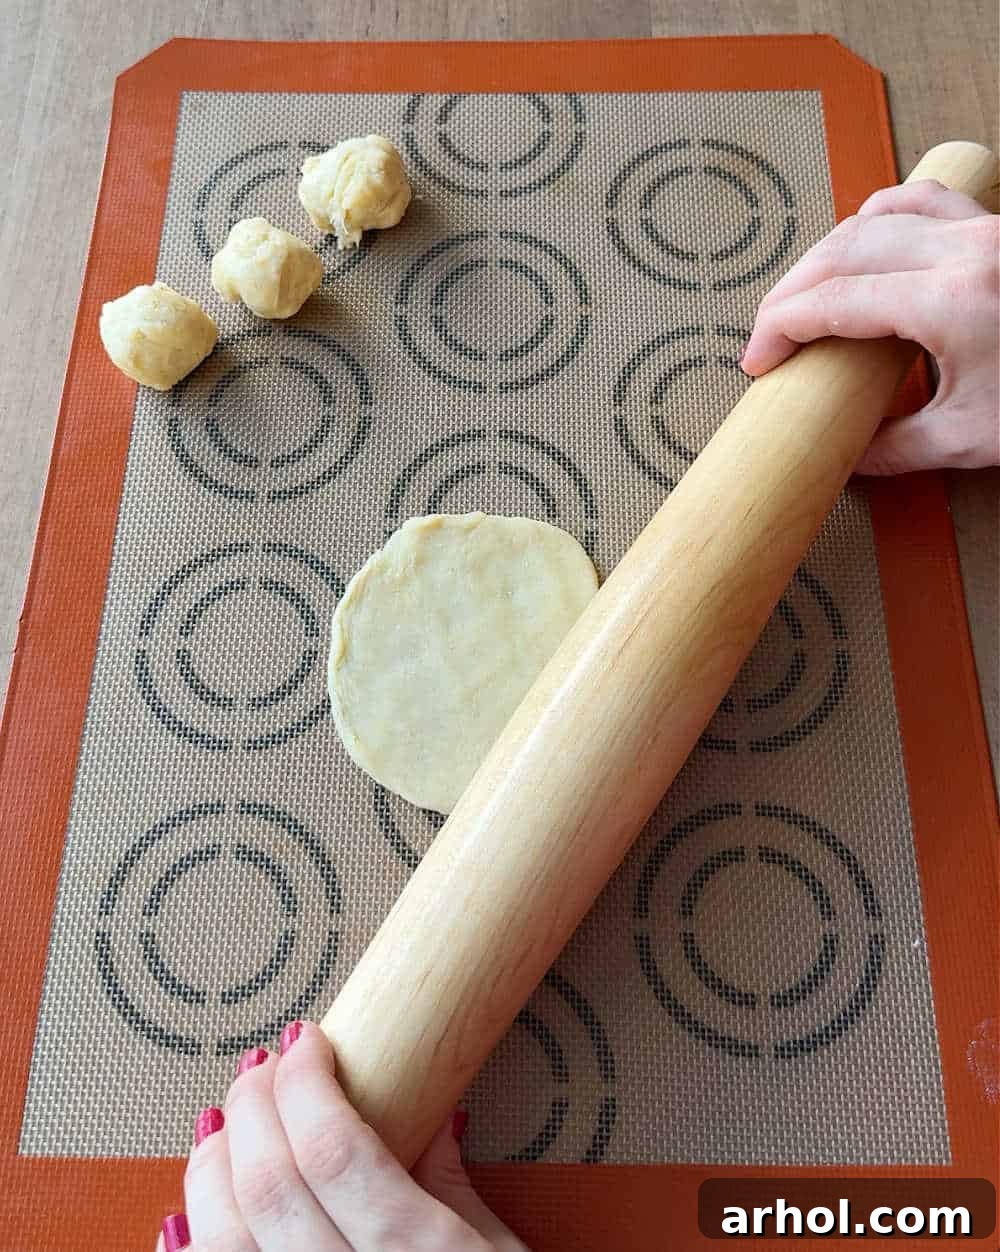
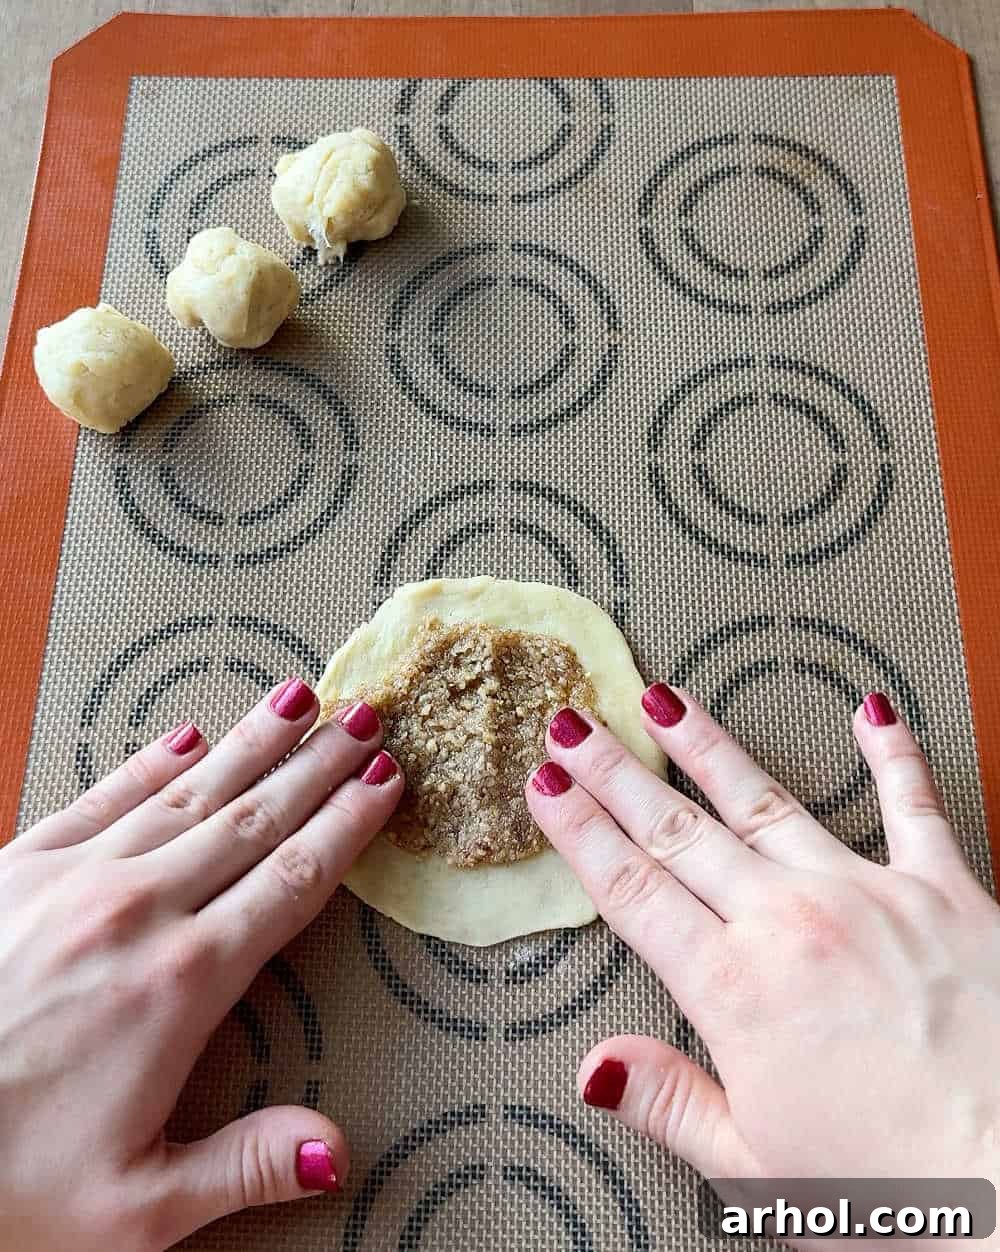
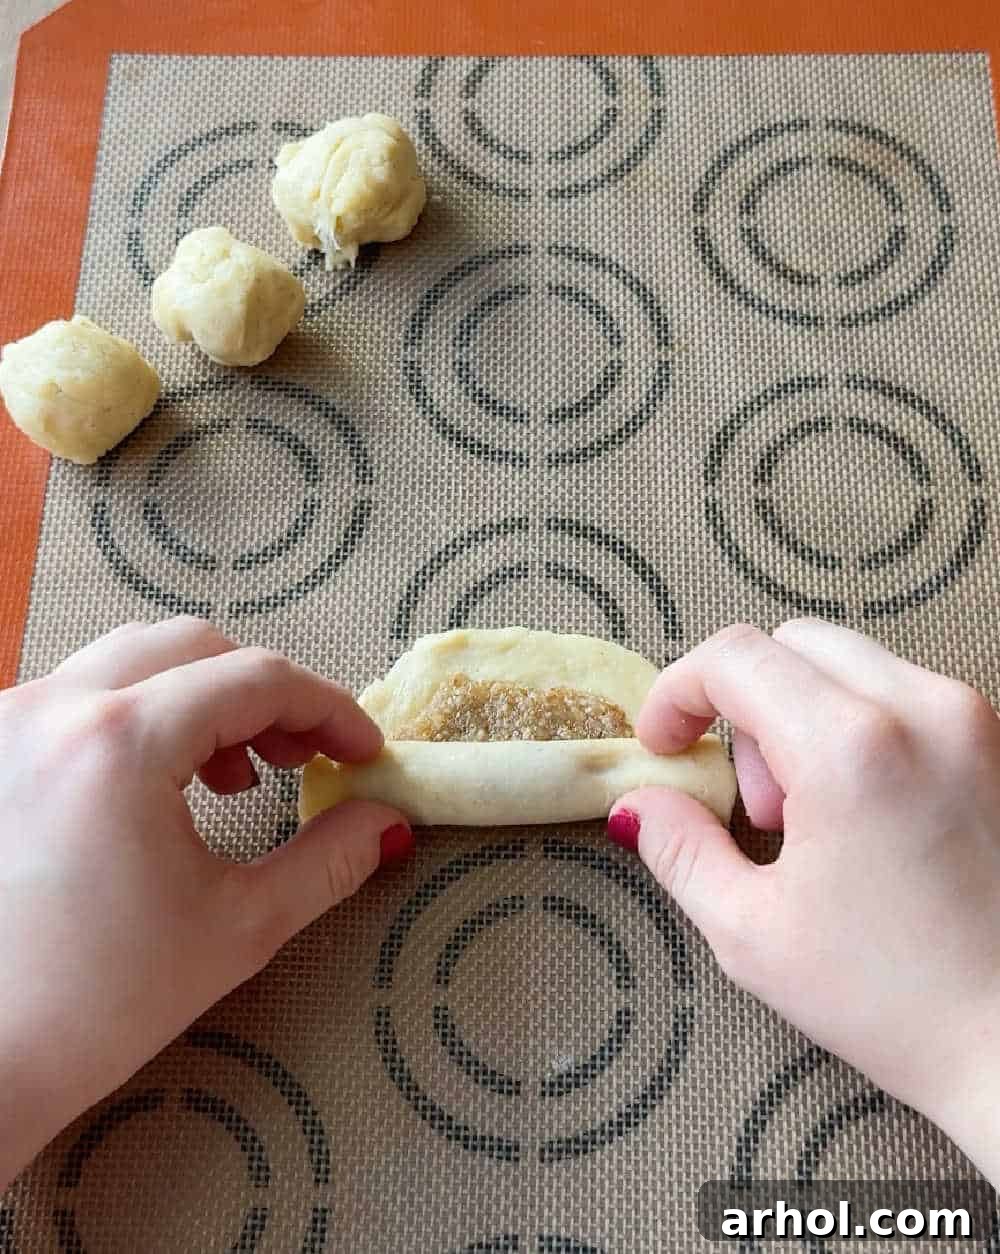
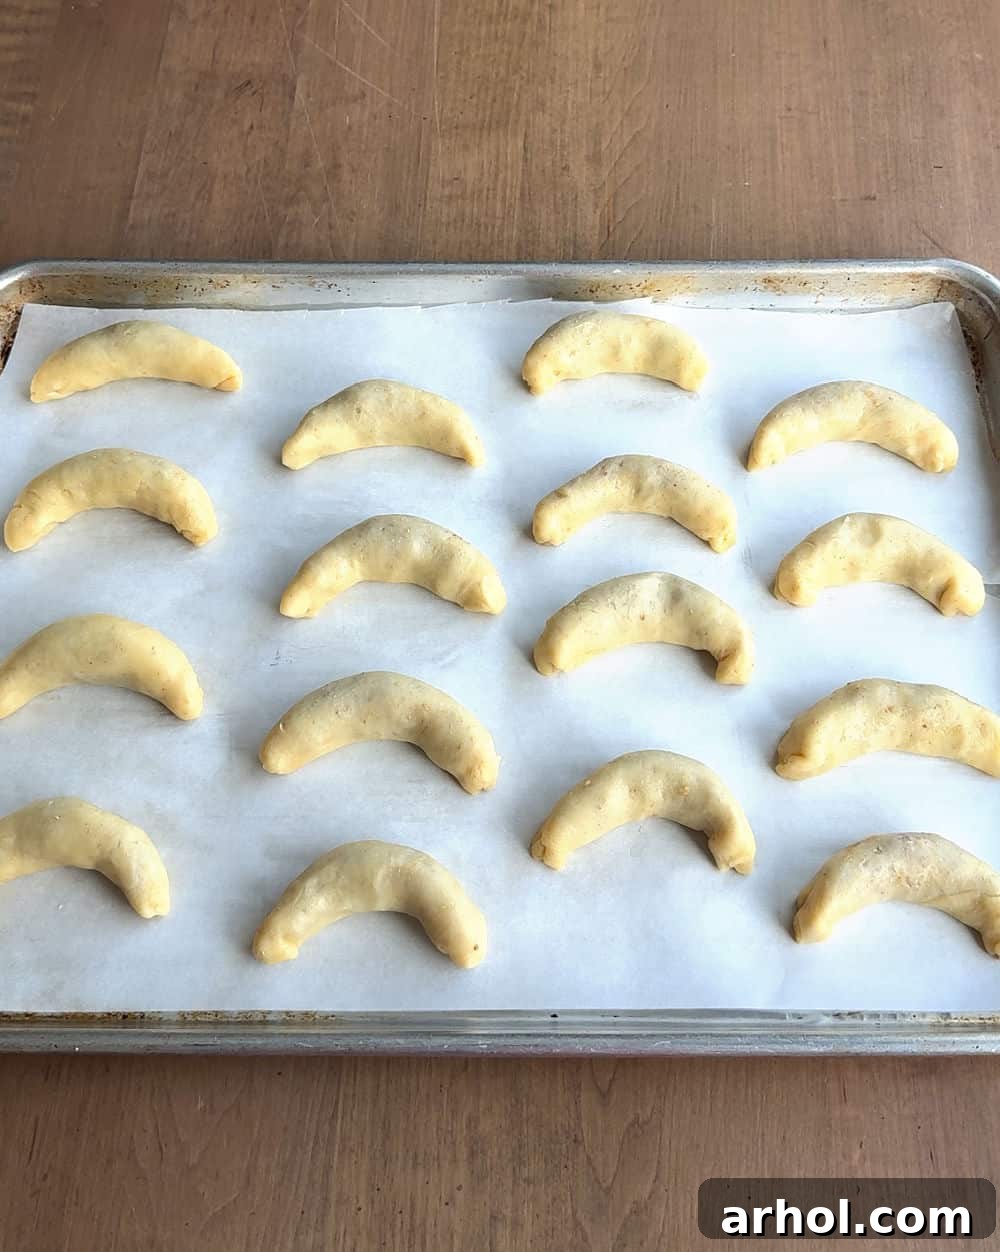
Once your dough is chilled and your filling is ready, it’s time for the magic to happen. Preheat your oven to 350°F (175°C) and line your baking sheets with parchment paper or a silicone baking mat for easy removal and cleanup. Take small, walnut-sized portions of the chilled dough and roll them into smooth balls between your palms. On a lightly floured surface, use a rolling pin to roll each dough ball into a thin circle, approximately 3-4 inches in diameter and about 1/8 inch thick. The thinner the dough, the more delicate your final cookie will be. Spoon about a tablespoon of the prepared walnut filling onto one edge of each dough circle. Carefully roll up the dough from the filled edge, forming a small log. Gently bend each log into a classic crescent shape, placing it seam-side down on your prepared baking sheet. Ensure there’s enough space between each cookie for even baking.
Bake the cookies in your preheated oven for approximately 20-25 minutes, or until they turn a beautiful light golden brown. Keep a close eye on them, especially during the first batch, as oven temperatures can vary. The goal is a delicate golden hue, not a deep brown, to ensure the cookies remain tender. Once baked, remove the cookies from the oven and let them cool completely on the baking sheet for a few minutes before transferring them to a wire rack to finish cooling. This helps them retain their shape and structure.
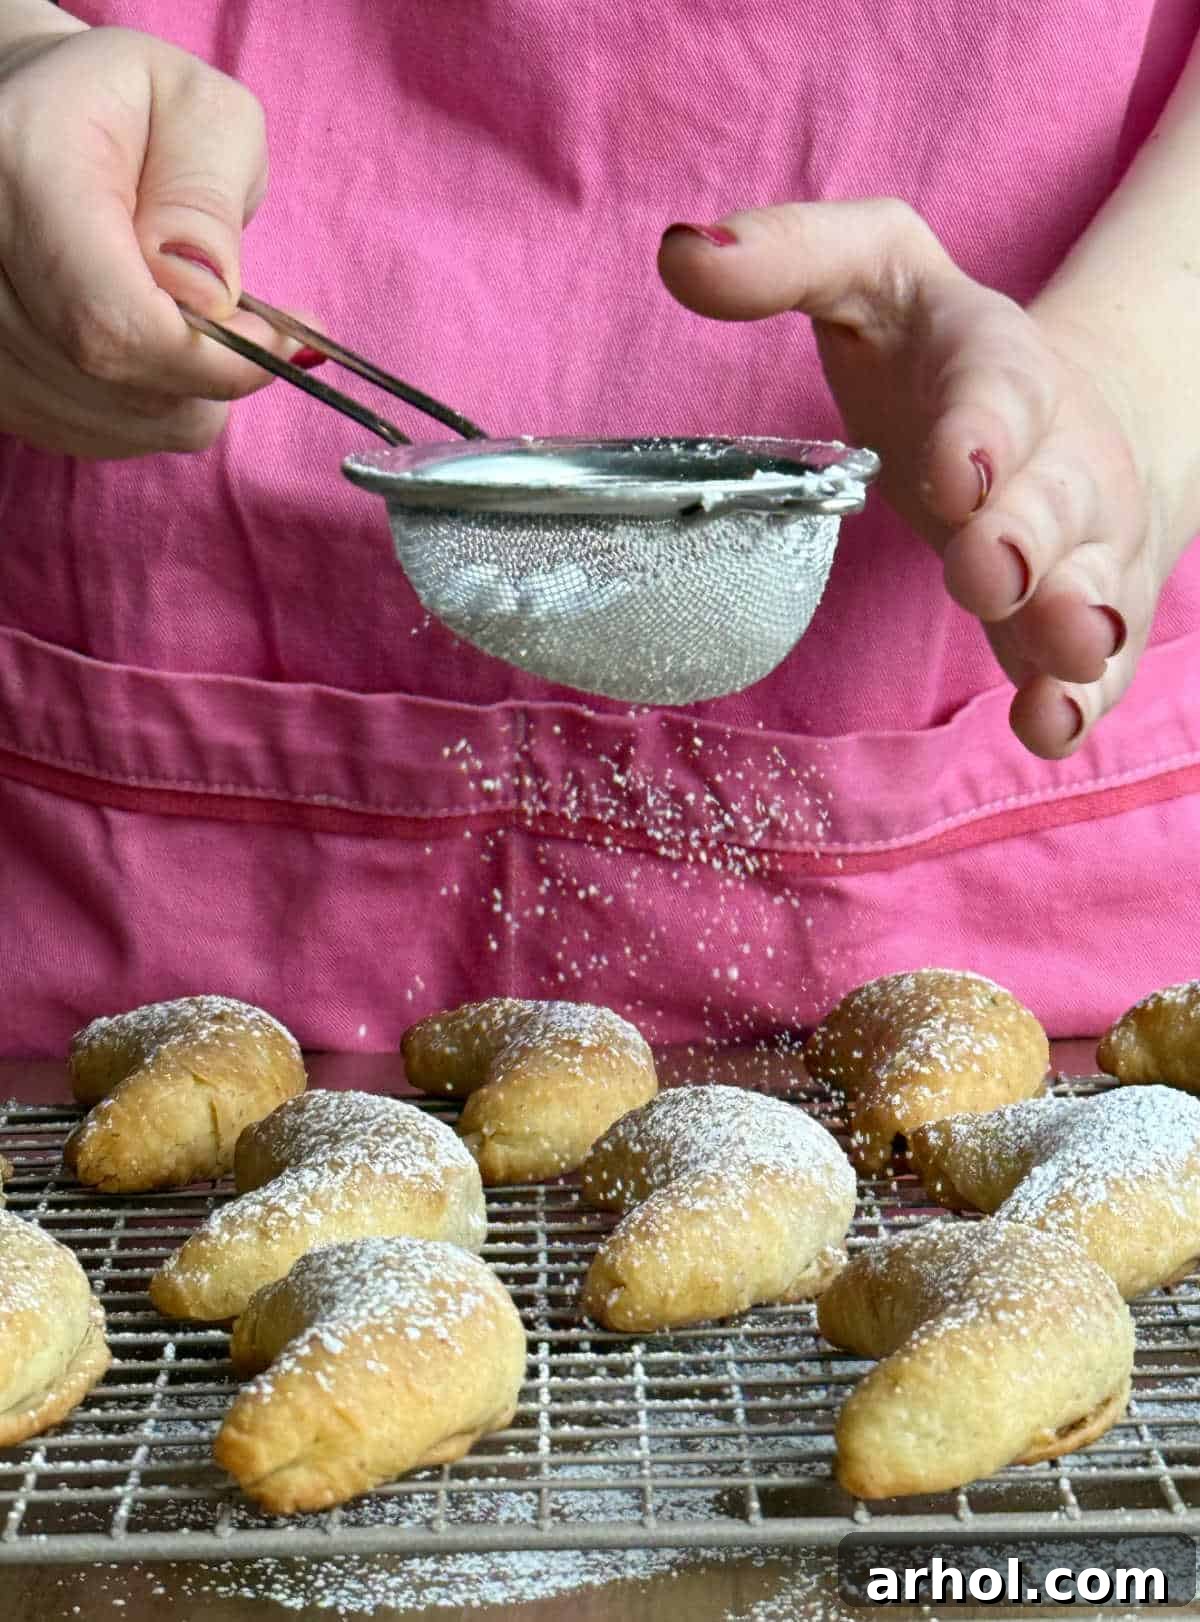
Allow the nut horns to cool completely before the final, magical touch: a generous dusting of powdered sugar. You can use a small sieve or a powdered sugar shaker for an even coating. If you prefer a sweeter cookie, feel free to add an extra layer of powdered sugar just before serving. This not only adds to the sweetness but also gives them their quintessential festive look.
Expert Tips for Nut Horn Perfection
Achieving perfectly tender and flavorful nut horns is easier with a few insider tips:
- Dough Consistency is Key: While the dough should be soft, it should not be excessively sticky. If you find your dough is too sticky to handle comfortably, gradually add a tablespoon of flour at a time until it reaches a more manageable consistency. Resist the urge to add too much flour, as this can result in a dry, tough cookie.
- Roll Thin for Tenderness: For the most delicate and melt-in-your-mouth texture, roll the dough out to about 1/8 inch thick. A thin dough ensures a delicate outer layer that beautifully contrasts with the rich walnut filling. If the dough becomes too soft and difficult to work with during rolling, simply pop it back into the refrigerator for 5-10 minutes to firm up again. Cold dough is always easier to handle.
- Watch Your Oven Closely: Nut horns typically bake in about 20-25 minutes, but remember that every oven is unique and can have hot spots or vary in temperature. It’s always a good idea to closely monitor your first batch of cookies. Look for a light golden-brown color around the edges; if they start to brown too quickly or too deeply, reduce the baking time for subsequent batches to prevent over-baking and ensure they remain tender and moist.
- Evenly Ground Walnuts: For the best filling, ensure your walnuts are finely and evenly ground. Large chunks can tear the delicate dough, and uneven grinding can lead to an inconsistent texture in the filling. A food processor makes this quick and easy.
- Don’t Rush the Cooling: Allowing the cookies to cool completely on a wire rack before dusting with powdered sugar is vital. Dusting hot cookies will cause the sugar to melt and absorb, losing that beautiful, snowy finish.
- Patience with the Filling: Ensure your filling ingredients are thoroughly combined. The milk and melted butter help moisten the ground walnuts, creating a cohesive filling that stays together when rolled.
Storage and Freezing Guidelines
To keep your Grandma’s Nut Horns fresh and delicious, proper storage is essential. Once completely cooled, store the cookies in an airtight container at room temperature. They will remain wonderfully fresh and tender for about 1 week, making them perfect for preparing in advance for holiday gatherings or as thoughtful homemade gifts.
For longer preservation, these cookies are excellent candidates for freezing. You have two convenient options: you can freeze the unbaked, shaped cookies or the fully baked cookies. To freeze unbaked cookies, arrange the shaped crescents on a baking sheet and freeze until solid, then transfer them to a freezer-safe airtight container or bag, separated by parchment paper. When ready to bake, you can bake them directly from frozen, adding a few extra minutes to the baking time. To freeze baked cookies, ensure they are completely cooled, then pack them similarly in an airtight container or bag. When thawing, let them come to room temperature, and then dust them with fresh powdered sugar just before serving. Frozen nut horns can maintain their quality for up to 3 months, allowing you to enjoy this delightful treat long after the holidays.
More Old World Christmas Cookie Recipes to Explore
If you’ve fallen in love with the charm of these traditional Eastern European Nut Horns, you’re in for a treat with these other beloved Old World Christmas cookie recipes. Expand your holiday baking repertoire and discover more delightful flavors and textures from classic European kitchens.
Next, I highly recommend trying my light and airy angel wings (cheregi), known for their delicate crispness and powdered sugar finish. For a touch of Italian elegance, these intricate pizzelle, with their beautiful patterns, are a must-try. And for those who enjoy a festive spiced cookie, these cute gingerbread men are always a holiday favorite. You may also enjoy this substantial walnut roll, a larger version of the same beloved flavor profile, perfect for slicing and sharing.
Save Recipe
Pin Recipe
Print Recipe
No ratings yet
Grandma’s Nut Horns (Rosky)
Dee
30
25
30
1
25
30
Ingredients
Dough
- 1 cup butter softened
- 1 tablespoon granulated sugar
- 3 large egg yolks
- ½ cup sour cream
- 1 packet active dry yeast
- 2 cups all-purpose flour
- ½ cup powdered sugar for dusting
Filling
- 2 cups ground walnuts
- 2 tablespoons milk
- 1 tablespoon melted butter
- ½ cup white sugar
- ½ teaspoon ground cinnamon
Instructions
Dough
-
In a large mixing bowl, cream the softened butter and granulated sugar with an electric mixer until light and fluffy. A stand mixer can also be used.
-
Add the egg yolks and sour cream, mixing until they are fully blended into the butter mixture.
-
Sprinkle in the active dry yeast, then gradually mix in the all-purpose flour until a soft, pliable dough forms. Avoid overmixing.
-
Wrap the dough tightly in plastic wrap and chill it in the refrigerator for at least 30 minutes. While it chills, prepare the walnut filling.
-
Preheat your oven to 350℉ (175°C). Line baking sheets with parchment paper.
-
Pinch off walnut-sized pieces of chilled dough and roll each into a smooth ball.
-
On a lightly floured surface, roll each dough ball into a thin 4-inch circle, approximately 1/8 inch thick.
-
Spread a scant tablespoon of the prepared walnut filling over one half of each dough circle.
-
Carefully roll the dough over the filling to form small logs.
-
Place the rolled logs on the parchment paper-lined baking sheets, seam side down, and gently bend them into a crescent shape.
-
Bake in the preheated oven for 20-25 minutes, or until the cookies are lightly golden brown.
-
Allow the cookies to cool completely on a wire rack before generously dusting them with powdered sugar.
Filling
-
In a mixing bowl, combine the finely ground walnuts, milk, melted butter, granulated sugar, and ground cinnamon. Mix thoroughly until all ingredients are well combined and the filling is moist and cohesive.
Video
Notes
This recipe yields a wonderfully soft dough. It should not be sticky; if it is, add a very small amount of extra flour, one tablespoon at a time, until it is manageable.
If the dough becomes too soft and difficult to form into cookies during the shaping process, simply place it back into the refrigerator for a few minutes to firm up.
Oven temperatures can vary significantly. Keep a close eye on your cookies during baking, as they may require slightly less or more time to achieve that perfect light golden brown, depending on your specific oven.
Nutrition
Calories:
176
kcal
,
Carbohydrates:
14
g
,
Protein:
3
g
,
Fat:
13
g
,
Saturated Fat:
5
g
,
Polyunsaturated Fat:
4
g
,
Monounsaturated Fat:
3
g
,
Trans Fat:
0.3
g
,
Cholesterol:
38
mg
,
Sodium:
55
mg
,
Potassium:
56
mg
,
Fiber:
1
g
,
Sugar:
6
g
,
Vitamin A:
252
IU
,
Vitamin C:
0.1
mg
,
Calcium:
19
mg
,
Iron:
1
mg
Nutrition information is automatically calculated, so should only be used as an approximation.
Additional Info
Cookies
Polish, Slovak
Like this? Leave a comment below!
Don’t miss out on more delicious and easy recipes! Sign up for our free weekly newsletter to have new culinary inspirations delivered directly to your email inbox.