
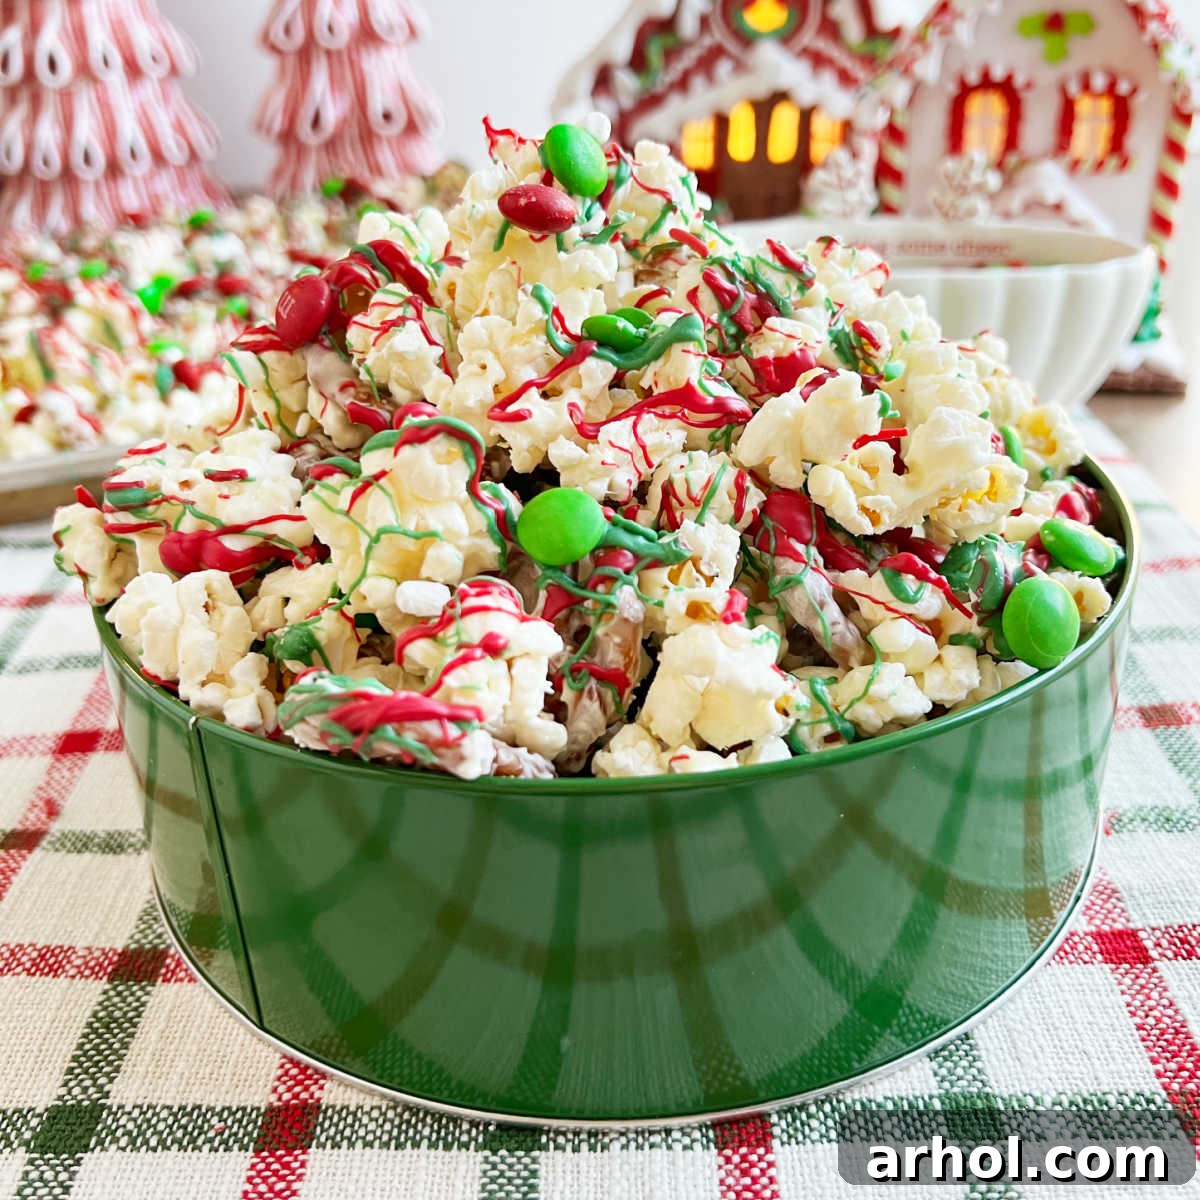
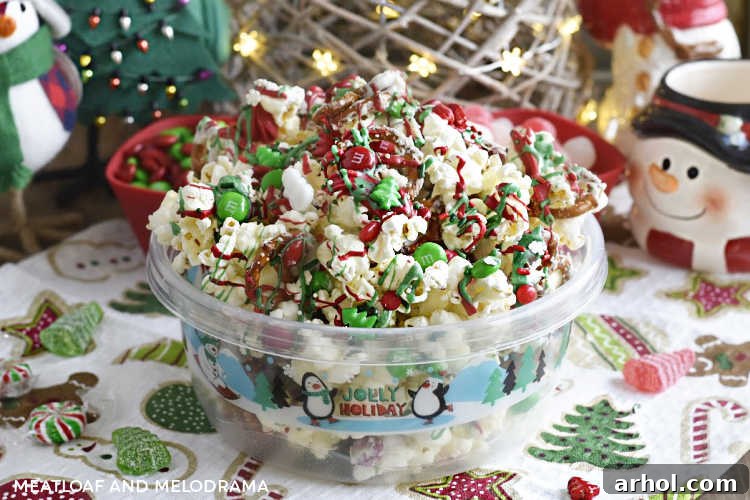
Christmas Crunch Snack Mix, featuring a delightful blend of fluffy popcorn, crisp pretzels, creamy white chocolate, and colorful holiday candies, is an absolutely irresistible treat that perfectly captures the spirit of the holiday season. This beloved salty and sweet snack mix is a guaranteed crowd-pleaser, making it an essential addition to any festive gathering, holiday party, or cozy family movie night. Its ease of preparation and universal appeal ensure it disappears quickly, leaving everyone craving more of its magical holiday flavors.
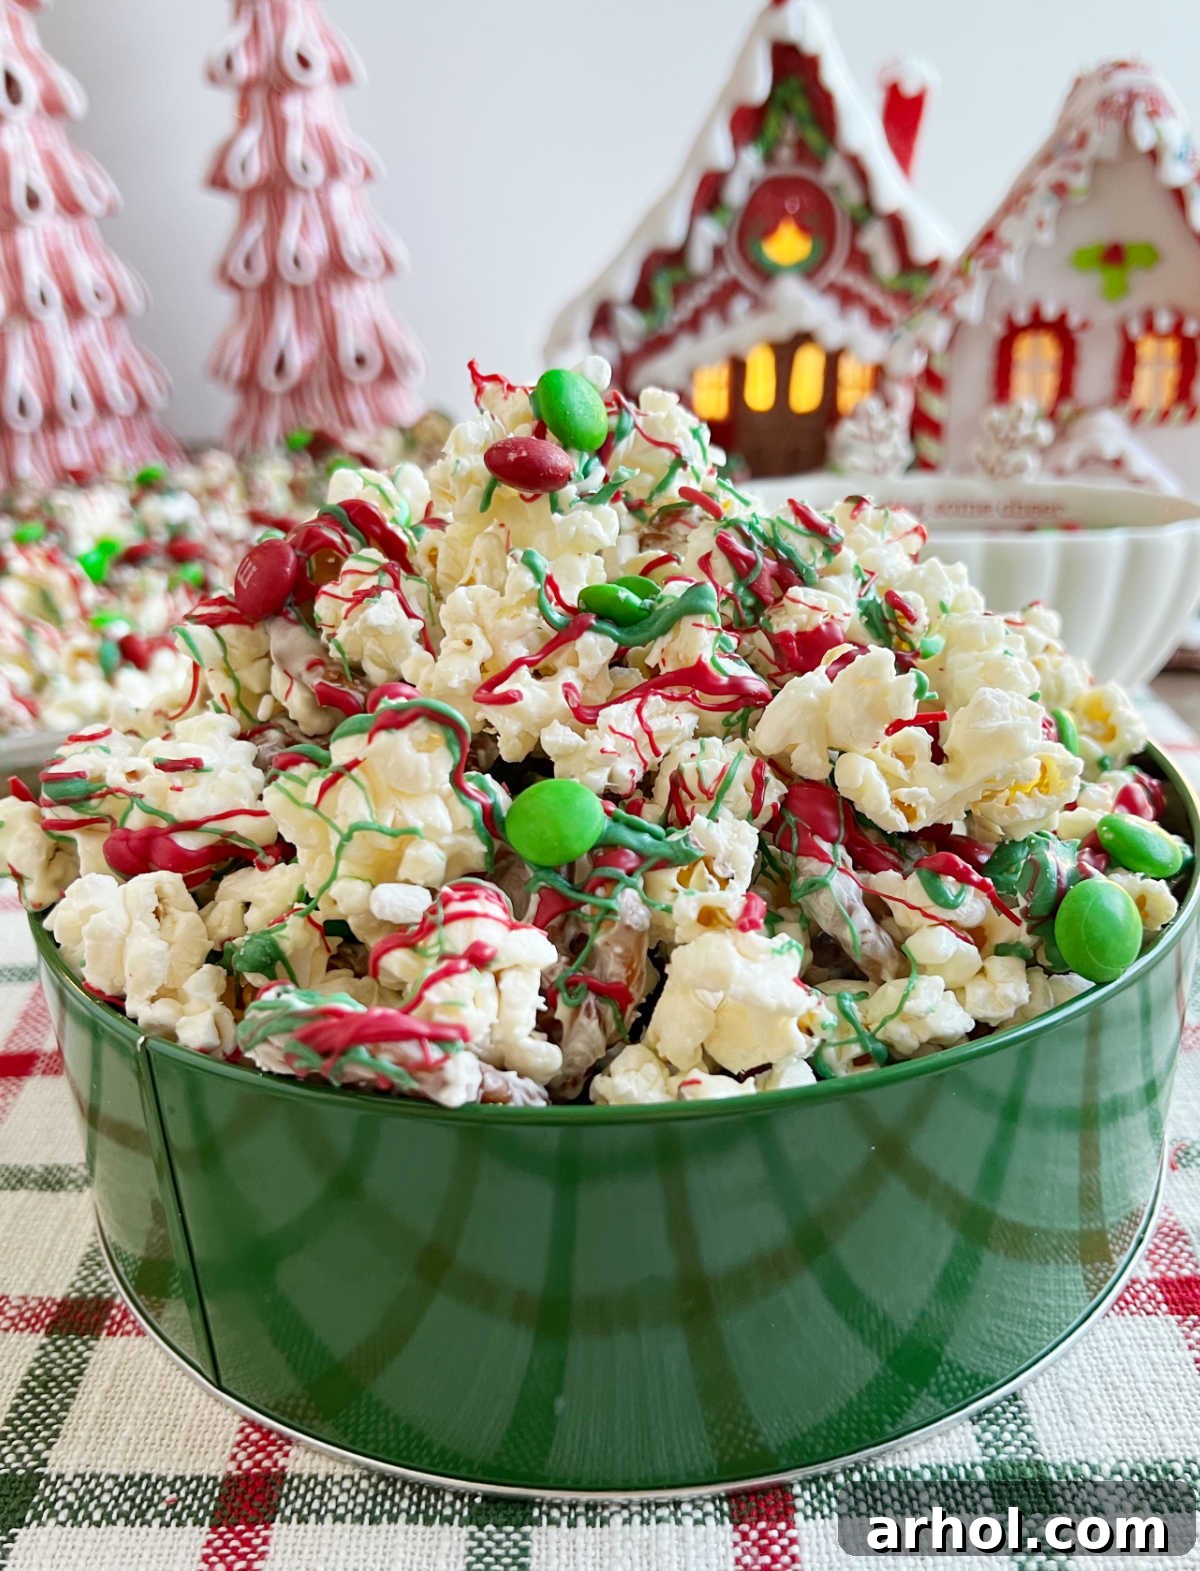
Table of Contents
- The Magic of Easy Christmas Crunch
- Essential Ingredients for Christmas Crunch
- Step-by-Step Guide: How to Craft Your Christmas Crunch Popcorn Snack Mix
- Storing Your Delicious Christmas Crunch
- Pro Tips for the Perfect Christmas Crunch Every Time
- More Festive Holiday Snack Mixes and Treat Ideas
- Christmas Crunch Snack Mix Recipe Card
The Magic of Easy Christmas Crunch: A Must-Have Holiday Treat
Whether you affectionately call it Christmas Crunch, Santa Munch, or simply festive Christmas popcorn, the name hardly matters when the result is this irresistibly delightful and genuinely delicious holiday treat! This easy-to-make snack mix is more than just a recipe; it’s a staple of holiday joy, bringing together classic festive flavors in a way that’s both simple and spectacular. Its blend of salty and sweet elements creates a taste sensation that appeals to everyone, from the pickiest eaters to the most seasoned gourmands.
What truly sets this Christmas Crunch apart is its incredible simplicity. You don’t need to be a seasoned baker to whip up a batch (or two, or three!). It comes together in minutes, requiring minimal effort and no baking, making it ideal for busy holiday schedules. Despite its ease, it always manages to impress, swiftly becoming the star of any snack table. Beyond being a delightful indulgence for your own family, this festive concoction also makes for an incredibly thoughtful and charming homemade gift. Package it beautifully in decorative tins, festive bags, or mason jars, and you’ve got a delicious present for friends, neighbors, teachers, and colleagues that shows you care.
We absolutely adore munching on this vibrant Christmas Candy Crunch throughout the holiday season. It’s become a cherished tradition in our home, especially when celebrating special occasions. For instance, it’s always a highlight at my daughter’s annual gingerbread house decorating party, where its colorful appeal and delicious taste add an extra layer of festive cheer to the creative chaos. It’s the kind of snack that sparks conversation, encourages sharing, and creates lasting holiday memories.
Essential Ingredients for Christmas Crunch: Simple & Customizable
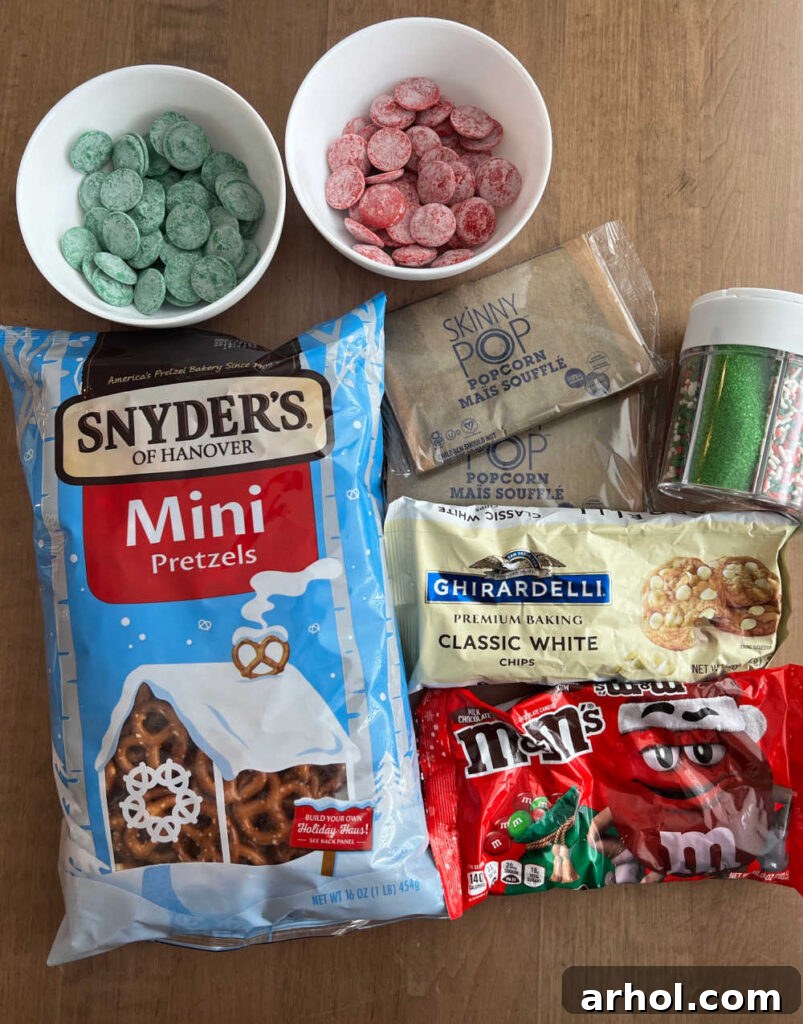
Creating this irresistible Christmas Crunch requires just a few readily available ingredients, allowing you to focus on the fun of assembly rather than a complicated shopping list. The beauty of this recipe lies in its flexibility; while we provide the core components, feel free to customize with your favorite holiday treats. You’ll find the precise measurements in the printable recipe card further down the page.
- Popcorn: The foundation of our crunch mix! For the best results, you’ll want to use plain, unsalted popcorn. You can easily pop your own kernels using an air popper, a stovetop pot, or even microwave popcorn (just ensure it’s a plain variety without extra butter or artificial flavors). The key is a neutral base that will perfectly absorb the sweet chocolate. Remember to carefully remove any un-popped kernels before adding them to the mix to prevent any unpleasant surprises. Approximately 8 cups of popped popcorn will create a generous batch.
- Pretzels: These provide that crucial salty contrast and satisfying crunch. Mini pretzels, pretzel twists, or even pretzel sticks work wonderfully. Their shape allows them to easily mix and coat with the chocolate, adding textural variety that makes each bite exciting. Aim for about 3 cups to strike the right balance between salty and sweet elements.
- White Chocolate: This is the sweet binder that holds everything together and adds a rich, creamy flavor. You have several excellent options here:
- White Chocolate Chips: Easily accessible and melt smoothly.
- White Almond Bark: A popular choice for candy making, known for its consistent melting and setting properties.
- White Candy Coating (Confectionery Wafers): Designed specifically for melting and coating, offering a smooth finish and excellent stability.
You’ll need roughly 2 cups. Whichever you choose, ensure it’s good quality for the best flavor and texture.
- Candy Melts: These are primarily for adding those signature vibrant holiday colors. Red and green are traditional, but you could opt for blue and silver, or even gold for a more elegant look. They create a beautiful ribbon of color over the white chocolate, enhancing the festive visual appeal. You can use any color that matches your holiday theme!
- M&M’s and Other Holiday Candies: This is where the real fun begins! Red and green M&M’s are a classic choice, but don’t limit yourself. Get creative with:
- Mini marshmallows for extra chewiness.
- Red Hots for a spicy kick.
- Assorted red and green sprinkles for sparkle.
- Small holiday-shaped candies (stars, trees, gingerbread men).
- Chopped peppermint candies for a refreshing minty twist.
- Mini chocolate chips for an extra chocolatey layer.
About 1 cup of M&M’s plus a variety of sprinkles and smaller candies will make your crunch truly spectacular.
In addition to these delectable ingredients, you’ll need a few basic kitchen tools: a sturdy sheet pan (or two, if making a large batch), wax paper or parchment paper to prevent sticking and ease cleanup, and a few small, microwave-safe bowls for melting the different chocolates and candy melts. It’s all incredibly “easy peasy” and designed for maximum holiday enjoyment!
Step-by-Step Guide: How to Craft Your Christmas Crunch Popcorn Snack Mix
Creating this festive Christmas Crunch is a delightfully simple process that yields impressive results. Follow these straightforward steps to assemble your perfect sweet and salty treat:
- Prepare Your Workspace: Begin by lining a large baking sheet (or two, if you’re making a generous amount) with either parchment paper or wax paper. This crucial step prevents the snack mix from sticking and makes cleanup a breeze. Once lined, evenly spread your popped popcorn and pretzels across the prepared sheet. Ensure they are distributed in a single layer as much as possible to allow for even coating.
- Melt the White Chocolate: Place your chosen white chocolate (chips, bark, or candy coating) into a microwave-safe bowl. Heat it in 30-second intervals, stirring thoroughly after each interval. Continue until the chocolate is completely melted and smooth, with no lumps remaining. Be careful not to overheat, as white chocolate can seize. Alternatively, you can melt it using a double boiler on the stovetop for a more gentle approach.
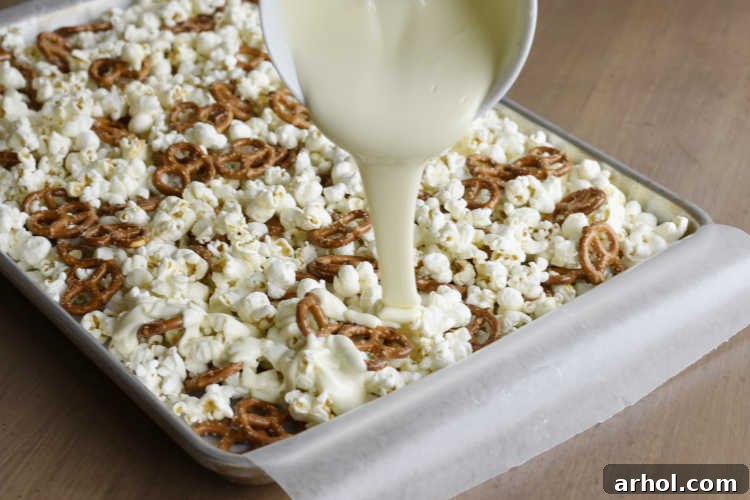
- Coat the Snack Mix: Once the white chocolate is perfectly melted, pour it evenly over the spread-out popcorn and pretzels on your baking sheet. While you could transfer these to a large bowl for mixing, I find that working directly on the sheet pan saves you an extra dish! Use a sturdy spatula or a large spoon to gently fold and mix everything together. Ensure that every piece of popcorn and pretzel is thoroughly coated with the creamy white chocolate.
- Evenly Spread: After coating, spread the chocolate-covered mixture evenly back onto the lined baking sheet. Try to create a relatively flat layer, which will help with the next steps and ensure even setting.
- Melt and Drizzle Candy Melts: In separate small, microwave-safe bowls, melt your red and green candy melts according to their package directions. Just like with the white chocolate, heat in short intervals and stir until smooth. Once melted, take one color at a time and drizzle it artistically over the popcorn mixture using a spoon or a piping bag with a small hole. Repeat with the second color. We opted for classic red and green for a traditional Christmas look, but feel free to use any holiday colors you prefer, or even skip this step if you’re going for a purely white chocolate aesthetic.
- Add Festive Toppings: Immediately after drizzling the candy melts (while they are still wet), sprinkle your choice of seasonal M&M candies and any other festive Christmas candies over the mix. This is your chance to add sparkle and extra flavor! We love using cinnamon red hots for a subtle spice, a mix of red and green sprinkles, and small candies in fun holiday shapes. Press them lightly into the wet chocolate to ensure they adhere.
- Allow to Set: To solidify the chocolate and candy melts, carefully transfer the baking sheet with your Christmas Crunch into the refrigerator. Let it chill for at least 20-30 minutes, or until the melted chocolate is completely firm and set. If your kitchen is cool, you can also let it set at room temperature, which might take a bit longer (1-2 hours).
- Break Apart and Serve: Once the chocolate has fully hardened, remove the baking sheet from the fridge. Gently break the large slab of Christmas Crunch into smaller, bite-sized pieces. Now it’s ready to be devoured! Arrange it in a festive bowl and prepare for it to disappear quickly.
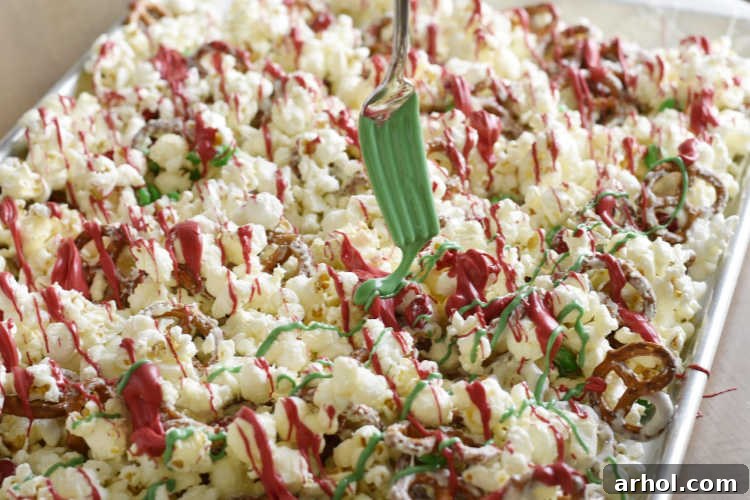
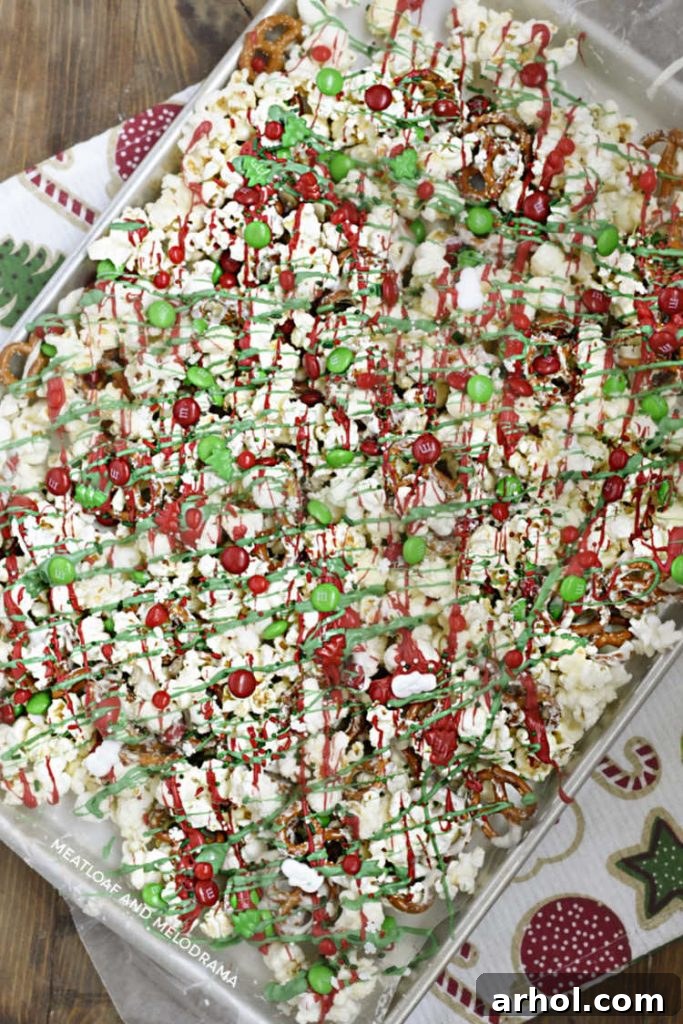
This effortless method ensures a beautifully coated, perfectly crunchy, and utterly delicious Christmas Crunch snack mix every time. Enjoy the process and the delightful outcome!
Storing Your Delicious Christmas Crunch: Keeping it Fresh for Longer
Once your irresistible Christmas Crunch Snack Mix has fully set and been broken into delightful pieces, you’ll want to store it properly to maintain its freshness and delightful crunch. Proper storage ensures you can enjoy this holiday treat for days to come, or even prepare it slightly in advance for your festivities.
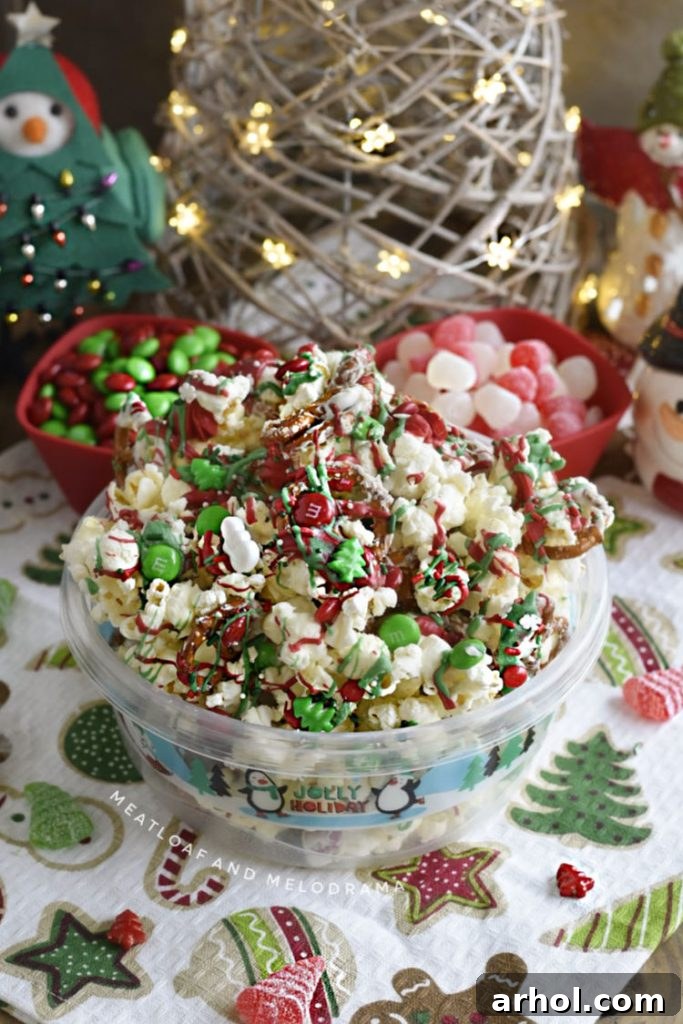
The best way to store Christmas Crunch is in an airtight container. This keeps out moisture and air, which are the main culprits behind stale popcorn and melting chocolate. A glass container with a tight-fitting lid, a sturdy plastic container, or even a heavy-duty Ziploc bag will work perfectly. Ensure the container is completely sealed after each time you grab a handful!
Regarding temperature, you have a couple of options. I often store mine in the refrigerator, especially because where I live, the ambient temperature can be quite warm, which makes the chocolate prone to softening or melting. Storing it in the fridge keeps the chocolate firm and the crunch perfectly crisp. However, if your kitchen or pantry is consistently cool (below 70°F or 21°C) and not too humid, you can certainly store it at room temperature. Just make sure it’s away from direct sunlight or any heat sources that could cause the chocolate to melt and become sticky.
When stored correctly in an airtight container, your Christmas Crunch should remain fresh and delicious for up to a week. The pretzels might lose a tiny bit of their initial crispness after several days at room temperature, but in the fridge, they tend to hold up very well. This makes it an excellent candidate for making a batch a few days before a party or as part of your holiday gifting preparations.
Pro Tips for the Perfect Christmas Crunch Every Time
Achieving a truly exceptional Christmas Crunch Snack Mix is easy with a few insider tips. These pointers will help you avoid common pitfalls and ensure your holiday treat is nothing short of perfection:
- Choose the Right Popcorn: For the best results, always opt for plain, unflavored popcorn. Avoid kettle corn, buttered popcorn, or heavily seasoned varieties, as these flavors can clash with the sweet white chocolate and candy melts. If popping your own, ensure you remove any un-popped kernels or husks to make for a more pleasant eating experience. Air-popped popcorn often works best for a light and airy base.
- Mastering Chocolate Melting: Melting chocolate requires a bit of patience. Always melt white chocolate in the microwave in short intervals (typically 30 seconds at a time), stirring thoroughly after each interval. This prevents scorching and helps achieve a smooth, pourable consistency. If you rush it or overheat the chocolate, it can seize (become thick, grainy, and unusable). If you prefer, a double boiler on the stovetop offers a gentler, more controlled melting method.
- Even Coating is Key: When combining the melted white chocolate with the popcorn and pretzels, use a gentle hand. A rubber spatula is ideal for folding and stirring, ensuring every piece gets an even, generous coating without crushing the delicate popcorn. An even coating guarantees a balanced flavor in every bite.
- Setting Time is Crucial: Allow the snack mix to set completely before breaking it apart. This ensures the chocolate is firm and creates those satisfying crunchy clusters. While refrigeration speeds up the process (about 20-30 minutes), you can also let it set at room temperature if your home is cool enough (this may take 1-2 hours). Patience here will be rewarded with a perfectly crisp crunch.
- Gifting Perfection: If you plan to package the mix as gifts, ensure it has cooled and set completely. Warm or soft chocolate will lead to sticky, messy treat bags. Once firm, break it into appropriate sizes and place it into cellophane treat bags, decorative tins, or festive boxes. Tie with a ribbon and add a small tag for a thoughtful, personalized touch.
- Creative Customization: Don’t be afraid to experiment with your toppings! Consider adding:
- Miniature candies like gumdrops or gummy bears for extra chewiness.
- Chopped nuts (pecans, almonds) for added crunch and richness.
- Dried cranberries or cherries for a tart contrast.
- A sprinkle of flaky sea salt before the chocolate sets for an extra salty kick that enhances the sweetness.
- Different colored candy melts to match other holiday themes (e.g., blue and silver for Hanukkah, pastels for Easter).
- Make Ahead Advantage: Christmas Crunch is an excellent make-ahead treat. Since it stores well for up to a week, you can prepare it a few days before your event, freeing up valuable time during the busy holiday rush.
By following these tips, your Christmas Crunch Snack Mix will not only be delicious but also beautifully presented and perfectly textured, making it a standout treat of the season!
More Festive Holiday Snack Mixes and Treat Ideas
The joy of creating seasonal snack mixes is boundless, and I absolutely love crafting a unique and easy mix for nearly every major holiday. These recipes are not only simple to prepare but also bring an extra layer of festive fun to any celebration. If you enjoyed making this Christmas Crunch, you’ll definitely want to explore these other fantastic options:
- My White Chocolate Puppy Chow is an incredibly easy and addictively delicious holiday treat made with Chex Cereal. It’s coated in melted white chocolate and powdered sugar, creating a sweet, messy, and utterly satisfying snack that’s perfect for any time of year, but especially popular during the festive season.
- For springtime celebrations, we delight in making Bunny Bait for Easter. This colorful mix often includes pastel M&M’s, marshmallows, and sprinkles, making it a visually appealing and tasty treat for Easter baskets and brunch tables.
- When the Fourth of July rolls around, our Patriotic Popcorn takes center stage. Adorned with red, white, and blue candies and sprinkles, it’s a vibrant and delicious way to celebrate Independence Day with a sweet and salty bang.
- Halloween calls for something spooky and fun, which is why Monster Munch is a perennial favorite. This mix often incorporates candy corn, gummy worms, chocolate eyeballs, and festive sprinkles to create a ghoulishly good snack perfect for trick-or-treaters and costume parties.
- As the leaves begin to change, our Fall Puppy Chow (also known as Autumn Mix or Harvest Hash) celebrates the rich flavors of the season. Often featuring pumpkin spice, caramel, or fall-themed candies, it’s a cozy and comforting snack for hayrides and bonfires.
- And of course, for Valentine’s Day, nothing says “I love you” quite like a batch of Valentine’s Day Snack Mix. Dressed in pink, red, and white chocolates, heart-shaped candies, and sprinkles, it’s a sweet gesture for your loved ones.
These snack mixes are more than just food; they are an invitation to create, share, and enjoy the festive spirit throughout the year. Each recipe offers a simple way to add a special, homemade touch to your holiday celebrations.
Christmas Crunch Snack Mix
Dee
5 minutes
10 minutes
30 minutes
45 minutes
20
Ingredients
- 8 cups popcorn
- 3 cups pretzels
- 2 cups white chocolate
- 1 cup m & m candy
- Red candy melts melted
- Green candy melts melted
- Small holiday candies or sprinkles
Instructions
-
Line a baking sheet with parchment paper or wax paper, and spread popcorn and pretzels evenly on baking sheet.
-
Melt white chocolate according to package directions, and use a spoon to drizzle evenly over popcorn and pretzels.
-
Stir gently so that the mixture is evenly coated with chocolate.
-
Drop M&M candies evenly over the mixture, pressing lightly to adhere.
-
Melt red and green candy coating according to package directions, and drizzle the melted colors over the mixture, one at a time, creating a festive swirl.
-
Sprinkle your favorite small holiday candies or sprinkles over the mix while the candy melts are still wet.
-
Allow the chocolate to set and the mixture to firm up — about 30 minutes in the refrigerator — before serving. Store covered in a cool, dry place.
Notes
Feel free to use your favorite Christmas or holiday candies to customize the mix.
Nutrition
Calories:
186kcal
,
Carbohydrates:
28g
,
Protein:
3g
,
Fat:
7g
,
Saturated Fat:
4g
,
Cholesterol:
4mg
,
Sodium:
171mg
,
Potassium:
69mg
,
Fiber:
1g
,
Sugar:
15g
,
Vitamin A:
36IU
,
Vitamin C:
1mg
,
Calcium:
40mg
,
Iron:
1mg
Nutrition information is automatically calculated, so should only be used as an approximation.
Additional Info
Appetizer, Dessert, Snack
American
For even more delightful and easy recipes, especially festive holiday treats your family will adore, be sure to sign up for our weekly newsletter! You’ll receive fresh ideas and culinary inspiration delivered directly to your inbox. Also, don’t forget to follow me on social media to stay updated with the latest recipes and kitchen tips.

This recipe was originally published in 2019 and has been updated in 2023 with additional tips, ingredient details, and improved instructions to ensure the best possible results for your holiday snacking pleasure.