
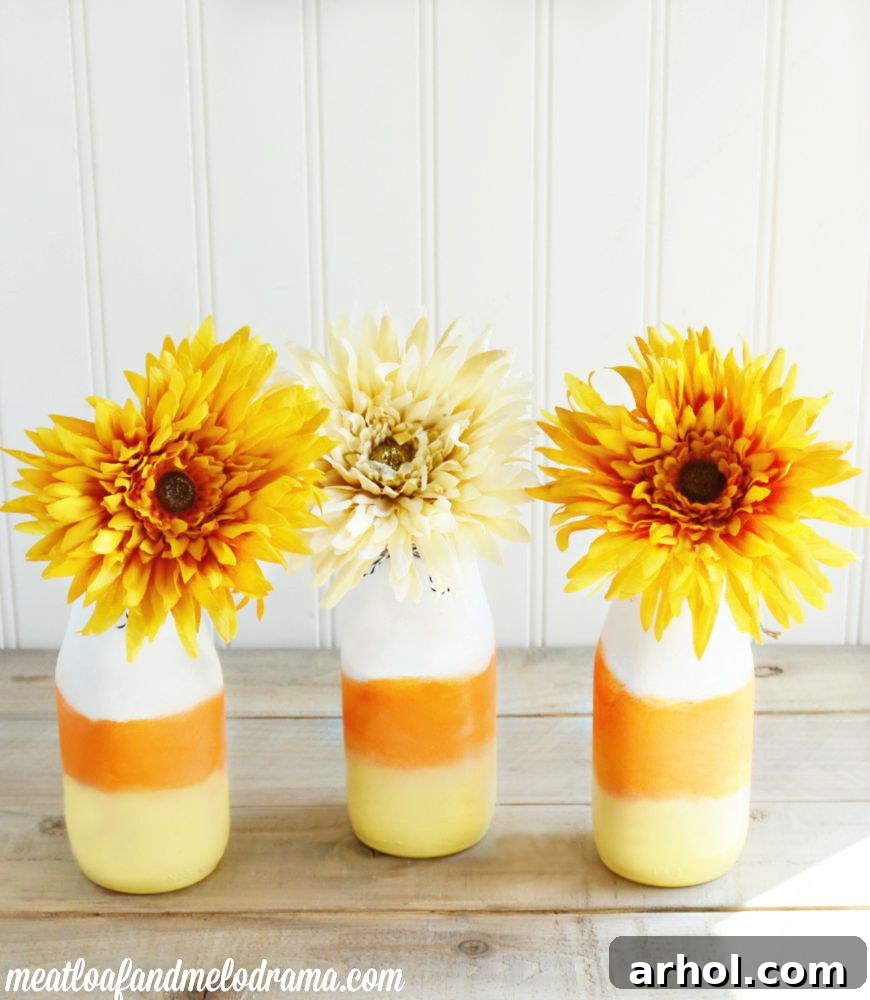
Discover how to easily craft your very own DIY Candy Corn Vases using everyday empty glass bottles. This simple and incredibly thrifty fall craft tutorial is perfect for adding a festive touch to your autumn decor, transforming discarded items into delightful seasonal accents.
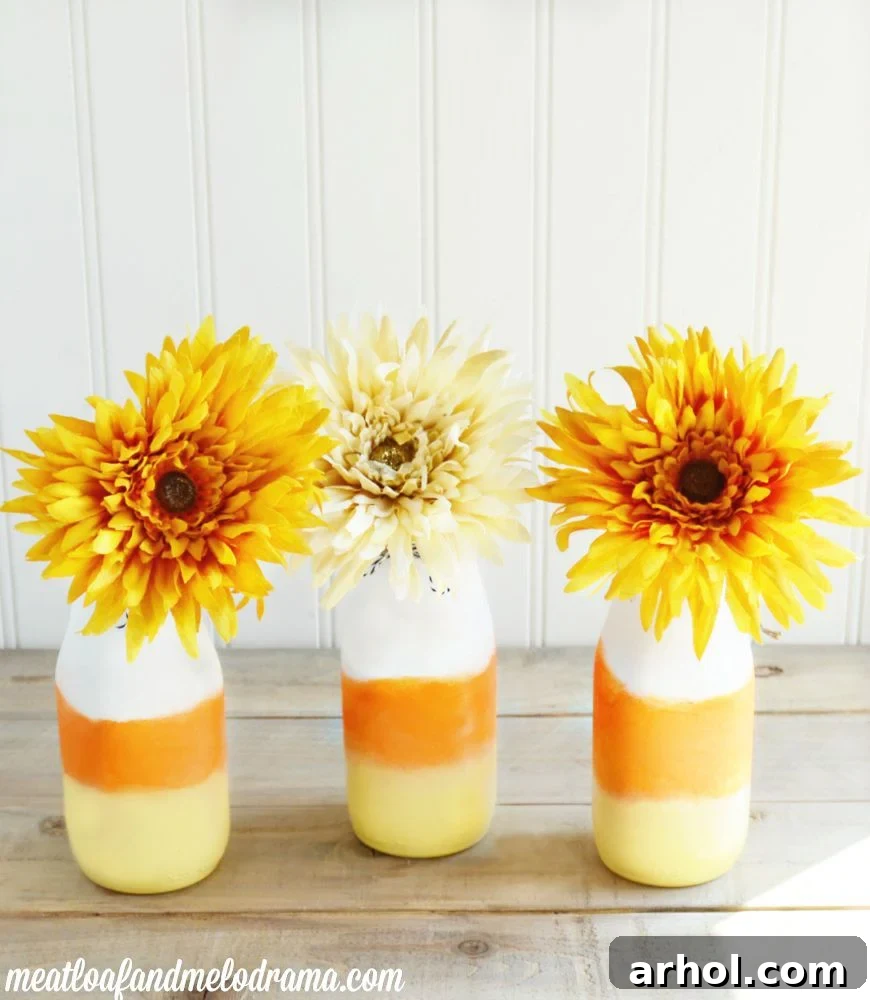
DIY Candy Corn Vases: Your Ultimate Guide to a Festive Fall Craft
As the leaves begin to turn vibrant shades of red, orange, and gold, and a crisp coolness fills the air, there’s no better time to infuse your home with the spirit of autumn. And what better symbol of fall than the iconic candy corn? This tri-colored treat brings back nostalgic memories of childhood Halloweens and cozy autumn evenings. Inspired by this beloved candy, we’ve created a charming and incredibly easy DIY project: transforming humble empty glass bottles into adorable Candy Corn Vases.
Whether you’re looking for budget-friendly decorations, an eco-friendly way to repurpose old bottles, or simply a fun seasonal craft, these DIY candy corn vases are an absolute delight. They’re perfect for displaying faux fall flowers, holding small decorative twigs, or even standing alone as a whimsical centerpiece. Forget expensive store-bought decor; with just a few supplies, you can create unique pieces that truly capture the essence of the season.
Why Choose Glass Bottles for This Fall Craft?
Over the years, I’ve dabbled in various fall crafts, using everything from glass jars to scrap wood to create pumpkins, apples, and ghosts. However, for candy corn, glass bottles truly stand out as the ideal medium. Their inherent shape, often slender with a wider base and narrower top, naturally mimics the distinct tapered form of a candy corn kernel, making them perfect candidates for this particular transformation.
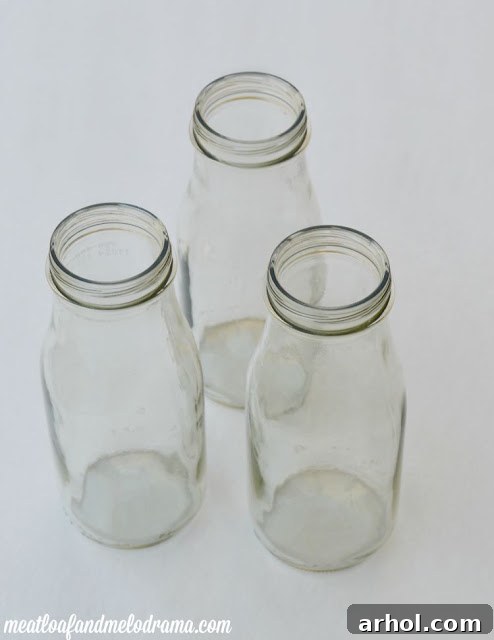
Almost any glass bottle can work for this project, but we’ve found that empty Frappuccino bottles are exceptionally good. They have a charming, almost vintage milk bottle aesthetic, and their size is just right for a variety of decorative arrangements. Plus, if you’re a fan of coffee drinks, it’s a delicious and economical way to acquire your crafting materials!
While similar bottles can be found in craft stores, repurposing bottles from your recycling bin is not only cheaper but also a fantastic way to practice sustainability. It’s a win-win: enjoy your favorite beverage, then give the bottle a second life as a beautiful piece of fall decor.
Supplies You’ll Need for Your DIY Candy Corn Vases
Gathering your materials for this project is straightforward. Most items you might already have around your home, or they are readily available at any craft or hardware store. Here’s a detailed list:
Essential Materials:
- Empty Glass Bottles: Collect various sizes and shapes if you like, but consistent sizes like Frappuccino bottles work wonderfully for a cohesive set. Ensure they are thoroughly cleaned and dry, with all labels removed.
- Orange, Yellow, and White Spray Paint: Choose acrylic craft spray paints for best adhesion and durability on glass. Matte or semi-gloss finishes work well to give that classic candy corn look.
- Twine: A small roll of natural jute twine or black and white baker’s twine can add a charming rustic or festive touch.
- Plastic Wrap or Painter’s Tape: This is crucial for masking off sections and achieving crisp lines between your paint colors.
Step-by-Step Guide: How to Craft Your Candy Corn Vases
Creating these festive vases is a simple process, perfect for an afternoon craft session. Remember, the beauty of handmade items often lies in their slight imperfections, much like real candy corn itself!
Preparation and Workspace Setup:
Before you begin, ensure your glass bottles are sparkling clean and completely dry. Any residue or moisture can prevent the paint from adhering properly. Remove all labels by soaking the bottles in warm, soapy water, then scrubbing. For stubborn adhesive, Goo Gone or rubbing alcohol can be helpful. Once clean, set up your workspace in a well-ventilated area, preferably outdoors, or in a garage with open doors. Lay down a drop cloth or old newspaper to protect your surfaces from overspray.
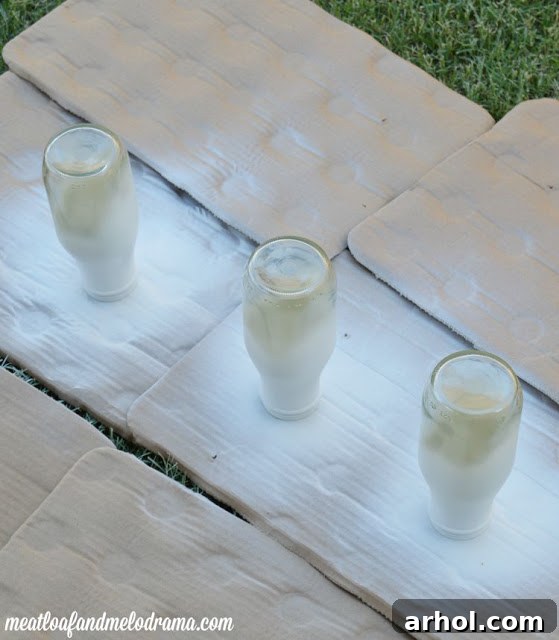
Step 1: Applying the White Top
Begin by turning your cleaned bottles upside down. This orientation makes it easier to apply the white paint to what will become the top section of your candy corn design. Using your white spray paint, apply a light, even coat to the bottom (which will be the top when flipped). Hold the can about 6-8 inches away and use steady, sweeping motions. Apply a second coat after about 15-20 minutes for better coverage, if needed. Allow this section to dry completely, which typically takes an hour or two depending on humidity and paint type.
Step 2: Masking for the Orange Section
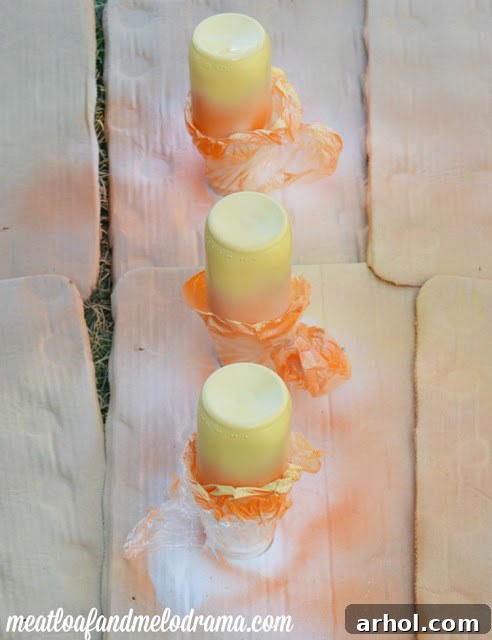
Once the white paint is thoroughly dry, it’s time to mask off the white section to prepare for the orange. This step is crucial for achieving relatively clean lines. You can use painter’s tape to create a crisp line, or as we did, plastic wrap can work wonders for covering irregular shapes and preventing overspray. Carefully wrap the top, white-painted section of each bottle with plastic wrap, securing it tightly around the base of the white section. Ensure there are no gaps where orange paint could seep through.
Step 3: Spraying the Orange Middle
With the white section protected, apply the orange spray paint to the middle portion of the bottles. Again, use light, even coats and maintain a consistent distance from the bottle. You’ll want to aim for a section that’s roughly equal in size to the white portion, or slightly larger. Don’t worry if the lines aren’t absolutely perfect – remember, real candy corn has its charming irregularities! Allow the orange paint to dry completely before moving to the next step. This is important to prevent smudging or mixing of colors.
Step 4: Adding the Yellow Base
Once the orange paint is dry, carefully remove the plastic wrap or painter’s tape. Now, you’ll need to mask off both the white and orange sections, leaving the bottom-most portion of the bottle exposed for the yellow paint. You might find it easier to use painter’s tape for the bottom edge of the orange section to get a straighter line. Apply the yellow spray paint to the remaining bottom section of each bottle. As with the previous colors, use light, even coats. Allow the yellow paint to dry thoroughly.
Embellishing Your Candy Corn Vases
After all the paint has dried, you might notice some edges aren’t perfectly sharp. Don’t fret! As my little Diva sagely pointed out when she came home from school, “Real candy corn isn’t perfect either!” Embrace the handcrafted charm. If you wish, you can use a fine-tipped brush and a bit of craft paint to touch up any major smudges, but often, the slight imperfections add to their character.
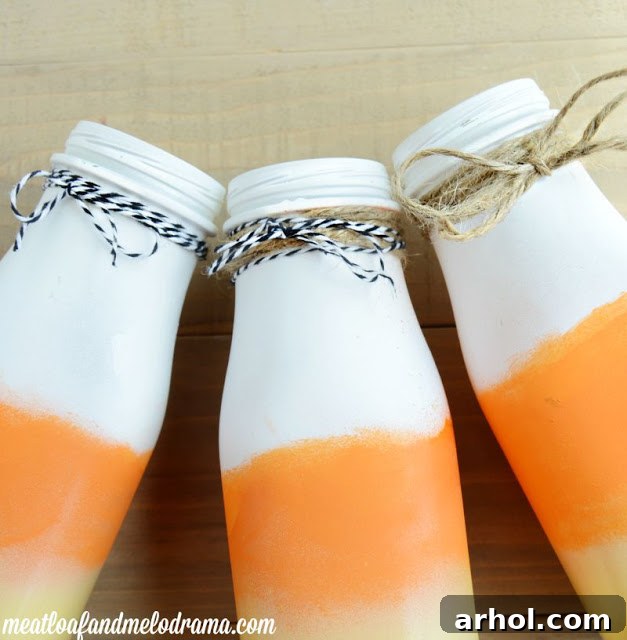
To add a final touch of charm, consider tying some twine around the neck or middle section of your vases. My little guy suggested using black and white baker’s twine, noting that it reminded him of Halloween – a brilliant idea for an extra festive flair! Natural jute twine also offers a lovely rustic appeal that complements fall decor beautifully.
Displaying Your Festive Fall Creations
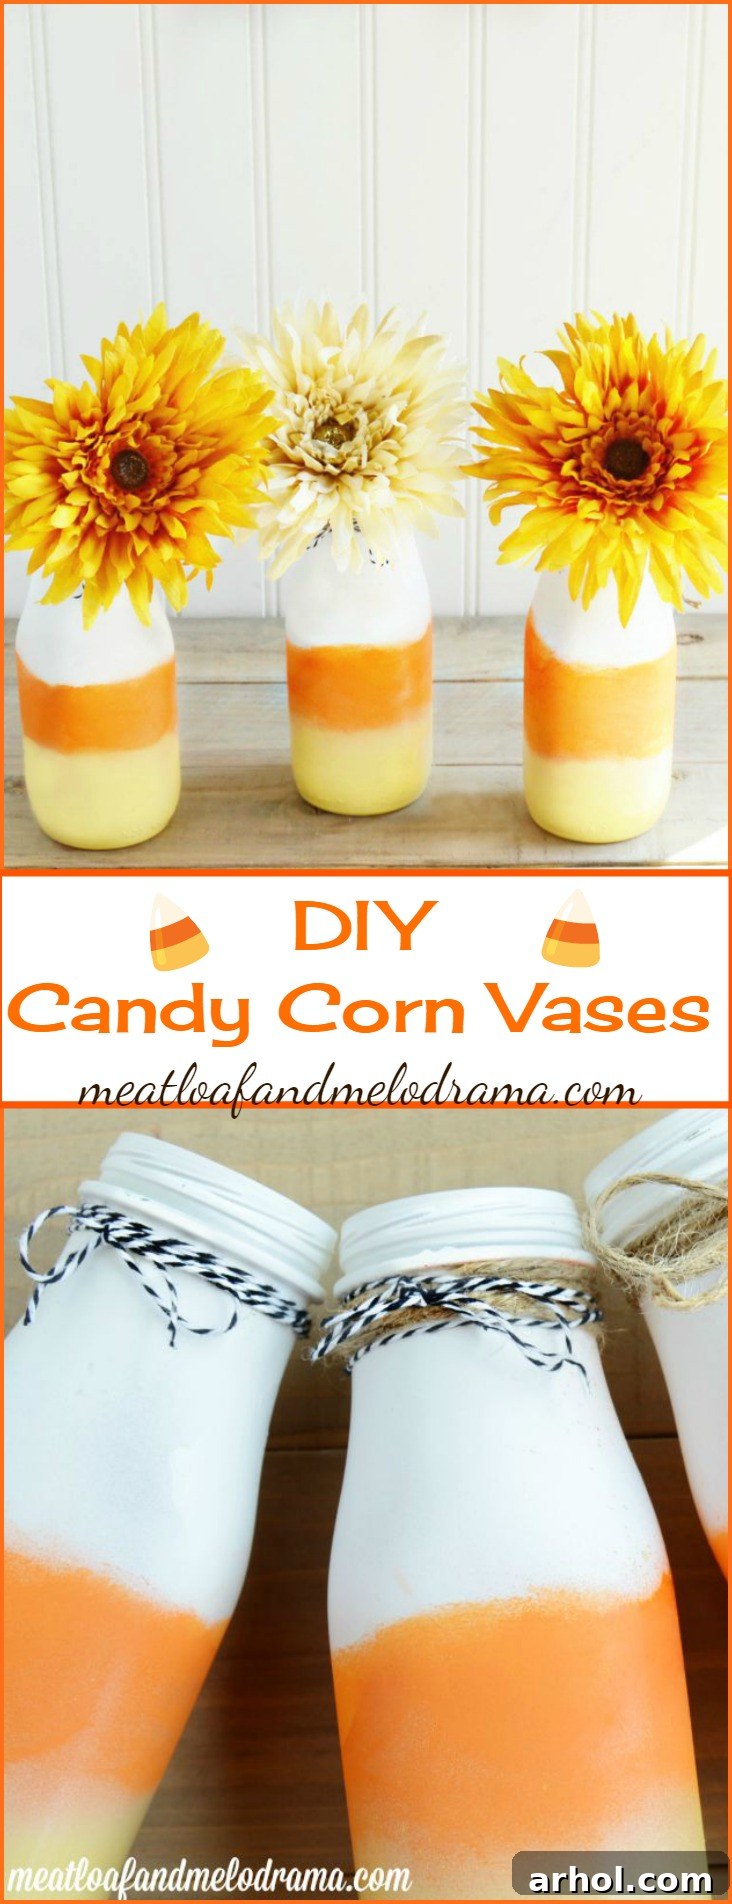
Once your DIY candy corn vases are complete, it’s time to showcase them! These versatile decorations can brighten up almost any corner of your home. Since real fall flowers aren’t always readily available, faux fall flowers are an excellent choice. Look for arrangements with colors that complement the orange, yellow, and white of the candy corn, or opt for deep reds and earthy greens to create a striking contrast.
Consider placing them on your mantelpiece, as a centerpiece on your dining table, or scattered throughout your living room on side tables. They also make fantastic additions to a Halloween party display or a Thanksgiving tablescape. Fill them with small decorative elements like faux berries, autumn leaves, or even tiny LED fairy lights for a magical glow.
Tips for Success and Creative Variations
To ensure your candy corn vase project goes smoothly, here are a few extra tips:
- Ventilation is Key: Always use spray paint in a well-ventilated area to avoid inhaling fumes.
- Light Coats are Best: Multiple thin coats of spray paint yield a much smoother, more professional finish than one thick coat, which can lead to drips and unevenness.
- Patience with Drying: Allow ample drying time between each color layer. Rushing this step can cause colors to bleed or the paint to lift when you apply masking.
- Alternative Masking: If plastic wrap feels too messy, high-quality painter’s tape can provide very crisp lines. You can also experiment with liquid masking fluid for more intricate designs.
Beyond Candy Corn: Creative Variations
Don’t stop at candy corn! These upcycled bottle techniques can be adapted for endless seasonal themes:
- Ghostly Bottles: Paint entire bottles white, then add black felt or painted eyes and mouths for spooky ghost decorations.
- Mini Pumpkins: Paint bottles orange, then add a green stem and some black wavy lines or dots.
- Witch’s Brew: Use dark purples, greens, and blacks, maybe adding glitter or painted potion labels.
- Striped Holiday Decor: For winter, use red, green, and white stripes, or silver and gold for New Year’s.
This project is not only fun and creative but also incredibly satisfying. Even my husband, who isn’t always quick to praise my crafts, gave these candy corn vases his seal of approval – and if he likes it, you know it can’t be bad! Plus, since I already had most of the supplies on hand, this fall craft literally didn’t cost a dime. You truly can’t beat that combination of charm and thriftiness.
Thank you so much for joining us on this creative journey. We hope you feel inspired to gather your empty bottles and transform them into beautiful, festive DIY Candy Corn Vases for your home this autumn. Happy crafting!

You Might Also Like
If you enjoyed crafting these fall-themed vases, explore more of our easy and inspiring DIY projects to keep your home festive all season long.