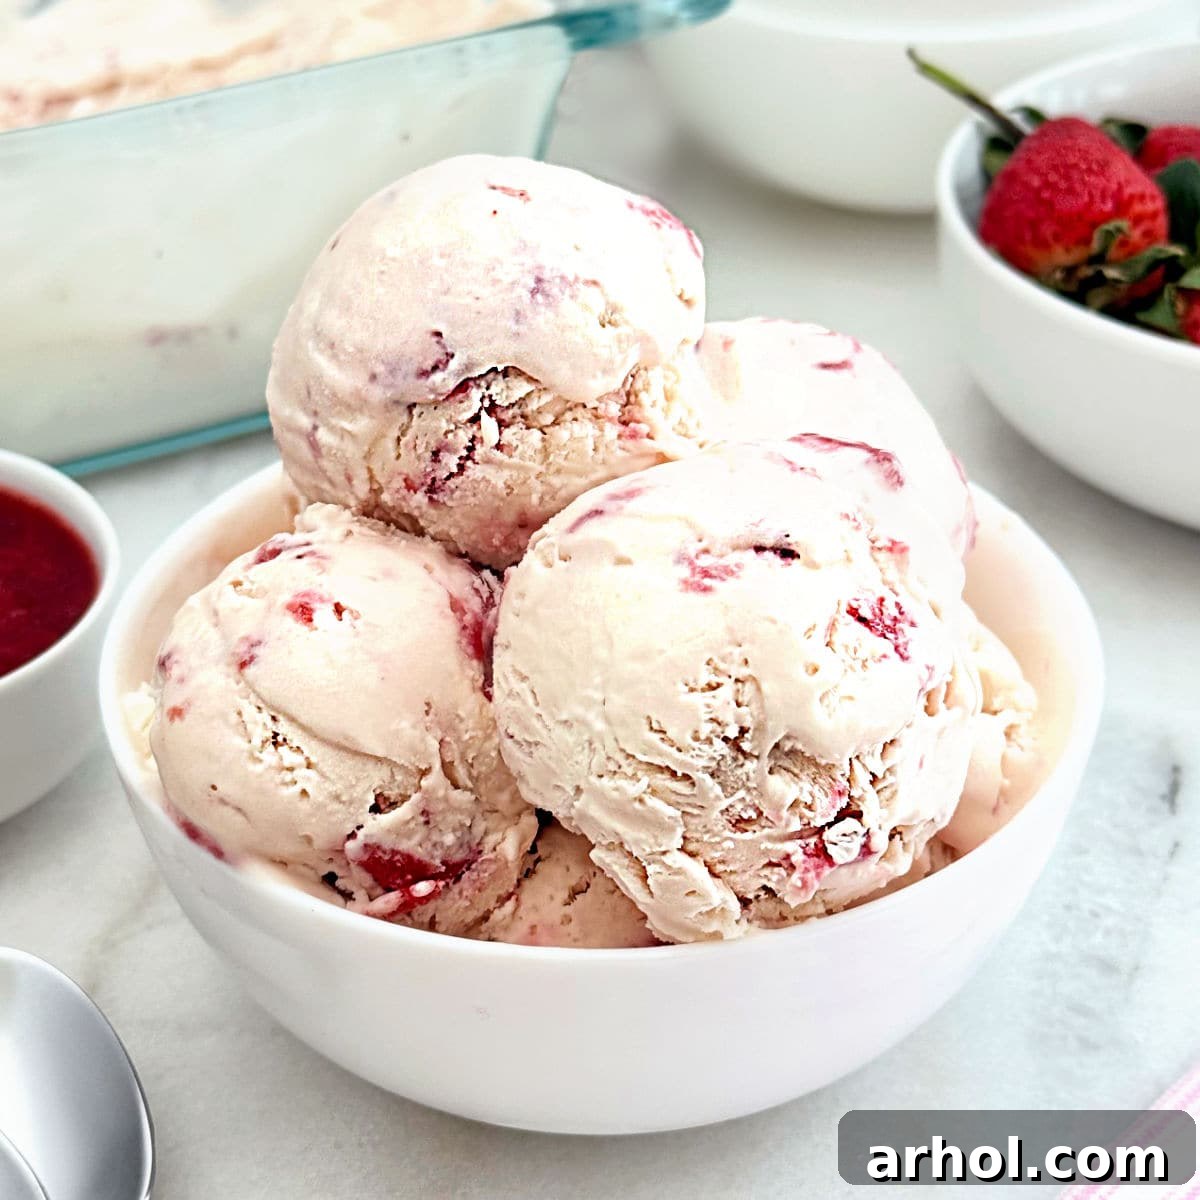
Indulge in Homemade Bliss: The Easiest No-Churn Strawberry Ice Cream Recipe
Prepare to delight your taste buds with this incredibly easy homemade strawberry ice cream recipe. Crafted with simple, readily available ingredients, this vibrant and refreshing dessert is the quintessential treat for warm summer days or any time you crave a burst of sweet, fruity flavor. The best part? You won’t need an expensive ice cream maker or any special appliances to create this creamy, dreamy frozen delight right in your own kitchen.
This recipe transforms fresh, ripe strawberries into a luscious, scoopable ice cream that embodies the essence of summer. It’s a fantastic way to enjoy seasonal berries and create lasting memories with family and friends. Imagine serving this beautiful, pink dessert, knowing you made it from scratch with minimal effort.
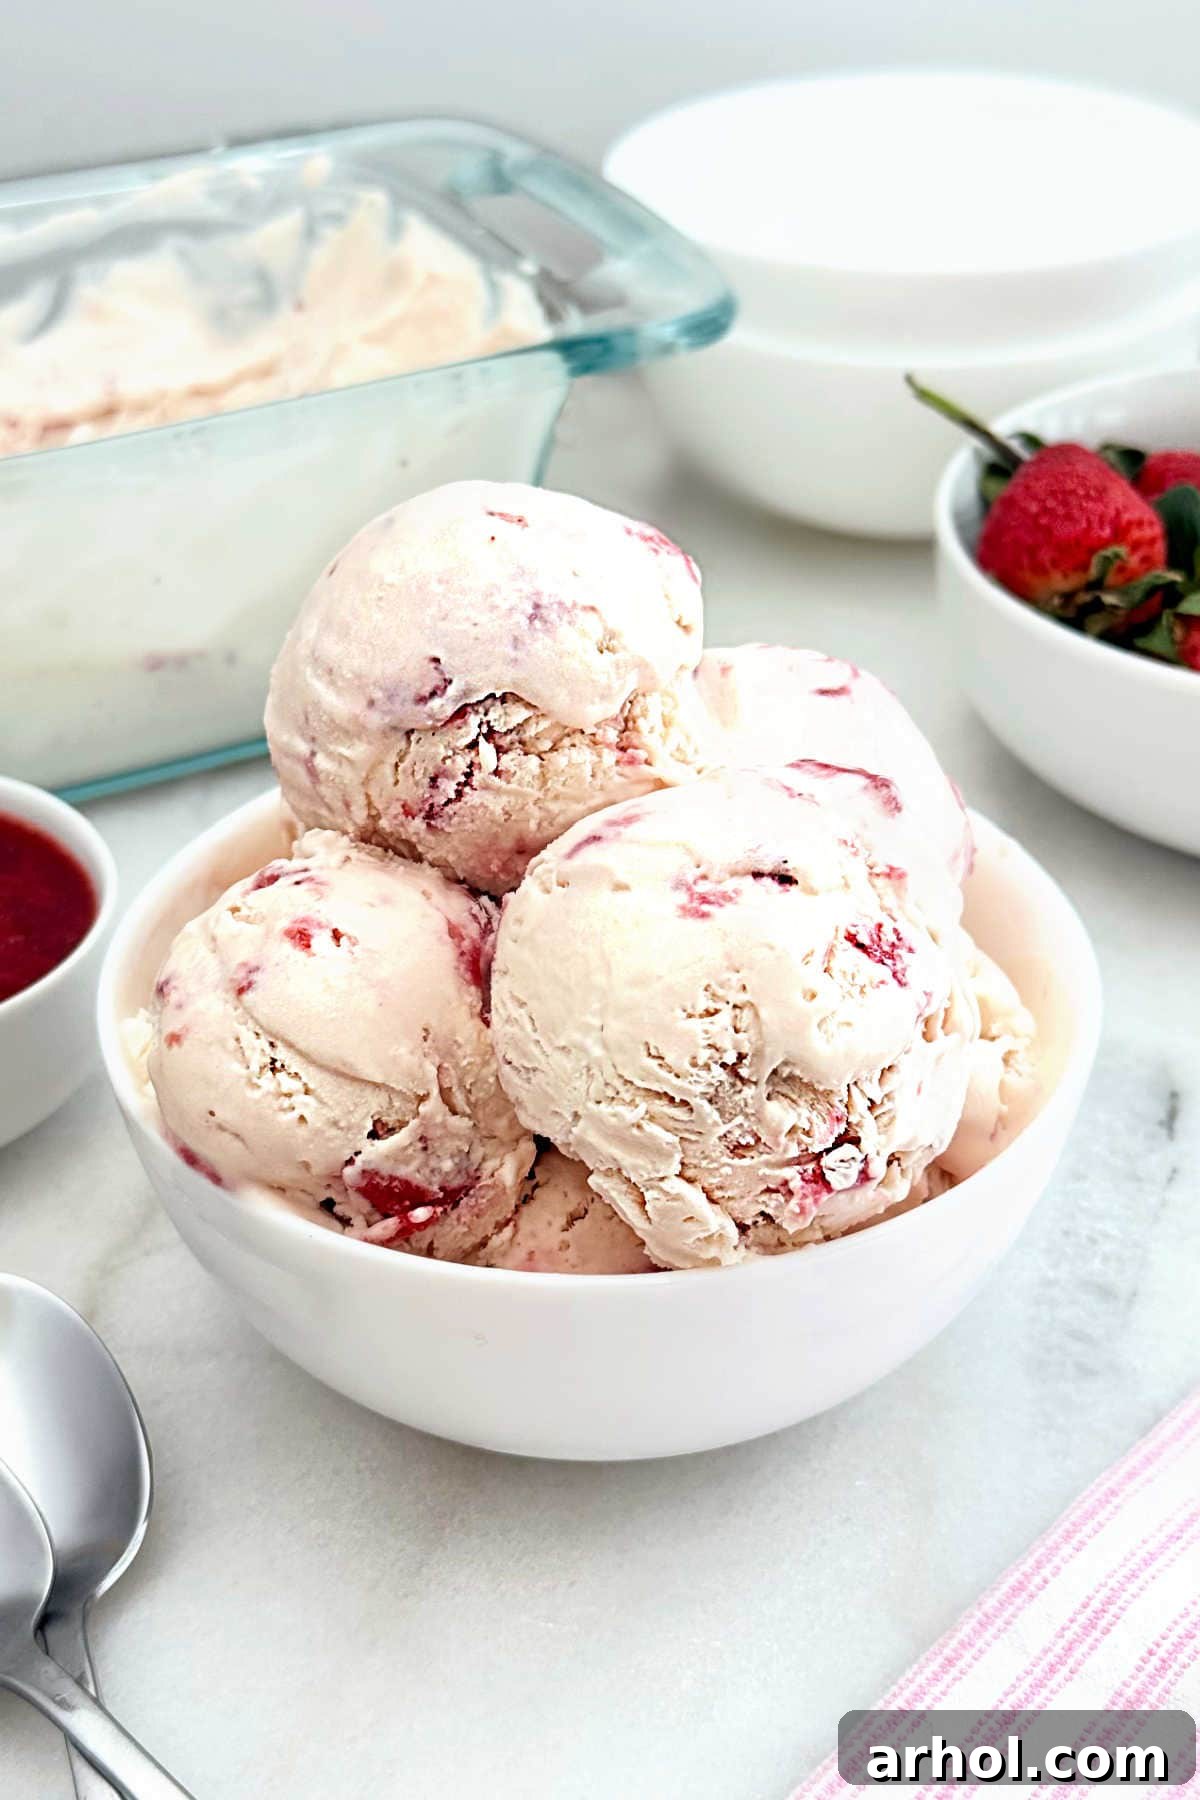
The Magic of No-Churn Ice Cream: Effortless Creaminess
Our love for no-churn ice cream runs deep, and once you try it, you’ll understand why. This method is incredibly straightforward, eliminating the need for an ice cream machine or any specialized appliances that often deter home cooks from making their own frozen treats. It’s a revelation for anyone who thought homemade ice cream required complex gear and hours of labor. With just a few basic kitchen tools like a mixing bowl and an electric mixer, along with a handful of common ingredients, you can achieve a supremely creamy texture that rivals traditional churned ice cream.
The process hinges on two key components: rich heavy whipping cream, which provides the airy volume and luscious mouthfeel, and sweetened condensed milk, which contributes sweetness and prevents ice crystals from forming, ensuring a smooth, scoopable consistency. This ingenious combination allows for a velvety texture without constant churning. I still fondly remember when my oldest daughter first mastered this easy strawberry ice cream recipe last summer, and then again delighted us all with it for Mother’s Day dessert this year. It truly felt like a special treat made with love and tasted absolutely divine.
Beyond its ease, no-churn ice cream offers immense versatility. You can easily experiment with different fruit purees, chocolate chips, cookie crumbles, or other mix-ins and flavorings to create endless variations tailored to your preferences. For busy individuals or those new to homemade desserts, this method opens up a world of frozen possibilities, making it simple to whip up a delicious treat whenever the craving strikes, without the fuss.
Essential Ingredients for Perfect Strawberry Ice Cream
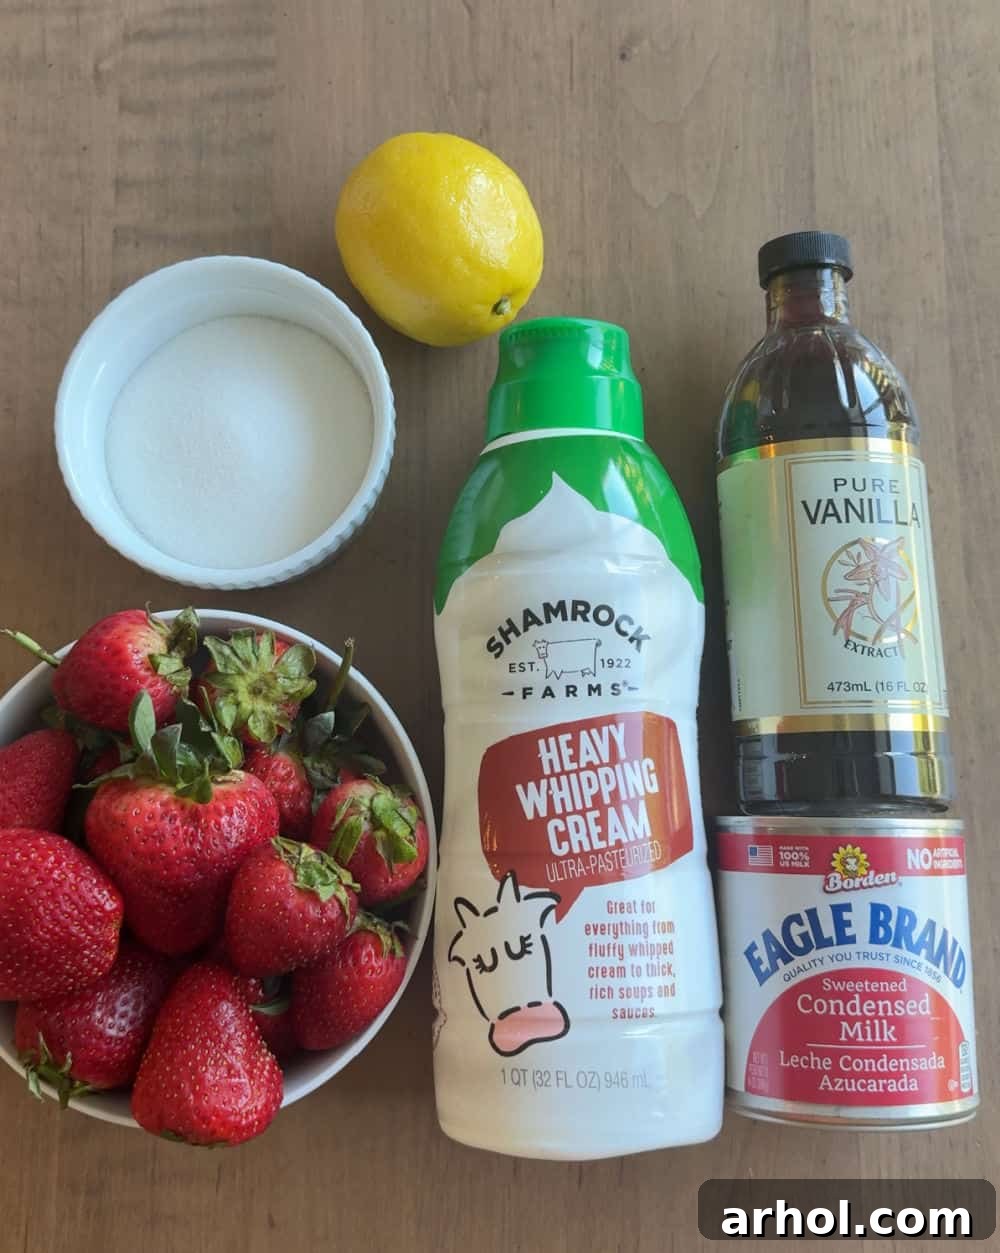
Crafting this delightful no-churn strawberry ice cream requires only a handful of common ingredients, each playing a crucial role in achieving that irresistibly creamy texture and vibrant flavor profile. While the full, precise amounts are detailed in the comprehensive recipe card below, here’s a quick overview and some insights into what makes each component indispensable:
- Ripe Strawberries: The undisputed star of our show! For the best flavor, seek out fresh, ripe strawberries that are firm to the touch and boast a deep, glossy red color. Avoid any that are mushy, bruised, or too pale, as these will compromise both flavor and texture. You’ll need to wash them thoroughly, hull them (remove the green leafy tops), and chop them into small, uniform pieces. This ensures an even distribution of strawberry goodness and delightful bursts of fruit throughout your ice cream.
- Granulated Sugar: Essential for sweetening the strawberry puree and the overall ice cream base. It balances the natural tartness of the strawberries and also contributes to the smooth texture by helping to prevent the formation of large, icy crystals, ensuring a pleasant mouthfeel.
- Heavy Whipping Cream: This is the magical foundation of our no-churn method. When whipped, it creates the light, airy structure and rich, full-bodied creaminess that is crucial for achieving a luxurious ice cream. It is imperative to use heavy whipping cream (which typically contains 36% or more milk fat) and not lighter alternatives like half-and-half or whole milk, as they lack the necessary fat content for proper whipping and a stable, creamy texture.
- Sweetened Condensed Milk: The other indispensable half of the no-churn equation. This thick, sweet, and viscous milk is key to both the intense sweetness and the incredibly smooth consistency of the ice cream. Its high sugar content is vital for preventing crystallization and achieving the signature creaminess that defines excellent no-churn ice cream. It’s important to use sweetened condensed milk, not evaporated milk, which is unsweetened and will not provide the same results.
- Fresh Lemon Juice: A small but mighty secret weapon for brightening and intensifying the natural strawberry flavor. A dash of lemon juice helps to “wake up” the berries, making their sweetness more pronounced and adding a subtle, refreshing tang that expertly balances the richness of the cream and prevents the ice cream from being overly cloying. It also aids in breaking down the berries slightly during the cooking process.
- Vanilla Extract: A classic flavor enhancer that complements the strawberries beautifully. Good quality vanilla extract adds a warm, aromatic depth and a hint of sophistication that rounds out the overall taste profile, making the ice cream even more irresistible and complex.
Choosing the Best Strawberries for Your Ice Cream
The quality of your strawberries directly impacts the flavor of your ice cream, so selecting the best ones is paramount. For the most delicious results, aim for peak-season berries, typically available in late spring and early summer. Here are some tips to help you pick out the perfect fruit:
- Vibrant Color: Look for strawberries that are bright, glossy, and a deep, uniform red color from top to bottom. White shoulders or green tips indicate under-ripeness, which means less natural sweetness and flavor.
- Fragrant Aroma: A truly ripe and flavorful strawberry will have a strong, sweet, fragrant aroma. If you can’t smell anything, the berries likely won’t have much taste, even if they look good.
- Firm but Yielding Texture: They should feel firm to the touch but yield slightly when gently squeezed. Avoid any berries that are overly soft, mushy, shriveled, or bruised, as these are past their prime.
- Fresh Caps: The green caps and stems should look fresh, vibrant, and firmly attached. Wilting or dry caps can be a sign that the berries are older.
Once you have your perfect berries, remember to wash them gently under cool running water and hull them (remove the green leafy tops) just before you’re ready to use them to retain their freshness and prevent them from absorbing too much water.
Crafting Your Dreamy No-Churn Strawberry Ice Cream: A Step-by-Step Guide
Making this homemade strawberry ice cream is not only simple but also incredibly rewarding. Follow these detailed steps to achieve a perfectly smooth, rich, and flavorful dessert that will impress everyone:
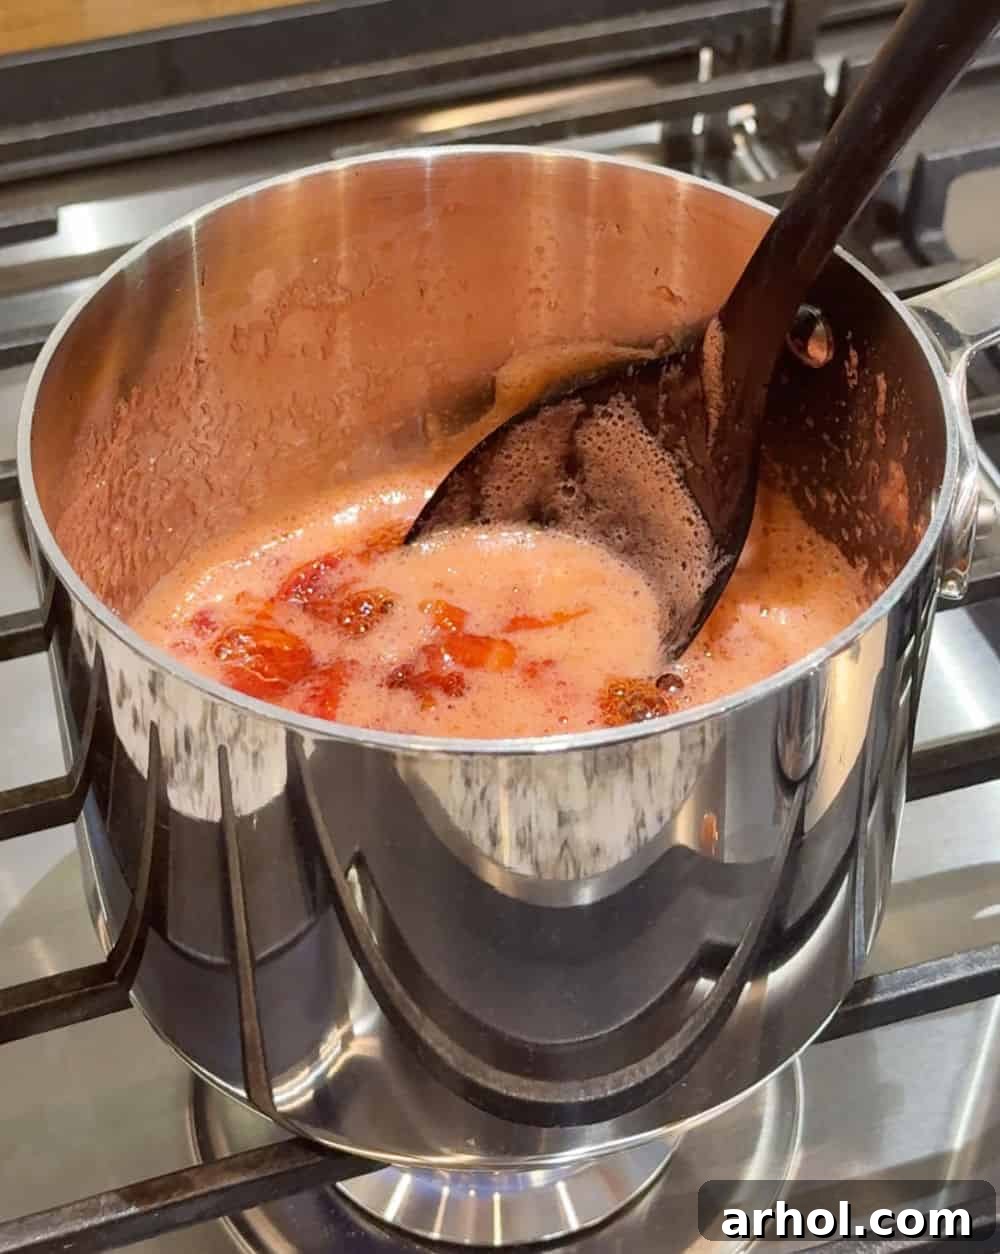
- Prepare the Strawberry Puree: Begin by combining your washed, hulled, and neatly chopped ripe strawberries with the granulated sugar and fresh lemon juice in a medium-sized saucepan. Place the saucepan over medium heat on your stovetop. Gently stir the mixture occasionally as it heats, allowing the sugar to dissolve and the strawberries to soften. The goal is for the mixture to come to a gentle boil, creating a luscious, slightly thickened strawberry sauce. A crucial tip here: do not mash or aggressively break up the berries during this cooking process. We want to maintain small, delightful chunks of strawberry in the final ice cream for added texture and bursts of intense strawberry flavor.
- Cool the Puree Completely: Once the strawberry mixture has boiled and the berries have softened slightly, remove the saucepan from the heat. It is absolutely vital to allow the puree to cool completely to room temperature. This step is critical; adding warm puree to your freshly whipped cream will cause it to deflate rapidly and compromise the light, airy texture of your finished ice cream. To expedite cooling, you can transfer the puree to a shallow bowl and place it in the refrigerator for about an hour.
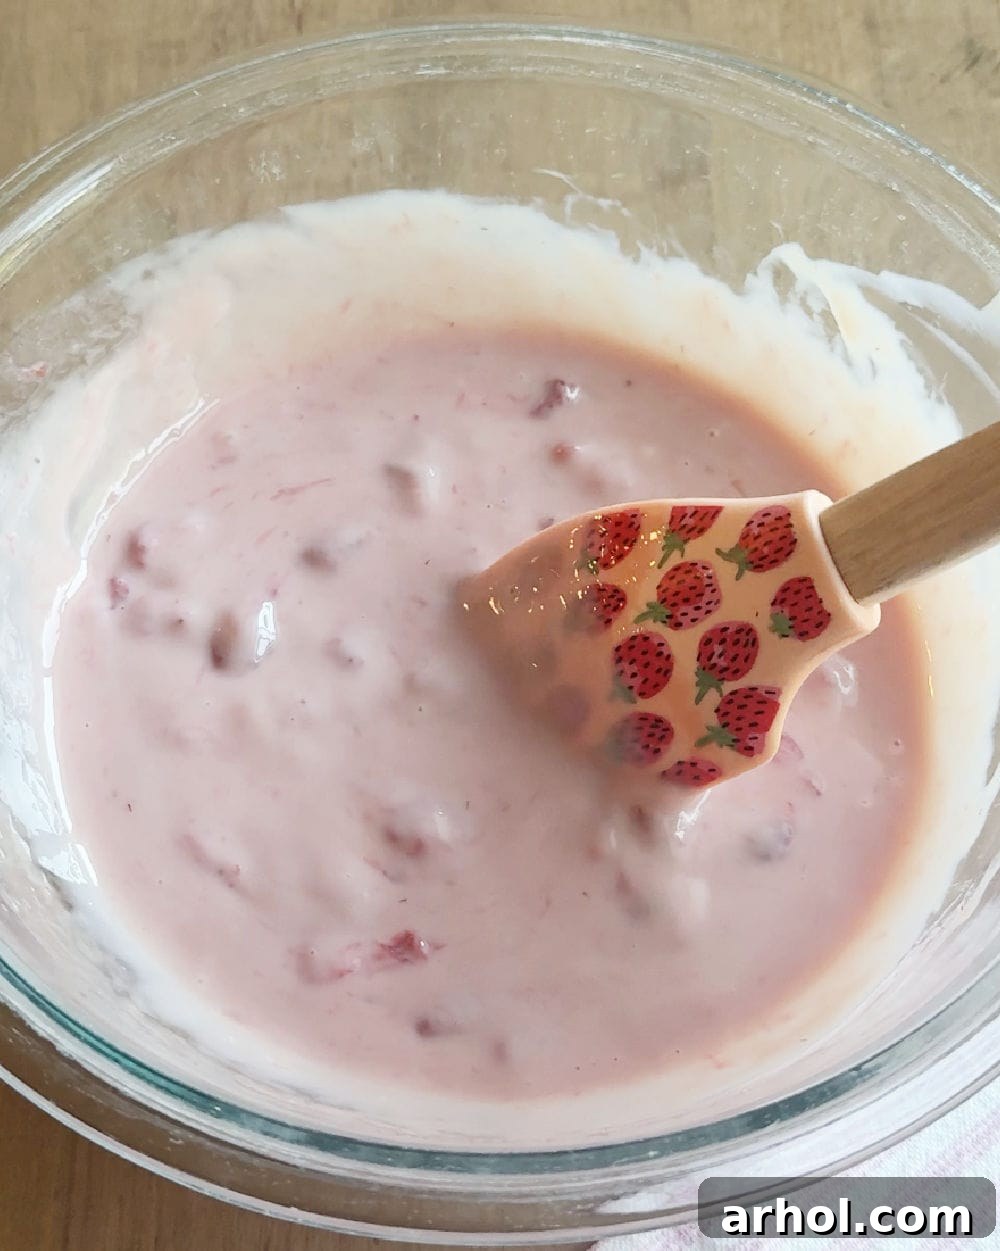
- Combine Strawberry and Condensed Milk: Once the strawberry puree is fully cooled, measure out exactly one cup of this cooked mixture. Transfer this measured puree into a large mixing bowl. Add the entire can of sweetened condensed milk to the same bowl. Using a sturdy spatula or whisk, gently mix these two ingredients together until they are thoroughly combined and the mixture is uniform in color and consistency. Set this bowl aside for a moment. (You’ll likely have some leftover strawberry sauce; don’t discard it! It makes a fantastic topping for pancakes, waffles, yogurt, or even more of this delicious ice cream.)
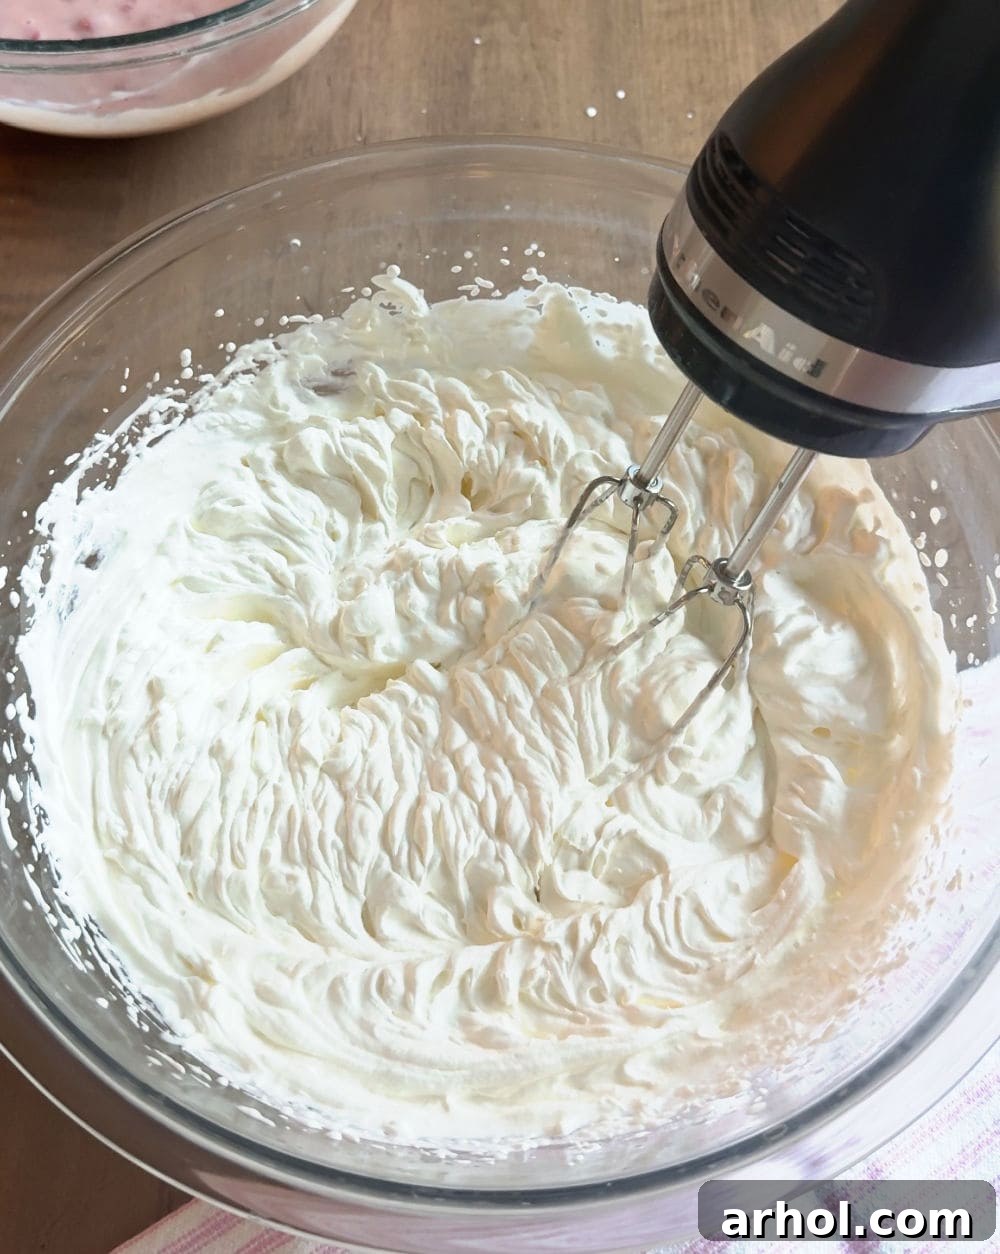
- Whip the Heavy Cream: In a separate, impeccably clean large mixing bowl, pour in the very cold heavy whipping cream. Using an electric hand mixer (or a stand mixer fitted with the whisk attachment), begin beating the cream on medium-high speed. Continue beating until stiff peaks form. Stiff peaks mean that when you lift the beaters from the cream, the peaks stand up straight and hold their shape without collapsing. Be careful not to over-beat, as this can lead to a grainy or even buttery texture.
- Fold in Vanilla Extract: Once your heavy cream has reached stiff peaks, gently fold the vanilla extract into the whipped cream using your spatula until it is just combined. This infuses the cream with a wonderful aromatic depth.
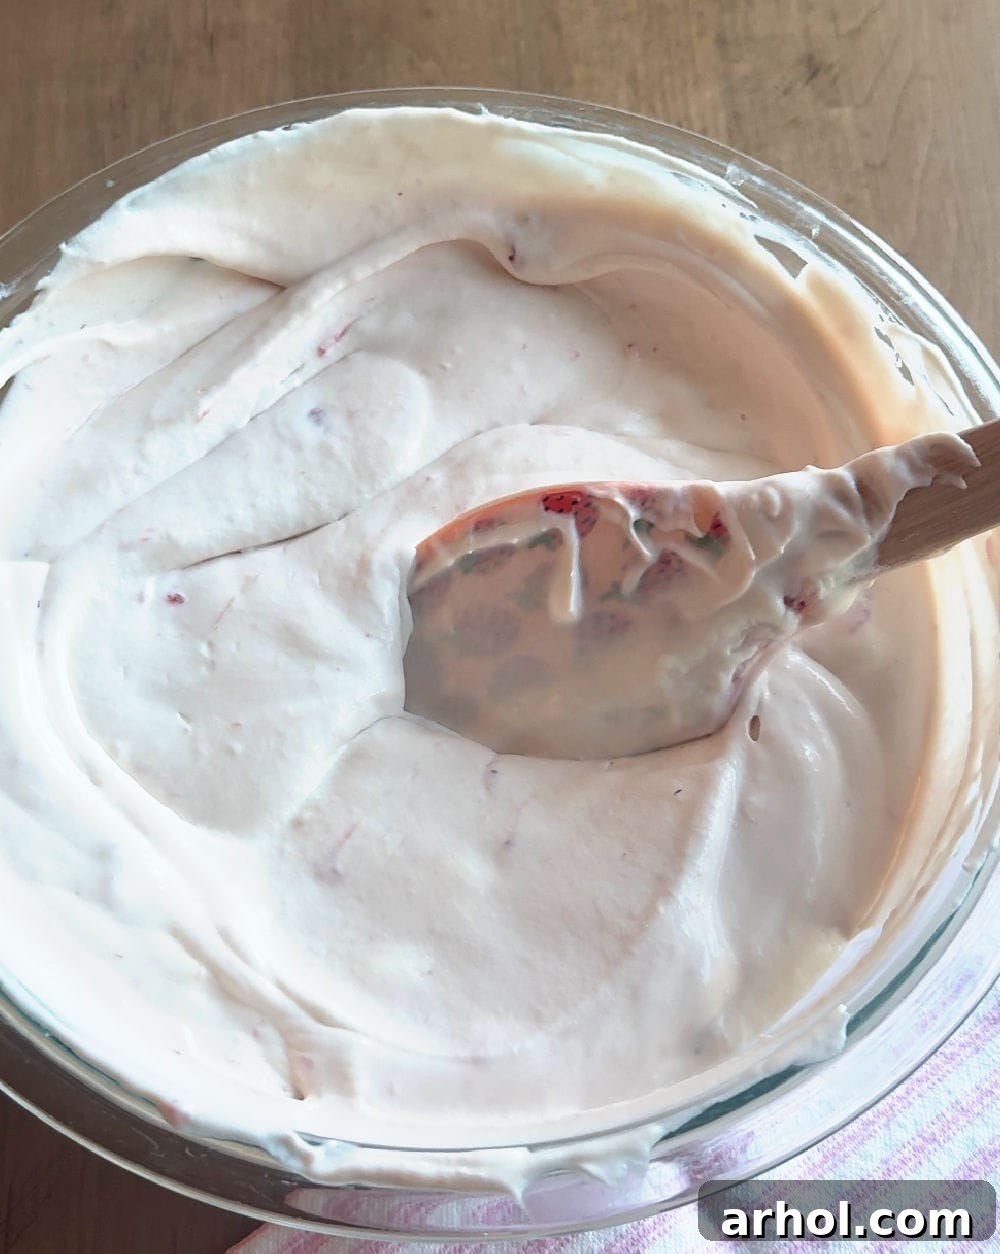
- Gently Fold the Mixtures Together: Now comes the magic step where everything comes together! Take about one-third of your whipped cream and gently add it to the strawberry and condensed milk mixture. Using your spatula, gently fold it in. The goal is to incorporate the cream without deflating the precious air you’ve just whipped into it. Continue adding the remaining whipped cream in two more additions, folding gently after each addition, until no streaks of white cream remain and the entire mixture is light, airy, and uniformly pink.
- Transfer to a Loaf Pan: Carefully spoon the entire ice cream mixture into a standard 9×5-inch loaf pan or any other freezer-safe container. Smooth the top with your spatula to create an even surface.
- Garnish and Freeze: For an extra touch of freshness and visual appeal, consider topping your ice cream with a few thin slices of fresh strawberries or a drizzle of your reserved strawberry sauce. This not only looks beautiful but also adds another layer of texture and flavor. Once garnished, cover the loaf pan tightly with plastic wrap directly touching the surface of the ice cream, then cover again with aluminum foil to prevent freezer burn. Place the pan into your freezer. Allow it to freeze until solid, which typically takes a minimum of 4-6 hours, but for best results and firm, scoopable ice cream, freezing overnight is highly recommended.
Pro Tips for Success
- Keep it Cold: For optimal whipping, ensure your heavy cream is very cold, straight from the refrigerator. Some even chill their mixing bowl and beaters in the freezer for 10-15 minutes beforehand.
- Don’t Overcook Strawberries: Cook just enough to soften and release juices. Overcooking can lead to a jam-like consistency and a loss of that fresh, vibrant strawberry flavor.
- Gentle Folding is Key: The secret to light, airy, and creamy ice cream is preserving the air you’ve whipped into the heavy cream. Use a gentle folding technique with a spatula, cutting down through the center of the mixture and lifting from the bottom, rather than stirring vigorously.
Storing Your Homemade Strawberry Ice Cream
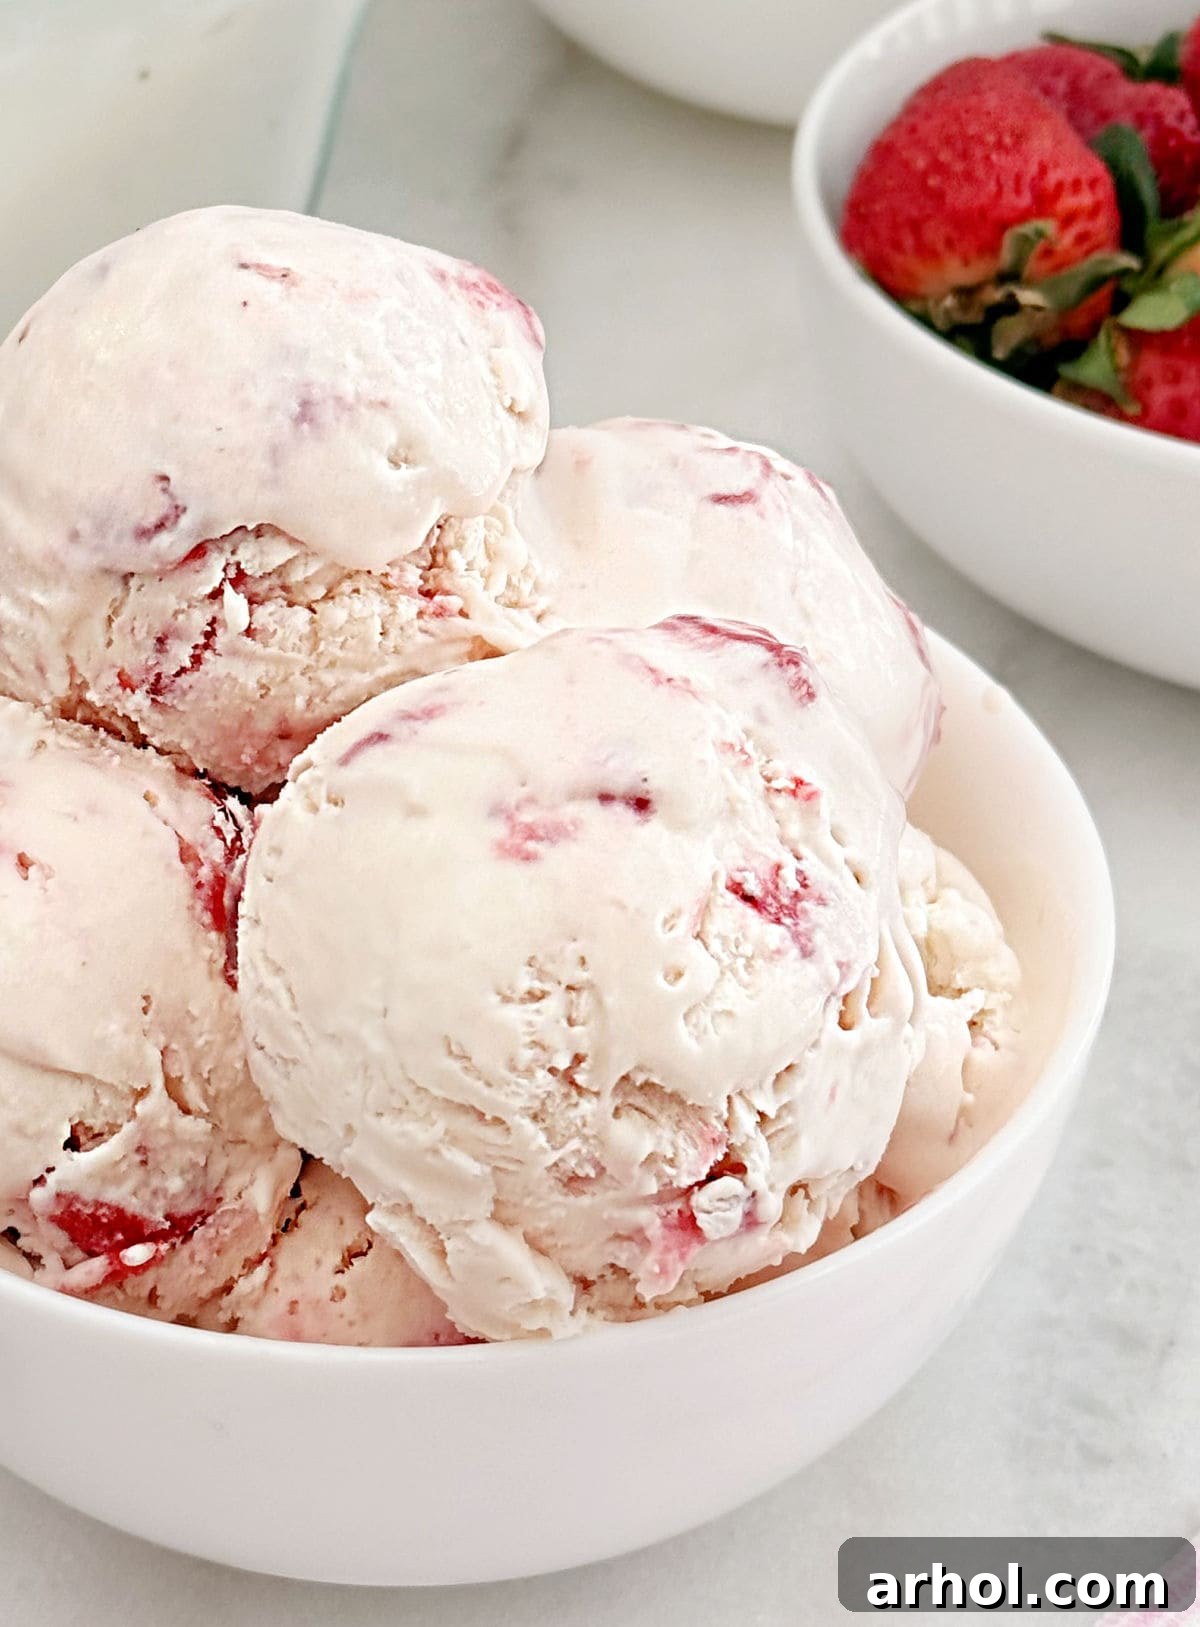
Proper storage is essential to maintain the delicious texture and vibrant flavor of your homemade strawberry ice cream. Once fully frozen, you have a couple of options. You can either leave it in the loaf pan, making sure to cover it very tightly first with plastic wrap (pressing it directly onto the surface of the ice cream to prevent ice crystals), and then with aluminum foil to protect against freezer burn. Alternatively, you can transfer the ice cream to a dedicated airtight freezer-safe container.
An airtight seal is crucial for preserving its creamy consistency and protecting it from absorbing unwanted odors from other items in your freezer. Stored correctly, your no-churn strawberry ice cream should retain its optimal quality for 2 to 3 weeks. However, in our experience, it rarely lasts that long in our household – it’s simply too tempting to resist! Enjoying it within the first week will yield the freshest taste and best texture.
Expert Tips for the Best Strawberry Ice Cream Experience
Achieving that perfect, scoopable homemade ice cream is easy when you keep a few key pointers in mind. These small details can make a big difference in the final outcome of your no-churn strawberry ice cream:
- Preserve Strawberry Chunks: During the cooking of your strawberries, it’s important to resist the urge to vigorously break them up or mash them. Gentle stirring is key to ensuring you retain delightful small strawberry chunks throughout your ice cream. These pieces add a wonderful textural contrast and bursts of intense fruit flavor that elevate the entire dessert.
- Utilize Leftover Strawberry Sauce: This recipe is designed so that you’ll likely have a bit more cooked strawberry mixture than the one cup required for the ice cream itself. Don’t let this delicious extra go to waste! It makes an incredible topping for the finished ice cream, but it’s also fantastic drizzled over pancakes, waffles, yogurt, cheesecake, or even simply spread on toast. It’s a versatile bonus!
- Perfect Whipped Cream Consistency: The consistency of your whipped cream is paramount for achieving smooth and creamy ice cream. Beat the heavy cream until it forms stiff peaks – this means the cream should hold its shape firmly and stand up straight when the beaters are lifted. It’s crucial to stop immediately at this point. Over-beating will cause the cream to become grainy, watery, or even start to separate into butter, which will result in an undesirable texture in your final ice cream. A smooth, airy whipped cream translates directly to wonderfully smooth, creamy ice cream.
- Avoid Ice Crystals: To minimize ice crystal formation, ensure your container is airtight, and the plastic wrap directly touches the surface of the ice cream before covering it. This prevents air and moisture from interacting with the surface.
Printable Recipe: Easy No-Churn Strawberry Ice Cream
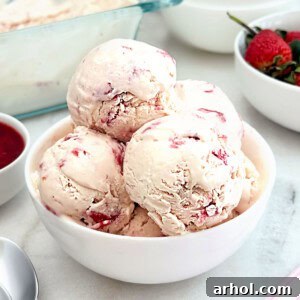
This easy homemade strawberry ice cream recipe uses simple ingredients to make a refreshing summer dessert. No ice cream maker needed!
Yields: 12 servings
Prep time: 20 minutes
Cook time: 8 minutes
Total time: 28 minutes (plus freezing for 4-6 hours or overnight)
Pin Recipe | Print Recipe
Ingredients
- 1 pound ripe strawberries, washed, hulled, and cut into bite-sized pieces
- ½ cup granulated sugar
- ¼ cup fresh lemon juice
- 1 (14 oz) can sweetened condensed milk
- 2 cups cold heavy whipping cream
- 1 teaspoon vanilla extract
Instructions
- In a medium saucepan, combine the cut strawberries, granulated sugar, and lemon juice.
- Place over medium heat and bring to a gentle boil, stirring occasionally. Cook until the strawberries have softened and released their juices, forming a sauce (about 5-8 minutes). Avoid mashing the berries to keep small chunks for texture.
- Remove from heat and allow the strawberry mixture to cool completely to room temperature.
- Once cooled, measure out 1 cup of the cooked strawberry mixture into a large mixing bowl. Set aside any remaining strawberry sauce for topping or other uses.
- Add the sweetened condensed milk to the bowl with the 1 cup of strawberry mixture. Mix with a spatula until thoroughly combined.
- In a separate, very cold large mixing bowl, add the heavy whipping cream. Using an electric hand mixer, beat the cream on medium-high speed until stiff peaks form (when you lift the beaters, the cream should hold its shape firmly).
- Gently fold the vanilla extract into the whipped cream.
- Carefully add the whipped cream to the strawberry and condensed milk mixture in three additions, gently folding with a spatula until fully combined and no white streaks remain. Be careful not to deflate the whipped cream.
- Pour the ice cream mixture evenly into a 9×5-inch loaf pan or other freezer-safe container.
- Optionally, top with additional fresh strawberry slices for garnish.
- Cover the pan tightly with plastic wrap (touching the surface) and then aluminum foil. Freeze for a minimum of 4-6 hours, or ideally overnight, until firm and scoopable.
Notes
- Do not aggressively break up or mash strawberries while cooking; this ensures delightful small strawberry chunks in the ice cream.
- You will have some leftover strawberry sauce; use it as a delicious topping for your ice cream or other desserts. Only 1 cup of cooked strawberries is needed for this recipe.
- Stop beating the heavy cream once stiff peaks form. Over-beating will result in a grainy or watery texture.
Nutrition Information (Approximate per serving)
- Calories: 295kcal
- Carbohydrates: 32g
- Protein: 4g
- Fat: 18g
- Saturated Fat: 11g
- Polyunsaturated Fat: 1g
- Monounsaturated Fat: 4g
- Cholesterol: 57mg
- Sodium: 56mg
- Potassium: 233mg
- Fiber: 1g
- Sugar: 31g
- Vitamin A: 683IU
- Vitamin C: 25mg
- Calcium: 133mg
- Iron: 0.3mg
Nutrition information is automatically calculated and should be used as an approximation only. Factors like specific brands and ingredient preparation methods can vary.
Additional Information
- Course: Dessert
- Cuisine: American
Beyond Strawberry: Explore More Homemade Ice Cream Recipes!
If you’ve fallen in love with the joy and simplicity of making your own ice cream after trying this strawberry sensation, you’re in for a delightful journey! The world of no-churn ice cream is vast, creative, and incredibly delicious. We encourage you to explore our other fantastic homemade ice cream creations, perfect for any craving, season, or special occasion:
- Indulge in the rich, smoky, and nostalgic flavors of our S’mores Ice Cream, bringing the campfire right to your freezer.
- For a timeless classic that serves as a perfect base for endless toppings, try our incredibly versatile Basic Vanilla Ice Cream.
- Discover the sweet and tart symphony of flavors in our refreshing Cherry Vanilla Ice Cream, a fruity twist on a beloved favorite.
- Satisfy your cookie cravings with every spoonful of our Oreo Ice Cream, packed with crushed cookie goodness.
- Experience the comforting, spiced sweetness of our unique Cookie Butter Ice Cream, a true treat for speculoos lovers.
- For a decadent and irresistible combination, don’t miss our creamy Chocolate Peanut Butter Ice Cream.
- Coffee lovers rejoice with my personal favorite, the rich, invigorating, and perfectly balanced Coffee Ice Cream.
- Or get into the festive spirit with our fun and spooky Halloween Ice Cream, perfect for seasonal celebrations!
Final Thoughts and Invitation
We sincerely hope this easy no-churn strawberry ice cream recipe inspires you to dive into the delightful and surprisingly simple world of homemade frozen desserts. There’s truly nothing quite like the satisfaction of creating a delicious treat from scratch, especially one as refreshing, flavorful, and enjoyable as this strawberry masterpiece. This recipe is designed to be accessible, enjoyable, and utterly delicious, making it a perfect addition to your summer repertoire or a sweet escape any time of year.
We love connecting with our community! Don’t forget to share your creations with us by leaving a comment below or tagging us on social media. Your culinary adventures inspire us. For more easy and inspiring recipes, cooking tips, and seasonal delights, make sure to sign up for our newsletter and follow us on your favorite social media channels. Happy scooping, and enjoy every bite of your homemade deliciousness!