
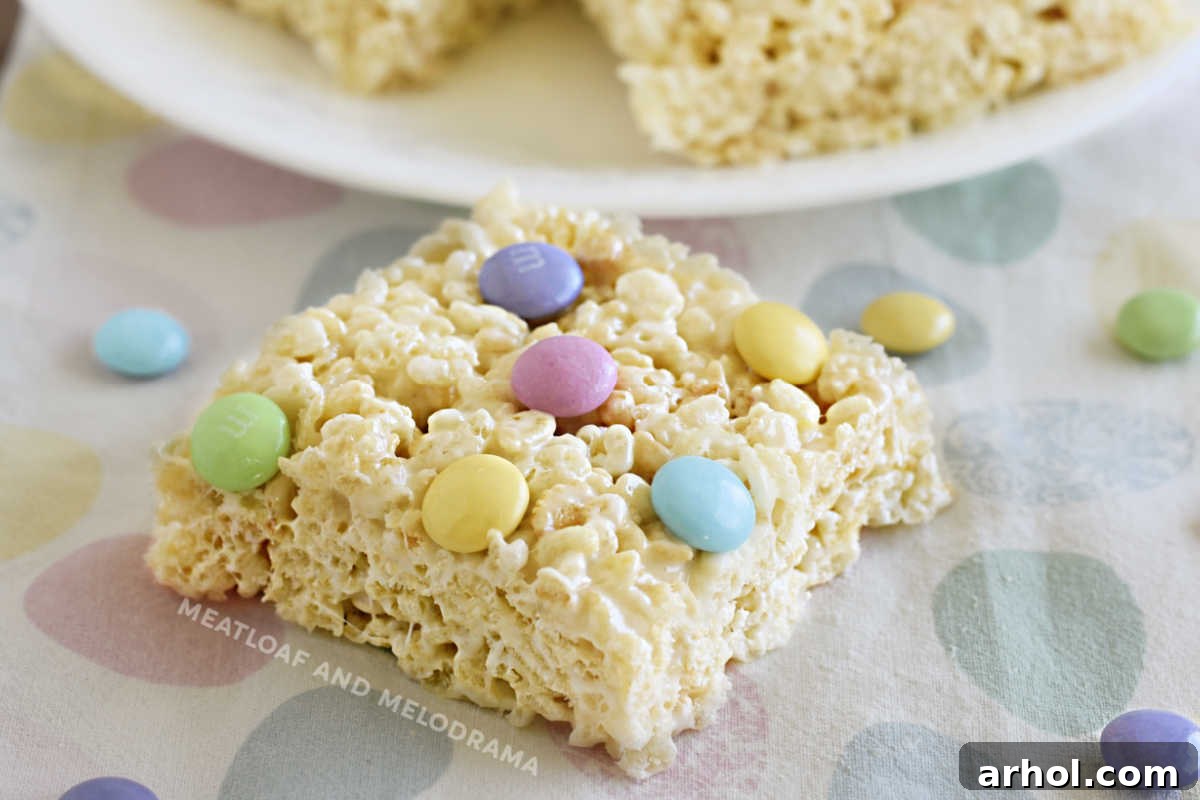
Irresistible Spring Marshmallow Krispie Treats: Your Ultimate Guide to Easy, Festive Desserts
As the days grow longer and nature bursts into vibrant colors, there’s no better way to celebrate the freshness of spring than with delightful, easy-to-make treats. Our Spring Marshmallow Krispie Treats are the epitome of springtime joy – a perfect blend of crispy rice cereal, gooey marshmallows, and charming pastel candies. These beloved cereal bars offer a quick, no-bake solution for a festive snack, a potluck dessert, or simply a fun kitchen activity with the kids. They’re incredibly versatile, effortlessly customizable, and always a crowd-pleaser, making them an essential addition to your spring recipe collection.
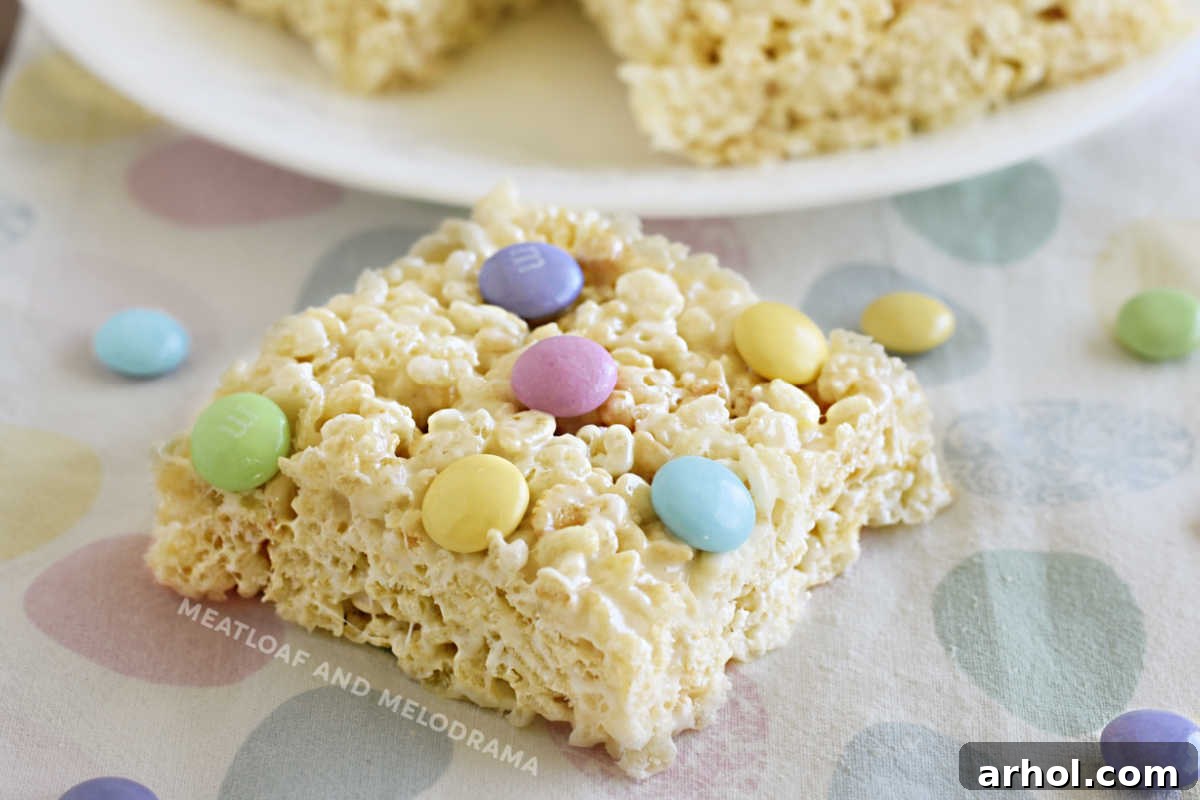
It’s fair to say we have a slight obsession with Rice Krispies treats around here. Their universal appeal lies in their irresistible simplicity and the pure comfort they bring with every chewy, crispy bite. What makes them truly special is how accessible they are to everyone in the family, including the youngest bakers. Children adore helping out, from stirring the warm, sticky marshmallow mixture (perhaps with a trusty step stool for extra height!) to pressing colorful candies into the top. It’s more than just a recipe; it’s an opportunity for creating cherished memories in the kitchen, turning simple ingredients into magical moments.
While classic, plain Krispie treats are always a hit, the addition of pastel M&M candies elevates these confections to a whole new level of special, perfectly capturing the lighthearted essence of spring. The soft hues of pink, yellow, green, and blue transform an ordinary dessert into a visually stunning, seasonally appropriate delight. But the beauty of these treats doesn’t stop at spring. Their adaptability means you can easily customize them for any season or holiday simply by swapping out the candy toppings. Imagine vibrant red and green for Christmas, spooky orange and black for Halloween, or cheerful red, white, and blue for patriotic celebrations. The possibilities are endless, making this a truly versatile recipe for year-round enjoyment. It’s truly easy peasy, and the results are always spectacular!
Why You’ll Love This Spring Marshmallow Krispie Treat Recipe
Beyond their charming appearance and delicious taste, these Spring Marshmallow Krispie Treats offer a host of reasons to become your go-to dessert:
- Effortlessly Simple: With just a handful of basic ingredients and minimal steps, this recipe is perfect for beginners and seasoned bakers alike. You don’t need any fancy equipment or advanced culinary skills.
- No-Bake Wonder: When you want a sweet treat without heating up your kitchen, especially as the weather warms, these no-bake bars are your best friend. They come together quickly without turning on the oven.
- Kid-Friendly Fun: This is an ideal recipe for involving children in the kitchen. Measuring, stirring, and decorating are tasks they can easily help with, fostering a love for cooking and creating lasting family memories.
- Customizable for Any Occasion: While designed for spring, the foundation of this recipe is incredibly flexible. Change the candy colors, add different sprinkles, or even incorporate unique extracts to match any holiday or theme throughout the year.
- Portable Perfection: These bars are robust enough to travel well, making them perfect for picnics, school lunches, bake sales, or bringing to gatherings. They hold their shape and stay fresh, ensuring deliciousness on the go.
- Nostalgic Comfort: For many, Rice Krispies treats evoke a sense of childhood nostalgia. They offer that familiar, comforting chewiness and sweetness that never goes out of style.
Before diving into these delightful treats, explore some of our other favorite super easy spring desserts that brighten up any table. You might also enjoy our Spring Cake Mix Cookies, whimsical Bird’s Nest Easter Cupcakes, the addictive Bunny Bait Snack Mix, and our decadent Homemade Chocolate Covered Peanut Butter Eggs.
Essential Ingredients for Perfect Krispie Treats
You’ll be amazed at how such a simple combination of ingredients can create such a beloved dessert. For these delicious cereal bars, you only need five core items:
- Rice Krispies Cereal: Or any comparable crisp rice cereal. The key is to use a fresh box for maximum crispiness. Stale cereal will result in less-than-perfect texture.
- Marshmallows: Mini marshmallows melt more quickly and evenly, making them ideal for this recipe. Fresh marshmallows are crucial for that signature gooey, stretchy texture. Avoid using old, hardened marshmallows.
- Butter: Unsalted butter is preferred, as it allows you to control the saltiness of the final product. It adds rich flavor and helps the treats set properly.
- Vanilla Extract: A touch of pure vanilla extract enhances the overall flavor profile, adding warmth and depth to the sweet marshmallow.
- Pastel Candies or Sprinkles: For that signature spring look, pastel M&M’s, jelly beans, or a mix of spring-themed sprinkles work wonderfully. This is where you can get creative with your seasonal theme!
How to Master Spring Marshmallow Krispie Treats
Making these treats is incredibly straightforward, and you have two convenient options for melting the marshmallow mixture: stovetop or microwave. Personally, I find the microwave method to be quicker and less messy, which is why it’s my usual go-to.
Step-by-Step Instructions:
- Prepare Your Pan: Begin by generously greasing a 9×13-inch baking pan with butter or cooking spray. This crucial step prevents the sticky mixture from adhering to the pan, making spreading and cutting much easier. Having it ready before you start ensures a smooth process.
- Melt Marshmallows and Butter:
- Microwave Method (Recommended): In a large, microwave-safe mixing bowl, combine the marshmallows and butter. Microwave on high for 1 minute. Remove and stir. Continue microwaving in 30-second intervals, stirring well after each, until the mixture is completely melted and smooth. This typically takes 2-3 minutes total.
- Stovetop Method: If you prefer the stovetop, use a large, heavy-bottomed pot over low heat. Add the butter and marshmallows, stirring constantly until they are fully melted and perfectly smooth. Low heat is key to prevent scorching the marshmallows.
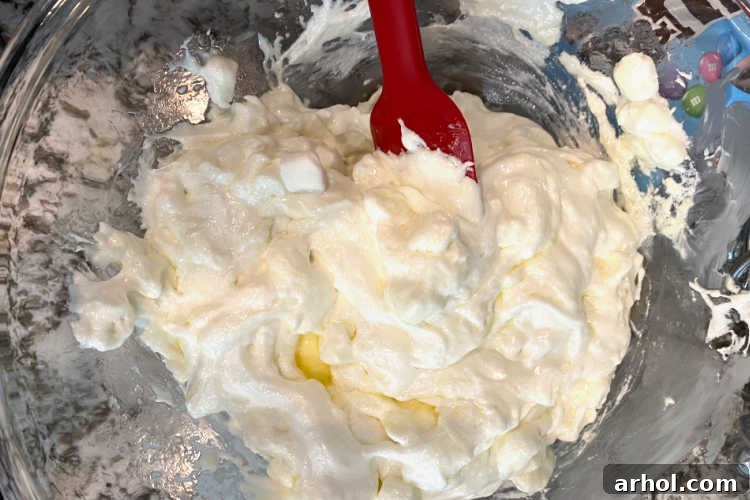
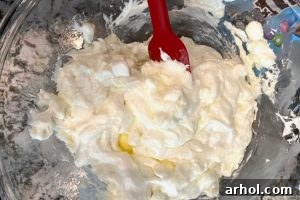
- Add Vanilla Extract: Once the marshmallow and butter mixture is smooth, stir in the vanilla extract. Mix well until it’s fully incorporated. The vanilla adds a lovely depth of flavor.
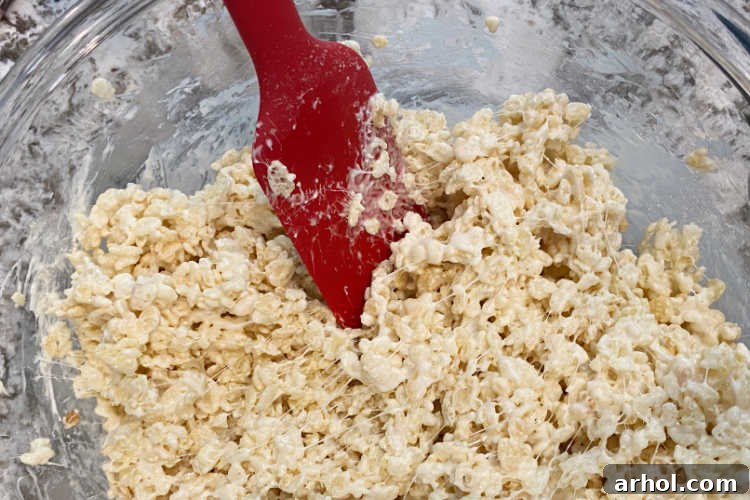
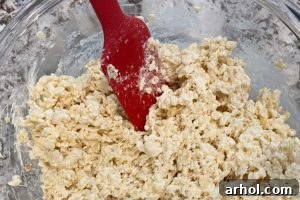
- Incorporate the Cereal: Now, add the crisp rice cereal to the marshmallow mixture. Using a sturdy silicone spatula works best for this step, as the mixture is quite sticky and the spatula helps prevent it from sticking to your tools.
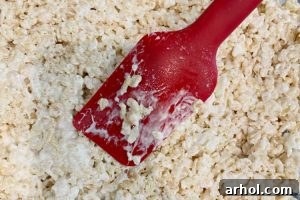
- Mix Thoroughly: Gently but thoroughly stir the cereal until every piece is completely coated with the sweet marshmallow mixture. Be careful not to crush the cereal too much, as this can lead to dense, rather than airy, treats.
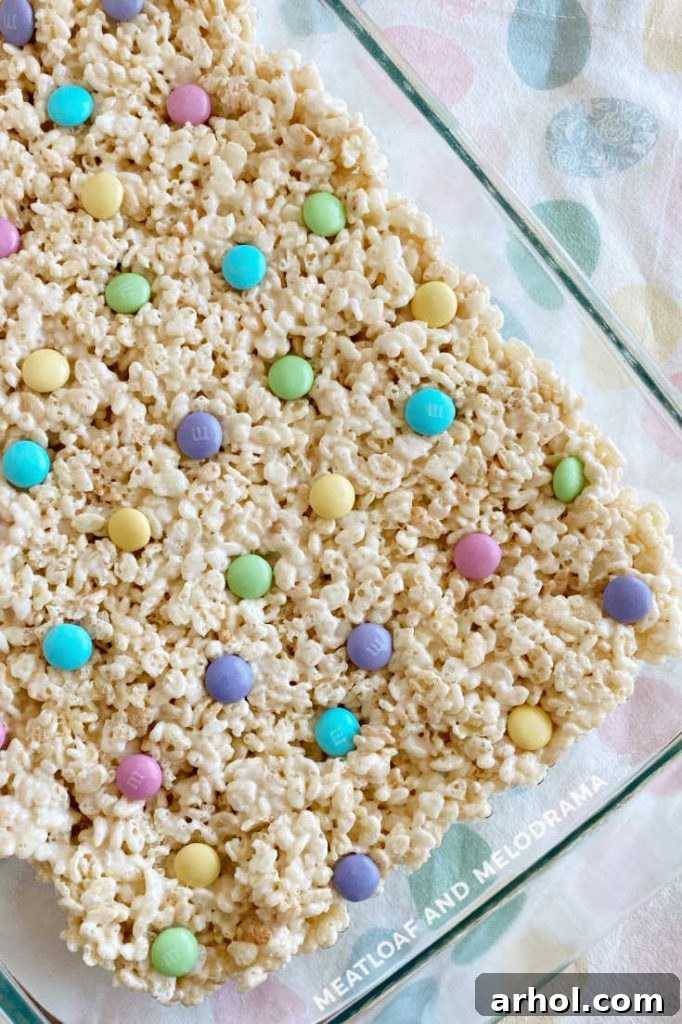
- Press into Pan: Transfer the coated cereal mixture into your prepared 9×13-inch pan. Using the back of your greased spatula or your greased fingertips, gently press the mixture evenly into the pan. Avoid pressing too firmly, as this can make the treats hard and dense instead of soft and chewy.
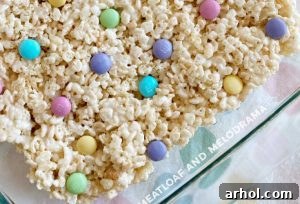
- Decorate with Candies: While the mixture is still warm and pliable, generously scatter your pastel candies or sprinkles over the top. Gently press them into the cereal mixture to ensure they stick securely as the treats cool.
- Allow to Set: Let the treats firm up a little. You can leave the pan on the counter at room temperature for about 30-60 minutes, or if your kitchen is warm (like mine often is!) or you’re short on patience, pop the pan into the fridge for about 15 minutes. This speeds up the setting process considerably, allowing you to enjoy your delicious creations sooner!
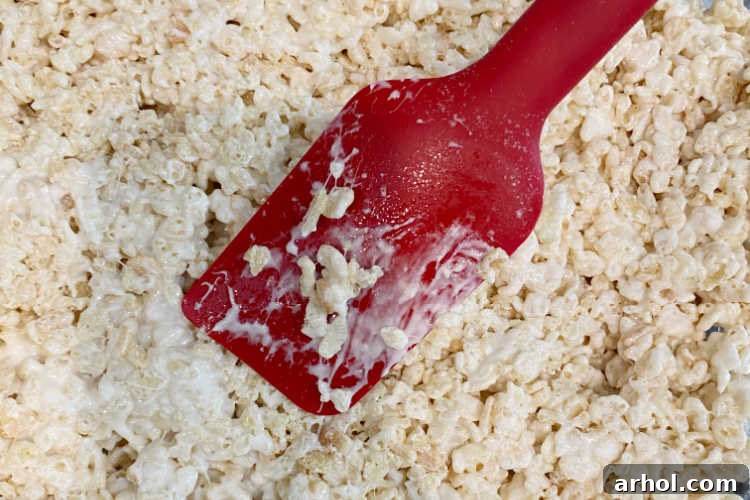
One of my favorite things about these bars is enjoying them when they’re super fresh and still a bit gooey. There’s a special joy in pulling them apart and watching those sticky marshmallow strings stretch! This fresh-from-the-pan experience truly highlights their irresistible chewiness.
Pro Tips for Achieving Perfect Krispie Treats Every Time
While the recipe is simple, a few expert tips can elevate your Marshmallow Krispie Treats from good to absolutely phenomenal:
- Fresh Ingredients are Key: Always use fresh marshmallows and crisp cereal. Stale marshmallows can lead to a crumbly texture, and old cereal loses its satisfying crunch.
- Don’t Overcook Marshmallows: Whether on the stove or in the microwave, melt the marshmallows just until smooth. Overheating can make them tough and harder to mix, resulting in a drier, harder treat.
- Low and Slow (Stovetop): If using the stovetop, keep the heat on low. This prevents the butter from burning and the marshmallows from seizing or becoming granular.
- Grease Everything: Ensure your spatula, hands, and the pan are well-greased with butter or cooking spray. This is your best defense against the incredibly sticky marshmallow mixture.
- Gentle Pressure is Best: When pressing the mixture into the pan, use light, even pressure. Over-compressing the treats will make them hard and dense. You want them to be chewy and slightly airy.
- Act Fast: The marshmallow mixture sets quickly, so work efficiently once the cereal is added. Have your pan and candies ready.
- Cool Completely (or almost): While a little warmth is lovely, allow the treats to cool and set almost completely before cutting. This ensures clean, defined squares that don’t fall apart.
Storing Your Spring Marshmallow Krispie Treats
Proper storage is essential to keep your Krispie treats fresh, soft, and delicious:
- Room Temperature: For optimal softness and chewiness, store the marshmallow krispie treats covered tightly in the pan or in an airtight container at room temperature. They will typically stay nice and soft for about 2-4 days.
- Refrigeration: If your kitchen is particularly warm, or if you prefer a firmer treat, you can store them in the refrigerator. Just be aware that refrigeration can make them a bit harder. If refrigerating, allow them to come to room temperature for about 15-30 minutes before serving to restore some of their softness. This also has the added benefit of making it slightly harder for certain young, snack-loving individuals to help themselves without permission!
- Freezing (for longer storage): Believe it or not, Krispie treats can be frozen! Wrap individual bars or the entire slab tightly in plastic wrap, then place them in an airtight freezer-safe bag or container. They can be frozen for up to 6 weeks. Thaw at room temperature before serving.
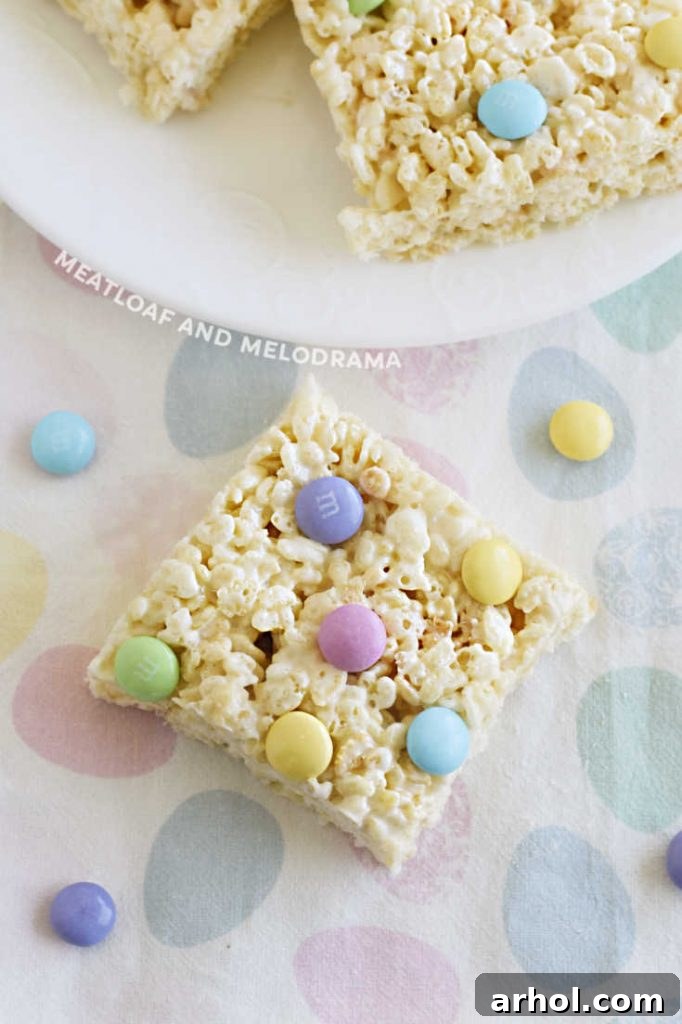
Spring Marshmallow Krispie Treats Recipe
By: Dee
Spring Marshmallow Krispie Treats are easy to make with rice cereal, marshmallows and pastel candies. Perfect for a quick snack or dessert!
Prep Time: 10 minutes
Cook Time: 5 minutes
Total Time: 15 minutes
Servings: 12 bars
Ingredients
- 6 cups Rice Krispies or any crisp rice cereal
- 10 oz bag of your favorite brand of mini marshmallows
- 5 tablespoons butter
- ½ teaspoon vanilla extract
- Pastel M & M’s or other candies for decoration
Instructions
-
In a large pan, melt the butter and mini marshmallows together over low heat, stirring frequently. Or, melt marshmallows and butter in a large microwaveable mixing bowl in the microwave.

-
When marshmallows are melted, stir in the vanilla extract, and remove from heat. Stir in the cereal, one cup at a time, and mix well.
-
When the cereal is fully mixed with the marshmallows, spoon into a buttered 13×9-inch baking pan.
-
When the mixture is slightly cool, press in the candies over the top of the cereal. Allow to set on counter or in refrigerator.
Notes
Recipe can be made on stovetop or in microwave for convenience.
Nutrition Information (Approximate Per Serving)
- Calories: 95kcal
- Carbohydrates: 11g
- Fat: 5g
- Saturated Fat: 3g
- Cholesterol: 12mg
- Sodium: 115mg
- Potassium: 17mg
- Sugar: 1g
- Vitamin A: 1075IU
- Vitamin C: 8.8mg
- Calcium: 1mg
- Iron: 4.3mg
Nutrition information is automatically calculated, so should only be used as an approximation and is not guaranteed for accuracy.
Additional Info
- Course: Dessert
- Cuisine: American
Enjoyed this delightful recipe? We’d love to hear from you! Leave a comment below and share your experience.
More Delicious Recipes with Marshmallows and Cereal
If you’re a fan of these crispy, chewy, and incredibly easy cereal bars, you’ll be thrilled to discover more delightful creations that use marshmallows and various cereals as their stars. These no-bake recipes are perfect for quick snacks, lunchbox treats, or simple desserts any time of year:
- Apple Jacks Marshmallow Bars: A fruity twist on the classic, these bars bring a burst of apple-cinnamon flavor to the chewy marshmallow base.
- Chocolate Peanut Butter Cheerios Bars: The classic combination of chocolate and peanut butter gets a crunchy upgrade with Cheerios cereal, creating an irresistible treat.
- Peanut Butter Honey Oat Cereal Bars: For a slightly healthier but equally delicious option, these bars combine the goodness of oats with the sweetness of honey and rich peanut butter.
- No-Bake Chocolate Peanut Butter Bars: A timeless favorite, these bars feature a thick layer of creamy chocolate and peanut butter over a crunchy cereal base – pure decadence without the oven.
This recipe was first published in 2015 and last updated with fresh content and images in 2021.