
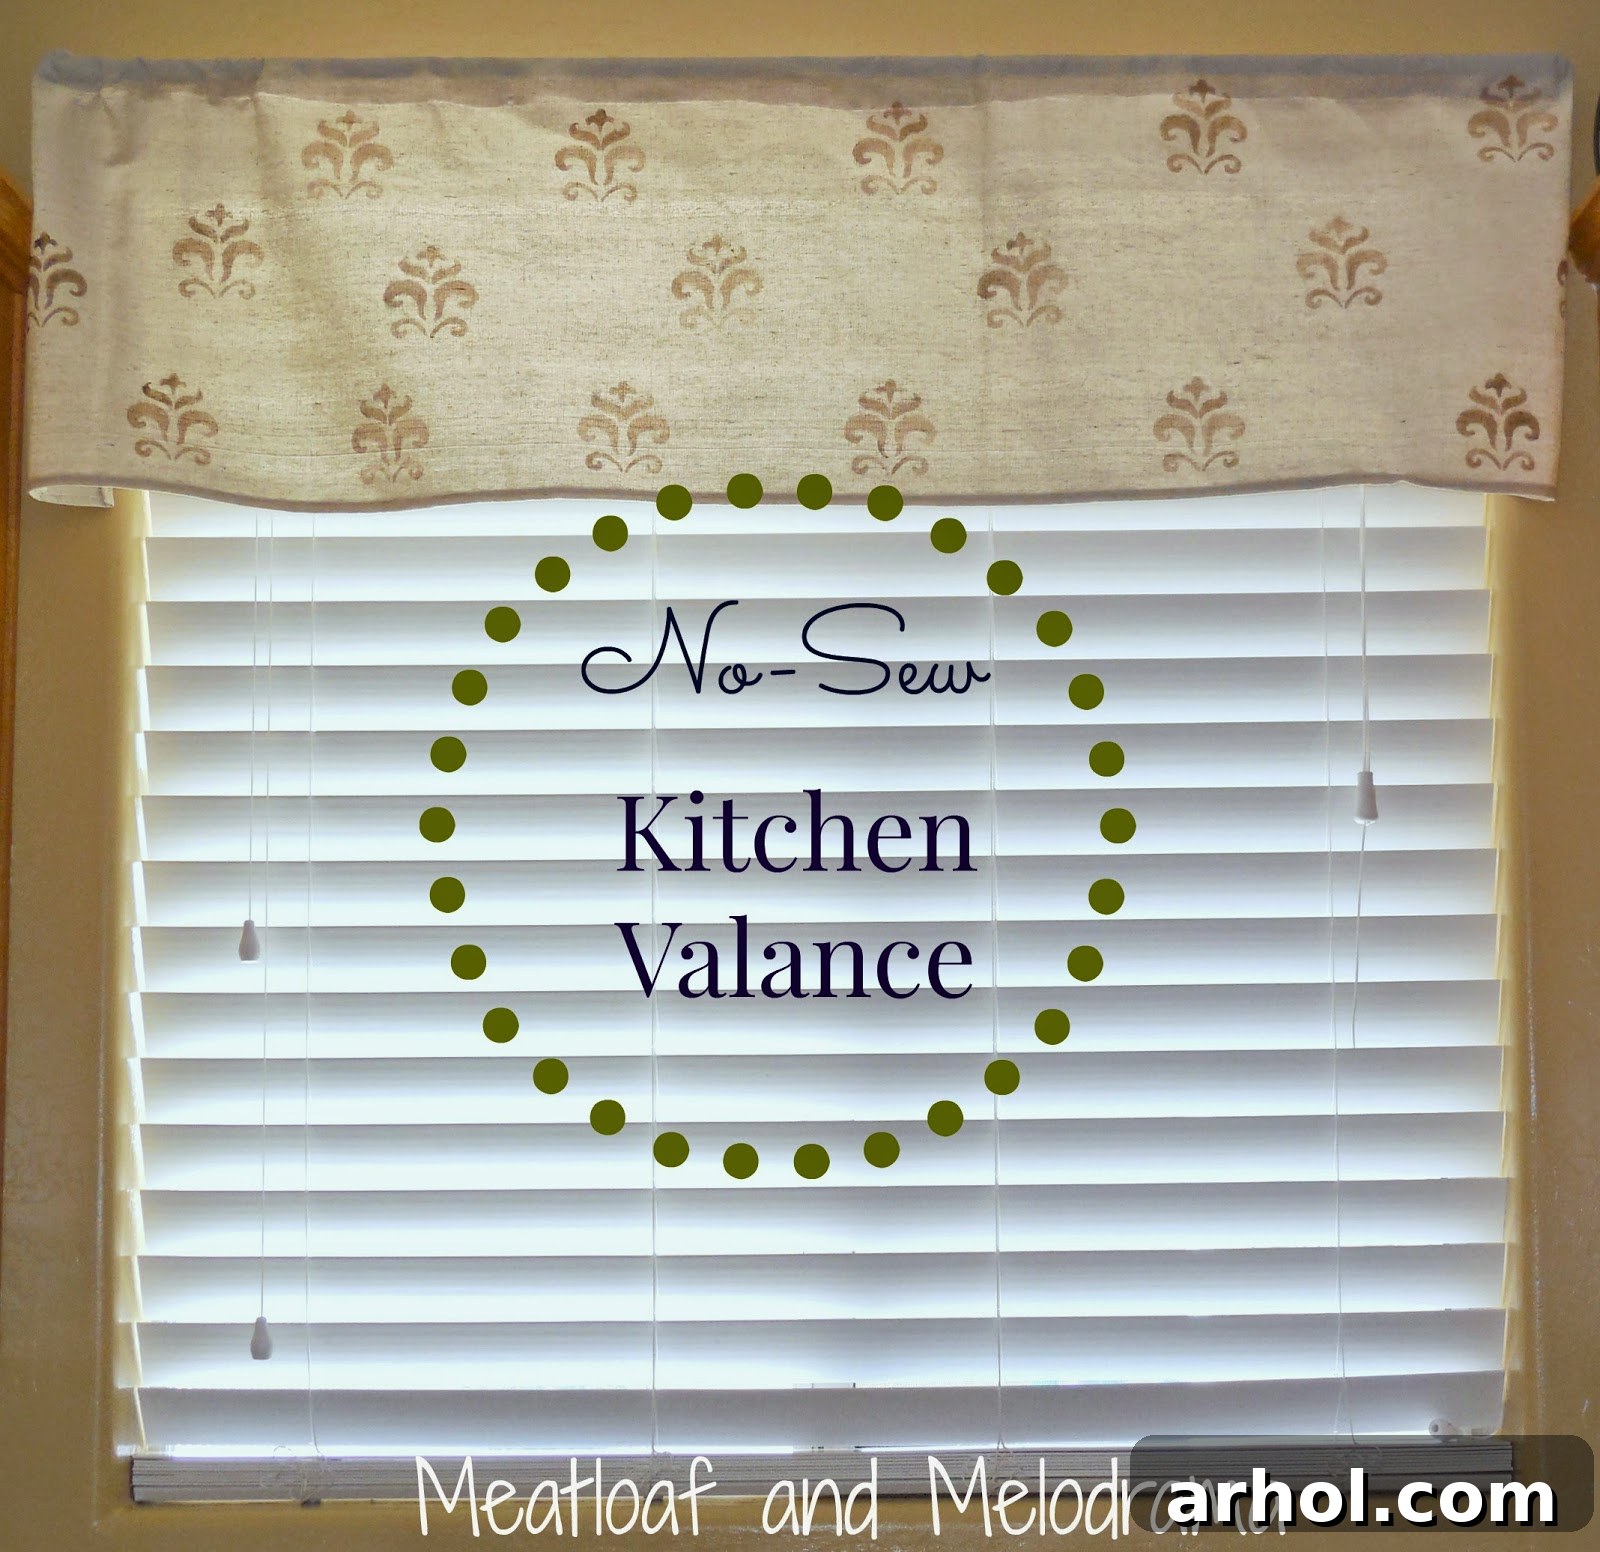
Easy No-Sew Drop Cloth Valance: A Budget-Friendly Kitchen Transformation
Hello there, fellow DIY enthusiasts! What a week it’s been. While juggling a house full of sick kiddos, I still managed to carve out some precious time for a project that had been patiently waiting on my to-do list. Sometimes, a quick creative escape is just what you need to recharge, even amid daily chaos. This particular project wasn’t just about crafting; it was about bringing light and a fresh perspective into one of the most important rooms in our home: the kitchen.
You might recall my previous endeavor into the world of no-sew drop cloth valances for our family room windows. These budget-friendly, farmhouse-chic window treatments instantly transformed the space, adding a touch of rustic elegance without the need for a sewing machine. As with any creative process, there are often happy accidents. During that project, I ended up with a small hiccup on one of the valances. It didn’t quite match the others, so I set it aside and crafted two more to ensure uniformity across the three family room windows. Initially, I thought about repurposing the leftover drop cloth fabric into a decorative pillow cover. However, the pattern direction of the remaining material wasn’t ideal for a pillow. But where one door closes, a window opens – or in this case, a kitchen window got a brand-new valance!
Breathing New Life into the Kitchen: Out with the Old, In with the Bright
Our kitchen already had a valance adorning the window, a relic from our previous home. While it had its charm in another setting, here, it simply wasn’t working. It was a lovely, albeit heavy and dark, maroon and gold country-style valance that, instead of enhancing the space, actually made the entire kitchen feel dim and somewhat oppressive. The goal for our current home is to maximize natural light and create an airy, open feel, and this old valance was doing the exact opposite. Unfortunately, in my eagerness to swap it out, I completely forgot to capture a “before” picture of it in situ. So, for context, imagine this: a beautiful but bulky piece of fabric that absorbed rather than reflected light. The only photo I managed to snap was of the old valance airing out on our patio, a bittersweet farewell to a piece that no longer served its purpose in our updated home aesthetic.
The transformation was long overdue. My aim was not just to replace an old valance, but to inject vibrancy and lightness into the heart of our home, making it a more inviting and joyful space for cooking and gathering. And the best part? This entire project was completed using materials I already had on hand, making it a truly budget-friendly and sustainable home improvement. It’s amazing how a simple change in window treatment can dramatically alter the perception and ambiance of a room, especially when seeking to brighten a previously dark area.
The Genius of No-Sew: Simple Steps for an Elegant Result
One of the main reasons I’m such a fan of the no-sew method, especially for valances, is its sheer simplicity and speed. You don’t need any specialized skills, expensive equipment, or hours of dedicated time. With just a few basic tools and a bit of creativity, you can achieve a polished look that rivals custom-made window treatments. This project leverages the innate qualities of drop cloth fabric – its durability, neutral color, and forgiving nature – to create something beautiful and functional that perfectly complements a modern farmhouse or minimalist aesthetic.
Materials You’ll Need for Your No-Sew Valance:
- Leftover drop cloth fabric (or a new, inexpensive one if starting from scratch)
- An existing curtain rod (or a new one, but for this project, I happily reused mine!)
- A reliable hot glue gun and plenty of glue sticks
- Sharp fabric scissors
- Measuring tape for precise cuts
- An iron (optional, for crisp edges, but not strictly necessary with the rustic charm of drop cloth)
Step-by-Step Assembly Guide for Your DIY Valance:
- Measure Your Window Precisely: Start by accurately measuring the width of your window frame and the length of your existing curtain rod. You’ll also need to decide on the desired finished length of your valance. For a beautifully gathered or pleated look, aim for a fabric width that’s 1.5 to 2 times the width of your window or rod. This will ensure your valance has enough fullness without looking stretched.
- Cut Your Fabric to Size: With your precise measurements in hand, carefully cut your drop cloth fabric. Remember to factor in a couple of extra inches for the “hem” or the part that will neatly wrap around the curtain rod and be securely fastened with glue. Taking your time to make straight, even cuts here is crucial for achieving a professional and neat finish.
- Prepare the Fabric for the Rod: Lay your cut fabric flat on a clean surface. If you desire a super clean top edge, you can fold over the raw top edge about half an inch and press it with an iron, then fold it over again to create a neat “hem” that will be completely hidden once wrapped around the rod. However, given the charming, rustic nature of drop cloth, a single fold can also work beautifully and save time.
- Secure to the Curtain Rod Using a Glue Gun: This is where the trusty hot glue gun becomes your best friend! Position the fabric evenly over your existing curtain rod. Carefully fold the top edge of the fabric over the rod to the back side. Apply a generous, yet even, bead of hot glue along the inside edge of the folded fabric, pressing it firmly against the main body of the valance on the back. Work in manageable, small sections to ensure the glue doesn’t cool and harden too quickly, allowing for adjustments.
As I secured the fabric, my main focus was to ensure that it was glued tightly and evenly around the rod. This meticulous attention to detail prevents any unsightly sagging and gives the valance a crisp, custom-tailored appearance. The beauty of using a hot glue gun for this type of project lies in its instant bond and surprisingly forgiving nature; should you make a slight error, you can usually gently peel it back and re-glue before it completely sets, making it ideal for beginner DIYers.
The Radiant Reveal: A Brighter Kitchen and Unified Aesthetic
The moment I hung the newly fabricated drop cloth valance, the change was immediate and striking. The kitchen was instantly brighter! You can clearly see in the “after” pictures how much more natural light now filters into the room, effectively chasing away the shadows that the old valance seemed to invite. There’s a subtle shadow in the back, but honestly, that’s perfectly fine with me. My primary goal was achieved: a dramatically brighter kitchen bathed in a more neutral, inviting palette. And the ultimate satisfaction? Not having to spend a single penny on new materials. It’s a testament to the power of creative reuse and simple, impactful DIY solutions for home decor.
On the day I took these photos, the sun was incredibly bright outside, almost blinding! I kept the blinds partially down to avoid overexposure, but even with that, the luminosity brought into the kitchen was undeniable. What’s more, this new kitchen valance seamlessly integrates with the existing drop cloth valances in our adjoining family room. While the spacing of the gathers might be slightly different due to the unique dimensions of each window, the consistent material and style create a cohesive and harmonious flow between the two spaces. This subtle connection helps to unify the open-concept living area, making the entire home feel more intentionally designed and aesthetically pleasing.
The Enduring Appeal and Versatility of Drop Cloths in Home Decor
It still amazes me how incredibly versatile and cost-effective humble drop cloths can be for a myriad of home decor projects. Who would have thought that a material typically used to protect floors during painting could be transformed into stylish, functional elements for our most cherished living spaces? Their natural, unbleached cotton color provides a perfect neutral base, adaptable to almost any decor style, from the rustic charm of modern farmhouse to the clean lines of minimalist and even industrial chic aesthetics. The subtle texture adds character and depth, and their inherent durability ensures that your DIY creations will stand the test of time, proving to be both beautiful and practical investments in your home.
I still have a little bit of this fantastic fabric left over, and my creative gears are already turning with plans for its next iteration. Stay tuned for another exciting project down the line! This journey of transforming simple, readily available materials into cherished home accents truly highlights the immense joy and profound satisfaction that comes from hands-on DIY and personalizing your living environment on a budget.
Embrace Your Inner DIYer and Transform Your Home!
I hope this post inspires you to look at everyday materials with a new creative eye and perhaps even embark on your own no-sew adventure. Whether it’s brightening a dim room, updating an outdated look, or simply adding a personal, handmade touch, DIY home decor projects offer an incredible sense of accomplishment and the joy of creating something beautiful with your own hands. Remember, a little creativity and a glue gun can go a long way in refreshing your space without breaking the bank. Thanks so much for taking the time to read about my latest home decor transformation. Wishing you a wonderful and creatively fulfilling day!
Warmly,
Dee 🙂