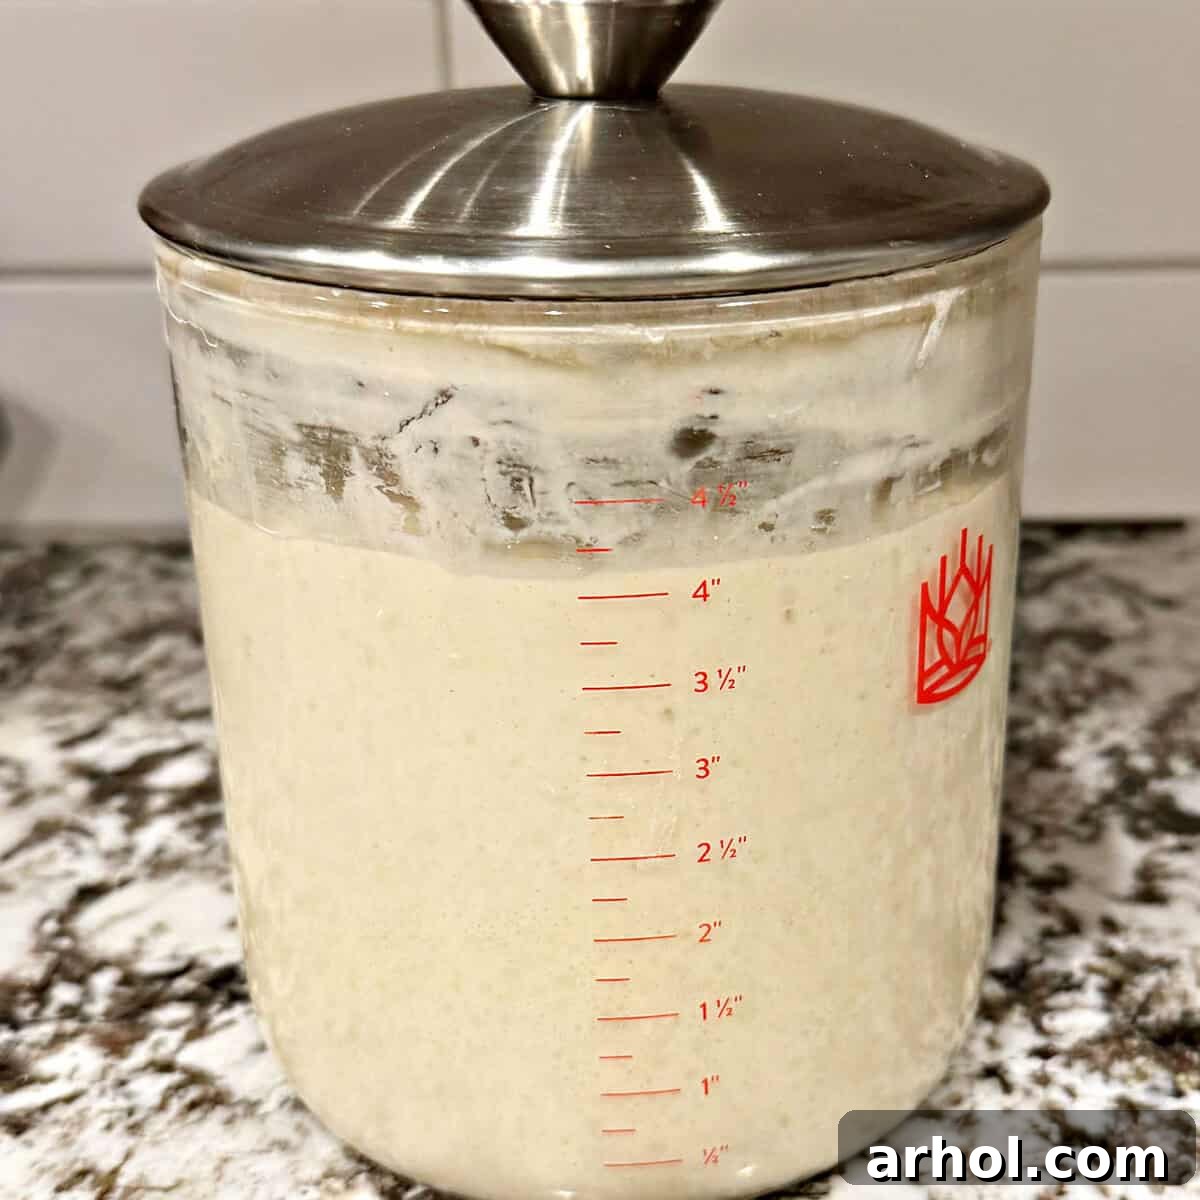
Embark on your journey to becoming a confident sourdough baker by mastering the fundamental skill of feeding and maintaining your sourdough starter. This guide will demystify the process, ensuring your starter is always vibrant, active, and ready to infuse your favorite sourdough recipes with its unique tang and texture. Far from being an arduous task, nurturing a sourdough starter is a surprisingly simple and rewarding practice once you understand its needs.
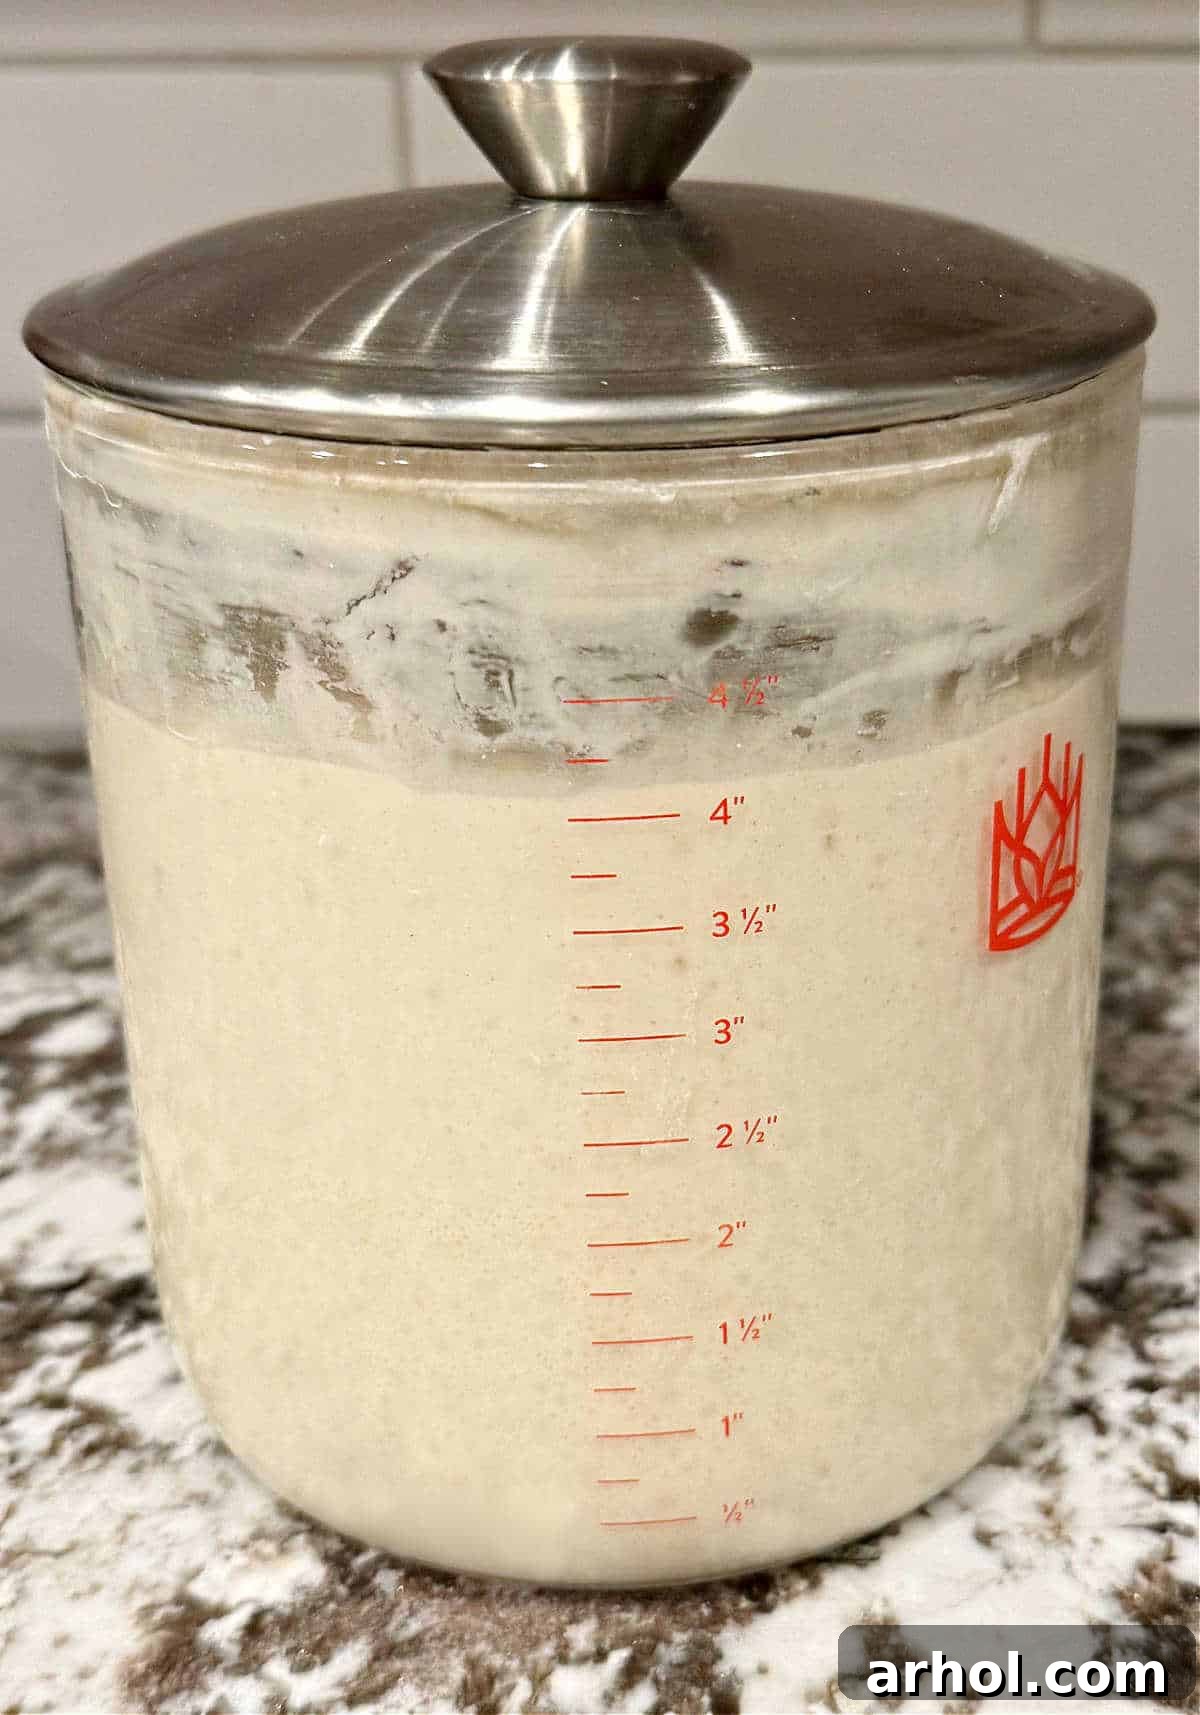
A sourdough starter is a living, breathing ecosystem of wild yeasts and beneficial bacteria. Like any living thing, it requires consistent nourishment and care to remain vigorous. Many aspiring sourdough bakers hesitate, fearing the commitment of upkeep, but rest assured, maintaining a healthy sourdough starter is remarkably straightforward and becomes second nature with a little practice.
Once your starter reaches maturity, typically after a couple of weeks of regular feeding, it becomes incredibly resilient and easy to manage. For bakers who don’t bake daily, storing your starter in the refrigerator is an excellent method for low-maintenance care. We routinely store ours in the fridge, taking it out and feeding it the day before we plan to bake artisan sourdough bread or soft sourdough sandwich bread. This routine consistently yields a robust and reliable starter, ready to perform its magic in every loaf.
Understanding Your Sourdough Starter: A Living Culture
Before diving into the mechanics of feeding, it’s beneficial to understand what a sourdough starter truly is. It’s a symbiotic culture of lactic acid bacteria and wild yeasts, harvested from the air and flour, that ferments and leavens dough. These microorganisms feed on the sugars in flour, producing carbon dioxide (which creates the airy structure in bread), and lactic and acetic acids (which give sourdough its characteristic tangy flavor). A well-fed starter is crucial because it ensures these microbes are active and strong, capable of giving your bread excellent rise and flavor.
Key Ingredients for Sourdough Starter Feeding
Feeding your sourdough starter requires just two simple ingredients: flour and water. The quality and type of these ingredients can significantly impact your starter’s health and activity.
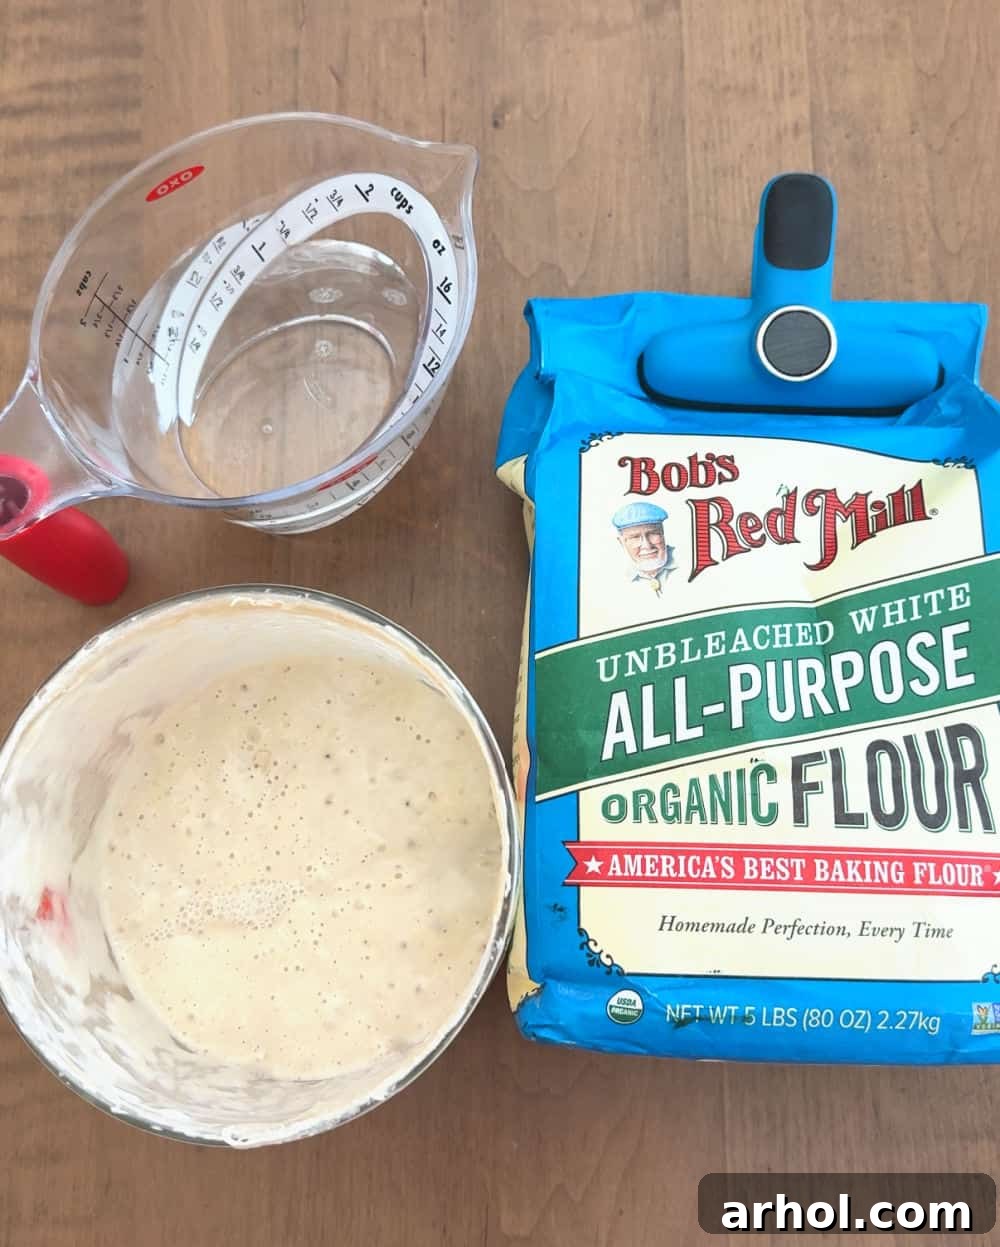
What You’ll Need:
- Active Sourdough Starter: The foundation of your sourdough baking. Ensure it’s active and smells pleasantly yeasty and slightly acidic, not overwhelmingly sour or like nail polish remover.
- Flour: For consistent feeding, we recommend using unbleached all-purpose flour. While bread flour contains higher protein, which is great for bread structure, all-purpose flour provides a balanced nutrient source for your starter without overworking it. Avoid bleached flours, as the bleaching process can harm the delicate microbial balance of your starter. Experimenting with a small portion of rye or whole wheat flour can sometimes give a sluggish starter a boost due due to higher nutrient content, but all-purpose is typically sufficient for regular maintenance.
- Water: Use room temperature filtered water. Chlorine in tap water can inhibit or even kill the beneficial microbes in your starter. If you don’t have filtered water, you can leave tap water out on the counter overnight to allow the chlorine to dissipate. Avoid extremely hot or cold water, as drastic temperature changes can shock the starter and slow down its activity.
Recommended Tools for Precise Sourdough Starter Care
While sourdough baking can be quite forgiving, precise measurements are key to maintaining a consistent and active starter. Having the right tools makes the feeding process much easier and more accurate.
- Digital Kitchen Scale: This is arguably the most crucial tool for feeding your starter. Unlike baking recipes where a slight variation in flour or water might be acceptable, consistency is vital for your starter’s health. A digital scale allows you to measure ingredients by weight (grams), providing far greater accuracy than volumetric measurements (cups), which can vary widely. Precision ensures your starter receives the exact 1:1:1 ratio needed for optimal activity.
- Clear Glass Jar or Crock: A clear container is highly recommended as it allows you to observe your starter’s activity, such as its rise, bubble formation, and the development of “hooch” (a dark liquid that indicates hunger). We use a clear glass crock, which often comes with convenient measurement markings on the side. Any clean glass jar with a wide mouth will work perfectly. Ensure it has a lid, but don’t seal it airtight during the initial rise; a loosely fitting lid or plastic wrap allows gases to escape while keeping contaminants out.
- Spatula or Spoon: For mixing.
- Separate Container for Discard: Essential for collecting excess starter.
Step-by-Step: How to Feed Your Sourdough Starter for Optimal Health
Feeding your sourdough starter is a straightforward process that becomes quick and intuitive with practice. Follow these steps to ensure your starter is always vibrant and ready for baking:
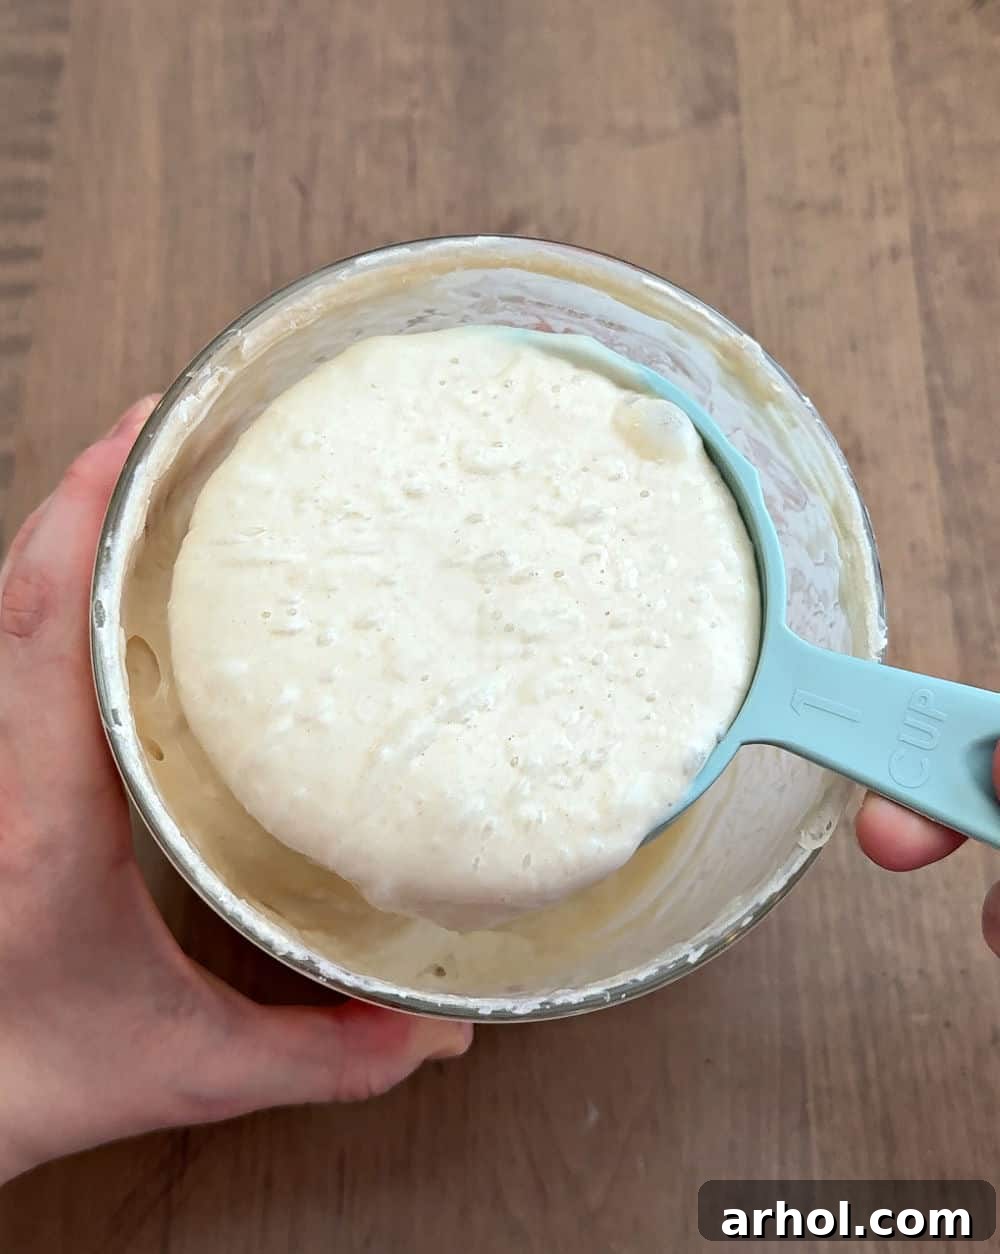
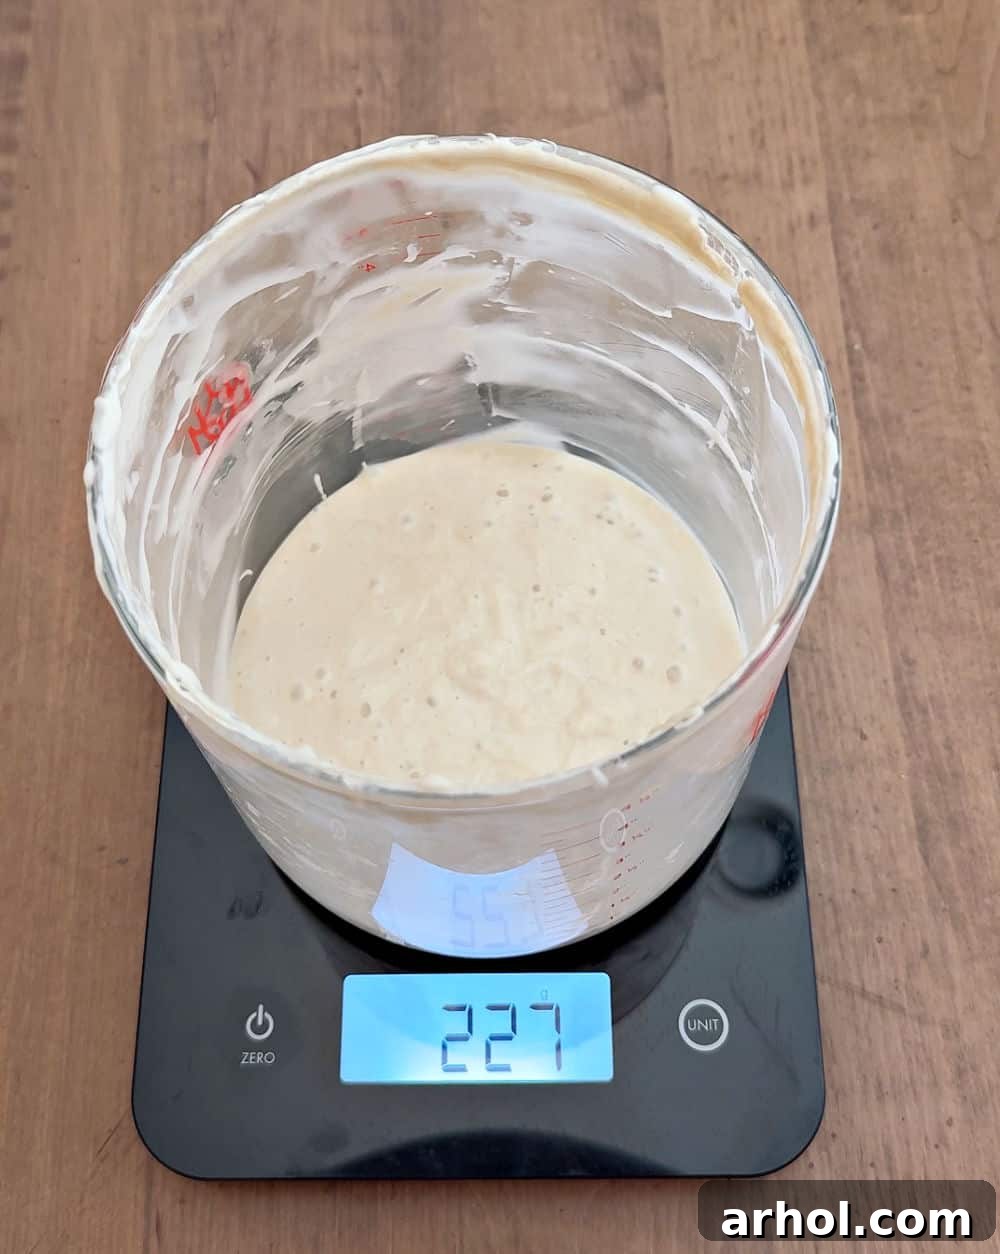
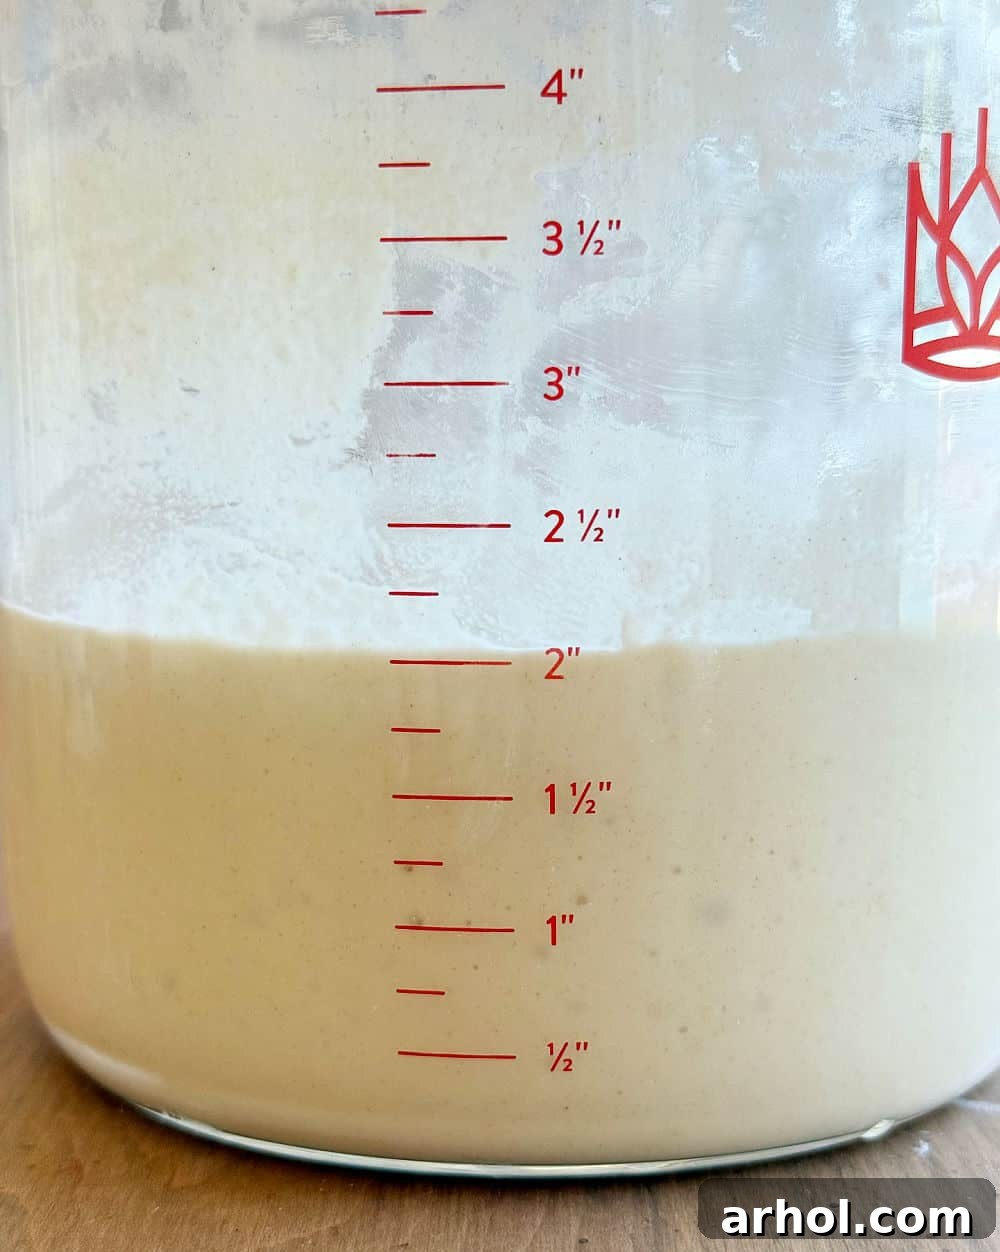
- Prepare for Discarding: First, you’ll need to “discard” a portion of your existing starter. This crucial step prevents your starter from becoming too voluminous and ensures the remaining microbes have ample fresh food. Scoop out all but your desired amount of starter (e.g., 227 grams or about 1 cup) into a separate container. Don’t throw it away! Sourdough discard is a fantastic ingredient for many recipes like fluffy sourdough pancakes, crispy crackers, tender biscuits, and even cookies. Store your discard in the fridge until you’re ready to bake with it.
- Measure Your Starter: Place your clean crock or jar on a digital kitchen scale and zero it out. Pour the reserved portion of your starter (the amount you want to keep and feed, e.g., 227 grams) back into the crock.
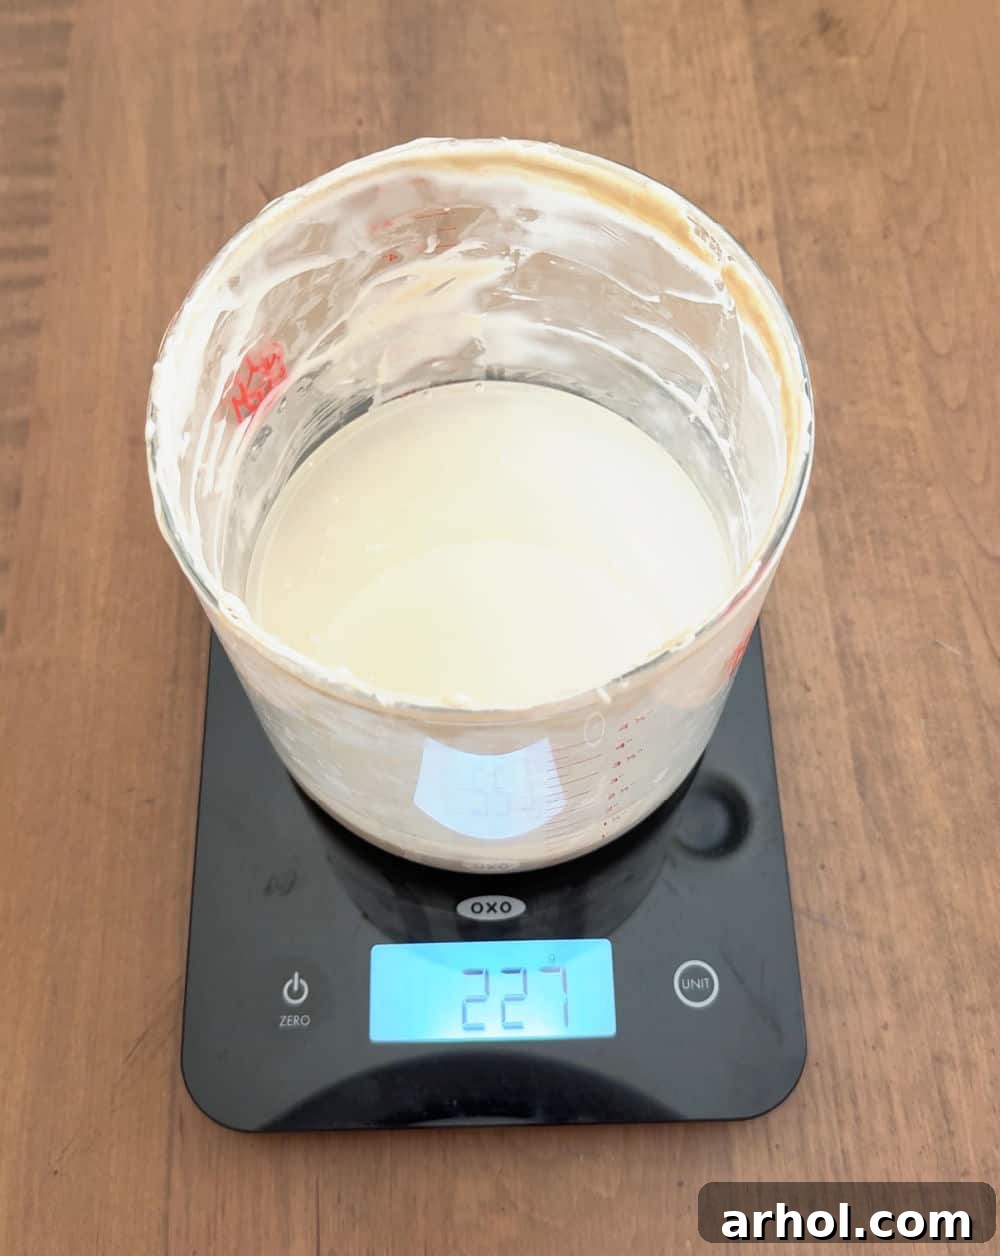
- Add Water and Dissolve: With the crock still on the scale, add the precise amount of room temperature filtered water (e.g., 227 grams, matching your starter weight). Stir thoroughly with a spoon or spatula until the starter is completely dissolved in the water, forming a milky, consistent liquid. This helps prevent lumps and ensures even distribution of the new food.
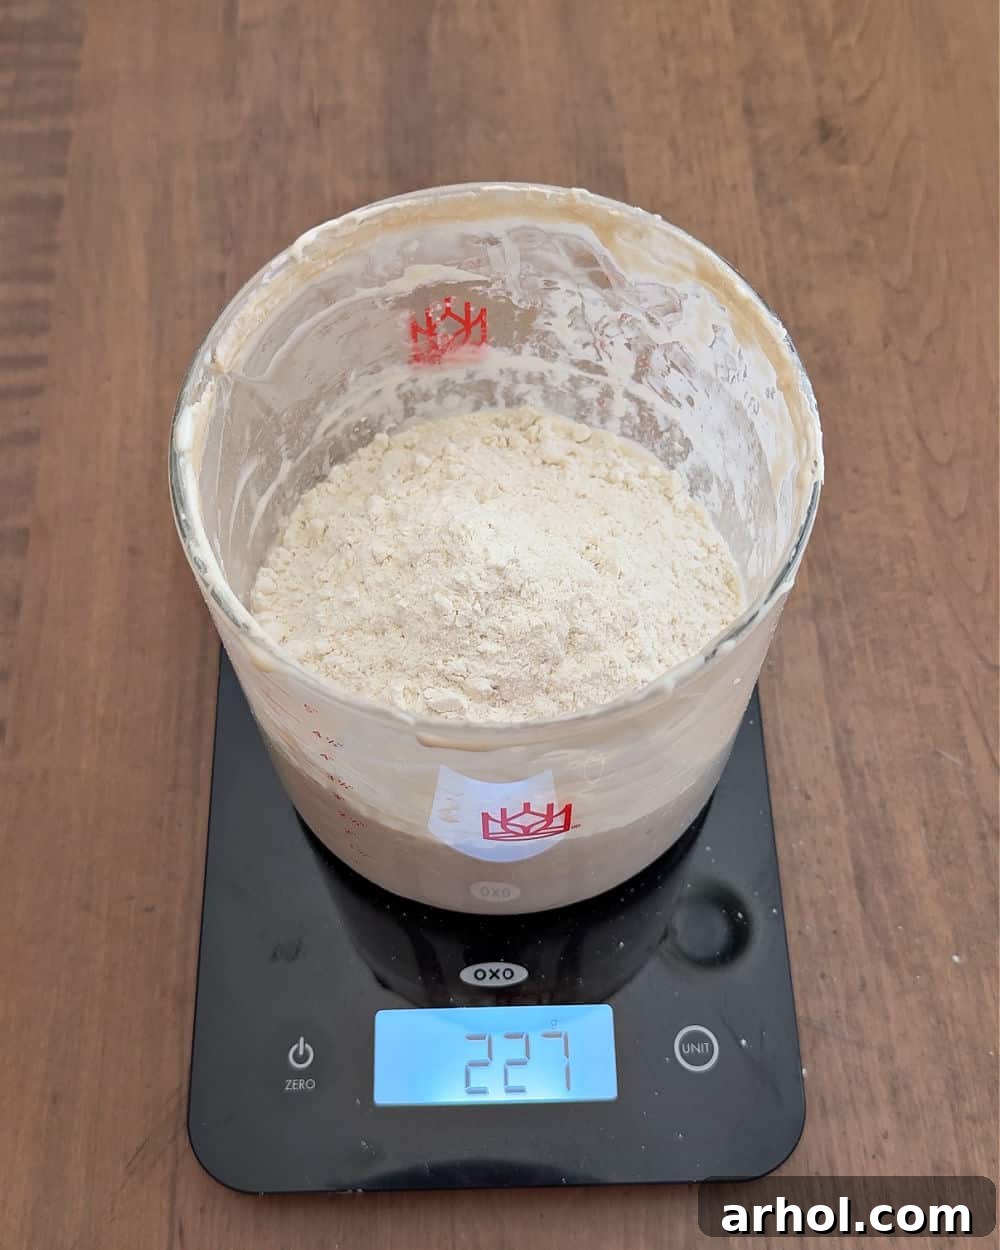
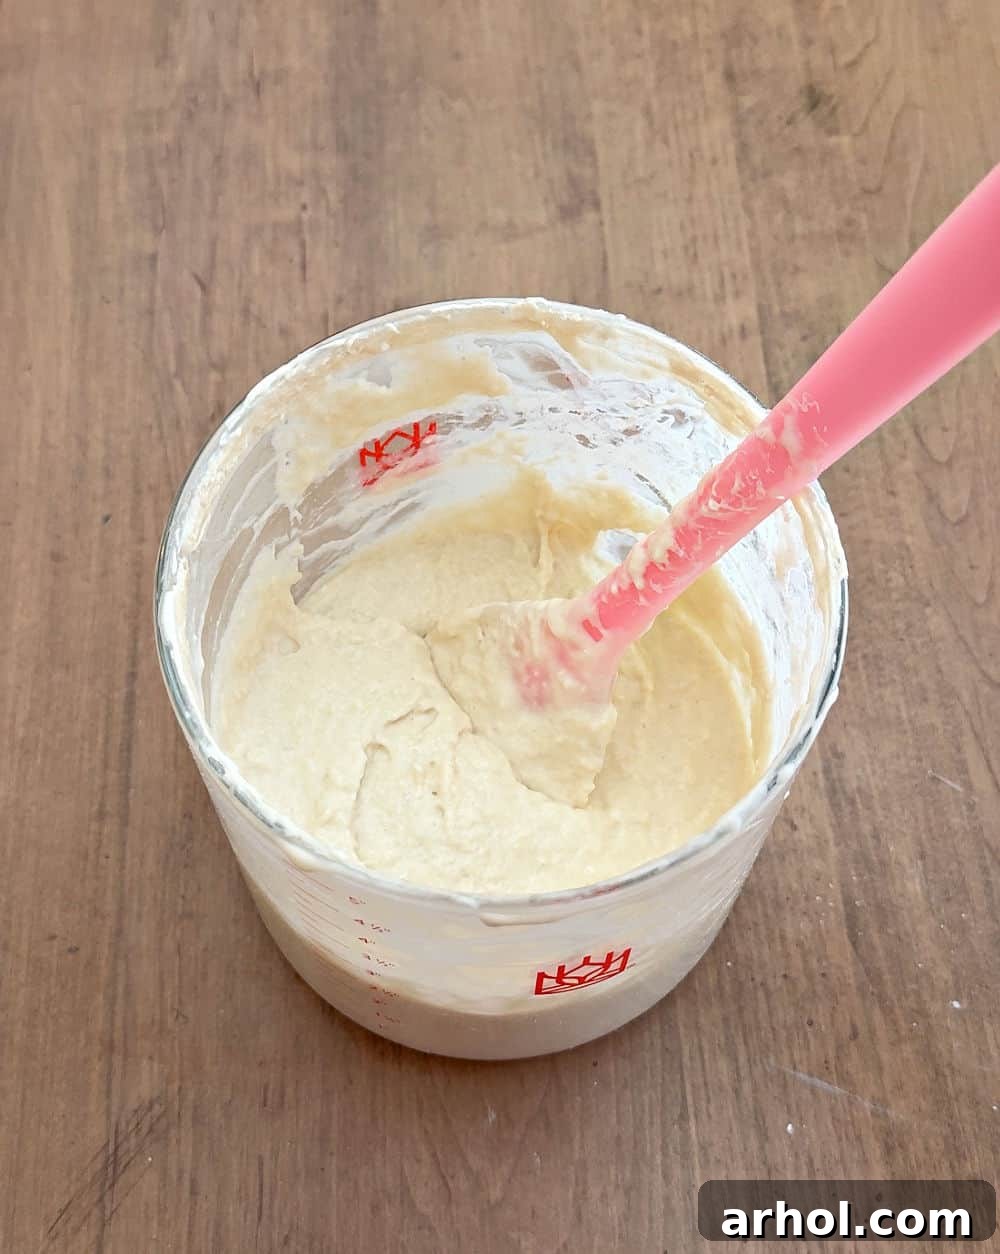
- Add Flour and Mix: Now, add the measured amount of all-purpose flour (e.g., 227 grams, matching starter and water). Mix vigorously until all the flour is fully incorporated and no dry pockets remain. The mixture should be a thick, paste-like consistency, similar to a thick pancake batter. Overmixing isn’t generally a concern here, as you want to ensure everything is well combined.
- Cover and Rise: Once mixed, cover the crock loosely with its lid, plastic wrap, or a damp kitchen towel. This prevents the starter from drying out while still allowing gases produced during fermentation to escape. Place your starter in a warm spot (ideally 70-78°F or 21-26°C) to rise. In a few hours (typically 4-12 hours depending on ambient temperature and starter activity), your starter should be visibly bubbly and at least doubled in size, indicating it’s active and ready for baking.
Sourdough Starter Feeding Schedule: Countertop vs. Refrigerator
The frequency of feeding your sourdough starter largely depends on your baking habits and how you store it. Understanding the different schedules will help you keep your starter thriving.
Countertop Storage (Frequent Baking)
If you bake daily or every couple of days, keeping your starter on the counter at room temperature (around 70-75°F / 21-24°C) is ideal. A counter-stored starter needs to be fed more frequently because the warmer temperature encourages faster microbial activity. Typically, you’ll feed it once or twice a day, every 12-24 hours. You’ll know it’s ready for a feed when it has peaked (doubled or tripled in size) and is just starting to fall, or if it develops a thin layer of “hooch” on top. This constant feeding keeps the starter robust and ready for immediate use.
Refrigerator Storage (Infrequent Baking)
For those who bake less frequently, perhaps once or twice a week, storing your starter in the refrigerator is the most convenient option. The cold temperature significantly slows down fermentation, meaning your starter requires less frequent feeding. In the fridge, you typically only need to feed your starter once a week. This “hibernation” state makes sourdough maintenance incredibly easy. When you’re ready to bake, simply take your starter out of the fridge the day before, feed it, and let it activate at room temperature until it’s bubbly and ripe.
Signs Your Starter Needs Feeding
Beyond a set schedule, your starter will communicate its needs:
- Hooch: A layer of dark liquid on top indicates your starter is very hungry. It’s safe, just pour it off before feeding.
- Flat or Sluggish: If your starter isn’t rising much after feeding, or it stays flat, it might be weak or hungry.
- Strong Alcohol Smell: A very pungent, vinegary, or alcoholic smell suggests it’s over-fermented and hungry.
The Golden Ratio: 1:1:1 for a Happy Starter
The most commonly recommended and successful feeding ratio for sourdough starters is 1:1:1. This means one part starter, one part water, and one part flour by weight. For example, if you keep 100 grams of starter, you would feed it with 100 grams of water and 100 grams of flour. This balanced ratio provides sufficient food for the microbes to thrive without becoming overly hungry too quickly or becoming too dilute. While some bakers experiment with different ratios (e.g., 1:2:2 for a less sour flavor or less frequent feeding), the 1:1:1 ratio is an excellent starting point and works consistently for most home bakers. If you notice your starter isn’t performing as expected, ensuring you’re sticking to this precise ratio, measured by weight, is often the first step in troubleshooting.
Essential Sourdough Starter Care Tips
- Acclimatize Before Feeding: If your starter has been in the refrigerator, take it out about an hour before feeding. Allowing it to come to room temperature gently awakens the microbes, preparing them for their meal and ensuring a more active response.
- Thorough Dissolution: Always mix the starter and water together until the starter is completely dissolved. This creates a uniform liquid that the flour can easily absorb, preventing dry clumps and ensuring an even fermentation.
- Embrace Your Scale: Precision is paramount for consistent results. Always use a digital kitchen scale for measuring your starter, water, and flour. Eyeballing amounts or using cup measurements can lead to inconsistencies that impact your starter’s health and activity.
- Regular Jar Cleaning: While it’s not necessary to clean your starter jar every single time you feed it, aim to clean it thoroughly every 3-4 weeks. This prevents the buildup of dried starter on the sides, which can harbor less desirable microbes and affect the overall health and flavor of your starter. Simply transfer your fed starter to a clean jar and wash the old one.
- Observe and Learn: Pay attention to your starter’s behavior. How quickly does it rise? What does it smell like? How many bubbles does it produce? These observations will teach you to understand its specific needs and rhythms.
Troubleshooting Common Sourdough Starter Issues
Even with careful maintenance, you might encounter a few common issues. Don’t despair, most are easily resolved:
- Slow or Inactive Starter: If your starter isn’t rising well, try feeding it more frequently (if on the counter) or placing it in a warmer spot. Sometimes, incorporating a small amount of whole wheat or rye flour for a feeding can give it a boost, as these flours contain more nutrients. Ensure your water is chlorine-free.
- Excessive Hooch: A dark layer of liquid (hooch) means your starter is very hungry. Simply pour it off, discard most of the starter, and feed it with fresh flour and water. If this happens often, you might need to increase your feeding ratio (e.g., 1:2:2) or feed more frequently.
- Off-Smells: While a healthy starter has a pleasant, tangy, slightly yeasty aroma, strong acetone (nail polish remover) or overly sour smells indicate hunger or imbalance. More frequent feeding and cleaning your jar can help.
- Mold: This is the only issue where you should discard your starter entirely and start fresh. Mold can appear as fuzzy spots of various colors (green, black, orange). It’s rare in active starters but can happen if left unfed for too long or if contaminants are introduced.
How to Feed a Sourdough Starter
Equipment
-
1 kitchen scale
-
1 clear glass jar or crock
-
Spatula or spoon
Ingredients
- 227 grams sourdough starter (active)
- 227 grams filtered water (room temperature)
- 227 grams unbleached all purpose flour
Instructions
-
Scoop out and discard all but 227 grams (or 1 cup) of sourdough starter from the crock into a separate container. Store the discard in the refrigerator for other recipes.
-
Place the remaining 227 grams of sourdough starter back into the clean crock or jar.
-
Add 227 grams of room temperature filtered water to the starter in the crock. Mix until the starter is completely dissolved in the water.
-
Add 227 grams of unbleached all-purpose flour to the mixture. Stir until fully combined and no dry flour remains, forming a consistent, thick batter.
-
Cover the crock loosely with a lid or plastic wrap. Let it sit at room temperature (70-78°F or 21-26°C) to rise until it has doubled in size and is actively bubbly. This typically takes 4-12 hours.
-
Once active, your starter is ready to use in your favorite sourdough recipes, or you can place it back in the refrigerator until your next baking session.
Video
A video tutorial on how to feed a sourdough starter would typically be embedded here.
Notes
Ensure water and starter are thoroughly dissolved before adding flour to prevent lumps.
When not actively baking, store your sourdough starter in the refrigerator to slow down fermentation and reduce feeding frequency.
Regularly clean your starter jar every few weeks to maintain optimal starter health.
Nutrition
Nutrition information is automatically calculated, so should only be used as an approximation.
Additional Info
Mastering sourdough starter feeding is a cornerstone of successful sourdough baking. It’s a journey of observation, consistency, and a little patience, but the rewards—delicious, homemade sourdough bread—are immeasurable. By following these guidelines, you’ll ensure your starter remains a robust and reliable partner in your kitchen. Happy baking!
For more easy sourdough recipes and helpful baking tips, sign up for our weekly newsletter!