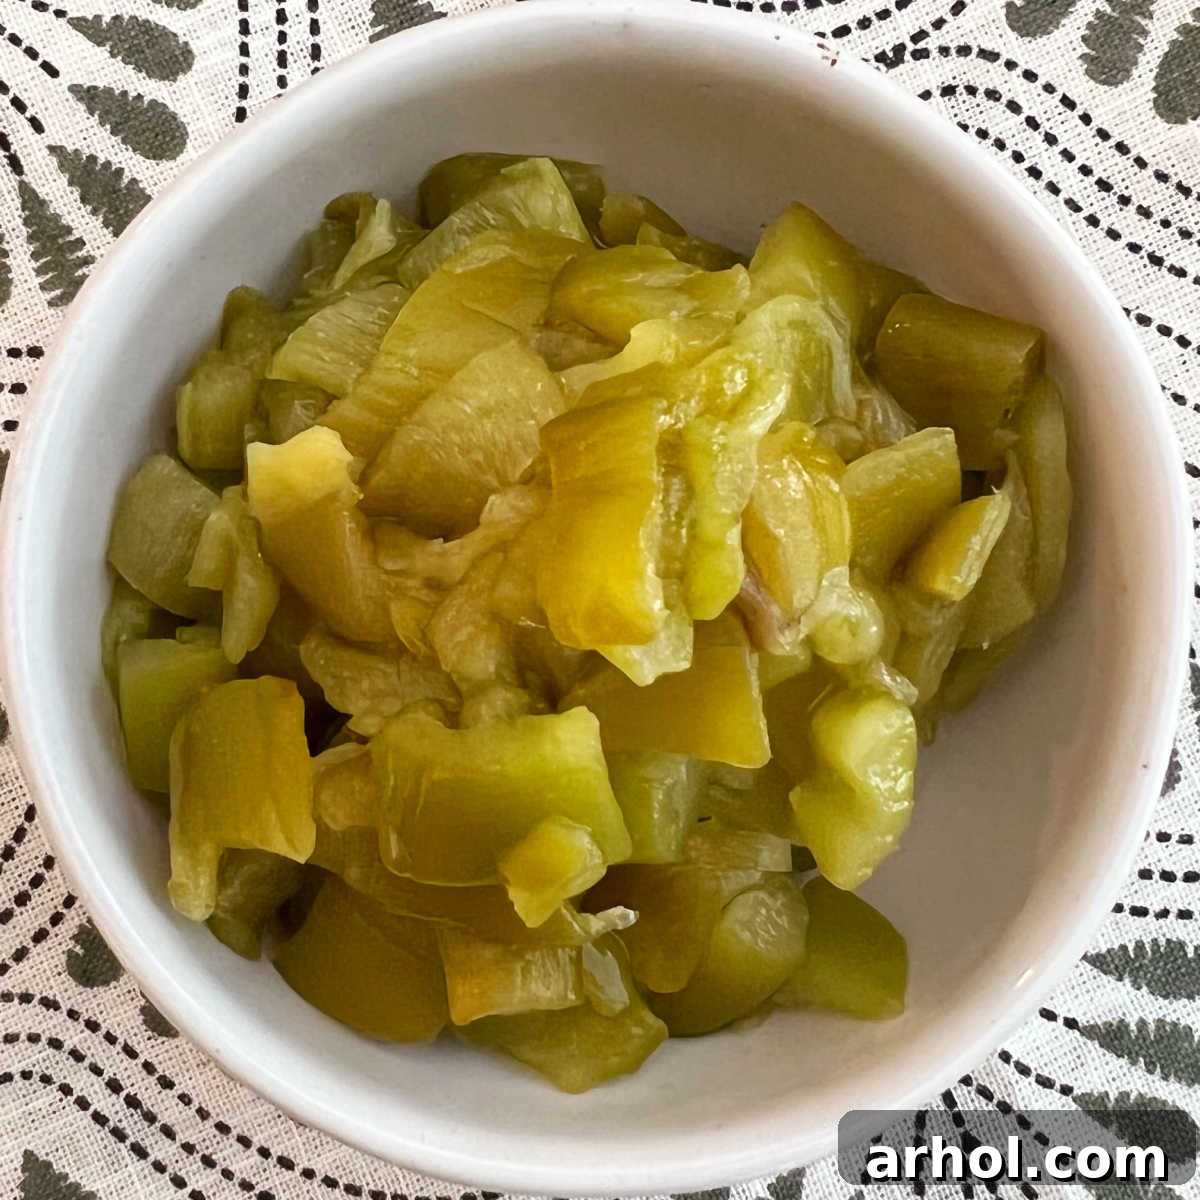
Learn How to Roast Hatch Chiles in your oven and effortlessly create your own batch of diced roasted green chiles, ready to enhance all your favorite recipes. Master this simple technique to make the most of the short, highly anticipated Hatch chile season, preserving their unique smoky flavor for months to come.
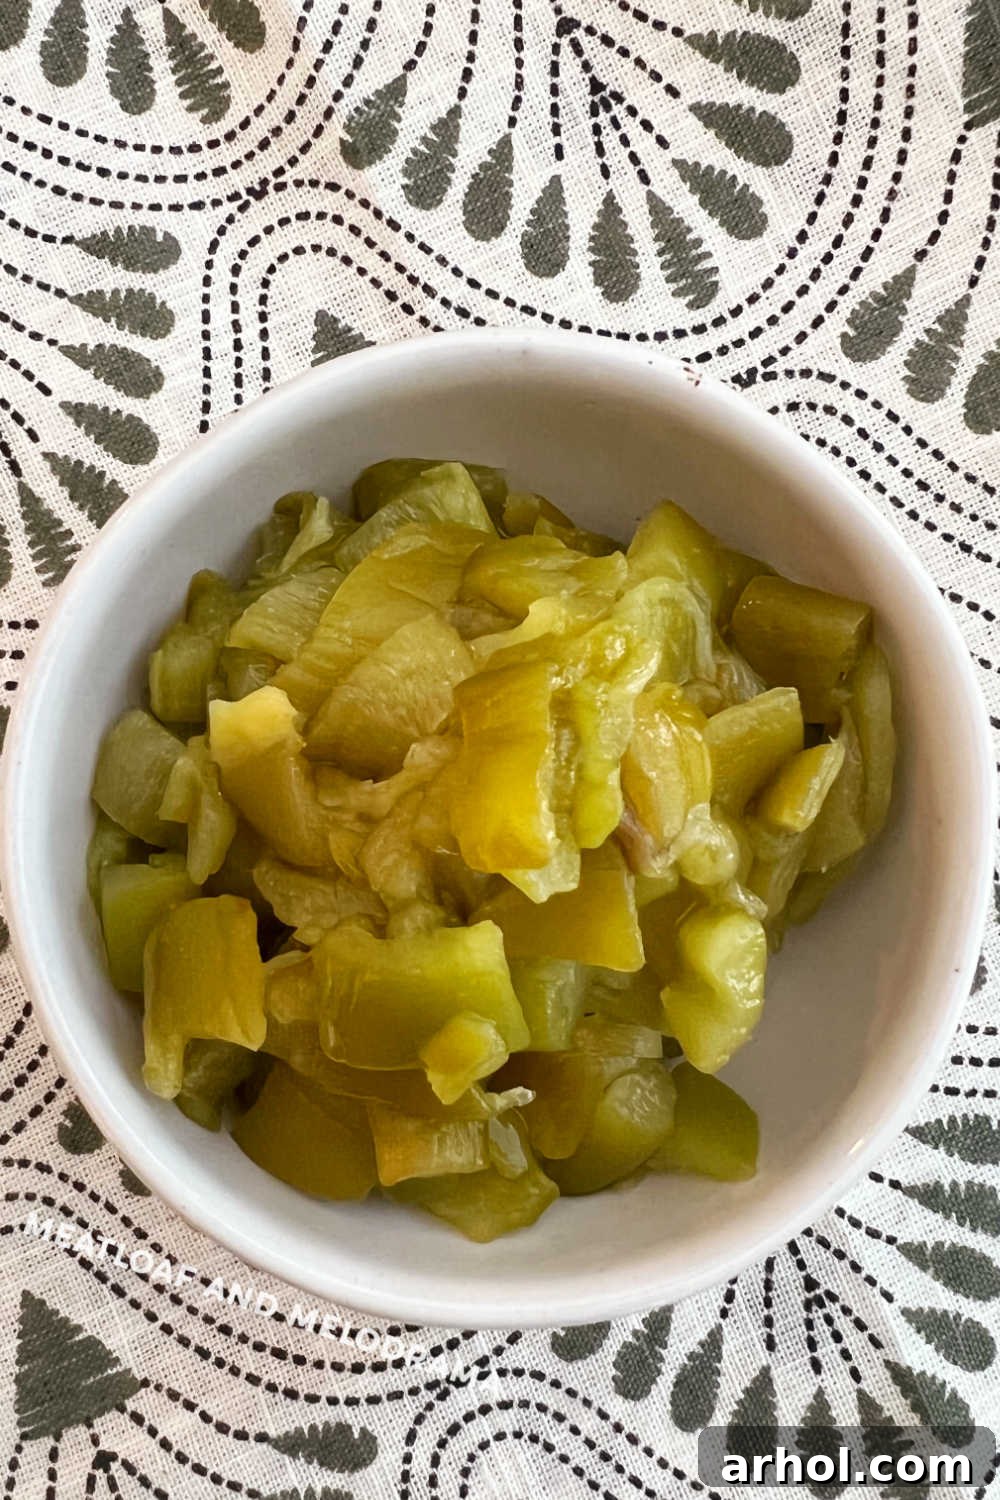
Table of Contents
- Introduction: The Magic of Hatch Chiles
- Why Roast Your Own Hatch Chiles?
- Understanding Hatch Chiles: Flavor and Origin
- Ingredients and Equipment
- How to Roast Hatch Chiles in the Oven
- Cook Time and Doneness
- The Steaming Process for Easy Peeling
- How to Peel and Prepare Hatch Chiles
- How to Store Roasted Hatch Chiles
- Substitutions for Hatch Chiles
- FAQ: Frequently Asked Questions About Hatch Chiles
- How to Roast Hatch Chiles Recipe Card
- Conclusion: Enjoying Your Homemade Hatch Chiles
Introduction: The Magic of Hatch Chiles
The distinctive aroma of roasting green chiles heralds the arrival of a truly special time of year for food lovers: Hatch chile season. These beloved peppers, cultivated exclusively in the fertile Hatch Valley of New Mexico, are renowned for their unique, earthy, buttery, and smoky flavor profile. While canned green chiles are readily available in grocery stores year-round, there’s simply no comparison to the vibrant taste and texture of freshly roasted Hatch chiles. Learning how to roast Hatch chiles at home is not only incredibly easy but also a rewarding way to preserve their seasonal goodness.
Why Roast Your Own Hatch Chiles?
Opting to roast your own Hatch green chile peppers offers several compelling advantages over store-bought alternatives. Firstly, it’s a cost-effective solution. When Hatch chiles are in season, they can often be purchased in bulk at farmers’ markets or supermarkets, offering significant savings compared to canned varieties. Secondly, the flavor and freshness are unparalleled. Canned chiles often lose some of their intricate nuances, whereas fresh chiles, roasted at home, retain their full spectrum of taste and a delightful texture. Finally, home roasting allows you to customize your chiles. You can control the level of char, decide whether to dice or keep them whole, and ensure they are processed exactly to your liking. Once roasted, you can easily dice them up and freeze these precious green gems, making them accessible for your culinary creations long after the season ends.
These versatile roasted chiles are fantastic in a myriad of dishes, transforming everyday meals into extraordinary feasts. We particularly adore them in Instant Pot Chicken Enchiladas, hearty White Chicken Chili, savory Green Chile Cheese Squares, and comforting Pork Chile Verde. However, their applications are virtually limitless; feel free to incorporate them into any recipe that calls for green chiles, from omelets and quesadillas to stews and salsas.
Understanding Hatch Chiles: Flavor and Origin
You might be asking, what’s so special about Hatch chiles? The answer lies in their unique terroir. Grown exclusively in the Hatch Valley region of New Mexico, often referred to as “The Chile Capital of the World,” near Las Cruces, these green chiles possess an extraordinary earthy, buttery, and smoky flavor. This distinctive taste is a direct result of the region’s specific soil composition and arid climate, which together create ideal growing conditions. Much like wine grapes, chiles grown outside this specific geographical area, even from the same seed, will not develop the identical flavor profile. Therefore, if you encounter green chiles marketed as “Hatch” but grown in other regions, such as Southern California, rest assured they are not authentic Hatch chiles. True Hatch chiles carry the essence of their New Mexican homeland in every bite.
Ingredients and Equipment
Embarking on your Hatch chile roasting journey requires minimal ingredients but a few essential pieces of kitchen equipment to ensure a smooth and safe process.
Ingredients:
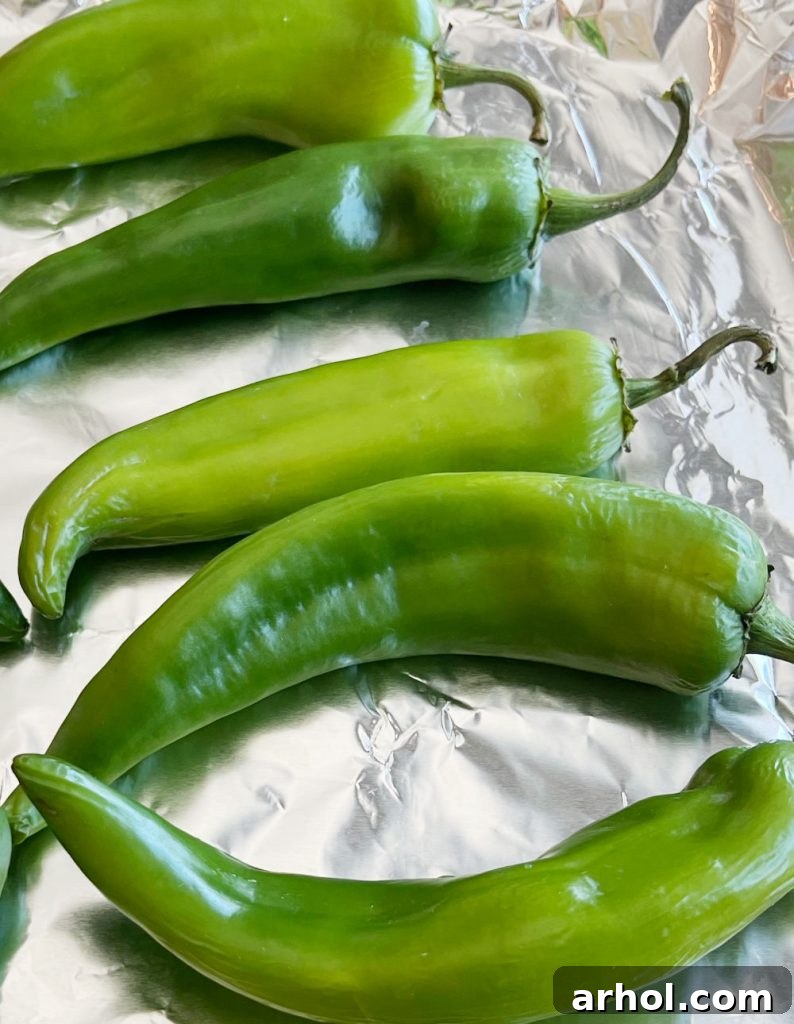
- Fresh Hatch Chiles: The star of our show! Seek out firm, bright green chiles free of blemishes. They are typically available during their brief season at farmers’ markets, specialty grocery stores, and larger supermarkets.
Equipment:
- Rimmed Baking Sheet: Essential for containing the chiles and any juices released during roasting.
- Aluminum Foil or Parchment Paper: Crucial for lining the baking sheet. This prevents sticking, facilitates easy cleanup, and is indispensable for the steaming process.
- Kitchen Tongs: For safely turning the hot chiles during roasting.
- Oven Mitts: To protect your hands when handling the hot baking sheet.
- Disposable Gloves (Optional but Recommended): Especially if you’re sensitive to capsaicin or handling a spicier batch of chiles. These protect your skin from irritation and prevent chile oils from transferring to your eyes or other sensitive areas.
- Airtight Containers or Freezer Bags: For storing your roasted chiles.
How to Roast Hatch Chiles in the Oven
Oven roasting is widely regarded as one of the easiest and most effective methods for achieving perfectly charred and flavorful Hatch chiles. It provides consistent heat and requires less active monitoring than grilling or roasting over an open flame. Follow these simple steps for success:
- Preheat Your Oven: Begin by preheating your oven to 425 degrees Fahrenheit (220 degrees Celsius). This high temperature is key to achieving a good char on the chile skins.
- Prepare the Chiles: Thoroughly rinse the fresh chiles under cool running water to remove any dirt or debris. Pat them completely dry with a clean kitchen towel or paper towels. Moisture can inhibit proper charring.
- Arrange on Baking Sheet: Line a large, rimmed baking sheet with aluminum foil or parchment paper. Place the prepared chiles in a single layer on the lined pan, ensuring they do not overlap. This allows for even roasting and charring on all sides.

Once arranged, carefully place the baking sheet into the preheated oven on the center rack. This placement ensures that the heat is distributed evenly around the chiles, promoting uniform cooking and charring.
Cook Time and Doneness
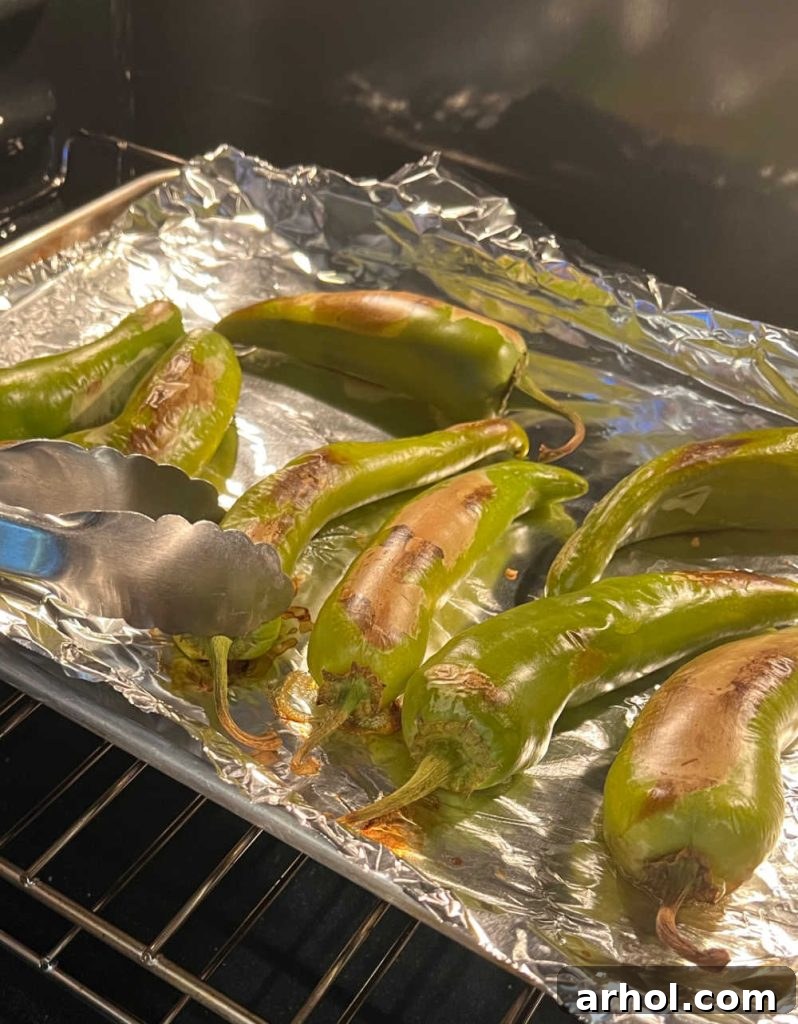
The precise cooking time for Hatch chiles can vary slightly depending on your oven’s calibration and the size and thickness of your chiles. Generally, you will roast the peppers for approximately 8 to 10 minutes per side.
- Roast and Turn: After the first 8-10 minutes, use kitchen tongs to carefully turn each chile pepper over. Continue roasting for another 8 to 10 minutes on the second side.
- Achieve Perfect Char: The chiles are done when their skins are visibly charred and blistered on both sides. You’re looking for dark brown to black spots and an overall softened texture. A good char is essential for both flavor development and making the peeling process easier. Resist the urge to under-roast, as this will make peeling much more difficult.
The Steaming Process for Easy Peeling
Once your Hatch chiles are beautifully charred and roasted, the next critical step is steaming. This process is absolutely essential for making the tough outer skins loose and easy to remove. Without proper steaming, peeling can be a frustrating and time-consuming endeavor.
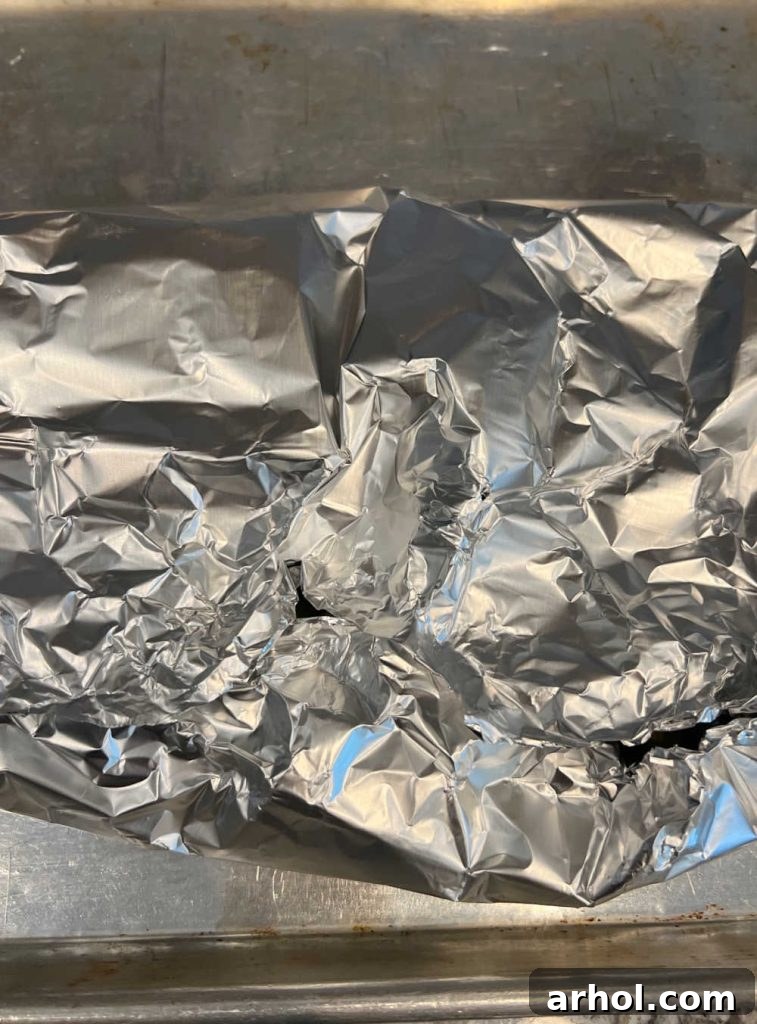
- Remove from Oven and Steam: As soon as the chiles are done roasting, remove the baking sheet from the oven. If you lined your pan with aluminum foil, simply fold the foil up and over the hot peppers, creating a tight packet. If you used parchment paper, you can transfer the chiles to a bowl and cover it tightly with plastic wrap or another piece of foil.
- Allow to Steam: Let the hot chiles steam in their sealed environment for at least 10 minutes, and up to 20 minutes for very thick-skinned chiles. The residual heat from the chiles will generate steam, which works to loosen the bond between the skin and the flesh. This makes them incredibly easy to peel later.
How to Peel and Prepare Hatch Chiles
After the steaming process is complete, it’s time for the final preparation step. This is where the magic of the steaming really comes into play!
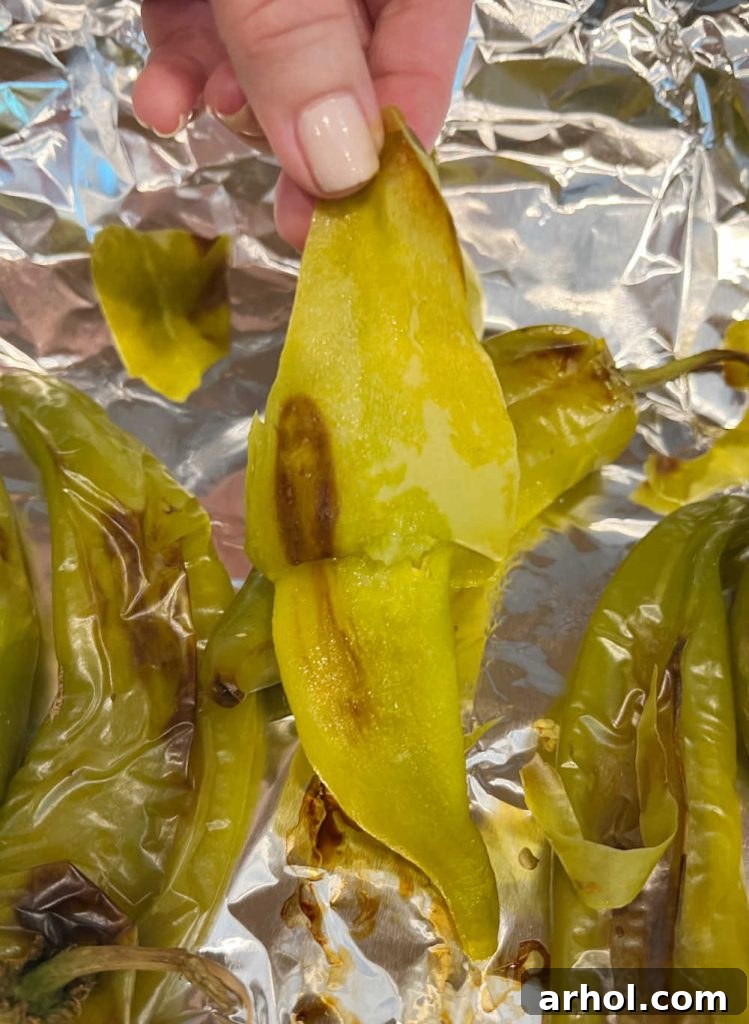
- Cool Down: After the recommended steaming time, carefully open the foil packet or remove the cover from the bowl. Be extremely cautious, as a burst of hot steam will be released. Allow the roasted Hatch chile peppers to cool down sufficiently so they are comfortable enough to handle. They don’t need to be completely cold, but you shouldn’t burn your fingers.
- Peel the Skins: The skin on the roasted chiles should now be loose and ready to peel away effortlessly. The easiest way to do this is to grab one end of the pepper and gently pull the charred skin off. It should come away in satisfying sheets. Don’t worry if a few small bits of char remain; they add to the smoky flavor.
- Wear Gloves (Highly Recommended): This is an important safety note. While I personally am accustomed to handling various peppers and don’t typically wear gloves, it is *highly recommended* that you wear disposable gloves during this peeling process. Hatch chiles contain capsaicin, the compound responsible for their heat, which can irritate your skin and burn your eyes if you inadvertently touch them after handling the chiles. Better safe than sorry!
After all the peppers are peeled, you have a few options for further preparation, depending on how you plan to use them:
- Seeding and Dicing: For most recipes, you’ll want to remove the seeds and membranes, then dice or chop the chiles into desired pieces. To seed, simply slice the chile open lengthwise, and scrape out the seeds and white membranes with a spoon or knife.
- Slicing: If you prefer longer strips, slice the peeled chiles into strips or rings.
- Keeping Whole: If you’re planning to make dishes like chile rellenos, you’ll want to keep the roasted peppers whole, carefully removing just the skin and seeds without tearing the flesh.
How to Store Roasted Hatch Chiles
Once your Hatch chiles are perfectly roasted, peeled, and prepared, proper storage is key to enjoying their incredible flavor for an extended period.
Refrigeration:
If you intend to use your diced or whole roasted chiles within a few days, simply place them in an airtight container and store them in the refrigerator. They will maintain their quality and flavor for up to 5 days. This is ideal for immediate cooking needs.
Freezing for Long-Term Storage:
To truly make the most of Hatch chile season and enjoy these peppers year-round, freezing is your best friend.
- Portioning: For convenience, portion the diced chiles into smaller, usable amounts. I typically place about 1 cup of roasted diced chiles into individual quart-sized freezer bags. This makes it easy to grab exactly what you need for a recipe without having to thaw a large batch.
- Freezer Bags: Press out as much air as possible from the freezer bags before sealing them. Air is the enemy of frozen food, leading to freezer burn.
- Flat Freezing: Lay the filled freezer bags flat in your freezer until the chiles are completely frozen solid. This method allows them to freeze quickly and evenly.
- Stacking: Once frozen solid, you can stack the flat bags vertically or horizontally to save valuable freezer space.
- Shelf Life: Properly frozen Hatch chiles will keep exceptionally well for 6 months to 1 year, ensuring you have a steady supply of authentic New Mexico flavor at your fingertips whenever inspiration strikes.
Substitutions for Hatch Chiles
While nothing truly replicates the unique flavor profile of authentic Hatch chiles, there are instances when they might not be in season or available in your area. In such cases, you can use substitute peppers to achieve a similar, albeit slightly different, taste and heat level.
- Anaheim Chiles: These are a very common and accessible substitute. Anaheim peppers are generally milder than Hatch chiles, often with a Scoville rating on the lower end (500-2,500 SHU). They share a somewhat similar elongated shape and green color, making them a decent visual and textural stand-in. Their flavor is fresh and mildly sweet, lacking some of the deep earthiness and smokiness of a true Hatch.
- Poblano Peppers: Poblanos offer a slightly richer, earthier flavor than Anaheims, making them a good option if you’re looking for a bit more depth. They typically range from 1,000 to 2,000 Scoville heat units, putting them in a similar mild-to-medium range as many Hatch varieties. Poblanos are generally wider and have thicker flesh than Hatch chiles, so they might require a slightly longer roasting time.
Remember, while these substitutes will work in recipes calling for green chiles, they won’t fully replicate the distinct “Hatch” experience. If you can find fresh Hatch chiles, always opt for the real deal to savor their unparalleled taste.
FAQ: Frequently Asked Questions About Hatch Chiles
Hatch chile growing season is relatively short and eagerly anticipated, typically running from the beginning of August to the end of September. However, due to variations in weather patterns and growing conditions, the Hatch season can sometimes start a bit earlier in late summer, as early as July, and potentially extend into October.
Yes, it is highly recommended to peel Hatch chiles after roasting. Hatch chiles possess a thick, tough outer skin that can be fibrous and difficult to chew and digest. Removing the skin not only improves the texture of the roasted chiles but also allows their tender, smoky flesh to shine in your dishes.
Hatch chiles are generally considered medium-heat peppers, offering a pleasant warmth without being overwhelmingly spicy for most palates. They are typically milder than jalapeño peppers but can be spicier than very mild Anaheim peppers. On the Scoville scale, Hatch peppers can range from 1,000 to 8,000 Scoville Heat Units (SHU), with various cultivars offering different heat levels within this range, from mild to extra hot.
When selecting fresh Hatch chiles, look for peppers that are firm, glossy, and vibrant green. Avoid any chiles with soft spots, wrinkles, or significant blemishes, as these can indicate spoilage. Larger chiles generally have more flesh, which is great for roasting and dicing.
Absolutely! While oven roasting is convenient, Hatch chiles can also be roasted on a gas grill or directly over an open flame on a gas stove burner. For grilling, place them directly on the grates over medium-high heat, turning frequently until charred. For an open flame, use tongs to hold them over the flame, rotating until blackened. Regardless of the method, remember to steam them immediately after charring to facilitate peeling.
How to Roast Hatch Chiles
Dee
5 minutes
10 minutes
10 minutes
25 minutes
8
Ingredients
- 8 Hatch chiles
Instructions
-
Preheat oven to 425 degrees F (220 degrees C).
-
Rinse the chiles and pat them completely dry.
-
Place chiles in a single layer on a rimmed baking sheet lined with aluminum foil or parchment paper.
-
Roast for 8 to 10 minutes, then use tongs to turn them halfway through the cooking process. Continue roasting until the skins are charred and blistered on both sides.
-
Remove from the oven, and immediately wrap them tightly in the foil (or transfer to a bowl and cover with plastic wrap) to form a packet. Allow to steam for 10 minutes to loosen skins. After steaming, open the foil and allow to cool enough to handle.
-
When cool enough, carefully peel the skins from the peppers. Then, seed the peppers and dice them as desired.
Notes
You may need to wear gloves when working with chile peppers to avoid irritating your skin, especially during peeling and seeding.
Nutrition
Carbohydrates: 3g,
Sodium: 150mg,
Fiber: 1g,
Sugar: 1g,
Vitamin C: 5mg
Nutrition information is automatically calculated, so should only be used as an approximation.
Additional Info
Main
American
Conclusion: Enjoying Your Homemade Hatch Chiles
Mastering the art of roasting Hatch chiles in your oven is a game-changer for any home cook passionate about fresh, authentic flavors. Oven roasting provides a foolproof and convenient method to achieve that perfect char and tender flesh, unlocking the full potential of these beloved New Mexico peppers. The process is simple: rinse, roast until blistered, steam to loosen skins, then peel, seed, and dice. With the ability to easily freeze your homemade roasted green chiles, you can extend the joy of Hatch chile season far beyond its typical window, adding a delicious, smoky depth to your meals throughout the year.
From enhancing your favorite stews and casseroles to adding a kick to eggs or sandwiches, these versatile chiles will quickly become a staple in your kitchen. We truly hope you enjoy this easy and rewarding recipe as much as we do. For more simple and delicious recipes and culinary tips, be sure to follow us on social media and sign up for our weekly newsletter! Happy cooking!